


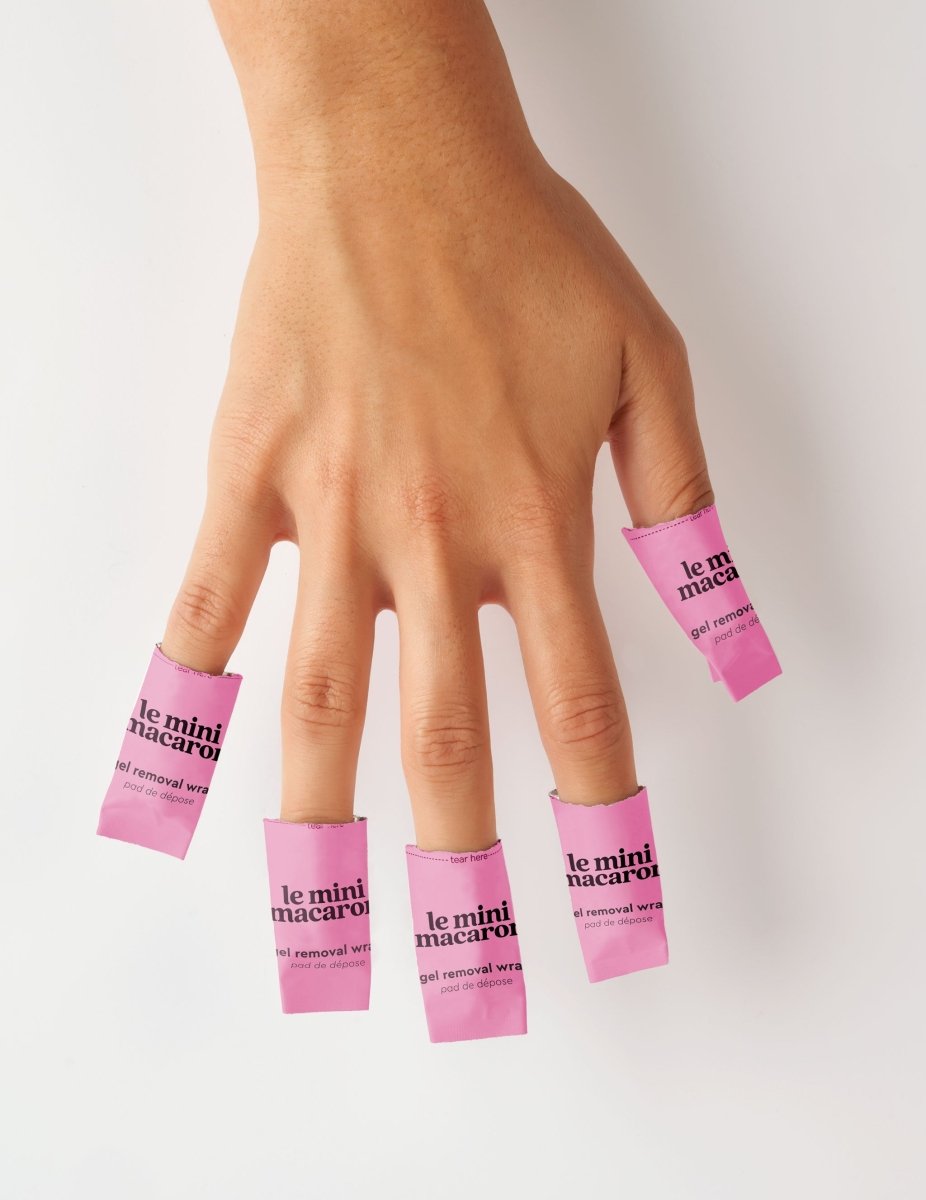

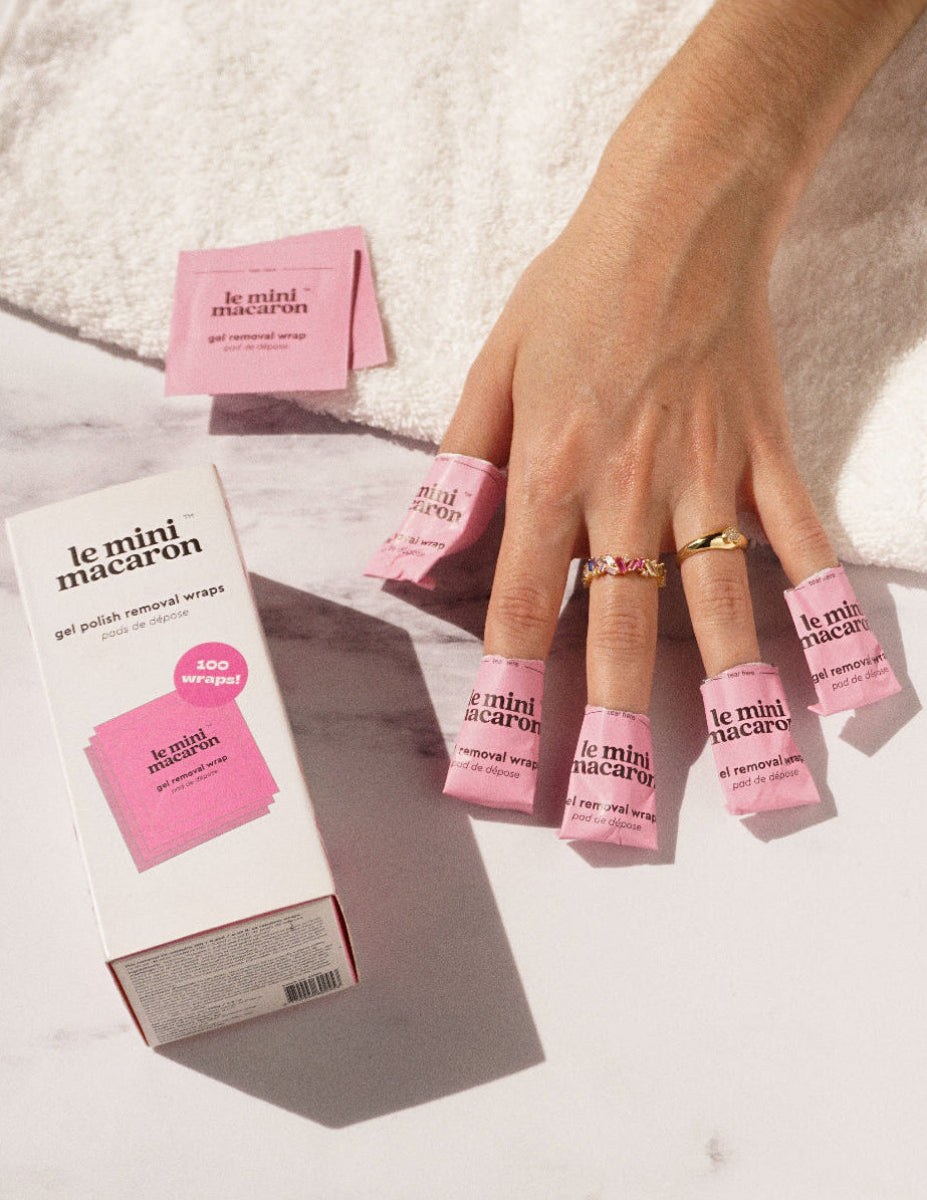
Wraps dissolvants pour vernis semi-permanent

100 wraps | Rapide et sans désordre | Tous types de vernis
Retirez votre vernis semi-permanent rapidement, proprement et sans effort. Contient 100 wraps pré-imbibés et emballés individuellement, parfaits où que vous soyez. Sans en mettre de partout, sans contrainte et sans abîmer les ongles. Fonctionne sur tous les types de vernis.
Pairs Best With:
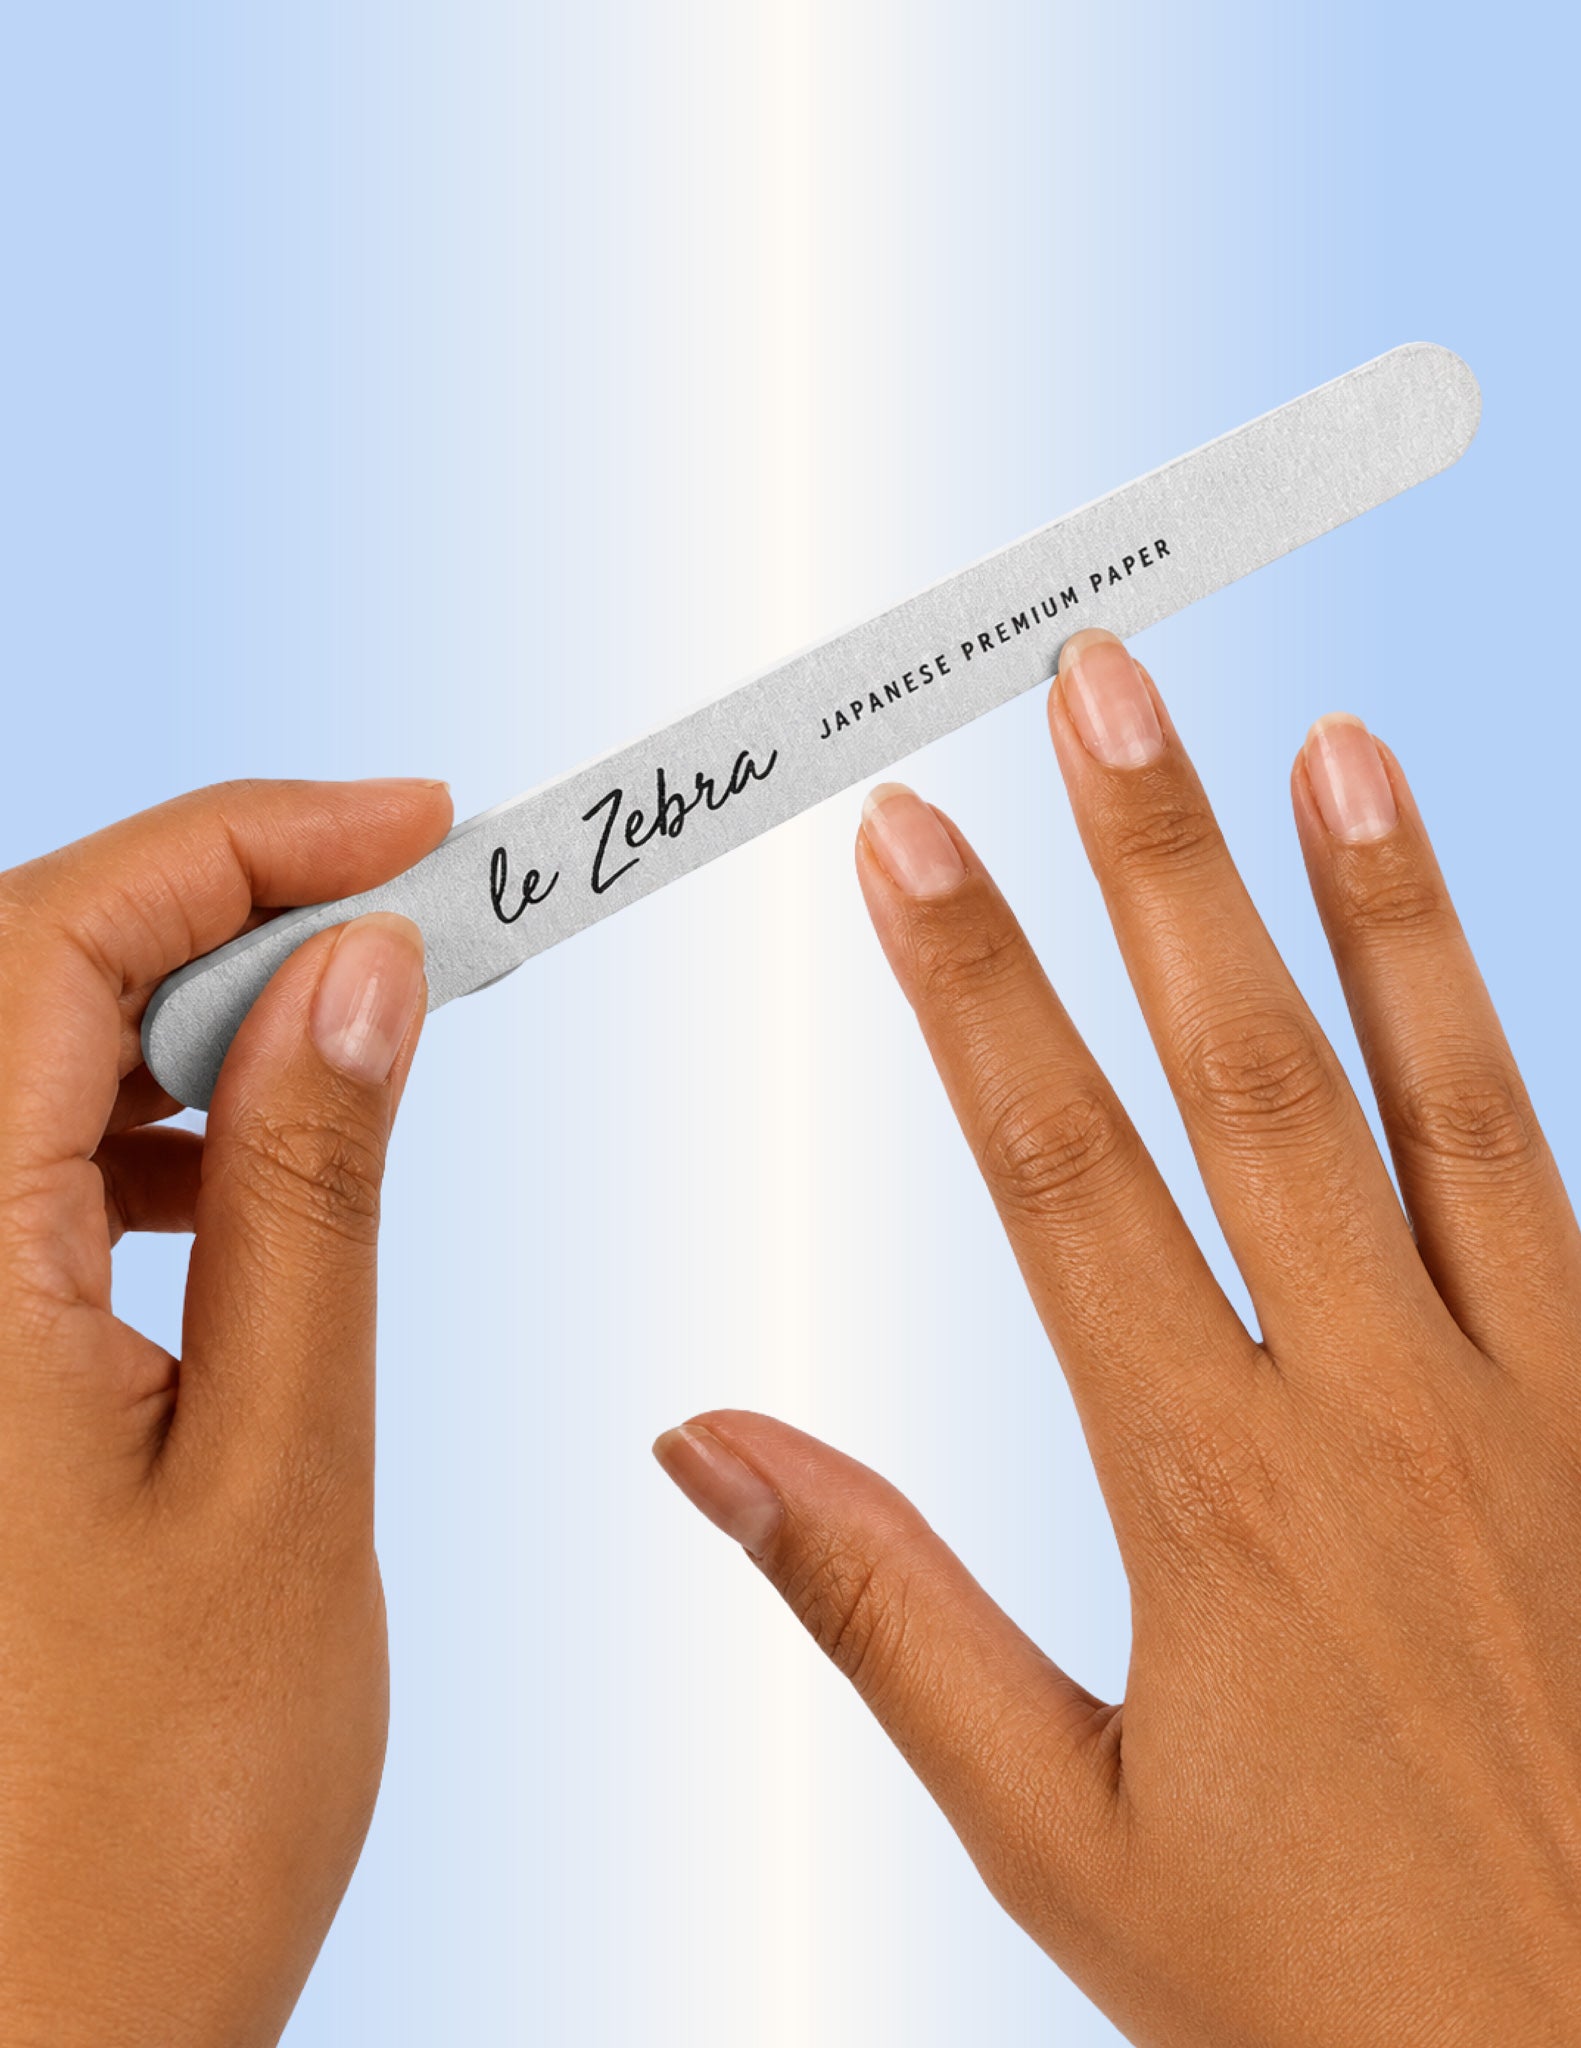
Le Zebra - Lime à Ongles
2.95 €
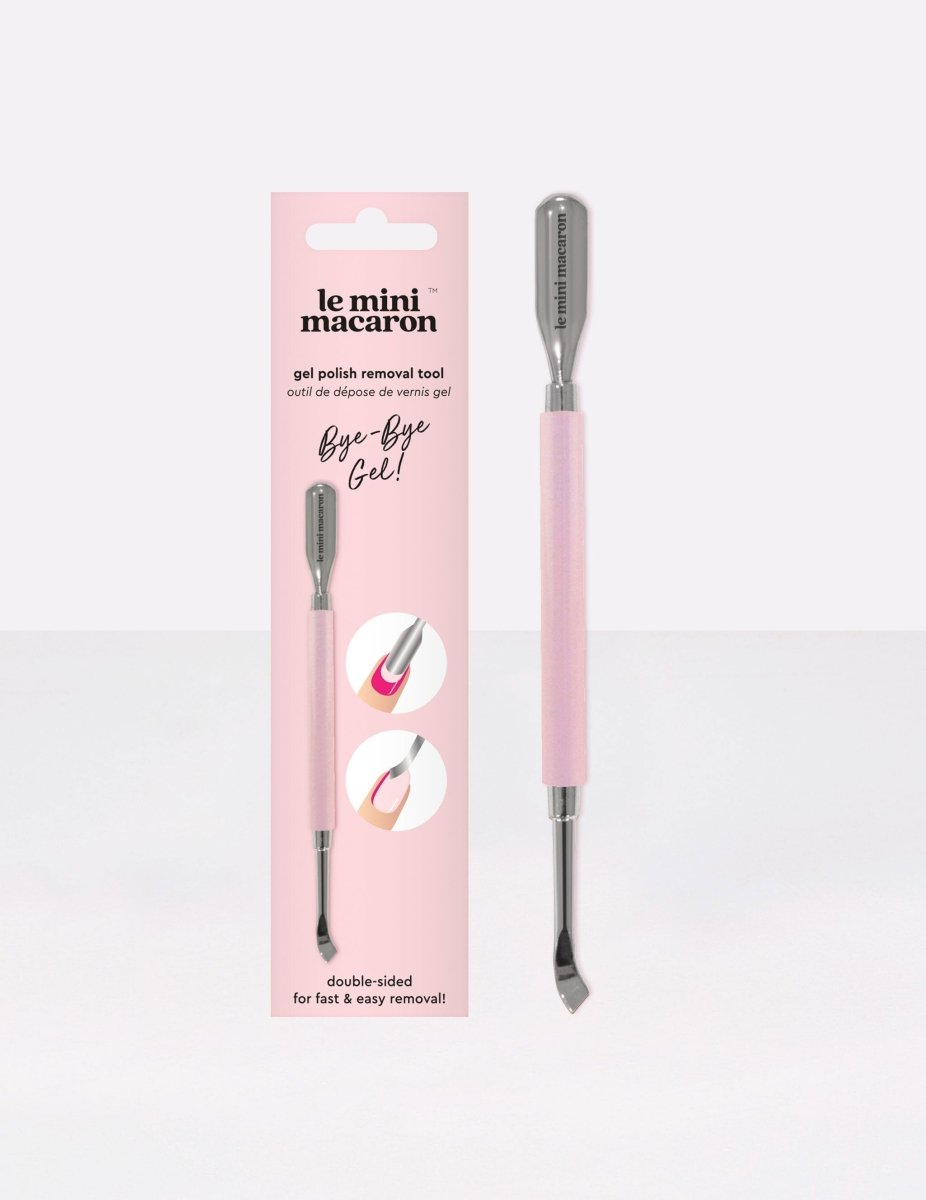
Outil de Dépose de Vernis Semi-permanent
6 €

Clips de dépose
13 €
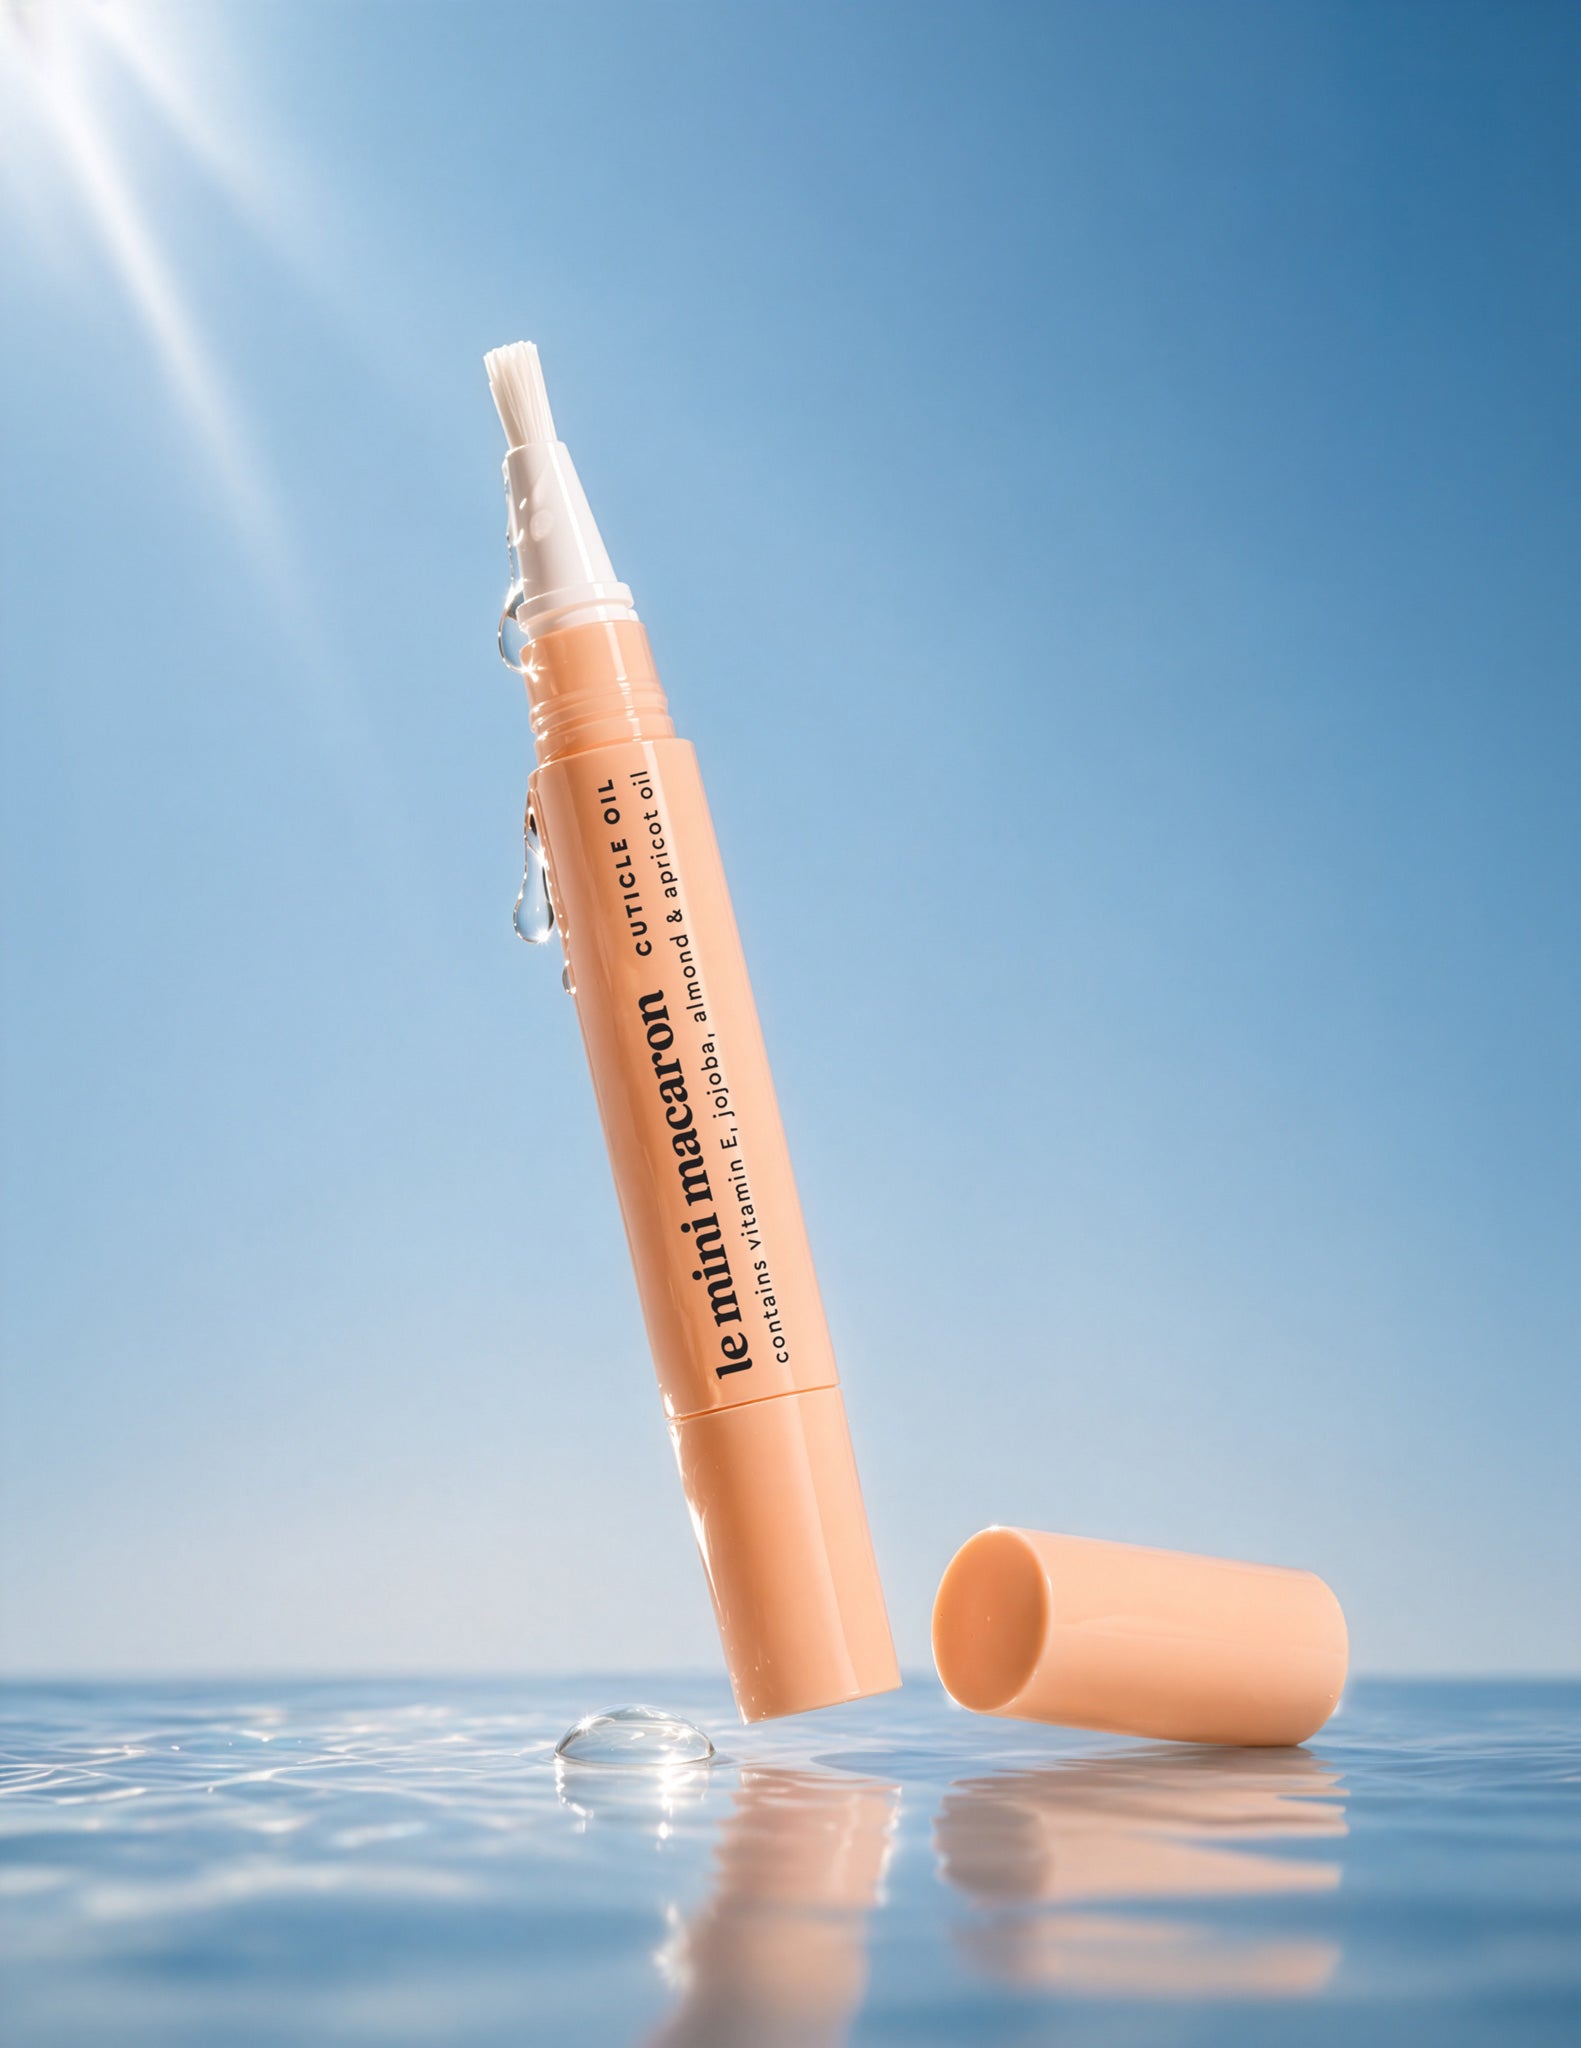
Stylo Huile pour Cuticules – Huile de Jojoba
8 €
Why You’ll Love It
Why Not Level Up?


Choisir les options
How to Remove
Follow these easy directions for perfect removal:
FILE THE TOP LAYER
- Use a 150/180 grit file – until nail looks completely matte.
APPLY REMOVAL WRAPS
- Insert finger into wrap – ensure cotton pad covers top of nail.
- Wrap tightly around finger
- Wait 15 minutes – then remove wrap.
- Polish should be shattered or bubbled – ready to be removed.
GENTLY REMOVE GEL
- Use a cuticle pusher or removal tool – gently scrape off the softened gel.
- Scrape in one direction – from cuticle to free edge of nail.
BUFF NAILS
Smooth out any remaining residue – use a buffer.
How to Remove
Follow these easy directions for perfect removal:
FILE THE TOP LAYER
- Use a 150/180 grit file – until nail looks completely matte.
APPLY REMOVAL WRAPS
- Insert finger into wrap – ensure cotton pad covers top of nail.
- Wrap tightly around finger
- Wait 15 minutes – then remove wrap.
- Polish should be shattered or bubbled – ready to be removed.
GENTLY REMOVE GEL
- Use a cuticle pusher or removal tool – gently scrape off the softened gel.
- Scrape in one direction – from cuticle to free edge of nail.
BUFF NAILS
Smooth out any remaining residue – use a buffer.
Frequently Asked Questions
Seulement 15 minutes. Insérez votre doigt dans le wrap, assurez-vous que le coton recouvre bien l'ongle, enroulez fermement et attendez. Une fois le vernis craquelé ou bullé, il est prêt à être retiré. Pour un retrait optimal, utilisez le Outil de Dépose de Vernis pour gratter délicatement le semi-permanent ramolli dans une seule direction, de la cuticule vers le bord libre.
Oui. Limez la couche supérieure de votre vernis semi-permanent avec une lime 150/180 jusqu'à ce que l'ongle soit complètement mat. Cela brise le sceau protecteur et permet à l'acétone d'agir plus rapidement et efficacement.
Absolument. Les Clips de dépose se clipsent sur les wraps pour créer un joint hermétique, ce qui aide le semi-permanent à ramollir plus vite et à se retirer plus facilement. C'est une excellente amélioration pour votre routine de retrait, surtout si les wraps ont tendance à glisser.