


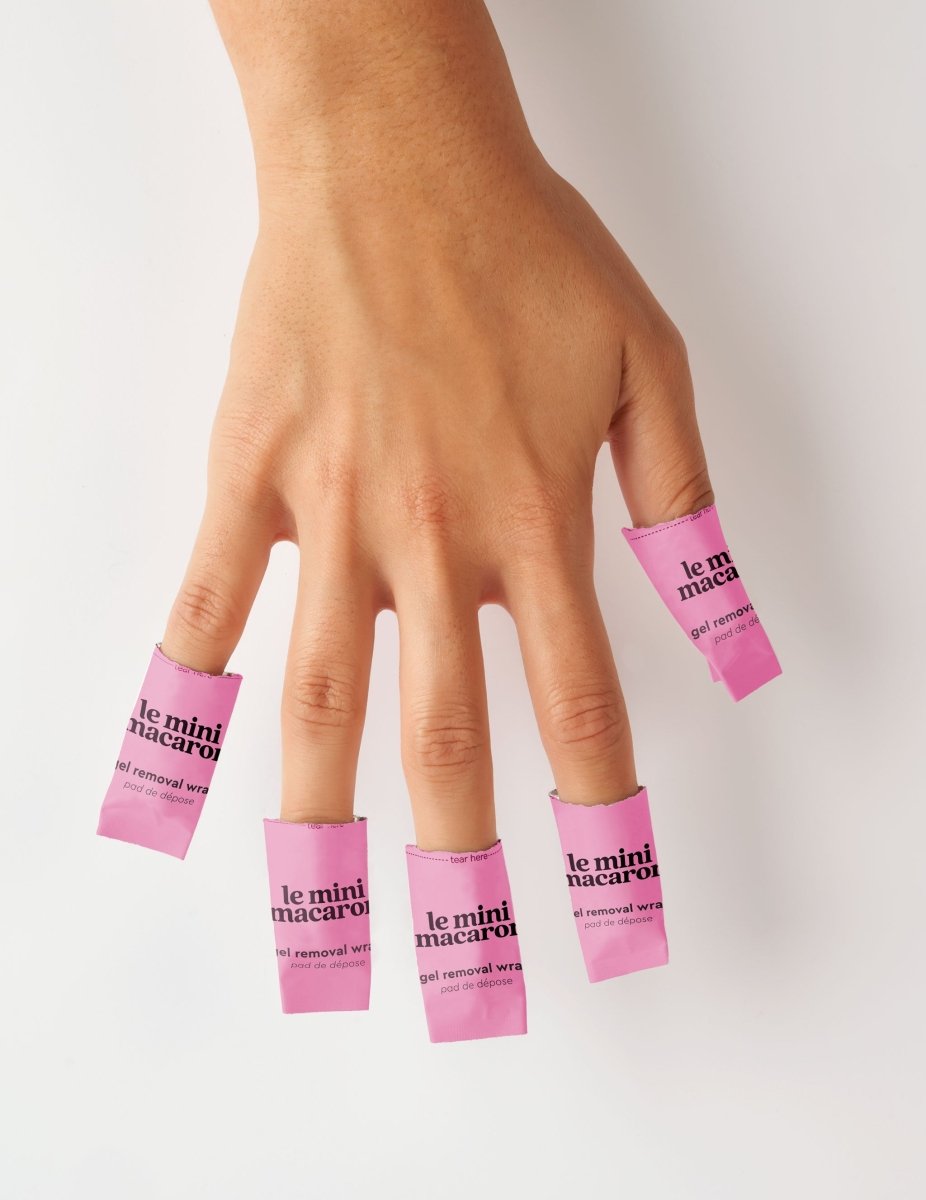

Toallitas quitaesmalte para esmalte semipermanente

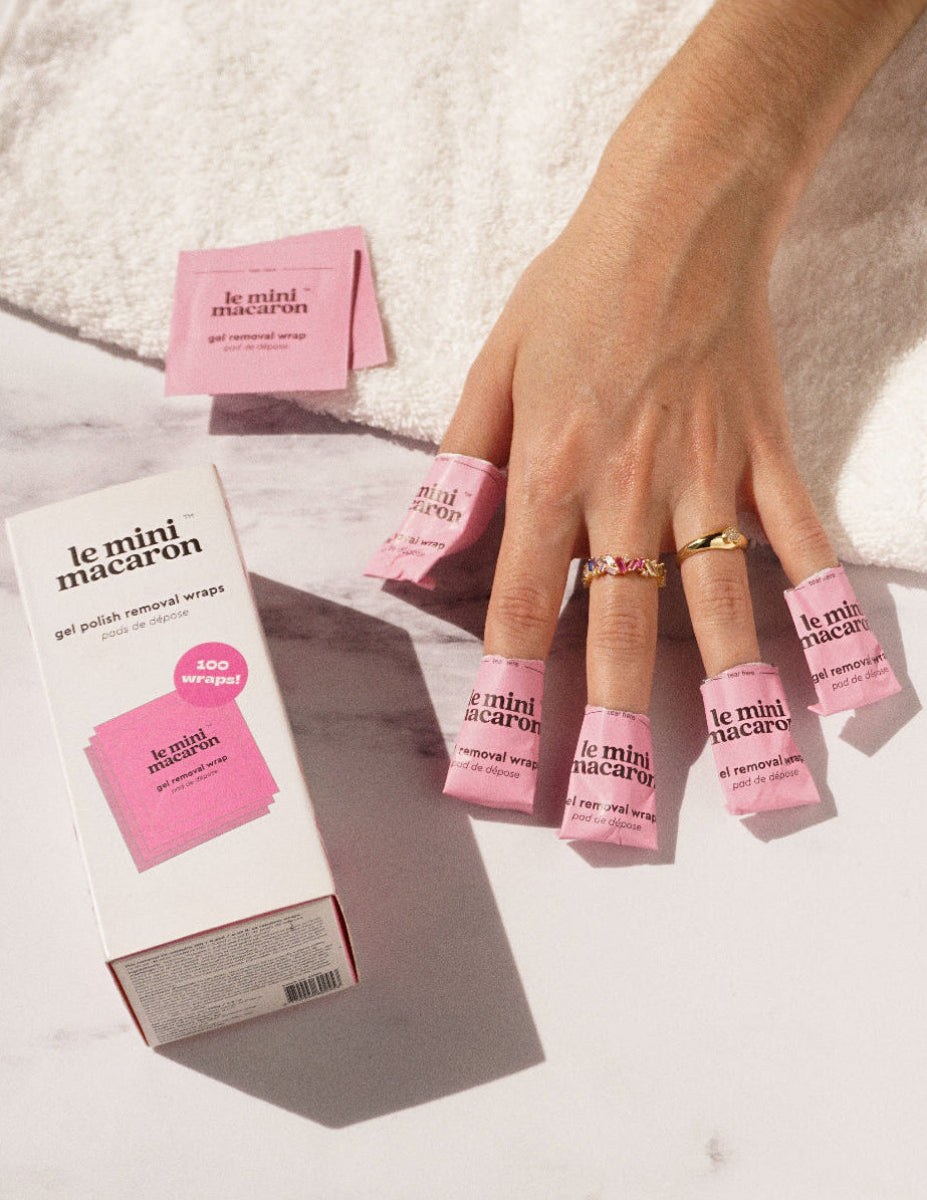
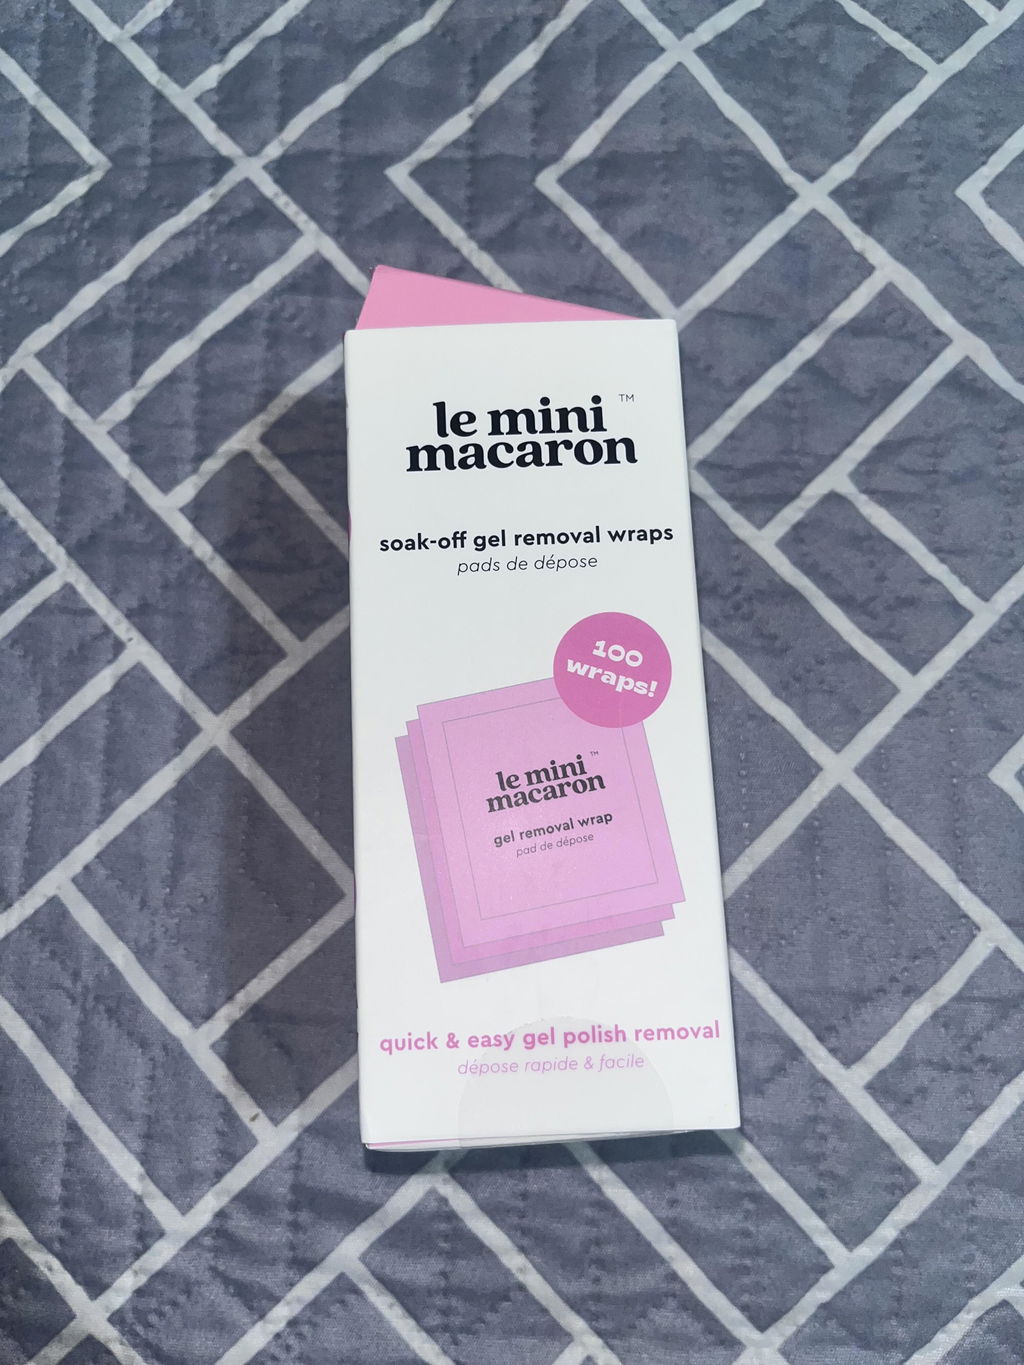
100 toallitas | Rápido y sin ensuciar | Para todo tipo de esmalte
Retira el esmalte semipermanente de forma rápida, limpia y sin esfuerzo. Incluye 100 toallitas individuales ya impregnadas, perfectas para usar donde quieras. Sin ensuciar, sin complicaciones y sin dañar tus uñas. Funciona con todo tipo de esmalte.
Pairs Best With:
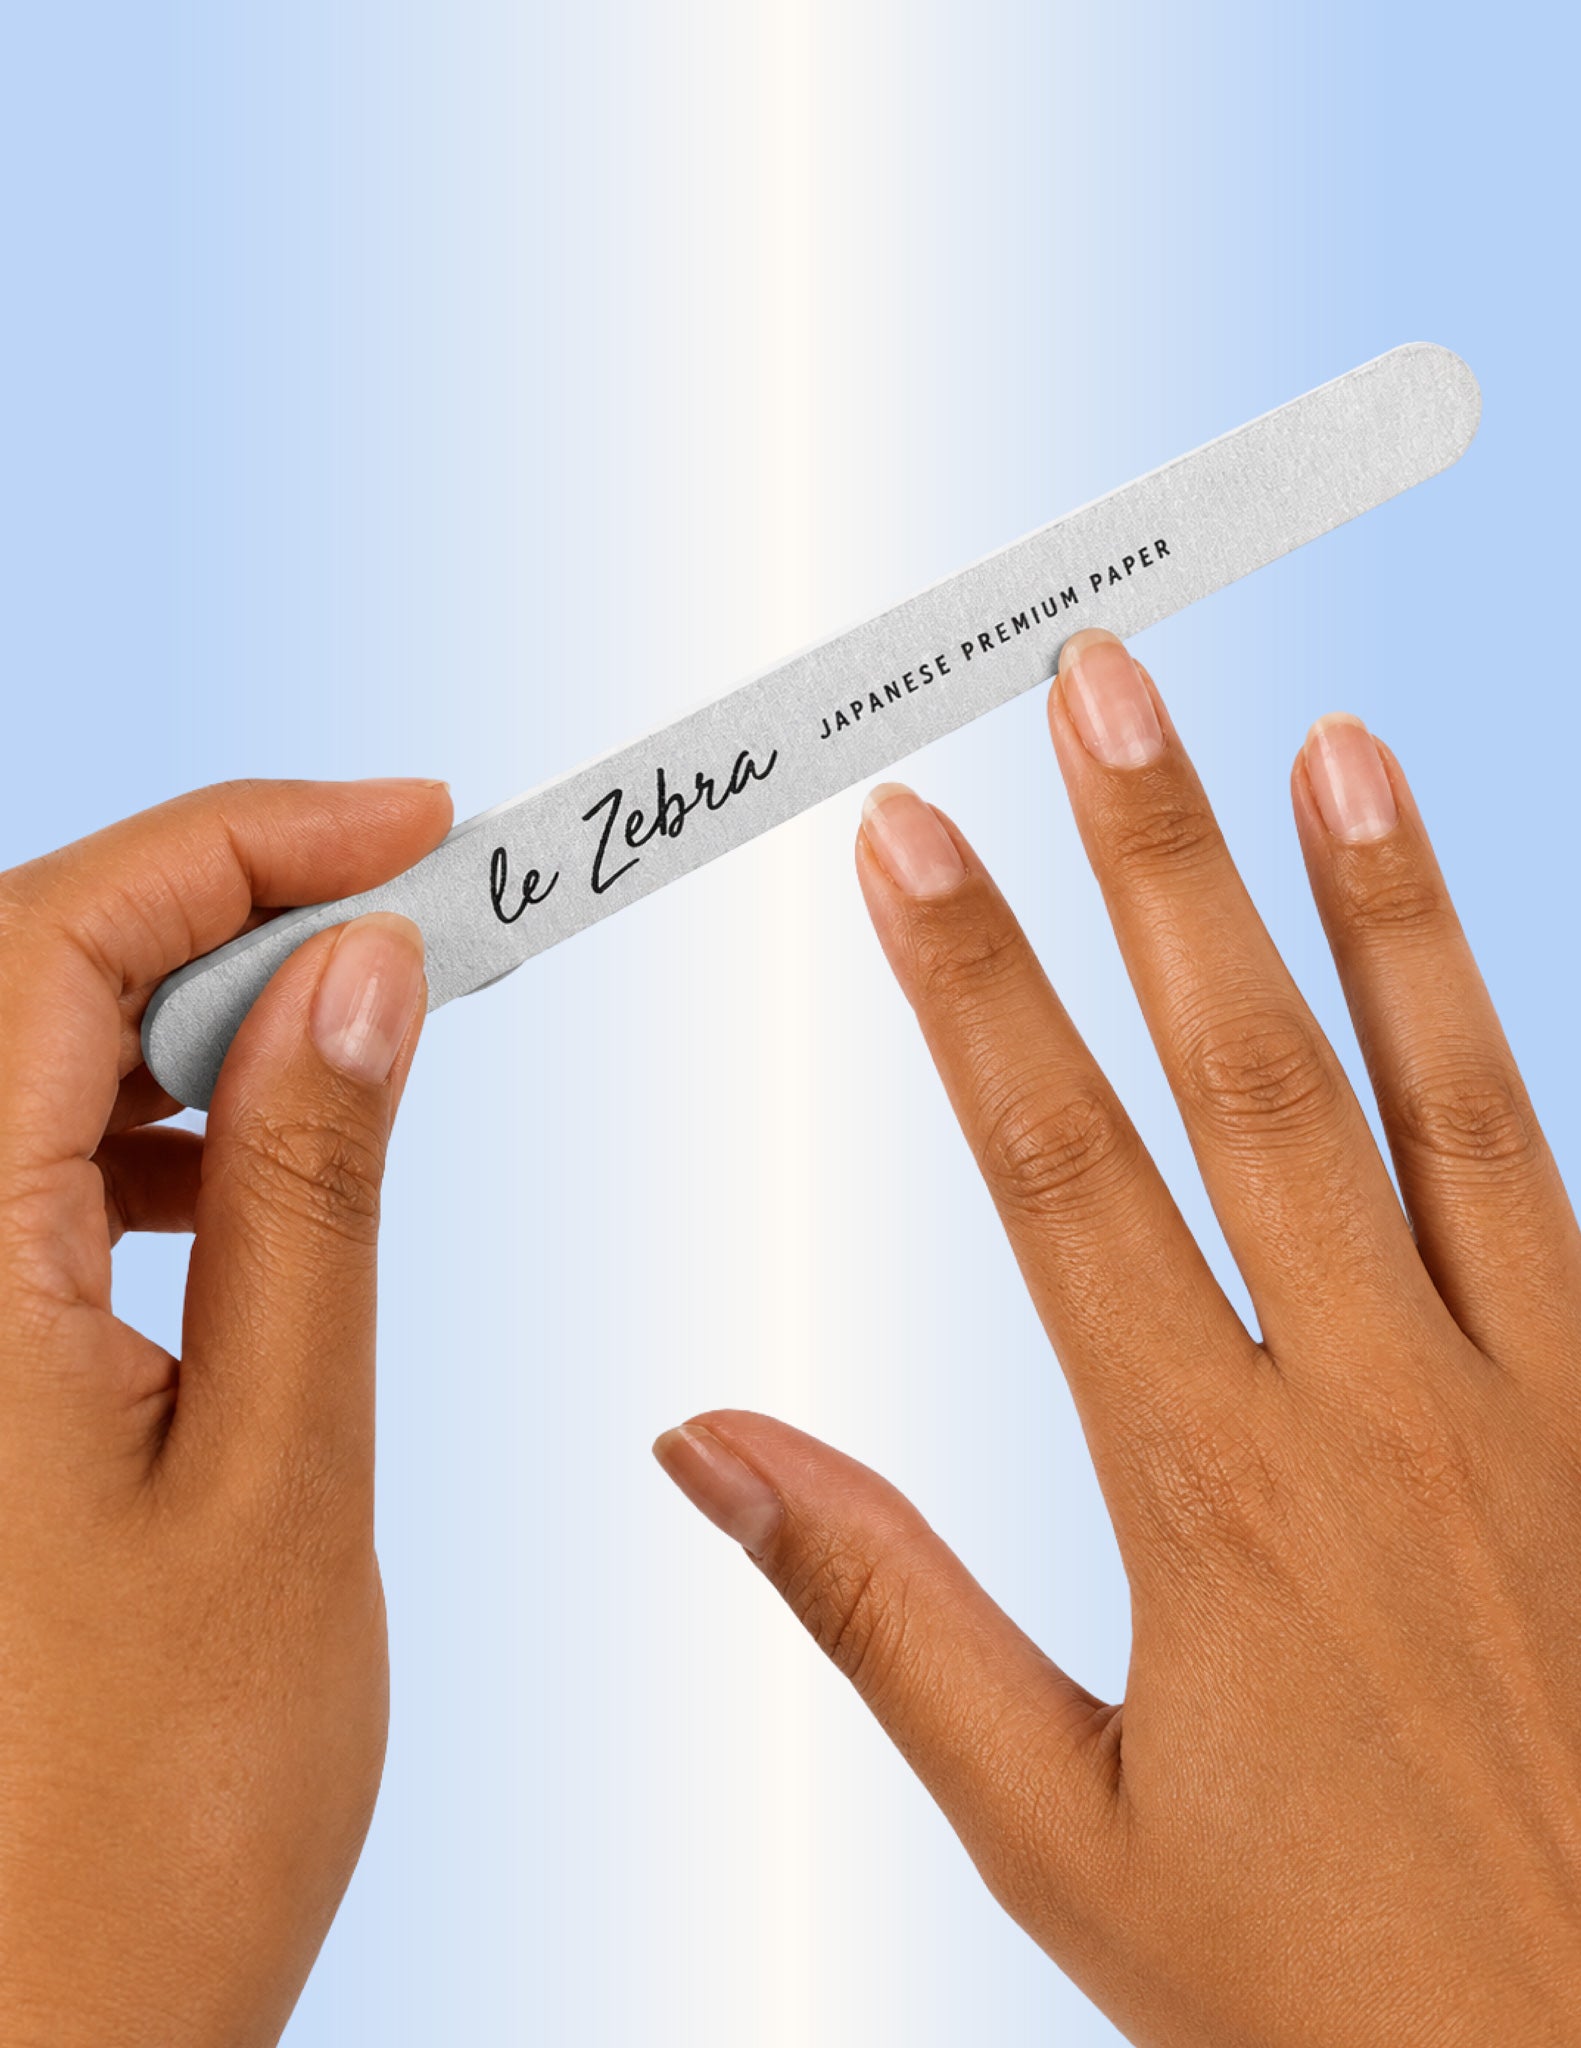
Lima de uñas "Le Zebra"
2.95 €
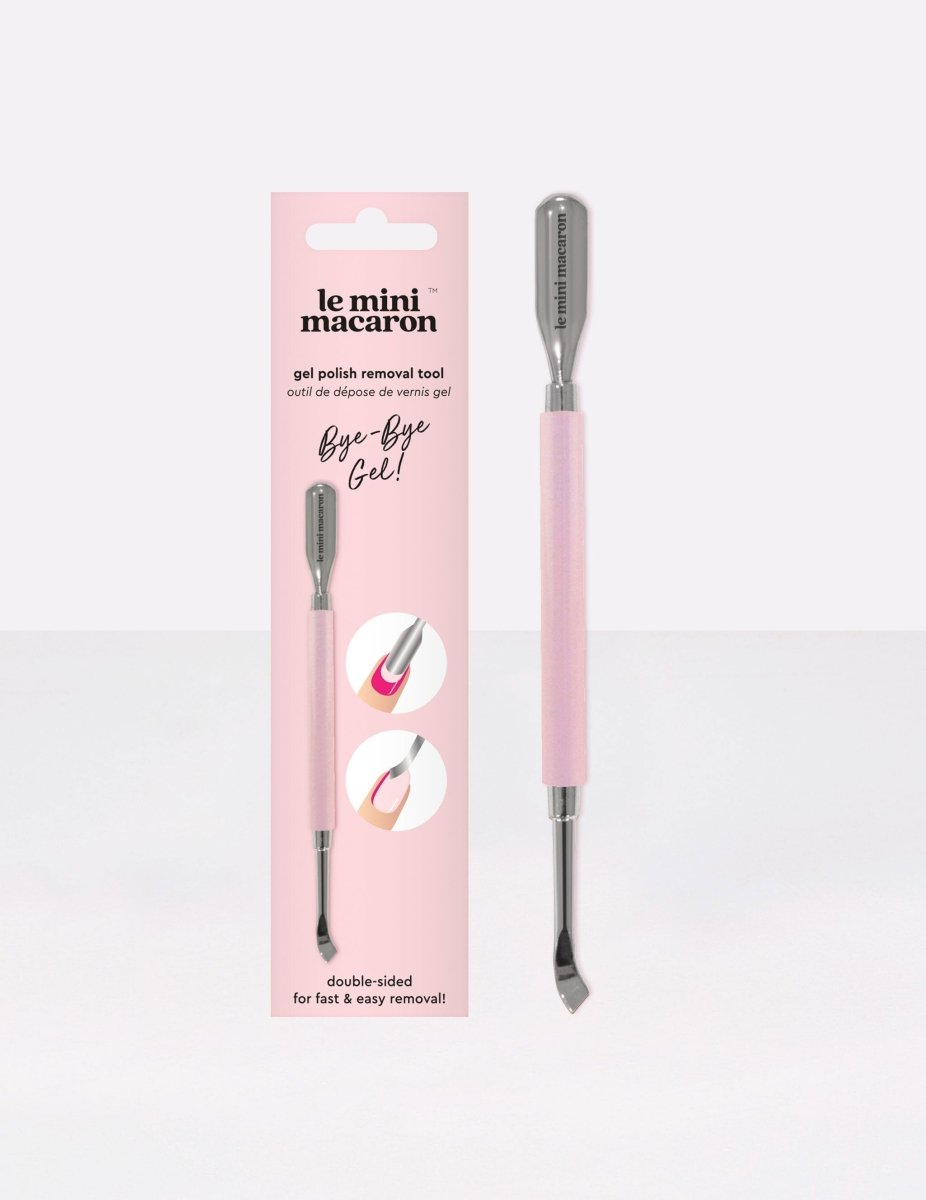
Herramienta para la Eliminación del Esmalte Semipermanente
6 €

Clips de retirada de esmalte semipermanente
13 €
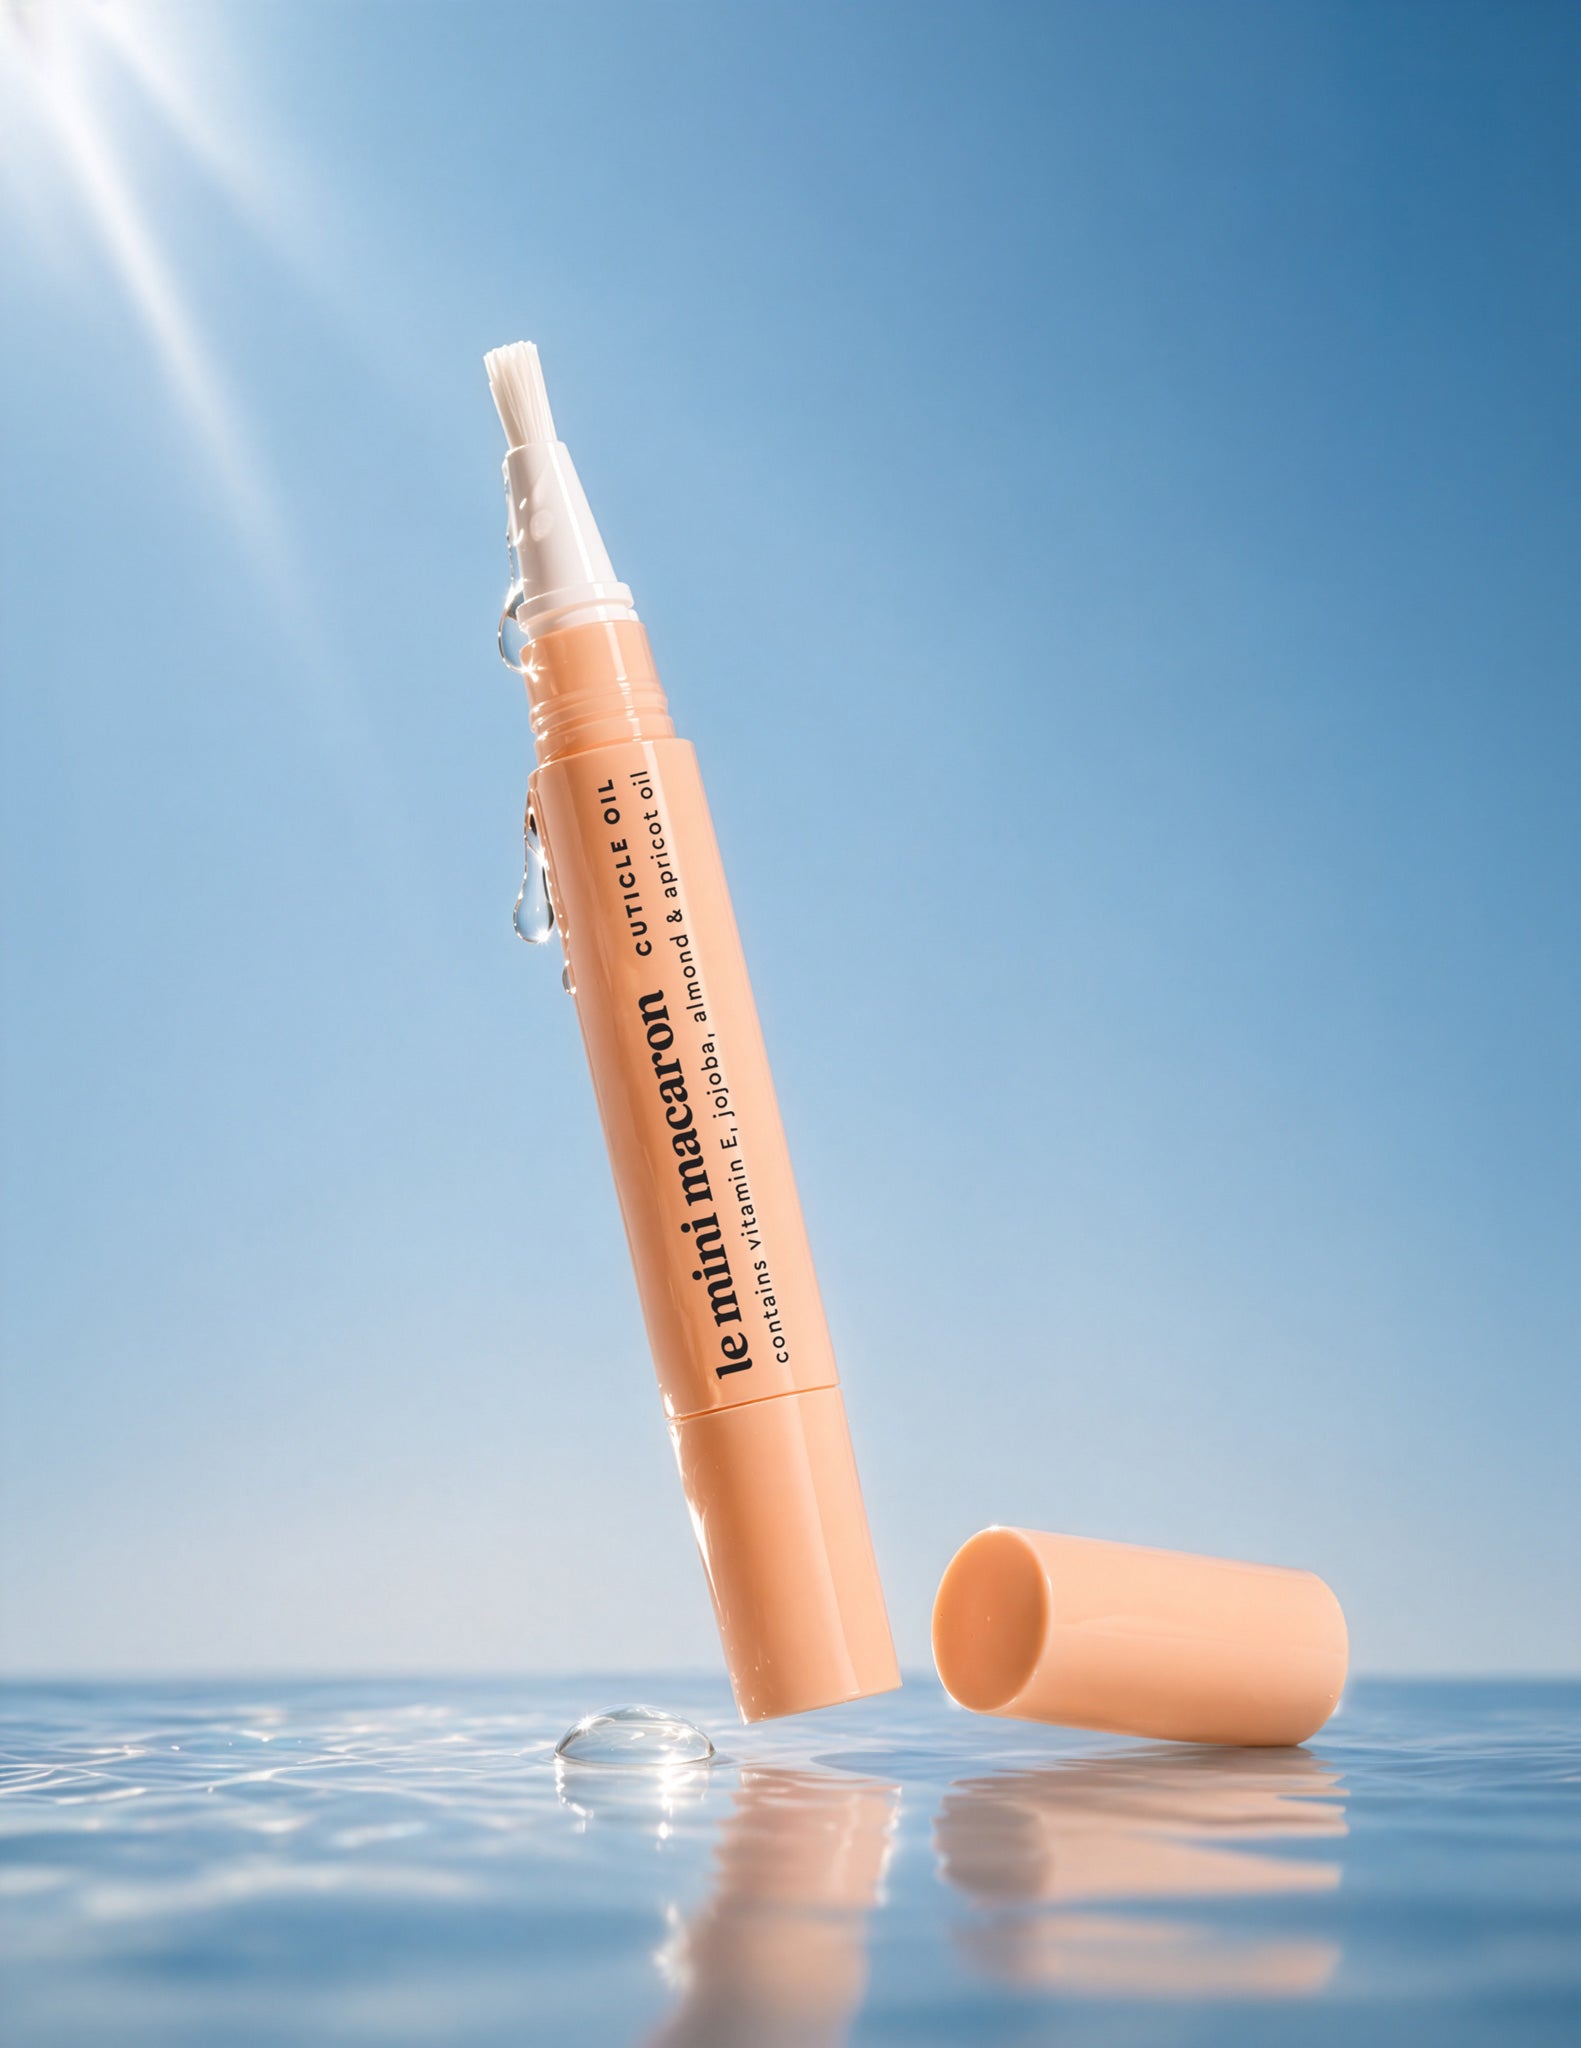
Cuticle Oil Pen – Aceite de Jojoba
8 €
Why You’ll Love It
Why Not Level Up?


Elige opciones
How to Prep
Follow these easy directions for a perfect manicure:
NAIL PREP: The foundation of every great mani.
1. File nails to smooth edges.
Start with the coarser grit side to shape your nail edges and take down length. Work in one direction for a clean, even finish.
2. Push back cuticles gently.
Use the flat edge of the pusher to gently push back your cuticles with slow, controlled strokes. Work from side to side, then flip to the pointed end to lift and remove any remaining excess cuticle.
3. Buff nails until the surface looks matte.
Gently buff the nail surface in one direction. Use along the nail edges to smooth any ridges or unevenness, and create a matte base ready for gel.
4. Brush off dust.
Hold Le Softie at the base of your fingers and sweep the brush gently across each nail and fingertip. Work from cuticle to free edge to remove all dust and debris.
5. Wipe nails with cleanser.
Wipe thoroughly with a single Nail Cleanser Prep Pad to remove all dust and oils, or apply Le Clean Nail Cleanser to a Lint‑free Wipe Pad and scrub each nail until fully clean.
Pro tip: Once you've cleaned your nails, avoid touching your face, hair, or any surface — even one touch transfers oils and affects how long your manicure lasts.
How to Prep
Follow these easy directions for a perfect manicure:
NAIL PREP: The foundation of every great mani.
1. File nails to smooth edges.
Start with the coarser grit side to shape your nail edges and take down length. Work in one direction for a clean, even finish.
2. Push back cuticles gently.
Use the flat edge of the pusher to gently push back your cuticles with slow, controlled strokes. Work from side to side, then flip to the pointed end to lift and remove any remaining excess cuticle.
3. Buff nails until the surface looks matte.
Gently buff the nail surface in one direction. Use along the nail edges to smooth any ridges or unevenness, and create a matte base ready for gel.
4. Brush off dust.
Hold Le Softie at the base of your fingers and sweep the brush gently across each nail and fingertip. Work from cuticle to free edge to remove all dust and debris.
5. Wipe nails with cleanser.
Wipe thoroughly with a single Nail Cleanser Prep Pad to remove all dust and oils, or apply Le Clean Nail Cleanser to a Lint‑free Wipe Pad and scrub each nail until fully clean.
Pro tip: Once you've cleaned your nails, avoid touching your face, hair, or any surface — even one touch transfers oils and affects how long your manicure lasts.
Frequently Asked Questions
Solo 15 minutos. Introduce el dedo en el wrap, asegúrate de que el algodón cubra bien la uña, envuélvelo bien y espera. Una vez que el esmalte se vea agrietado o con burbujas, está listo para retirar. Para una retirada más limpia, usa el Herramienta para la Eliminación del Esmalte para raspar suavemente el gel ablandado en una sola dirección, de la cutícula al borde libre.
Sí. Lima la capa superior de tu esmalte de gel con una lima de 150/180 hasta que la uña quede completamente mate. Esto rompe el sello protector y permite que la acetona actúe de forma más rápida y efectiva.
Por supuesto. Los Clips de eliminación de esmalte se colocan encima de los wraps para crear un sello hermético, lo que ayuda al gel a ablandarse más rápido y a retirarse de forma más limpia. Son una mejora ideal para tu rutina de retirada, especialmente si los wraps tienden a resbalarse.