


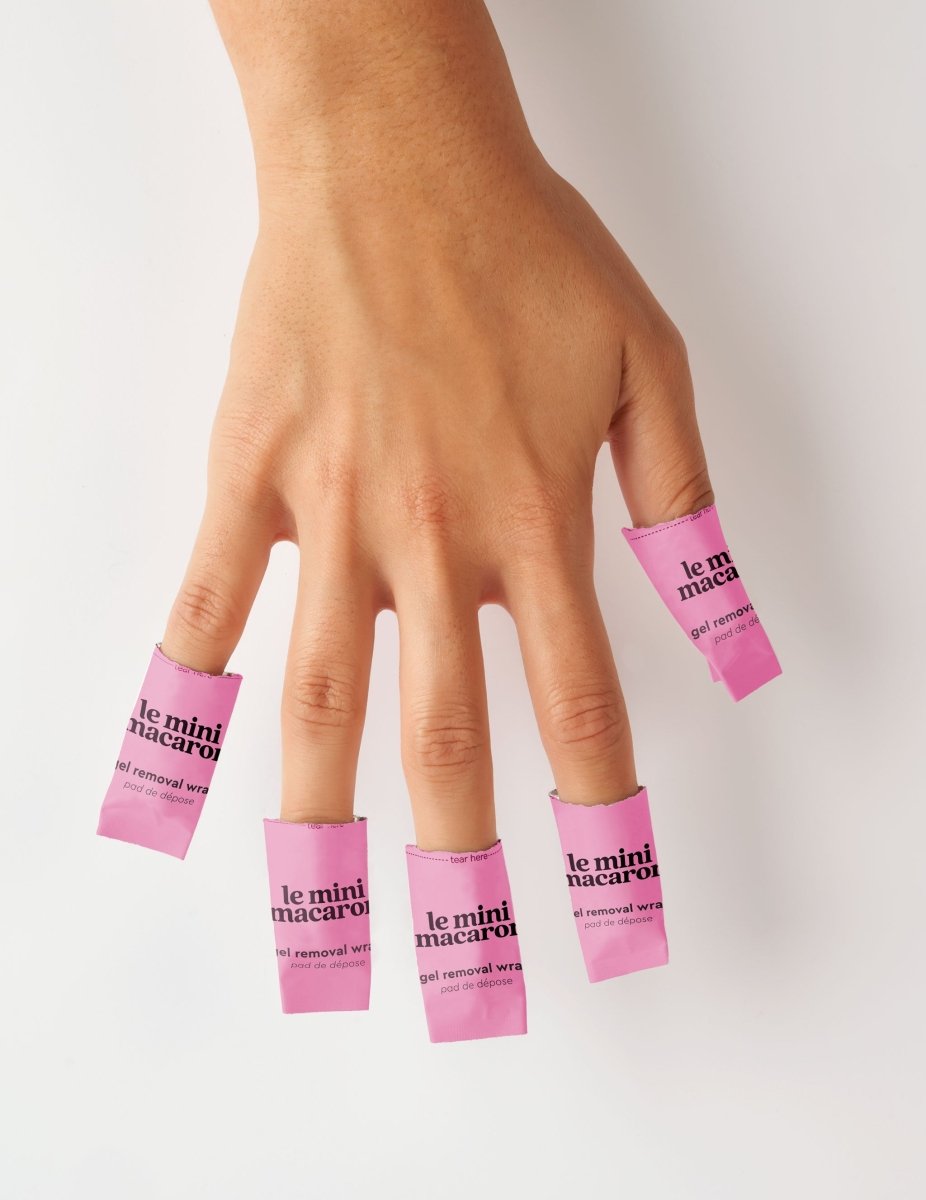

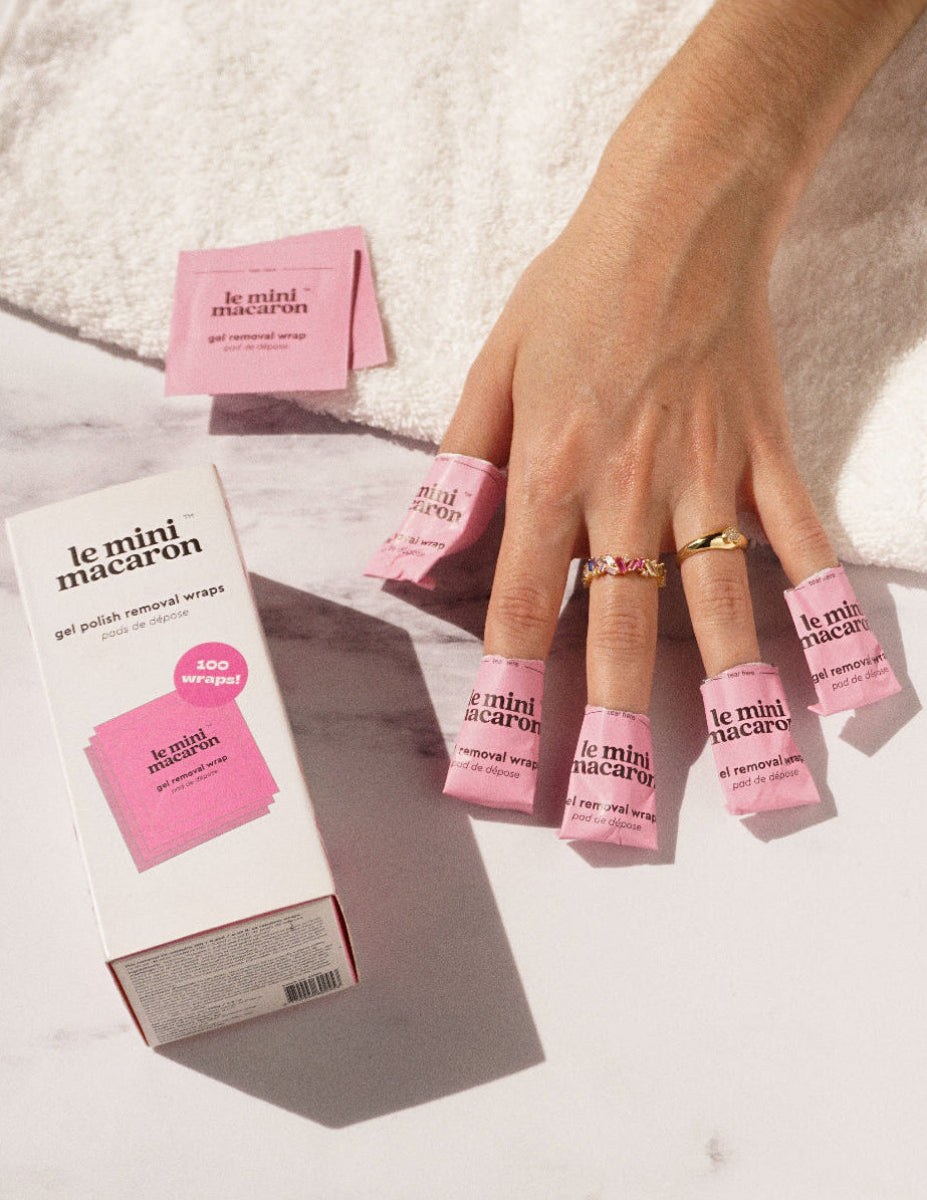
Salviette per la rimozione dello smalto semipermanente

100 salviette | Veloce e senza sporcare | Per tutti i tipi di smalto
Rimuovi lo smalto semipermanente in modo rapido, pulito e senza sforzo. Include 100 salviette già imbevute e confezionate singolarmente, perfette ovunque tu sia. Senza sporcare, senza complicazioni e senza danneggiare le unghie. Funziona su tutti i tipi di smalto.
Pairs Best With:
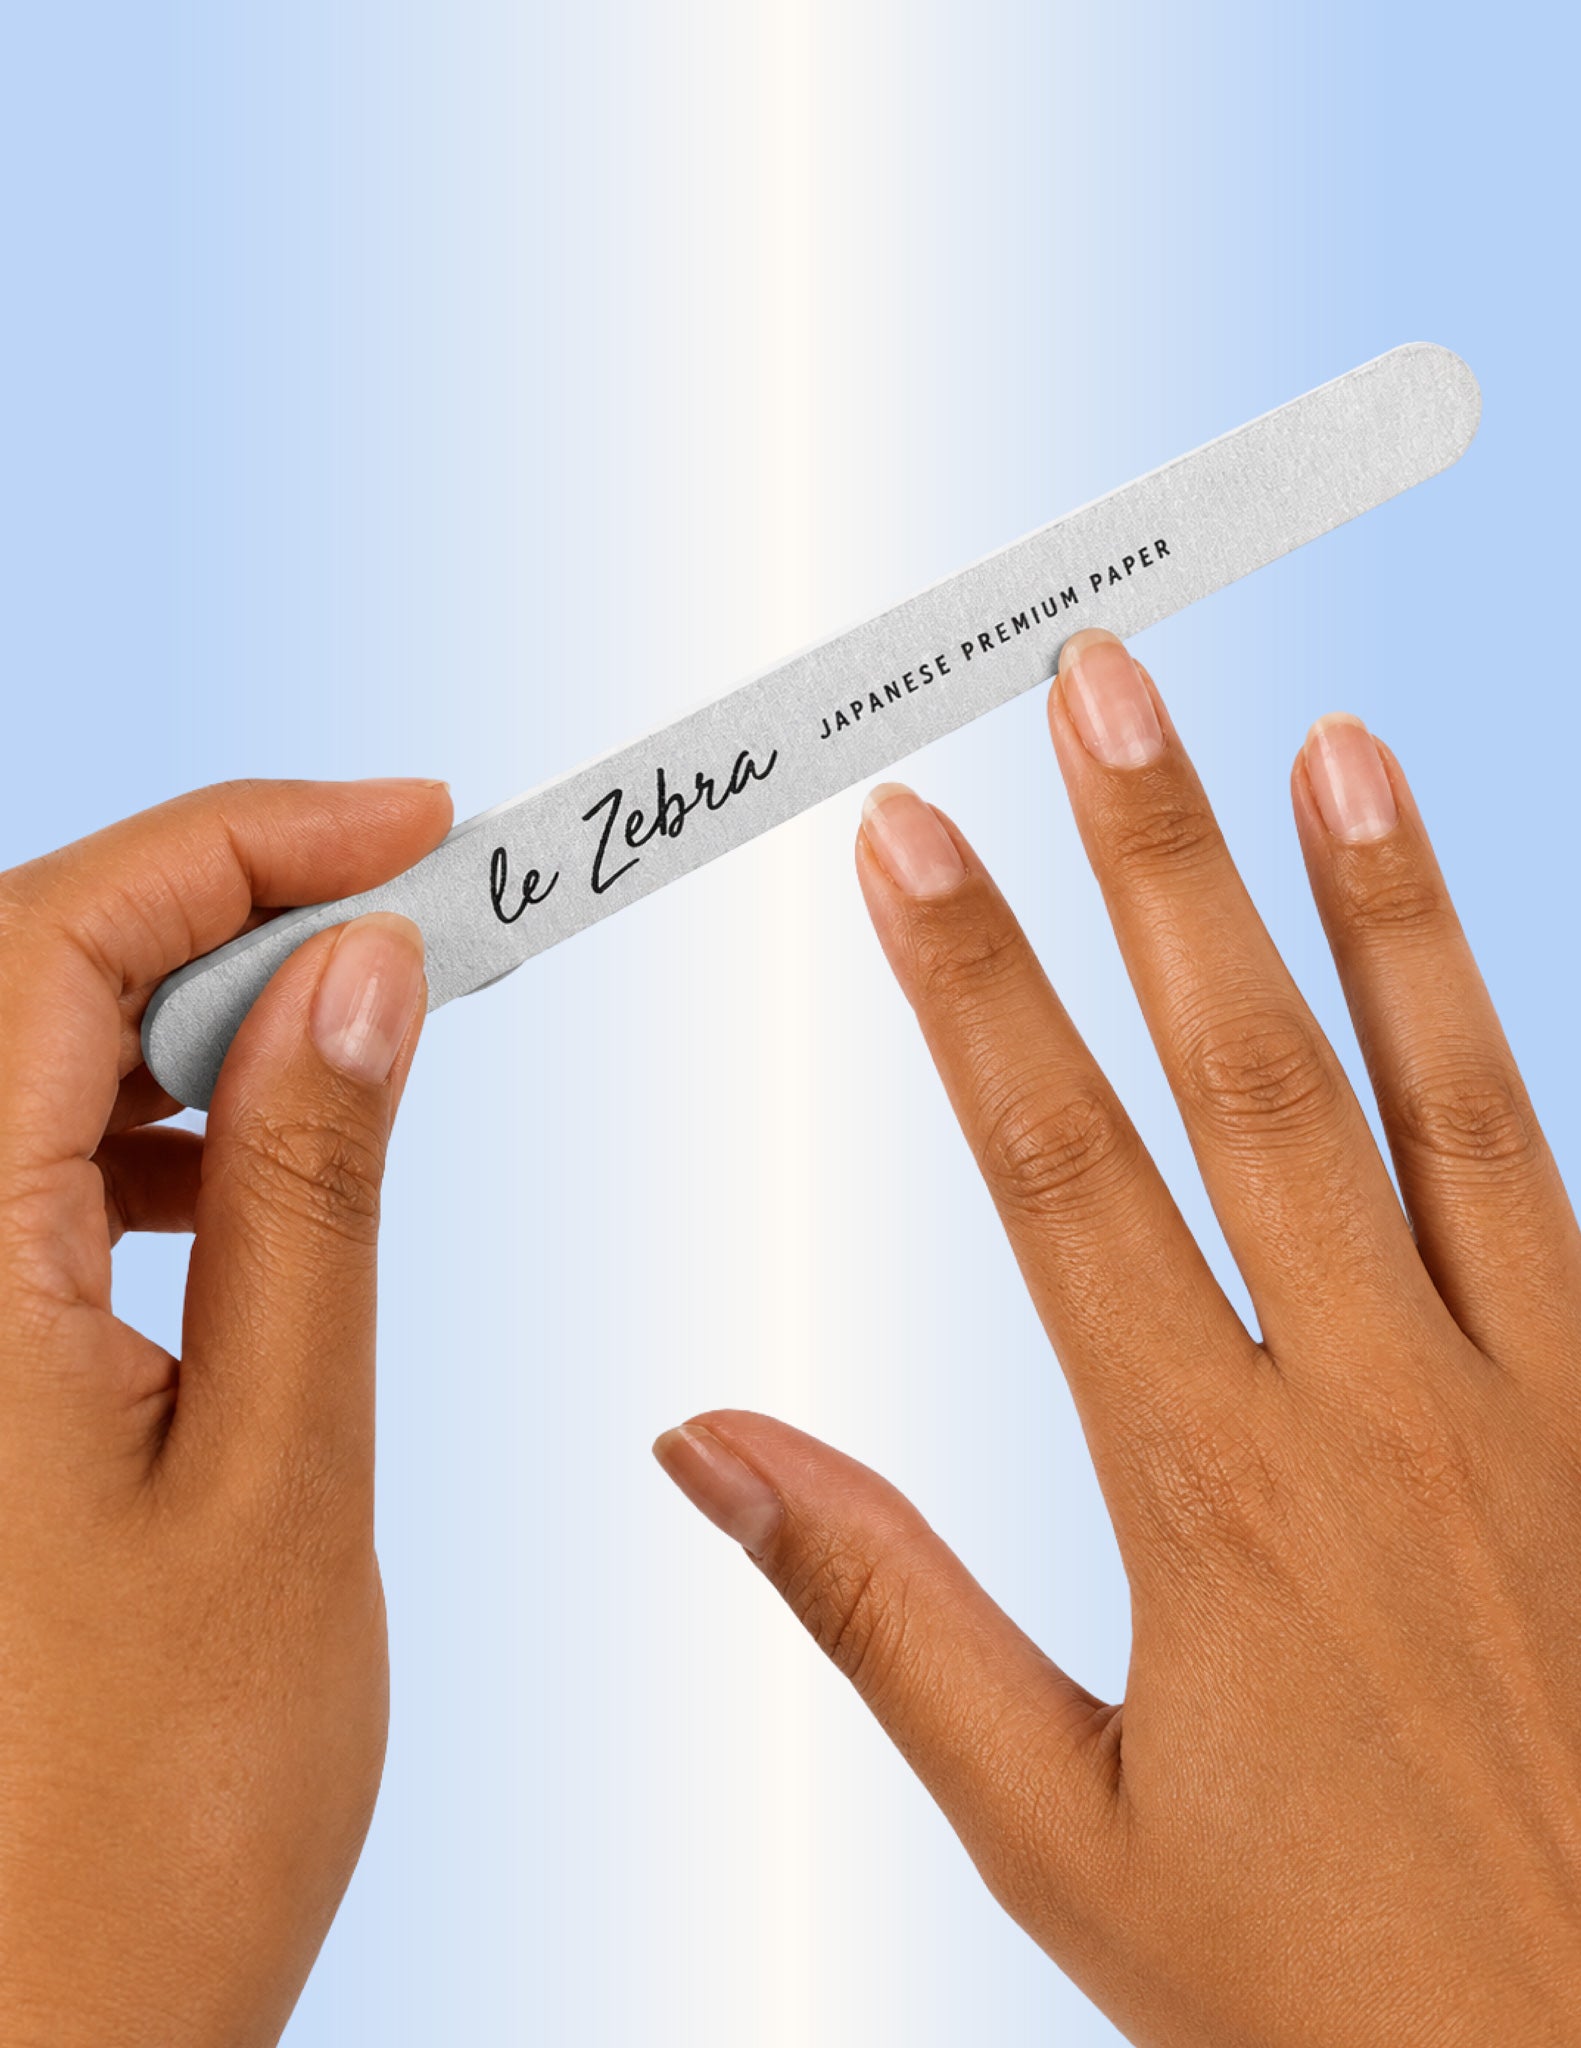
Lima "Le Zebra"
2.95 €
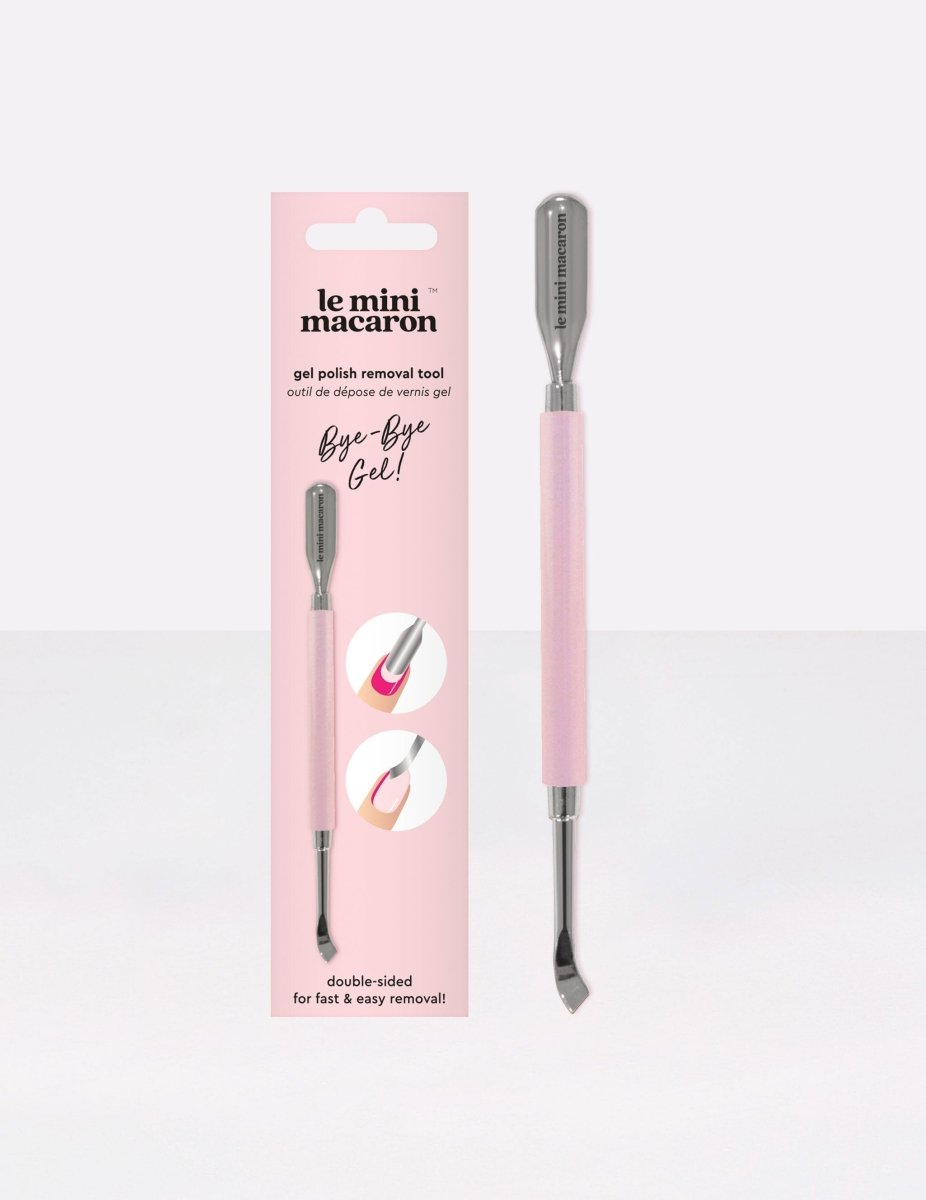
Tool Per la Rimozione dello smalto semipermanente
6 €

Clip per la rimozione dello smalto semipermanente
13 €
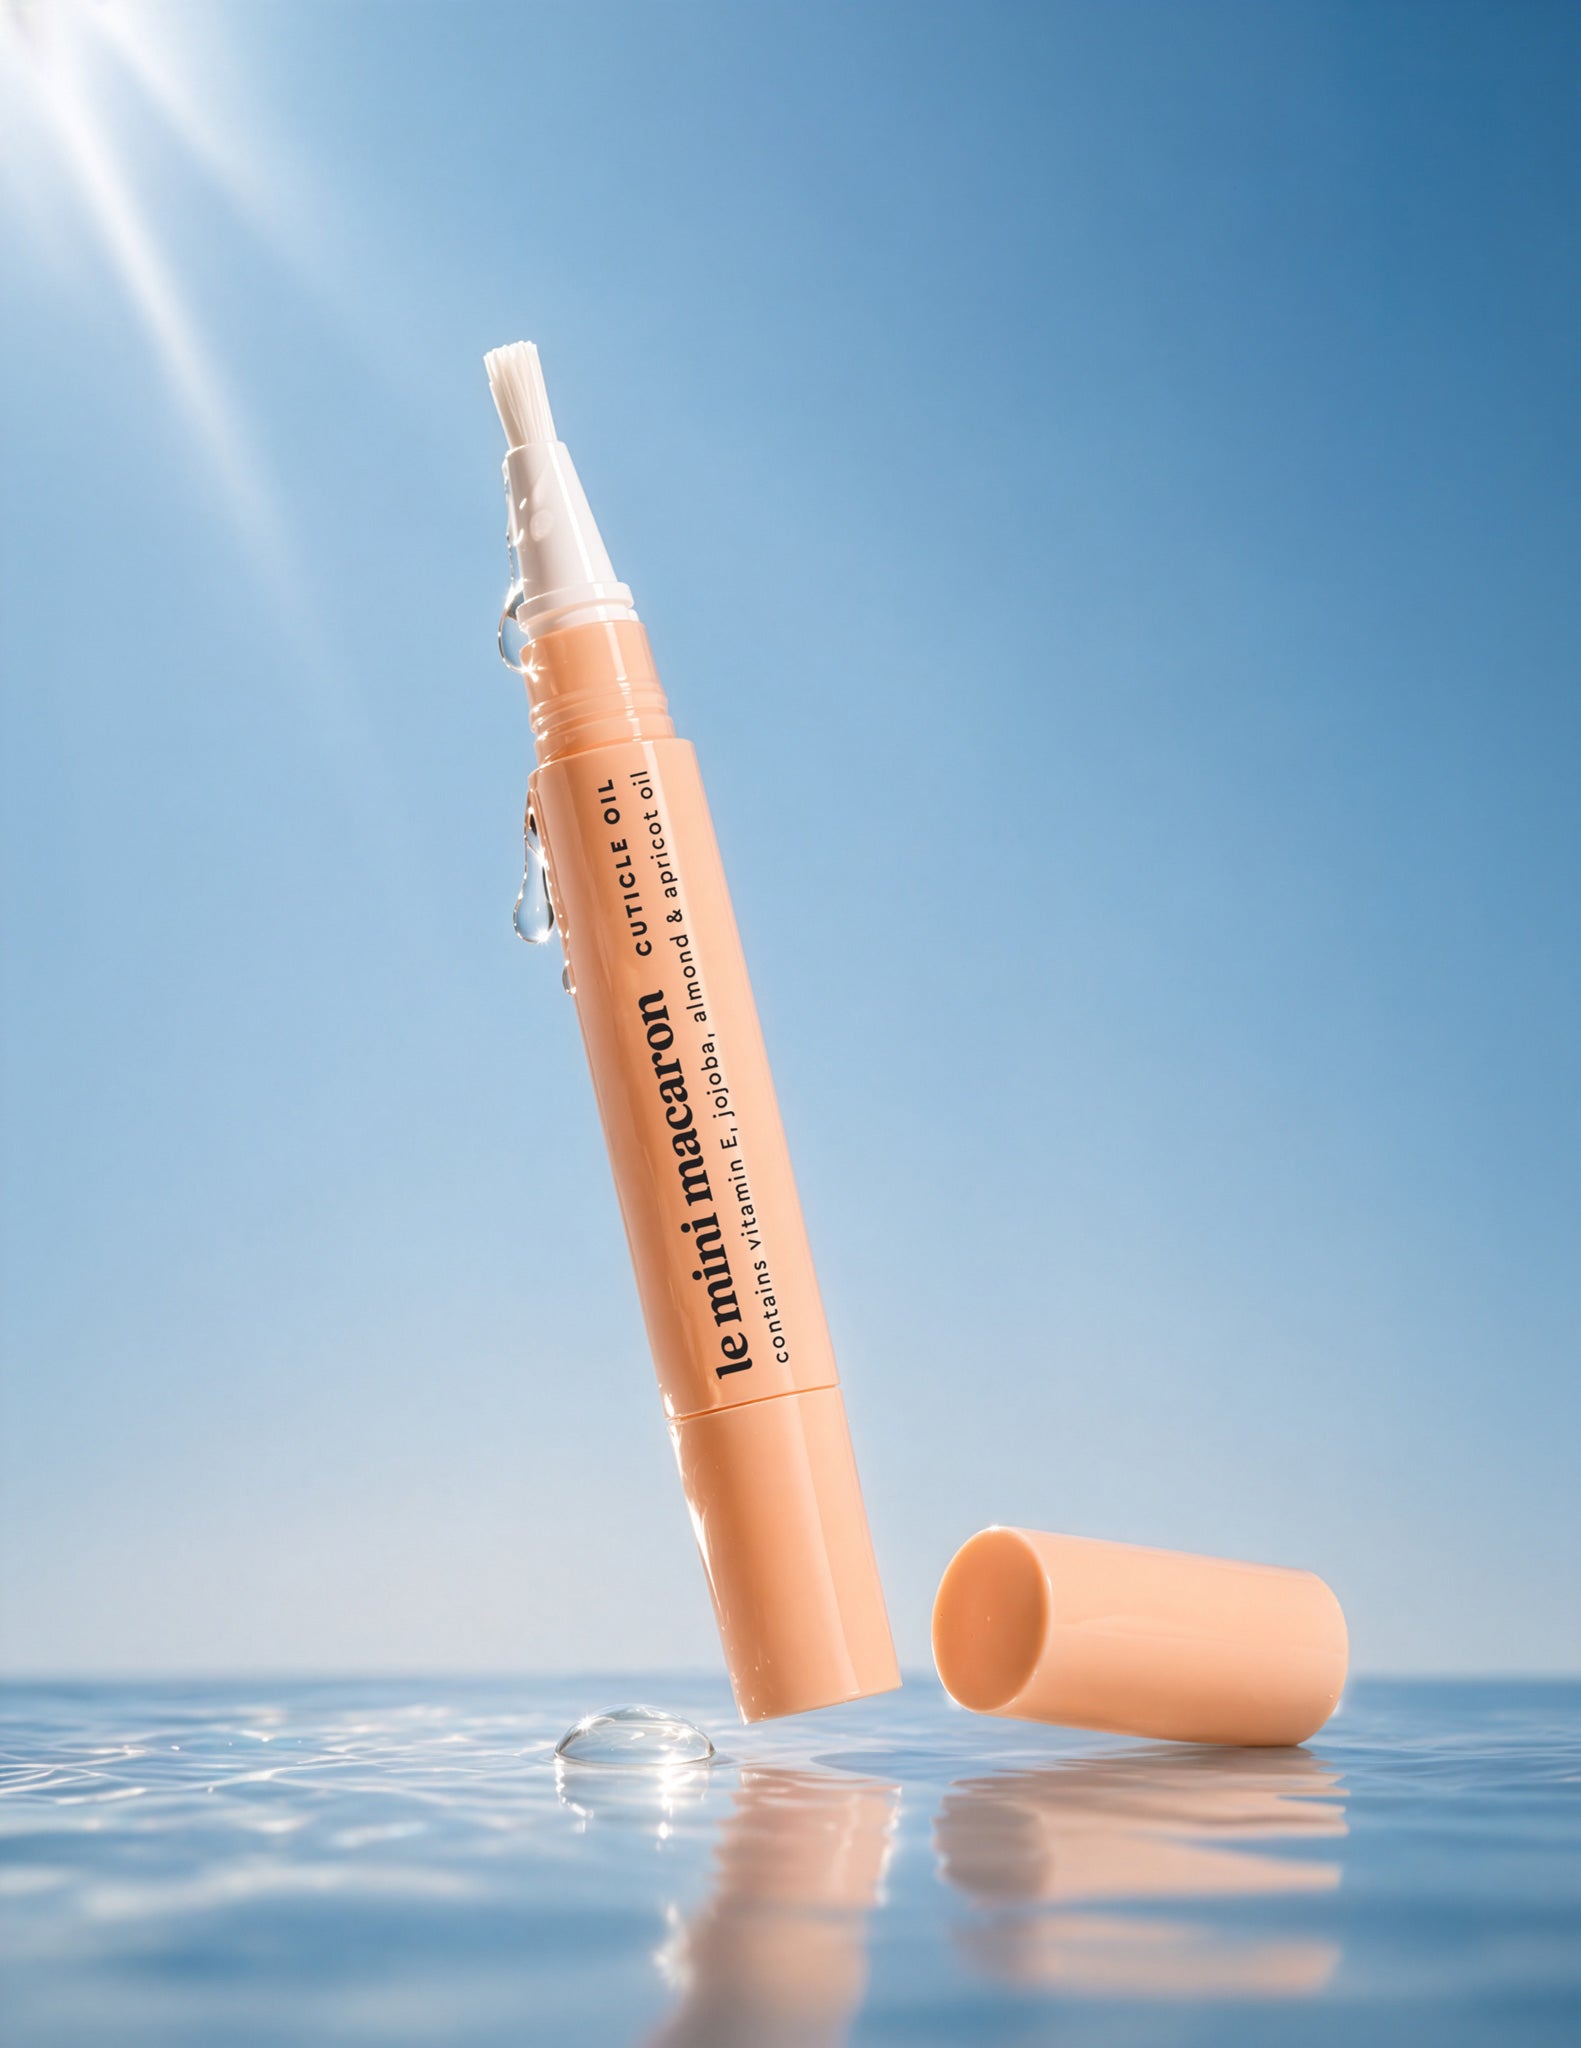
Cuticle Oil Pen - Olio di Jojoba
8 €
Why You’ll Love It
Why Not Level Up?


Scegli le opzioni
How to Remove
Follow these easy directions for perfect removal:
FILE THE TOP LAYER
- Use a 150/180 grit file – until nail looks completely matte.
APPLY REMOVAL WRAPS
- Insert finger into wrap – ensure cotton pad covers top of nail.
- Wrap tightly around finger
- Wait 15 minutes – then remove wrap.
- Polish should be shattered or bubbled – ready to be removed.
GENTLY REMOVE GEL
- Use a cuticle pusher or removal tool – gently scrape off the softened gel.
- Scrape in one direction – from cuticle to free edge of nail.
BUFF NAILS
Smooth out any remaining residue – use a buffer.
How to Remove
Follow these easy directions for perfect removal:
FILE THE TOP LAYER
- Use a 150/180 grit file – until nail looks completely matte.
APPLY REMOVAL WRAPS
- Insert finger into wrap – ensure cotton pad covers top of nail.
- Wrap tightly around finger
- Wait 15 minutes – then remove wrap.
- Polish should be shattered or bubbled – ready to be removed.
GENTLY REMOVE GEL
- Use a cuticle pusher or removal tool – gently scrape off the softened gel.
- Scrape in one direction – from cuticle to free edge of nail.
BUFF NAILS
Smooth out any remaining residue – use a buffer.
Frequently Asked Questions
Solo 15 minuti. Inserisci il dito nel wrap, assicurandoti che il dischetto di cotone copra bene l’unghia, avvolgilo con cura e attendi. Quando lo smalto inizia a sollevarsi, a creparsi o a formare delle bolle, è pronto per essere rimosso. Per una rimozione più precisa, utilizza il Tool Per la Rimozione dello smalto semipermanente per rimuovere delicatamente il gel ammorbidito in un’unica direzione, dalla cuticola verso il bordo libero.
Sì. Lima lo strato superiore del tuo smalto semipermanente con una lima 150/180 fino a quando l'unghia non appare completamente opaca. Questo rompe il sigillo protettivo e permette all'acetone di agire più velocemente ed efficacemente.
Assolutamente. I Clip per la rimozione dello smalto si agganciano sui wraps per creare una tenuta ermetica, che aiuta il gel ad ammorbidirsi più rapidamente e a staccarsi in modo più pulito. Sono un ottimo upgrade per la tua routine di rimozione, soprattutto se i wraps tendono a scivolare.