
The Ultimate Guide to Applying and Removing Le Gel Tips
Are you ready to achieve salon-worthy nails in the comfort of your own home? Le Mini Macaron´s new Le Gel Tips are a long-lasting solution for beautiful nails without the need for frequent salon visits. With over 600 nails in 12 different sizes, Le Gel Tips are flexible, natural, and super easy to remove. With a little know-how and a lot of patience, you´ll be able to apply and remove Le Gel Tips like a pro.
How To Apply Le Gel Tips At-Home Nail Extensions

Step 1: Select Your Le Gel Tips
Choose the appropriate size Le Gel Tips for each of your natural nails. Make sure it covers the entire nail without any overhang. If you are between sizes, opt for the bigger size, then file to shape your nail bed. Lay out the Le Gel Tips in the order you plan to apply them for easy access during the application process.
Pro tip: Remember to check each nail as nail sizes can vary between hands.
Step 2: Prep Your Nails
Prep your nails, sanitize nail tools, and remove any old gel polish. Trim and clean your nails. We recommend cutting your nails as short as possible for best results. Use a cuticle pusher to gently push back your cuticles. If necessary, trim excess cuticles with a cuticle trimmer. Our Cuticle Care Bundle has everything you need to get immaculate results. Lightly buff the surface of your nails to remove any shine and create a slightly rough texture for better adhesion.
Next, clean the dust and oils off your nails. Our Nail Cleanser Prep Pads will get you the clean nail base you need for a perfect application. After you’ve pushed back, polished, and filed, cleaned your nails, do not, we repeat DO NOT, touch ANYTHING (not your face, your hair, your phone, nothing!).
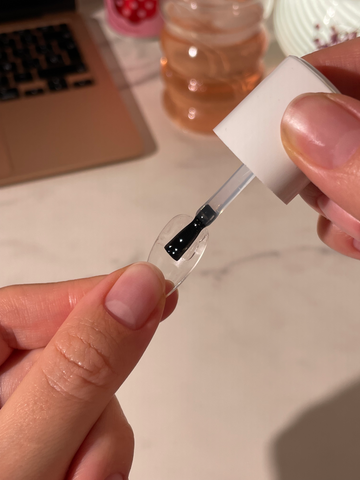
Step 3: Apply Le Gel Tips
Apply a generous amount of our nail glue on the underside matte area of Le Gel Tip. Place the nail tip on your natural nail at a 45-degree angle. Start from the cuticle and gently press the tip down against your nail until it is completely covering the natural nail. Immediately flash cure the nail after applying the tip for 5 to 10 seconds with the LED lamp.
Pro tip: Do this step slowly and ensure that there are no air bubbles trapped underneath. If you do get air bubbles, remove the tip and start the process over with a new nail tip.
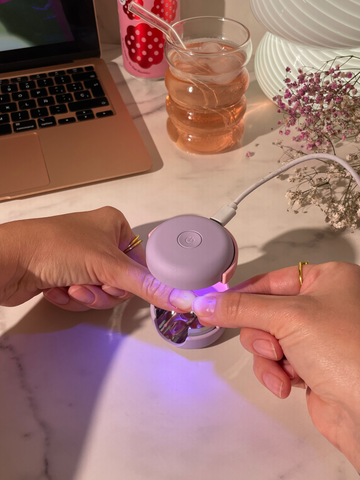
Step 4: Cure the Le Gel Tips
Once Le Gel Tips has been secured and flash cured onto your nail, cure for the full 30 seconds in the LED lamp.
Repeat this process for each nail, working one nail at a time to ensure precision and accuracy.
Pro tip: You may experience a light, burning sensation when curing. That is normal. Flash-curing the nail about 3-4 inches from the LED light will help.
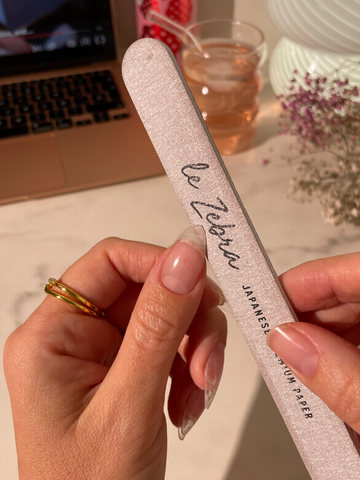
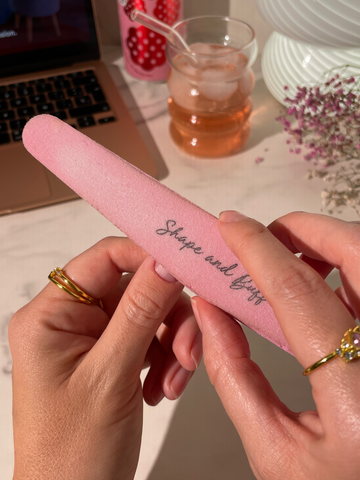
Step 5: Shape and File
After applying and curing each nail, use a nail clipper and file to trim and shape the Le Gel Tips tips to your desired length and shape. Use a coarser file like Le Zebra and take your time to achieve the perfect shape and smooth out any rough edges for a flawless finish.
Pro tip: We recommend filing and shaping the nail after application as it is easier to apply the nail when it is longer.
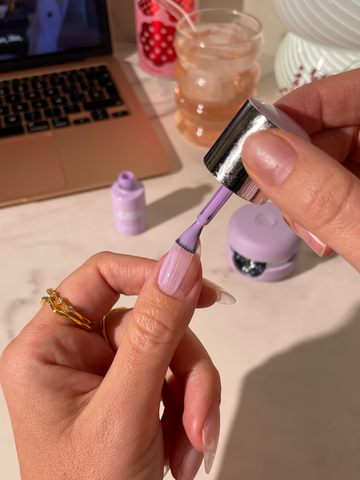
Step 6: Paint
Lightly buff the surface of the nails to remove all the shine. Wipe your nails clean with a prep pad to remove excess dust and oils. Paint your nails with your favorite Le Mini Macaron shade and cure as directed.
Pro tip: Le Gel Tips nail extensions can last up to four weeks.
Removing Le Gel Tips
Step 1: Gather Your Supplies
For an easy at-removal of your Le Gel Tips, make sure you have the following tools:
- Acetone
- Aluminum foil or Remover Wraps
- Cotton balls or pads
- Le Zebra nail file
- Cuticle oil
Step 2: Prep Your Nails
Use nail clippers or manicure scissors to trim down the tips of the gel nail extensions. Use a coarse nail file like Le Zebra to break the seal of the polish on the surface of Le Gel Tips. This will allow the acetone to penetrate more effectively. Use the file to buff away as much of the gel polish as possible.
Step 3: Soak Your Nails
Soak a cotton ball or pad in acetone and place it directly on top of each Le Gel Tip. Wrap each fingertip with aluminum foil to hold the cotton ball or pad in place and create a barrier to lock the acetone. Or you can use our Remover Pads which are pre-soaked with acetone for easy removal. Try our Remover Clips for an air-tight seal. Allow your nails to soak in the acetone for 10-15 minutes to soften the nail glue.
Step 4: Remove Le Gel Tips
After soaking, gently press down on the foil-wrapped cotton ball or pad and twist to loosen and remove the nail tip. Use a cuticle stick or our Gel Polish Remover Tool to gently lift off any remaining residue from your natural nails. Be patient and avoid forcing or prying the Le Gel Tips off, as this can damage your natural nails.
Step 5: Post-Removal Care
Once all nails are removed, wash your hands thoroughly with soap and water to remove any remaining acetone residue. Apply cuticle oil to nourish and hydrate your nails and cuticles.
We recommend taking a two-week break between applications and allowing your natural nails to breathe and recover.
TLDR? Watch this video instead for easy Le Gel Tip nail extension application instructions.


