
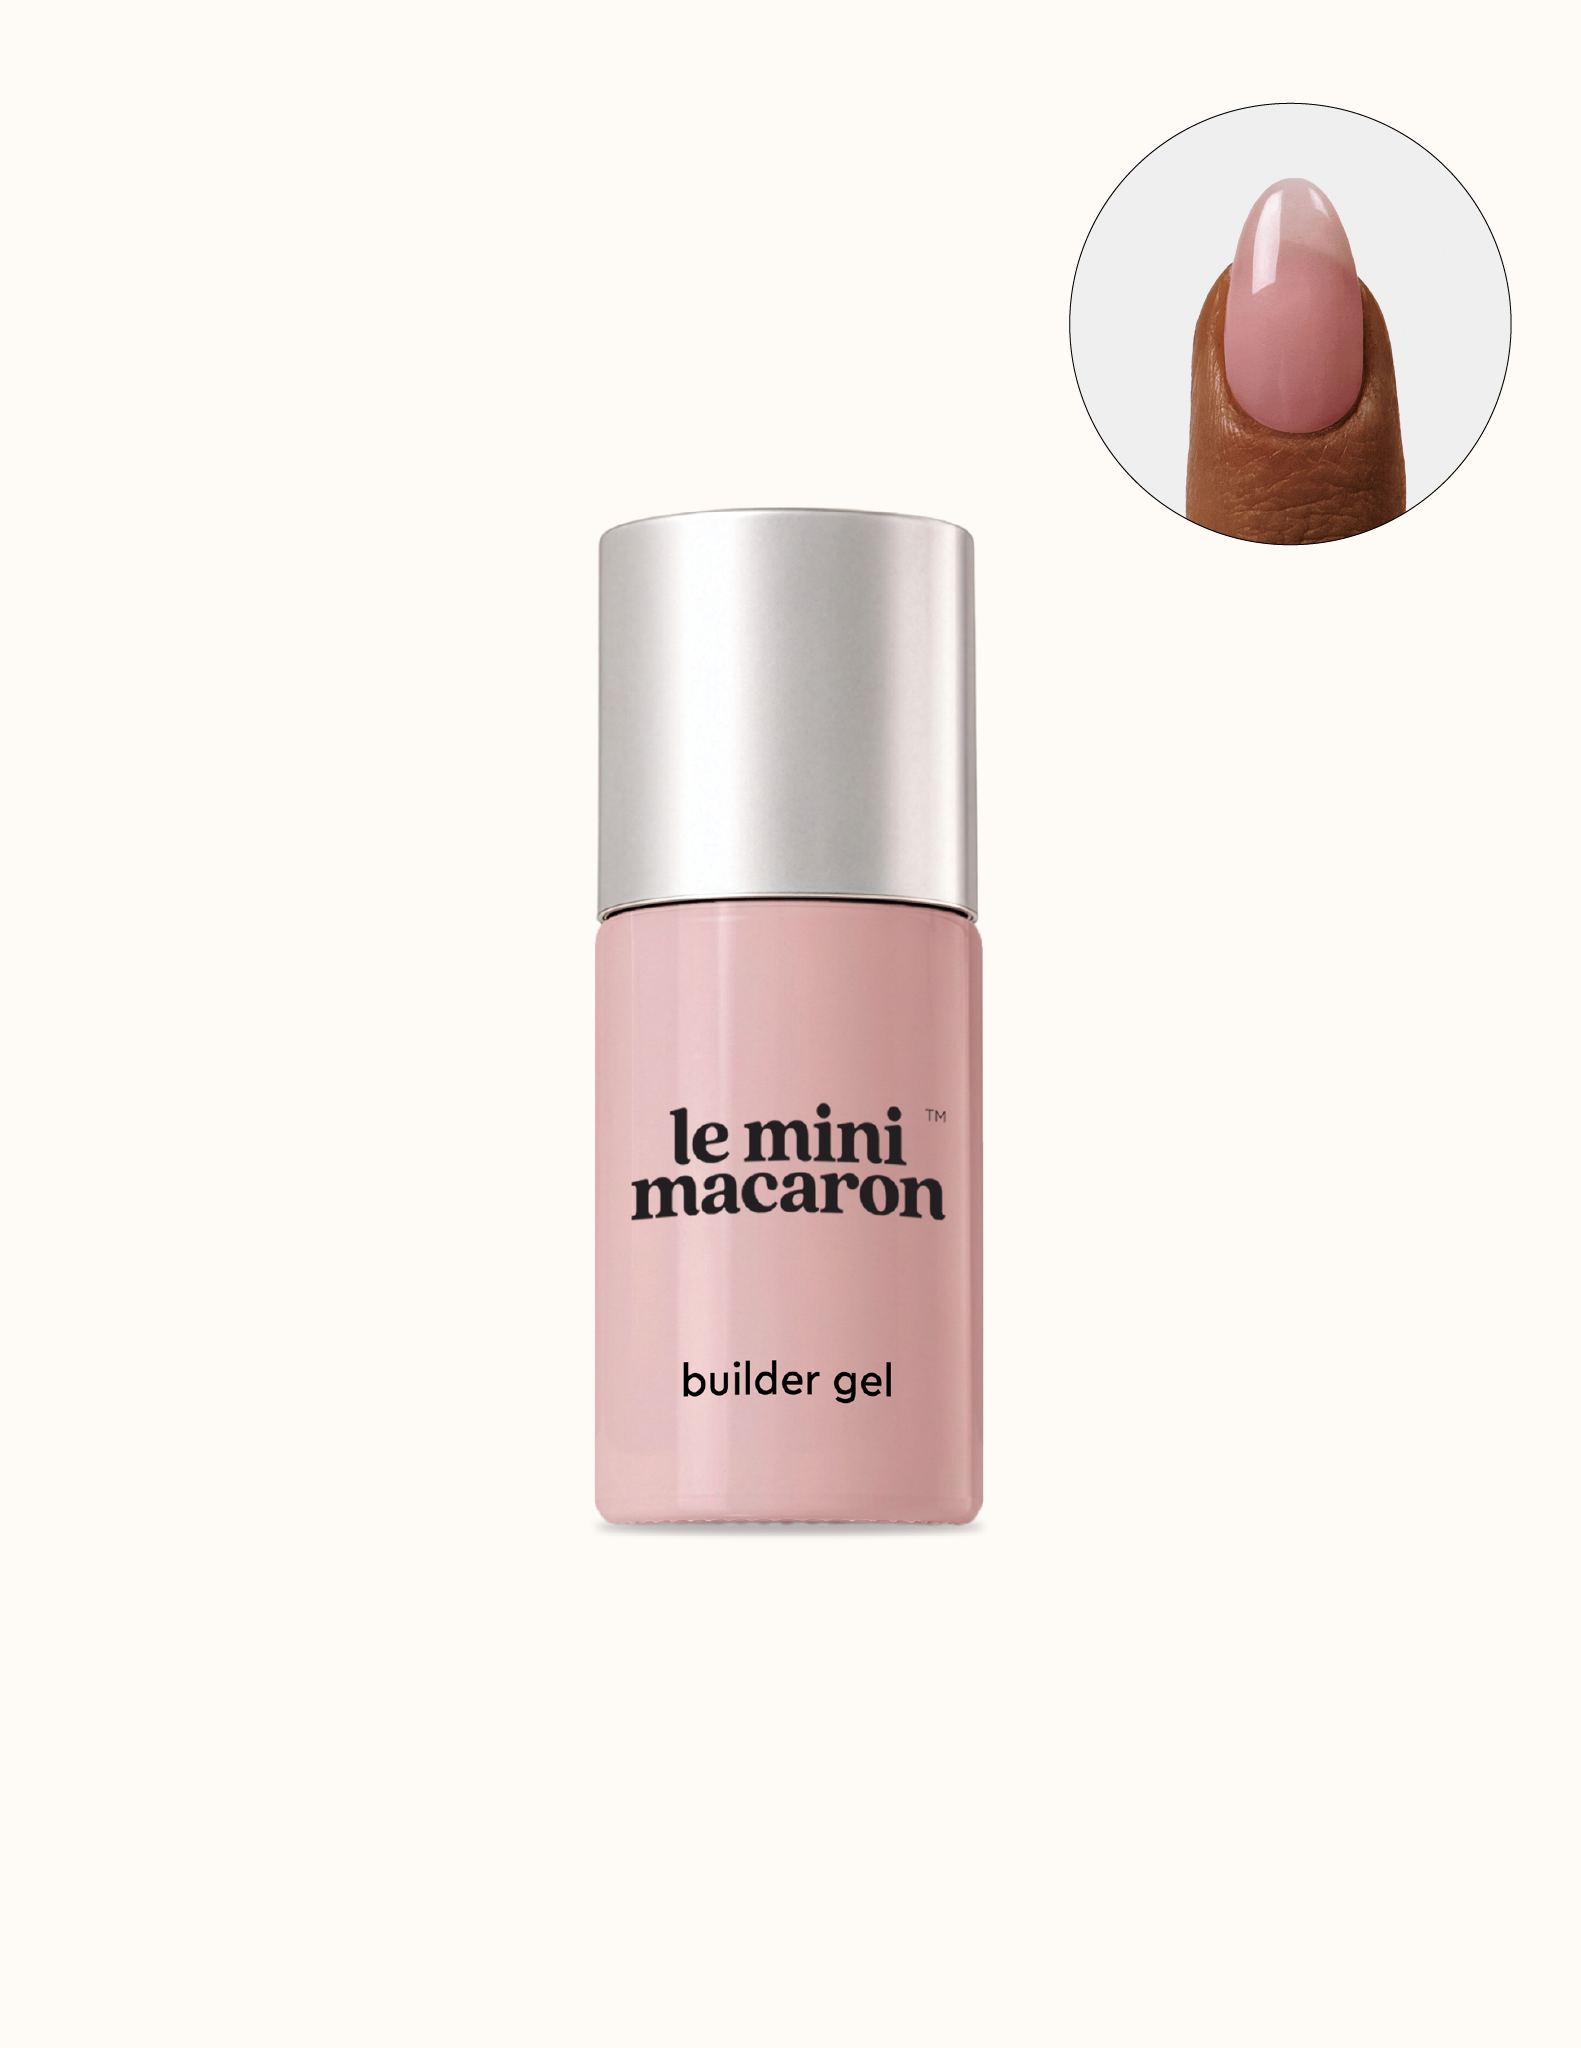
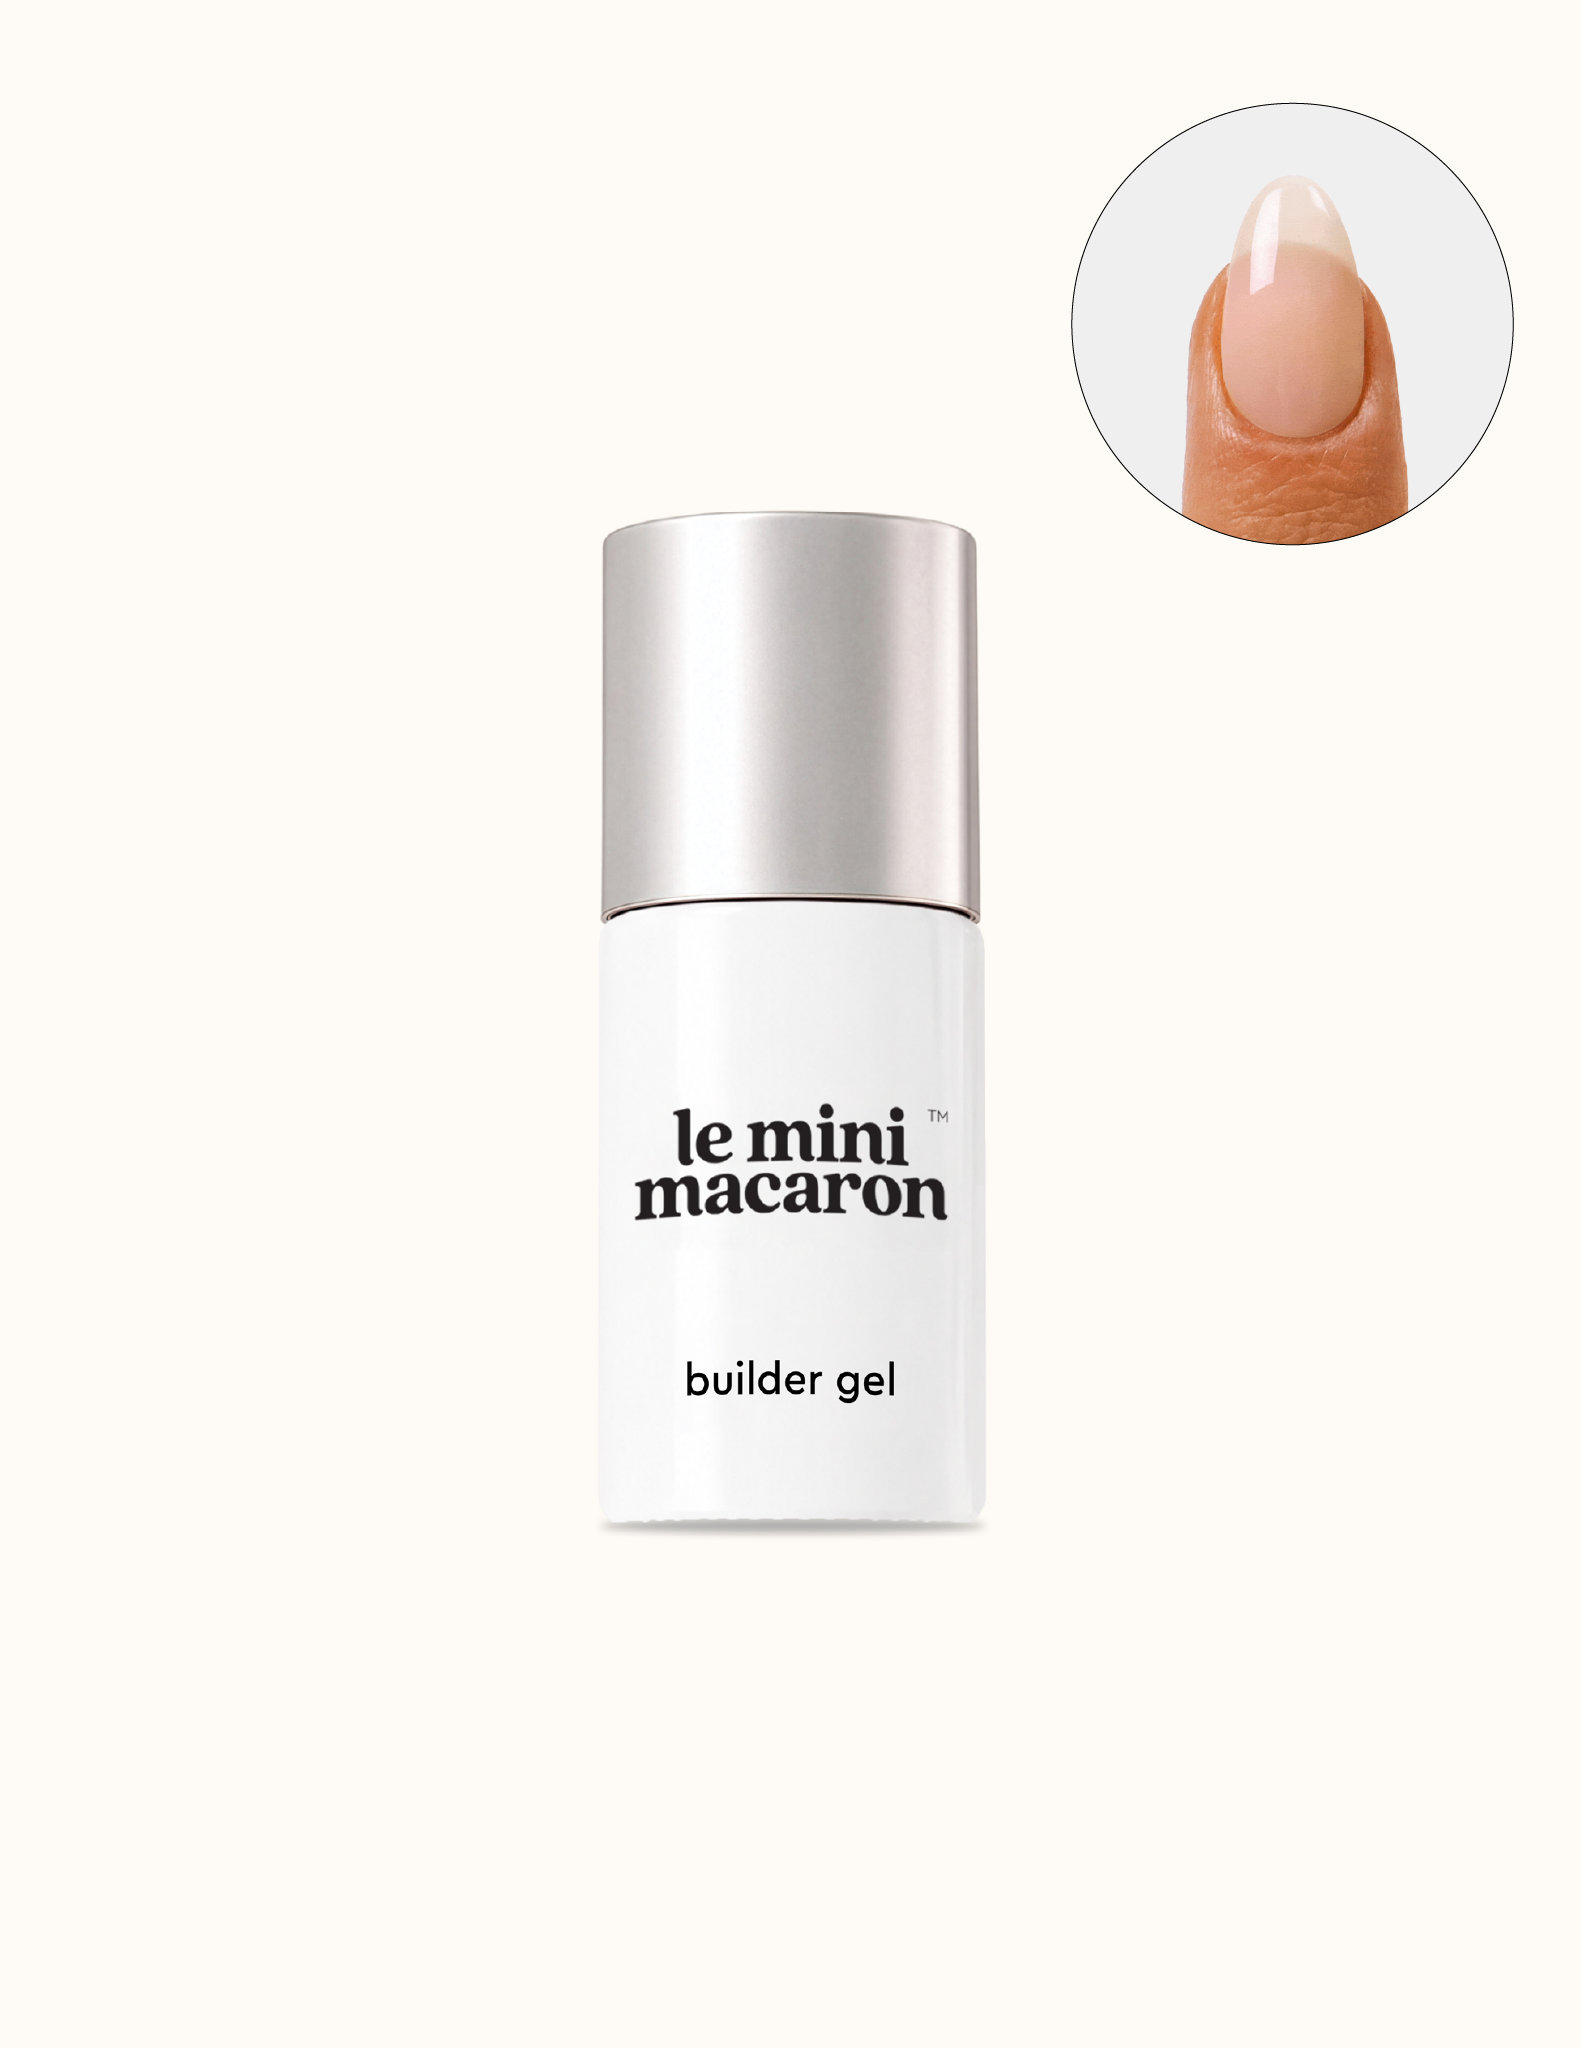
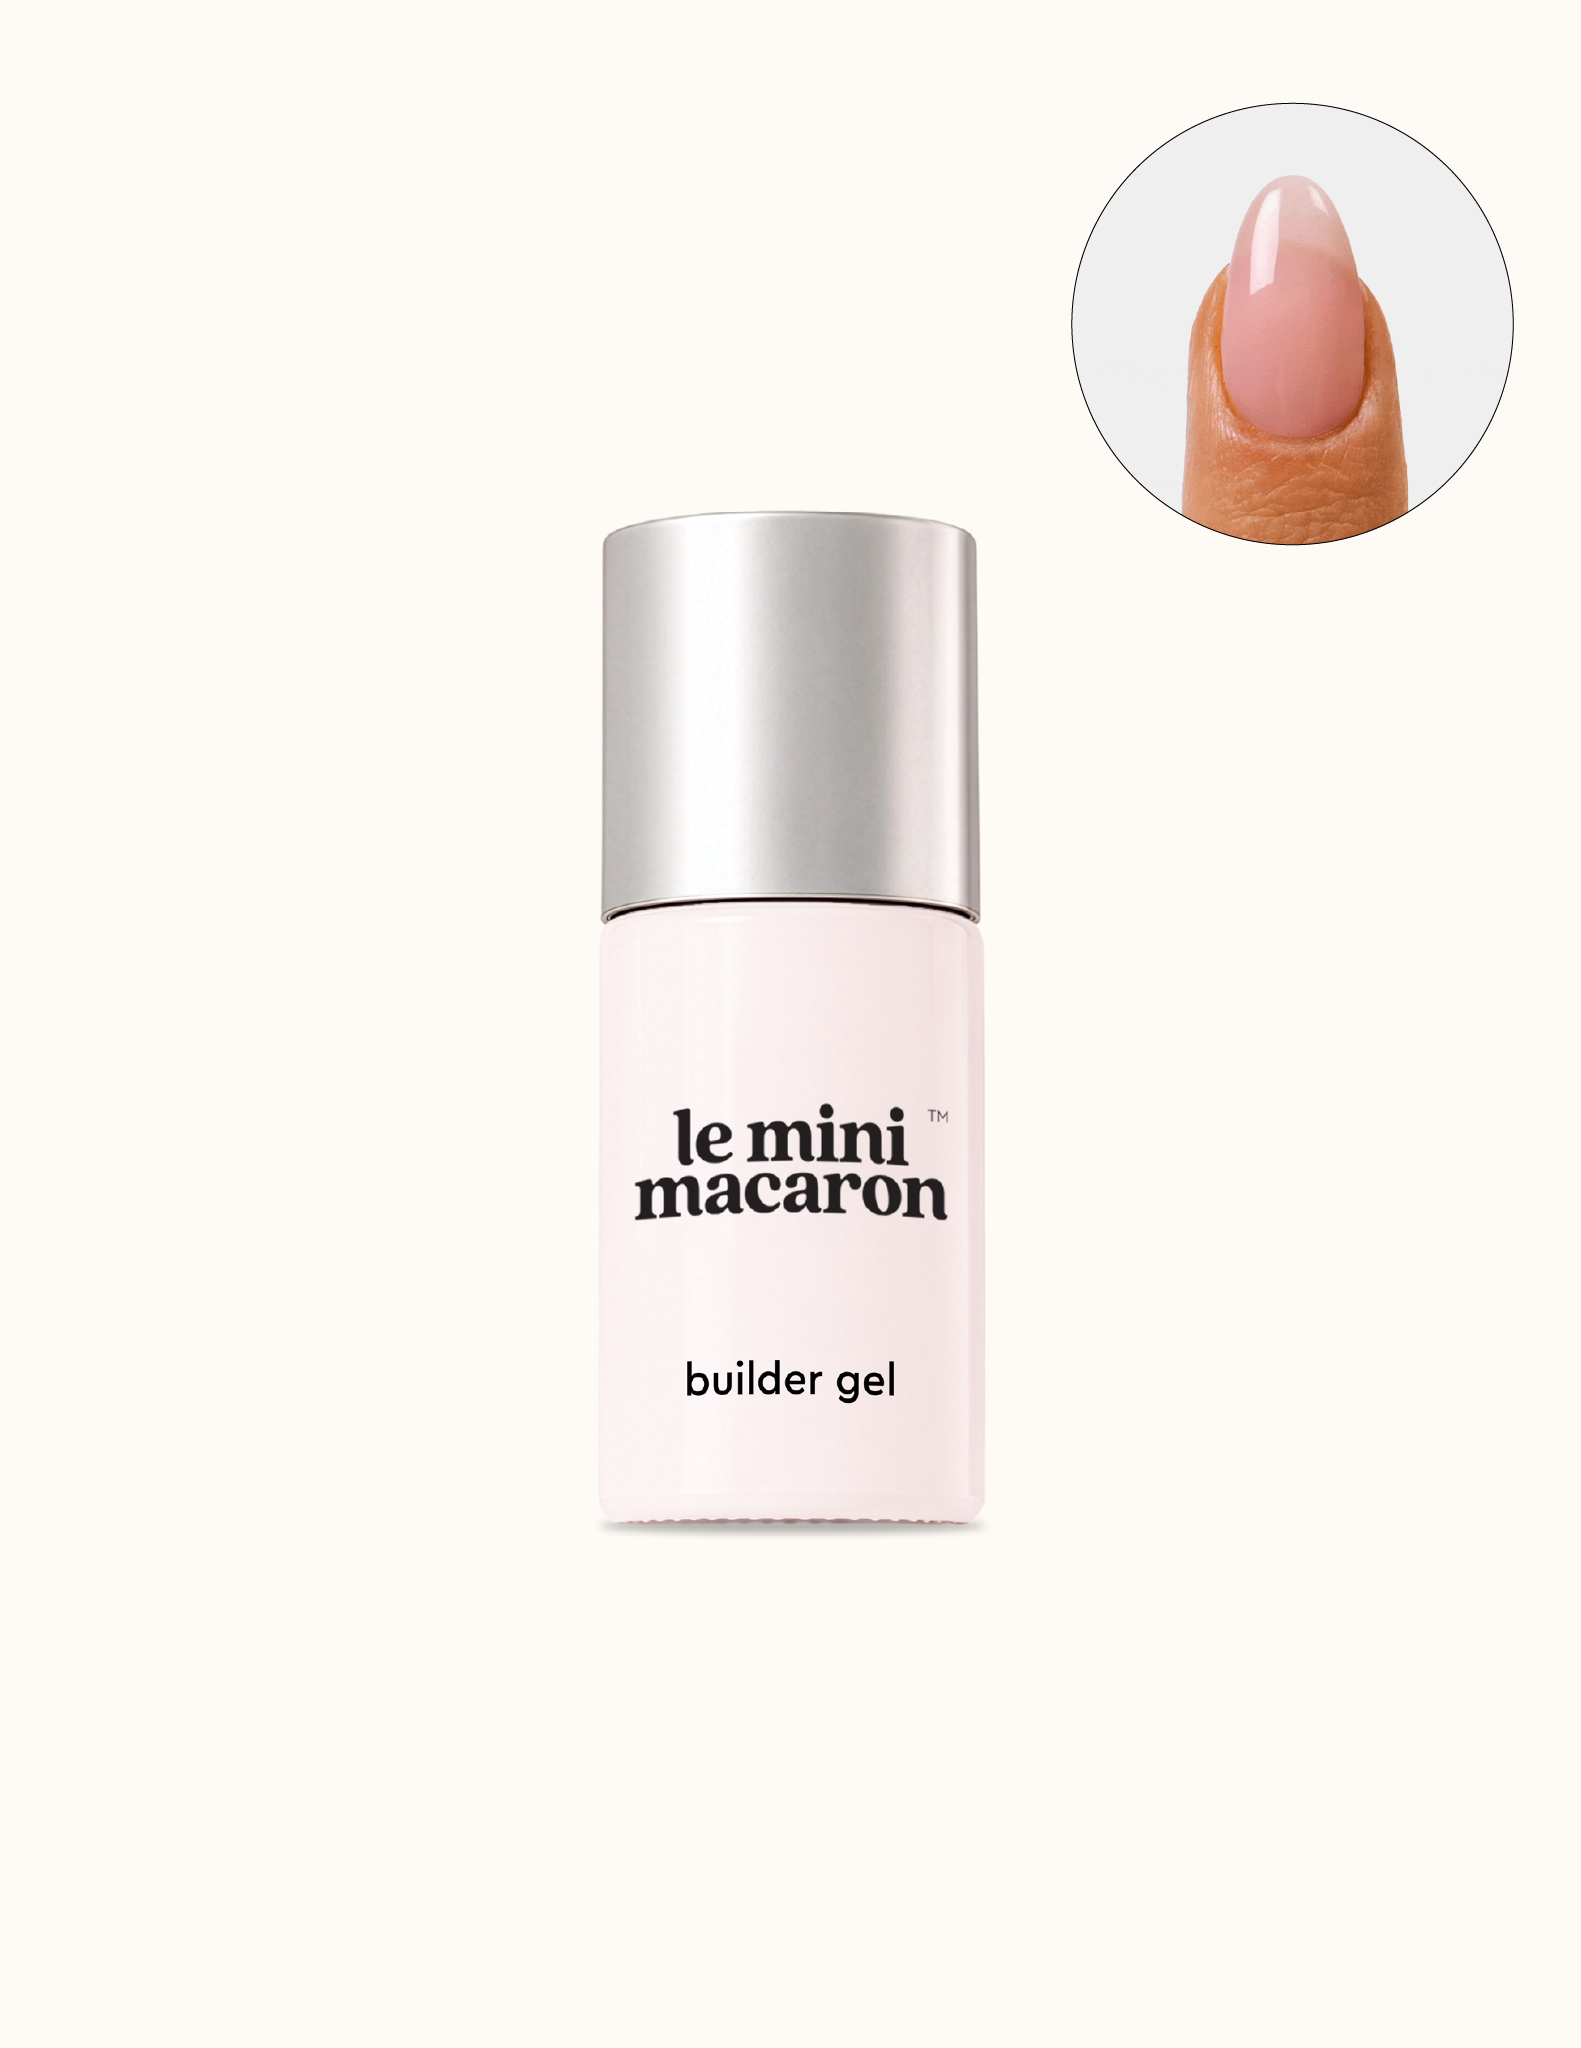
Builder Gel 101 💅 Step-by-Step Guide
APPLY TO PROTECT
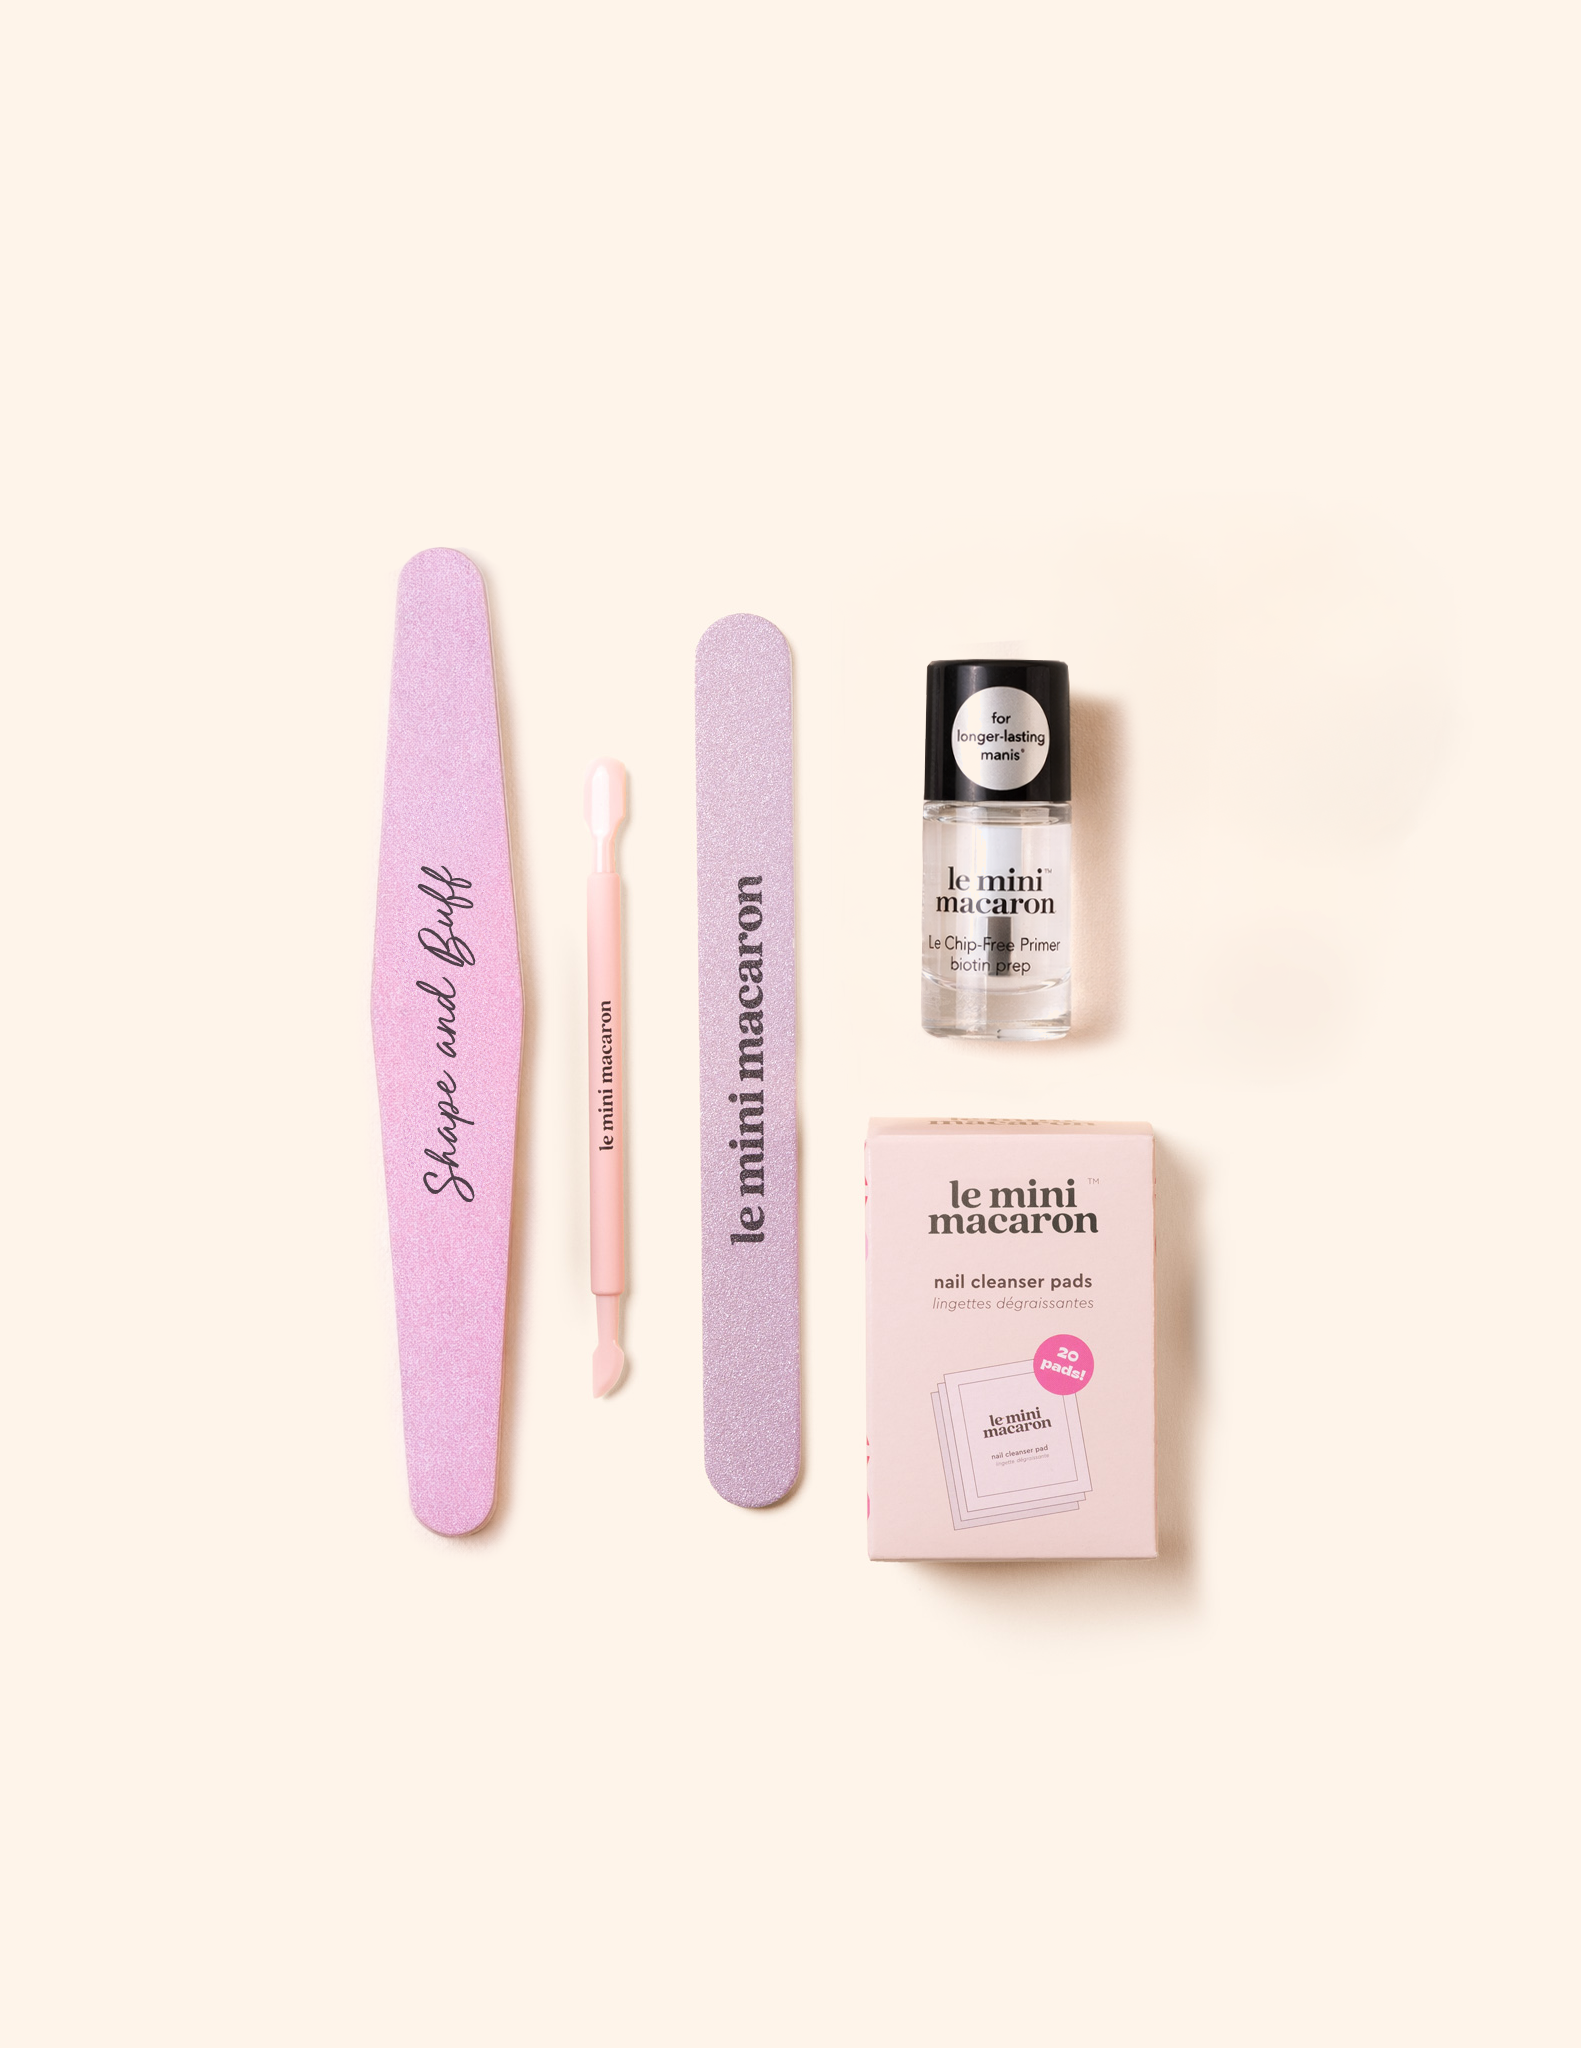
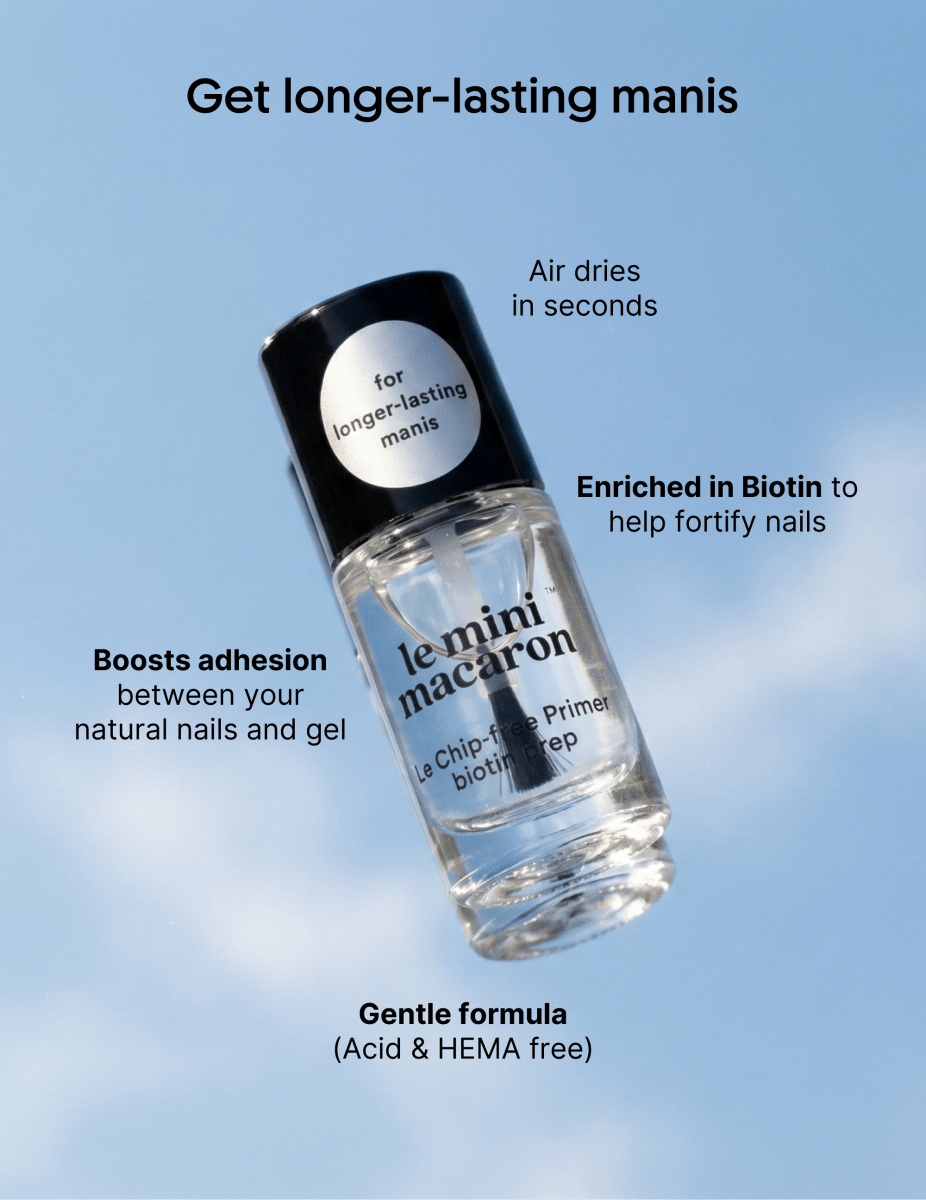
1. Remember prep
File, buff, clean & dust your nails.

2. Apply first coat
Start in middle, until free edges. Repeat & cover whole nail.

3. Cap your nails
Brush a small amount over free edge of nails, to seal.

4. Clean gel from skin
If you spilled any, remove, as it hardens in place.

5. Cure in lamp
- 30 sec: Mini lamp.
- 60 sec: Demi, Maxi, Pro lamp.

6. Apply 2nd layer
Also a regular amount, and cap free edge.

7. Clean & cure
Clean excess gel from skin and cure another 30-60 secs.

8. Wipe off sticky layer
For a natural look and a neat finish, do this after curing & apply top coat.

9. Want to add color?
Don’t wipe after curing. Apply directly over builder gel & follow gel application steps.
APPLY TO REPAIR
1. Remember prep
File, buff, clean & dust your nails.
2. Apply first coat
Start in middle, until free edges. Repeat & cover whole nail.
3. Cap your nails
Brush a small amount over free edge of nails, to seal.
4. Clean gel from skin
If you spilled any, remove, as it hardens in place.
5. Cure in lamp
- 30 sec: Mini lamp.
- 60 sec: Demi, Maxi, Pro lamp.

6. Apply 2nd layer, focus on lunula
Also a regular amount, and cap free edge.

7. Flip hand upside down
For 5-10 seconds, to get a balanced & even application. Flip hand back. Let the gel self-level for 2 secs.

8. Flash cure
Do this for 10 secs. Then fully for 60 secs.

9. Refine gel if needed
File or smooth nail with buffer.

10. Clean nails
Dust off with brush and cleanser pads.
11. Wipe off sticky layer
For a natural look and a neat finish, do this after curing & apply top coat.
12. Want to add color?
Don’t wipe after curing. Apply directly over builder gel & follow gel application steps.