

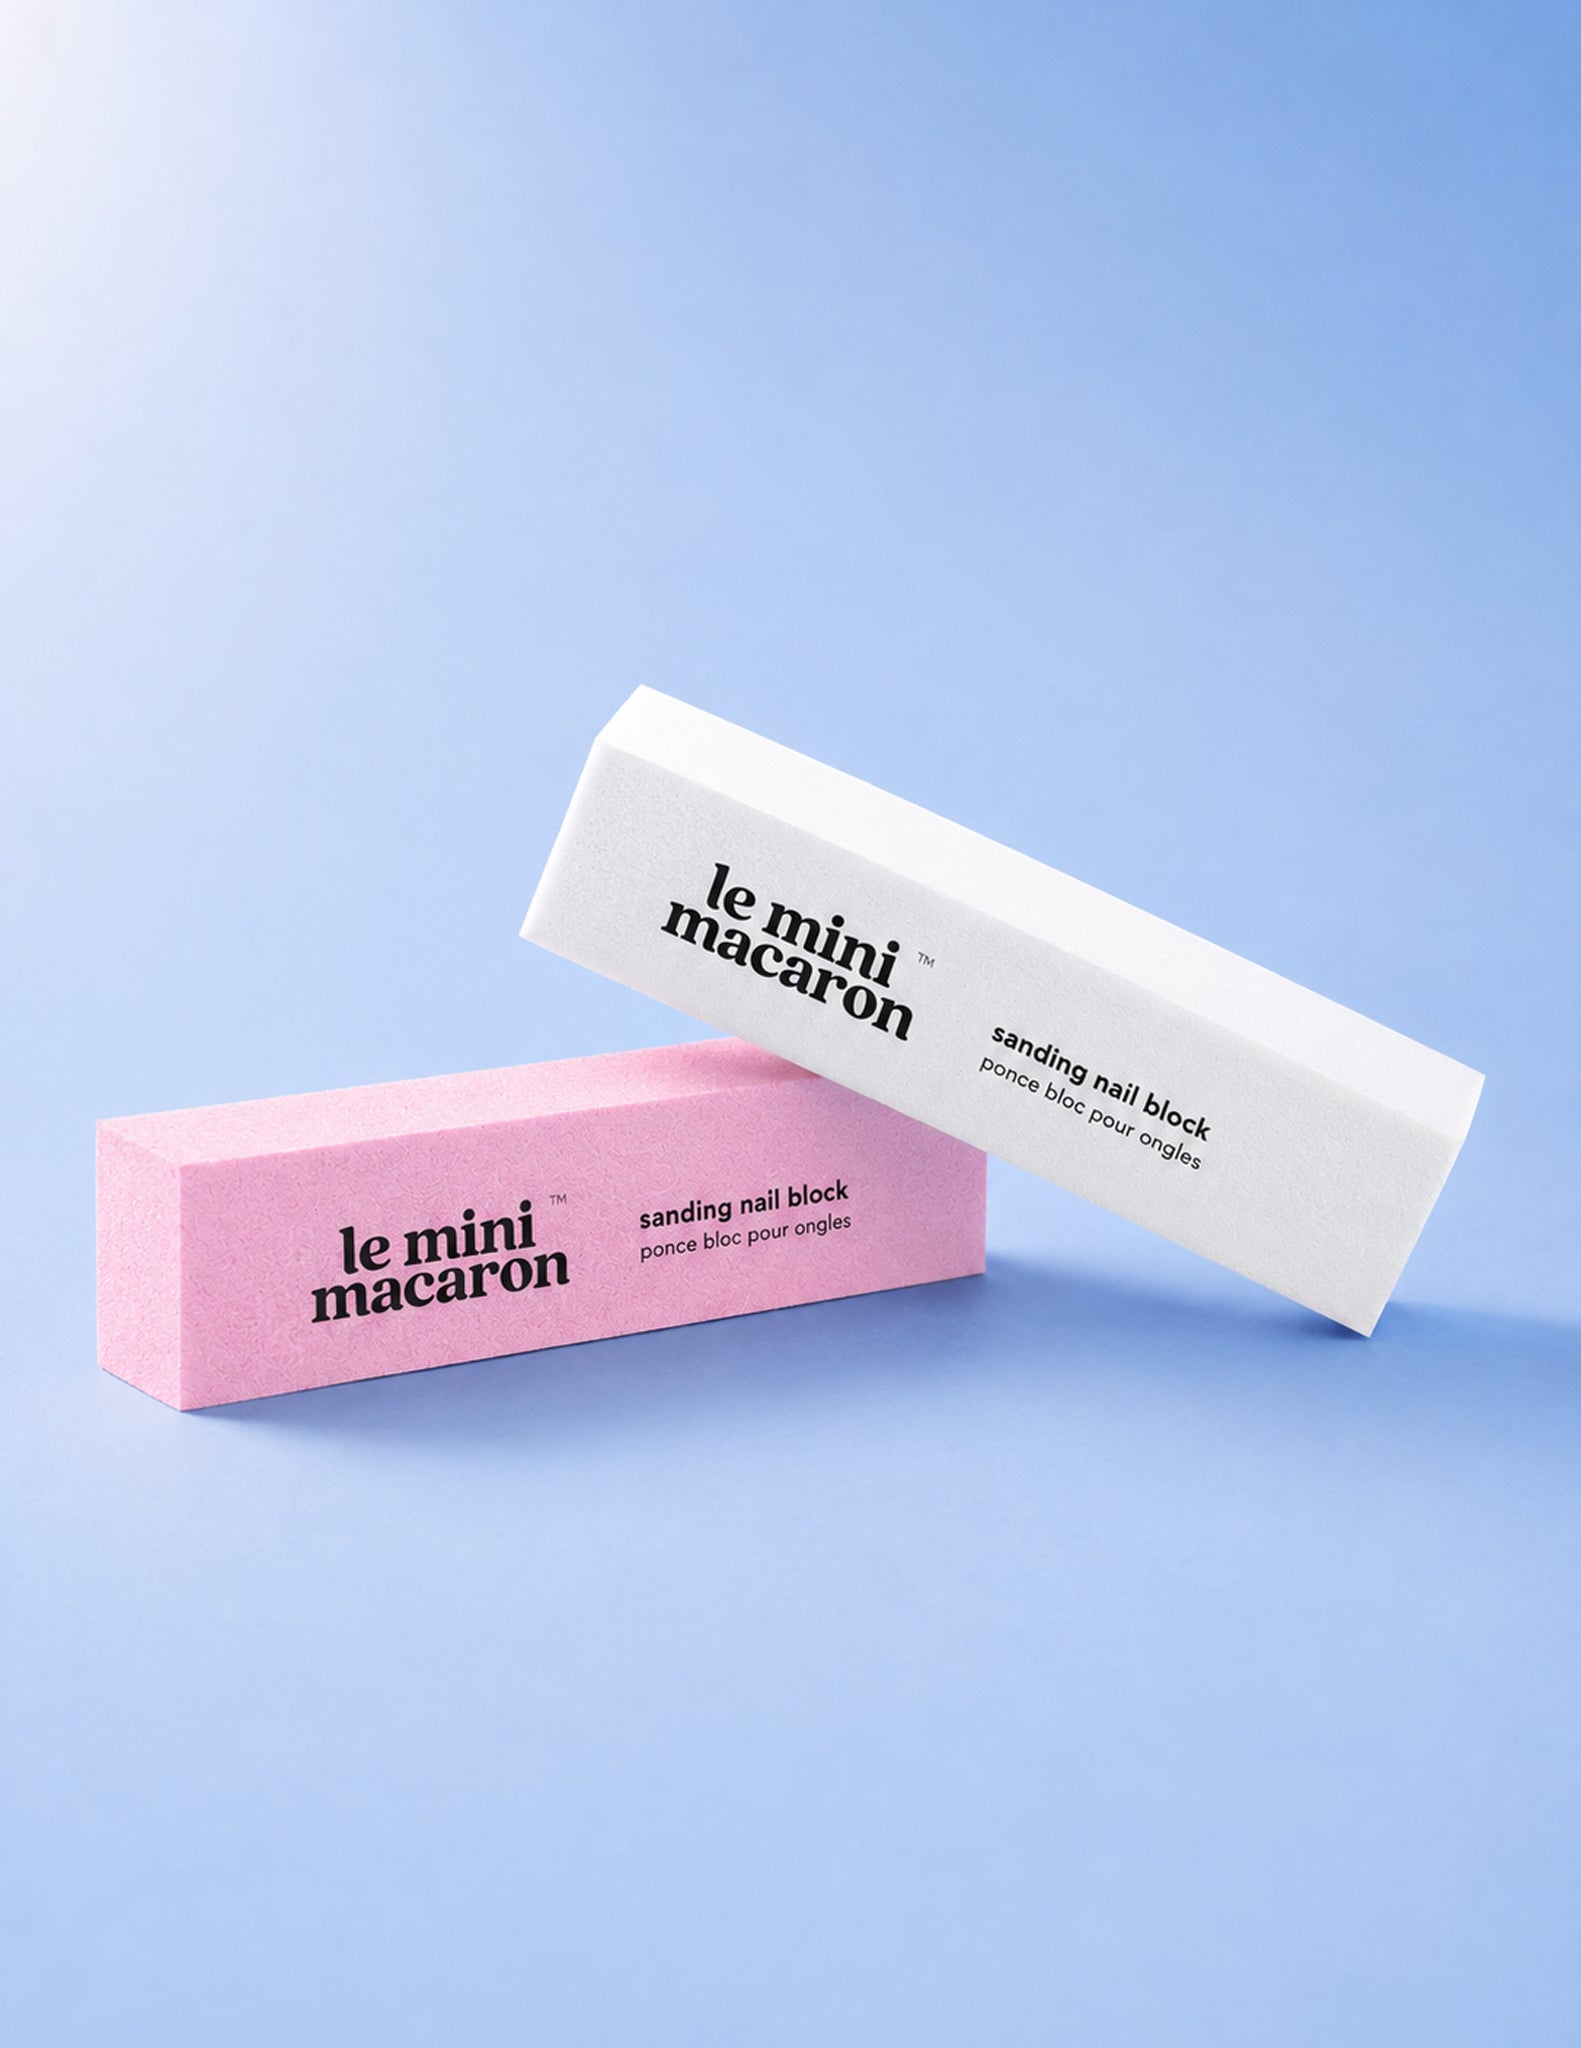
Sanding Block

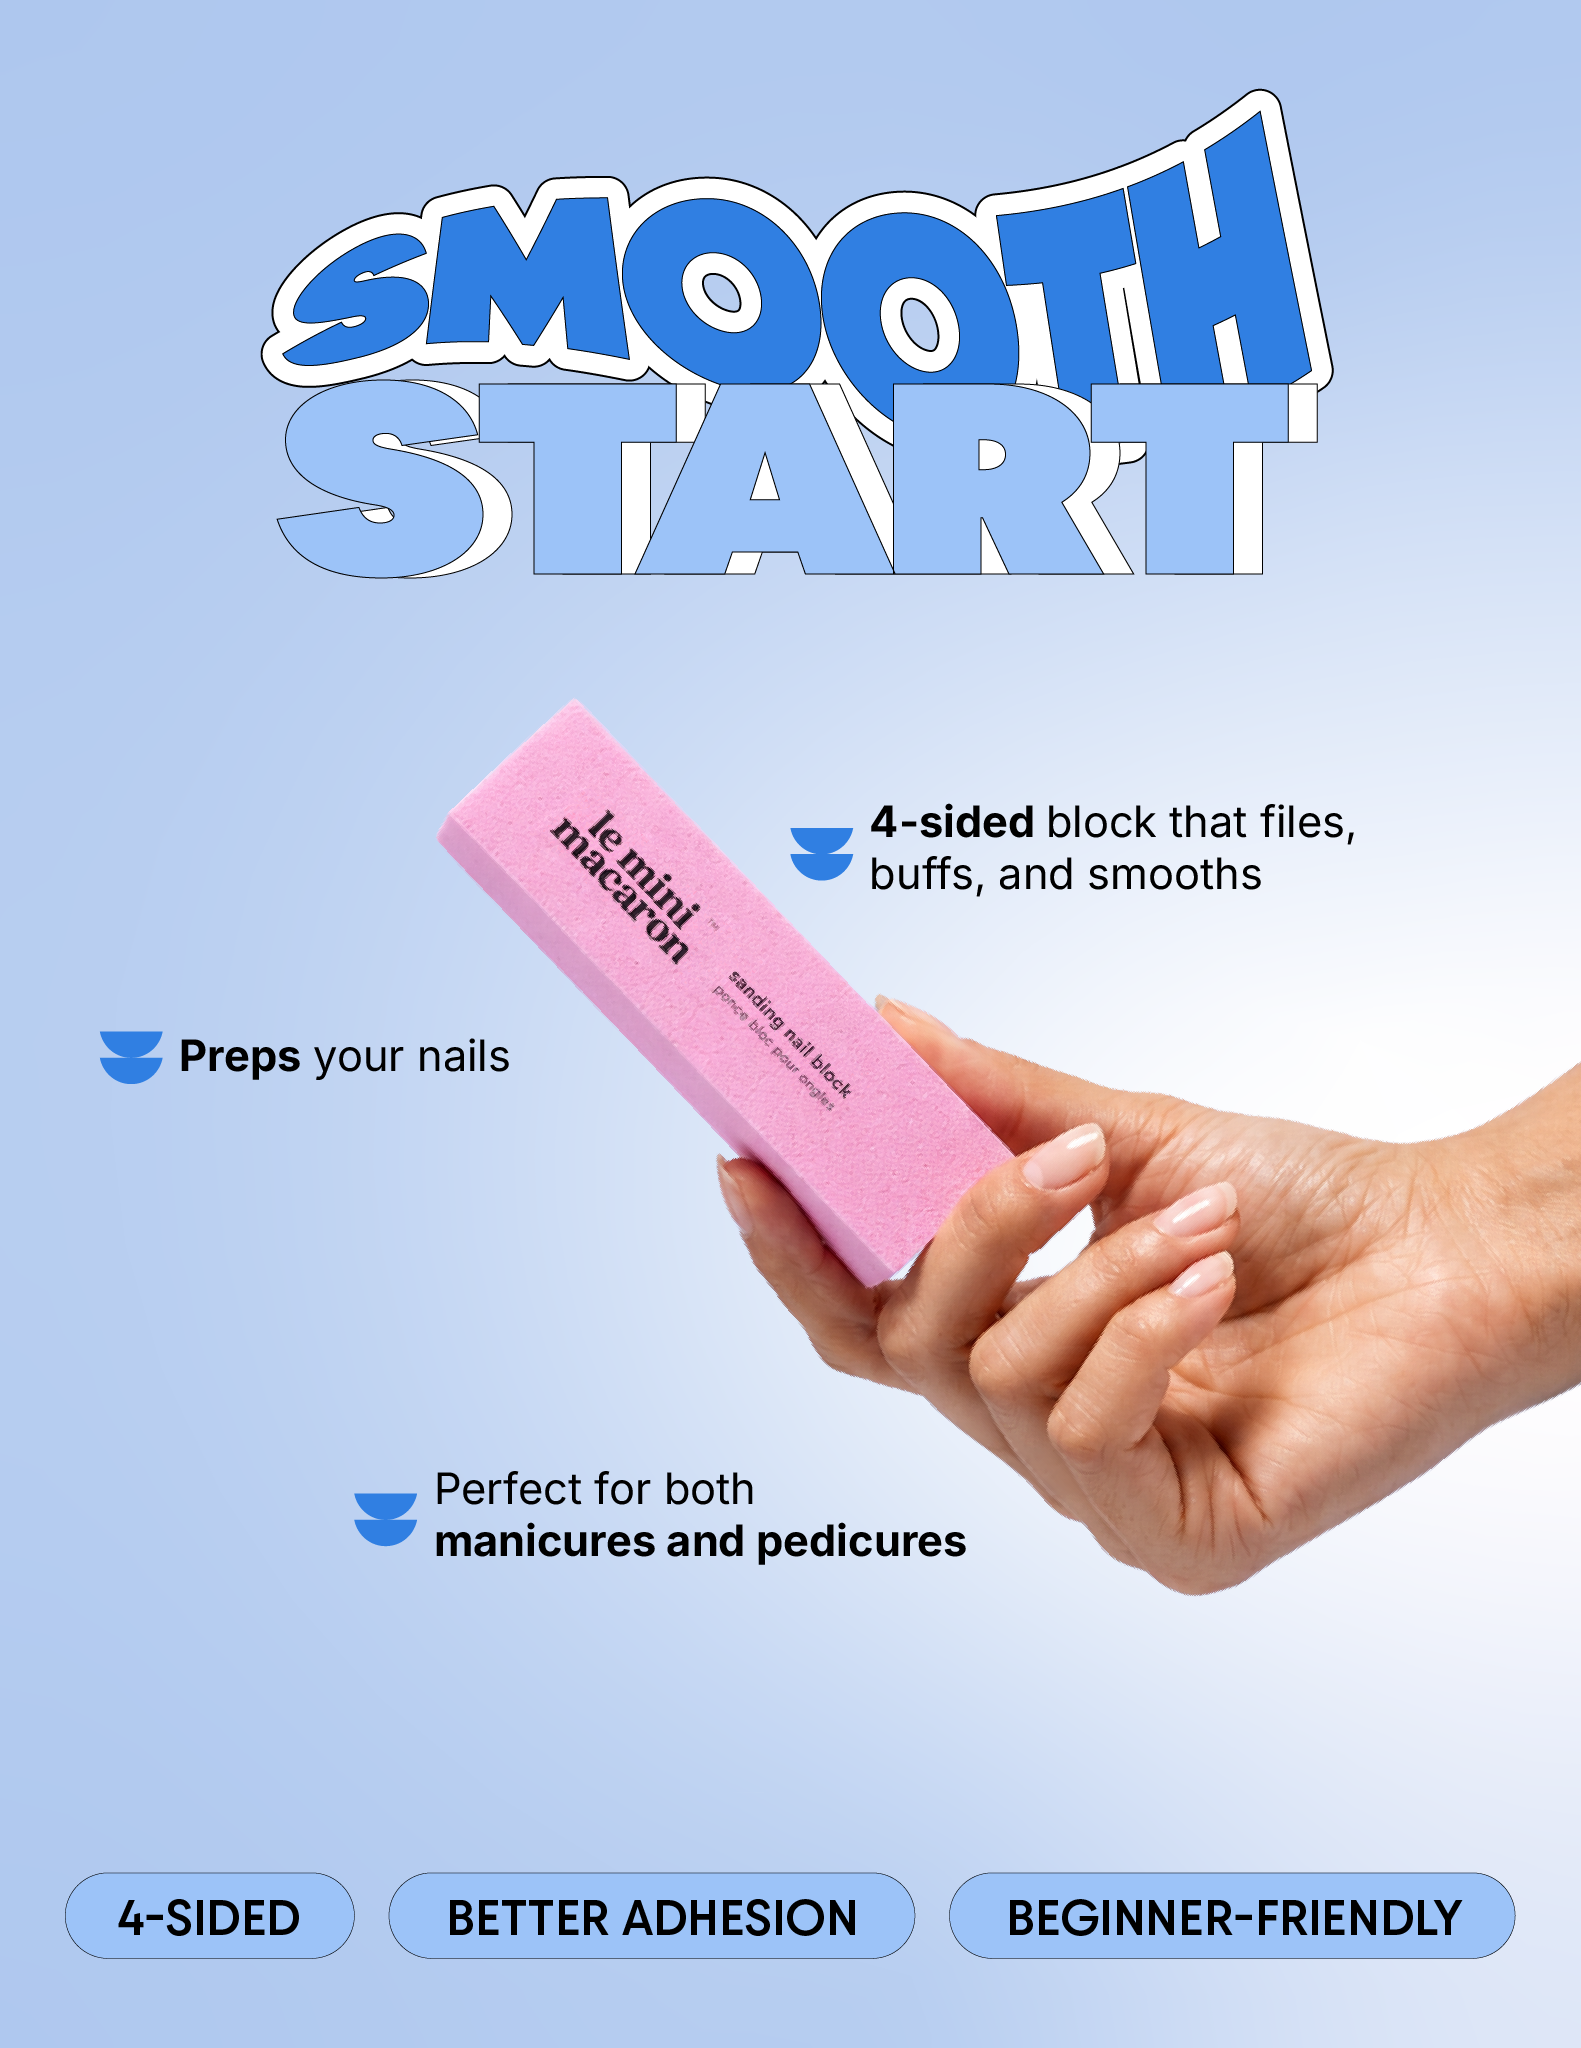
4-sided | Better adhesion | Beginner friendly
The secret to gel that actually stays on? Prepped nails. This 4-sided sanding block gently buffs the nail surface to create the perfect base for gel polish, improving adhesion and making your manicure last longer.
Flexible, gentle, and incredibly easy to use. Works on natural and artificial nails, for both mani and pedi.
Pairs Best With:
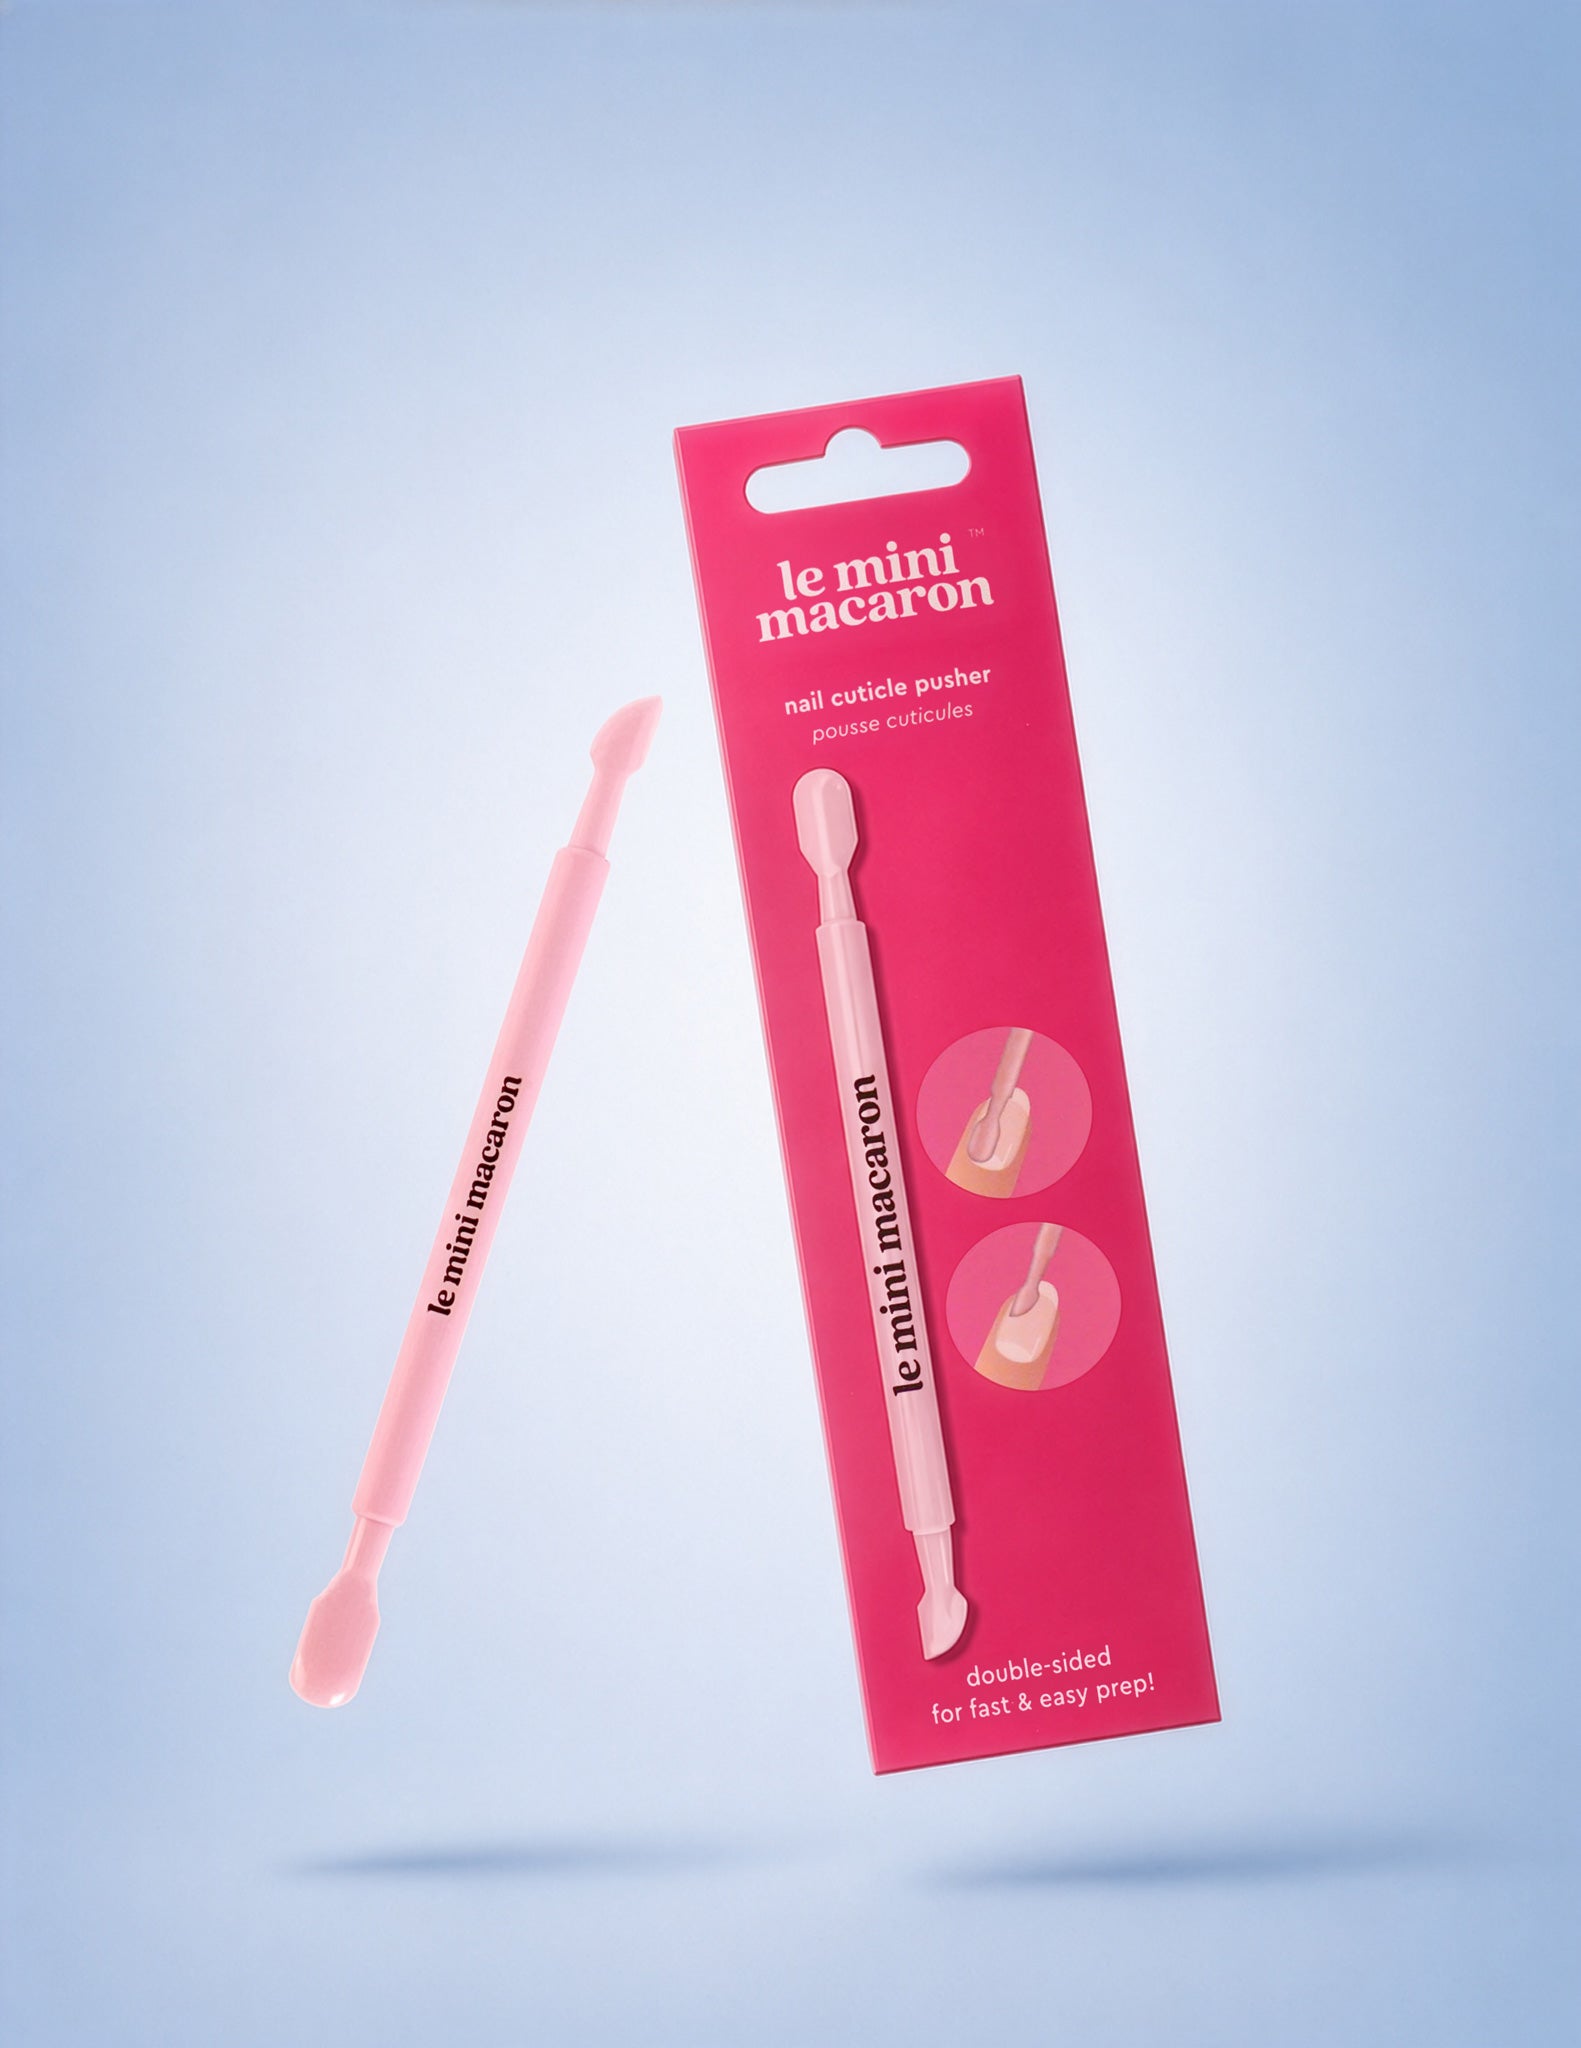
Nail Cuticle Pusher
5 €
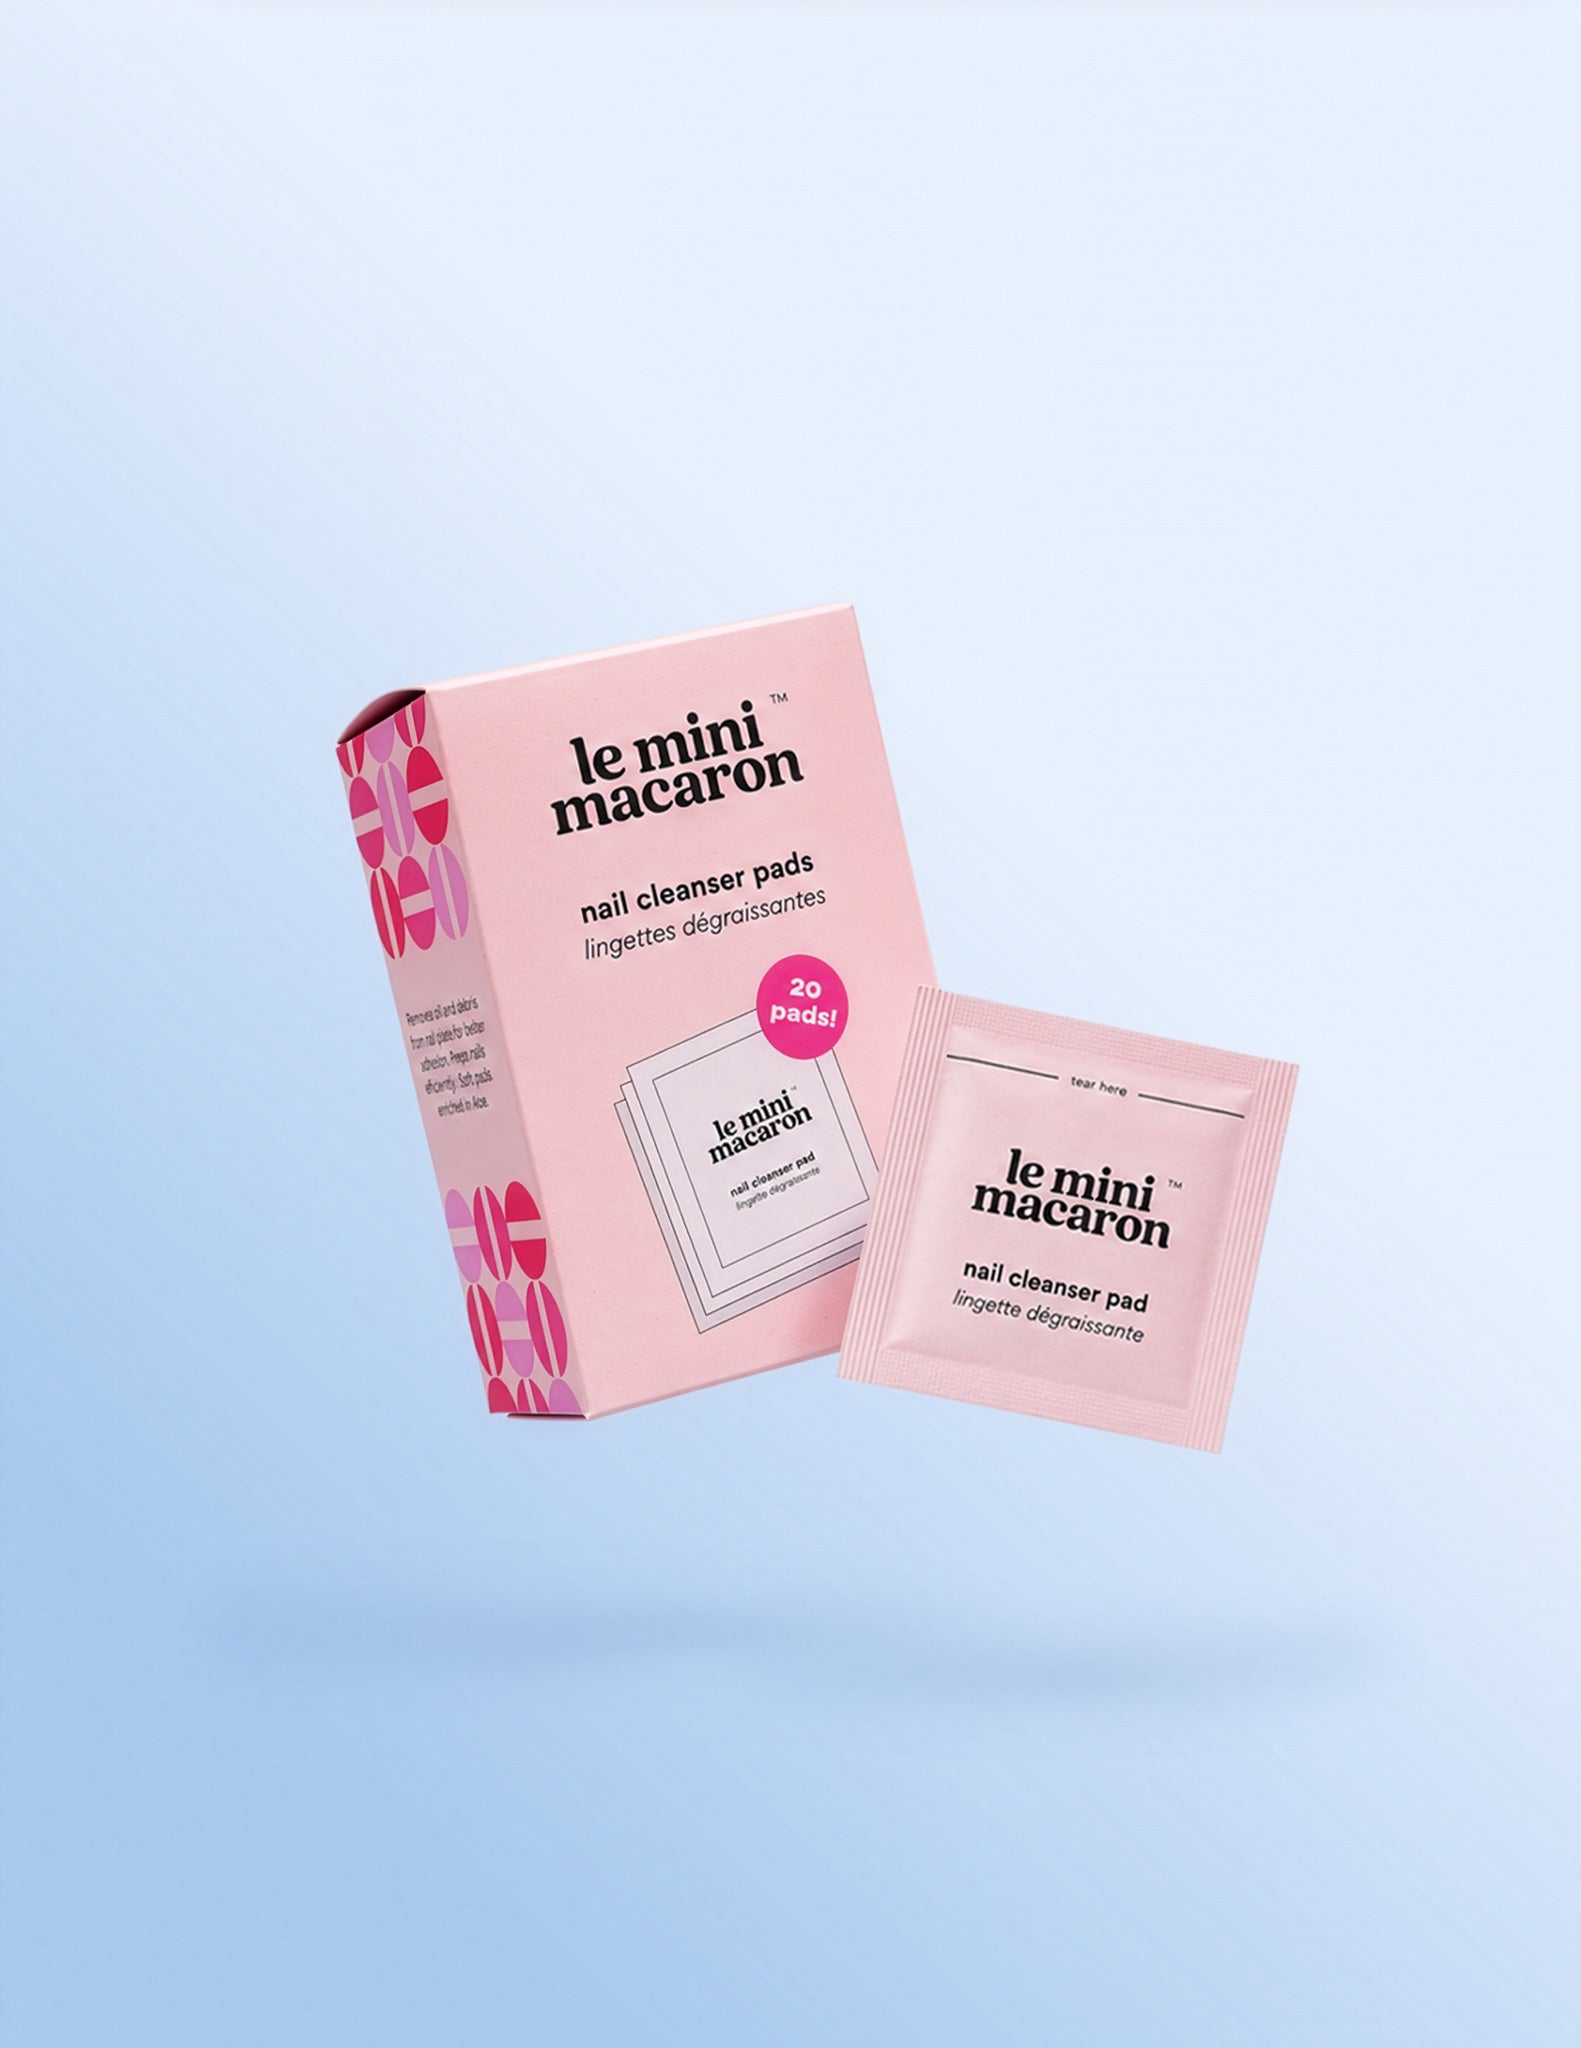
Nail Cleanser Prep Pads
5 €
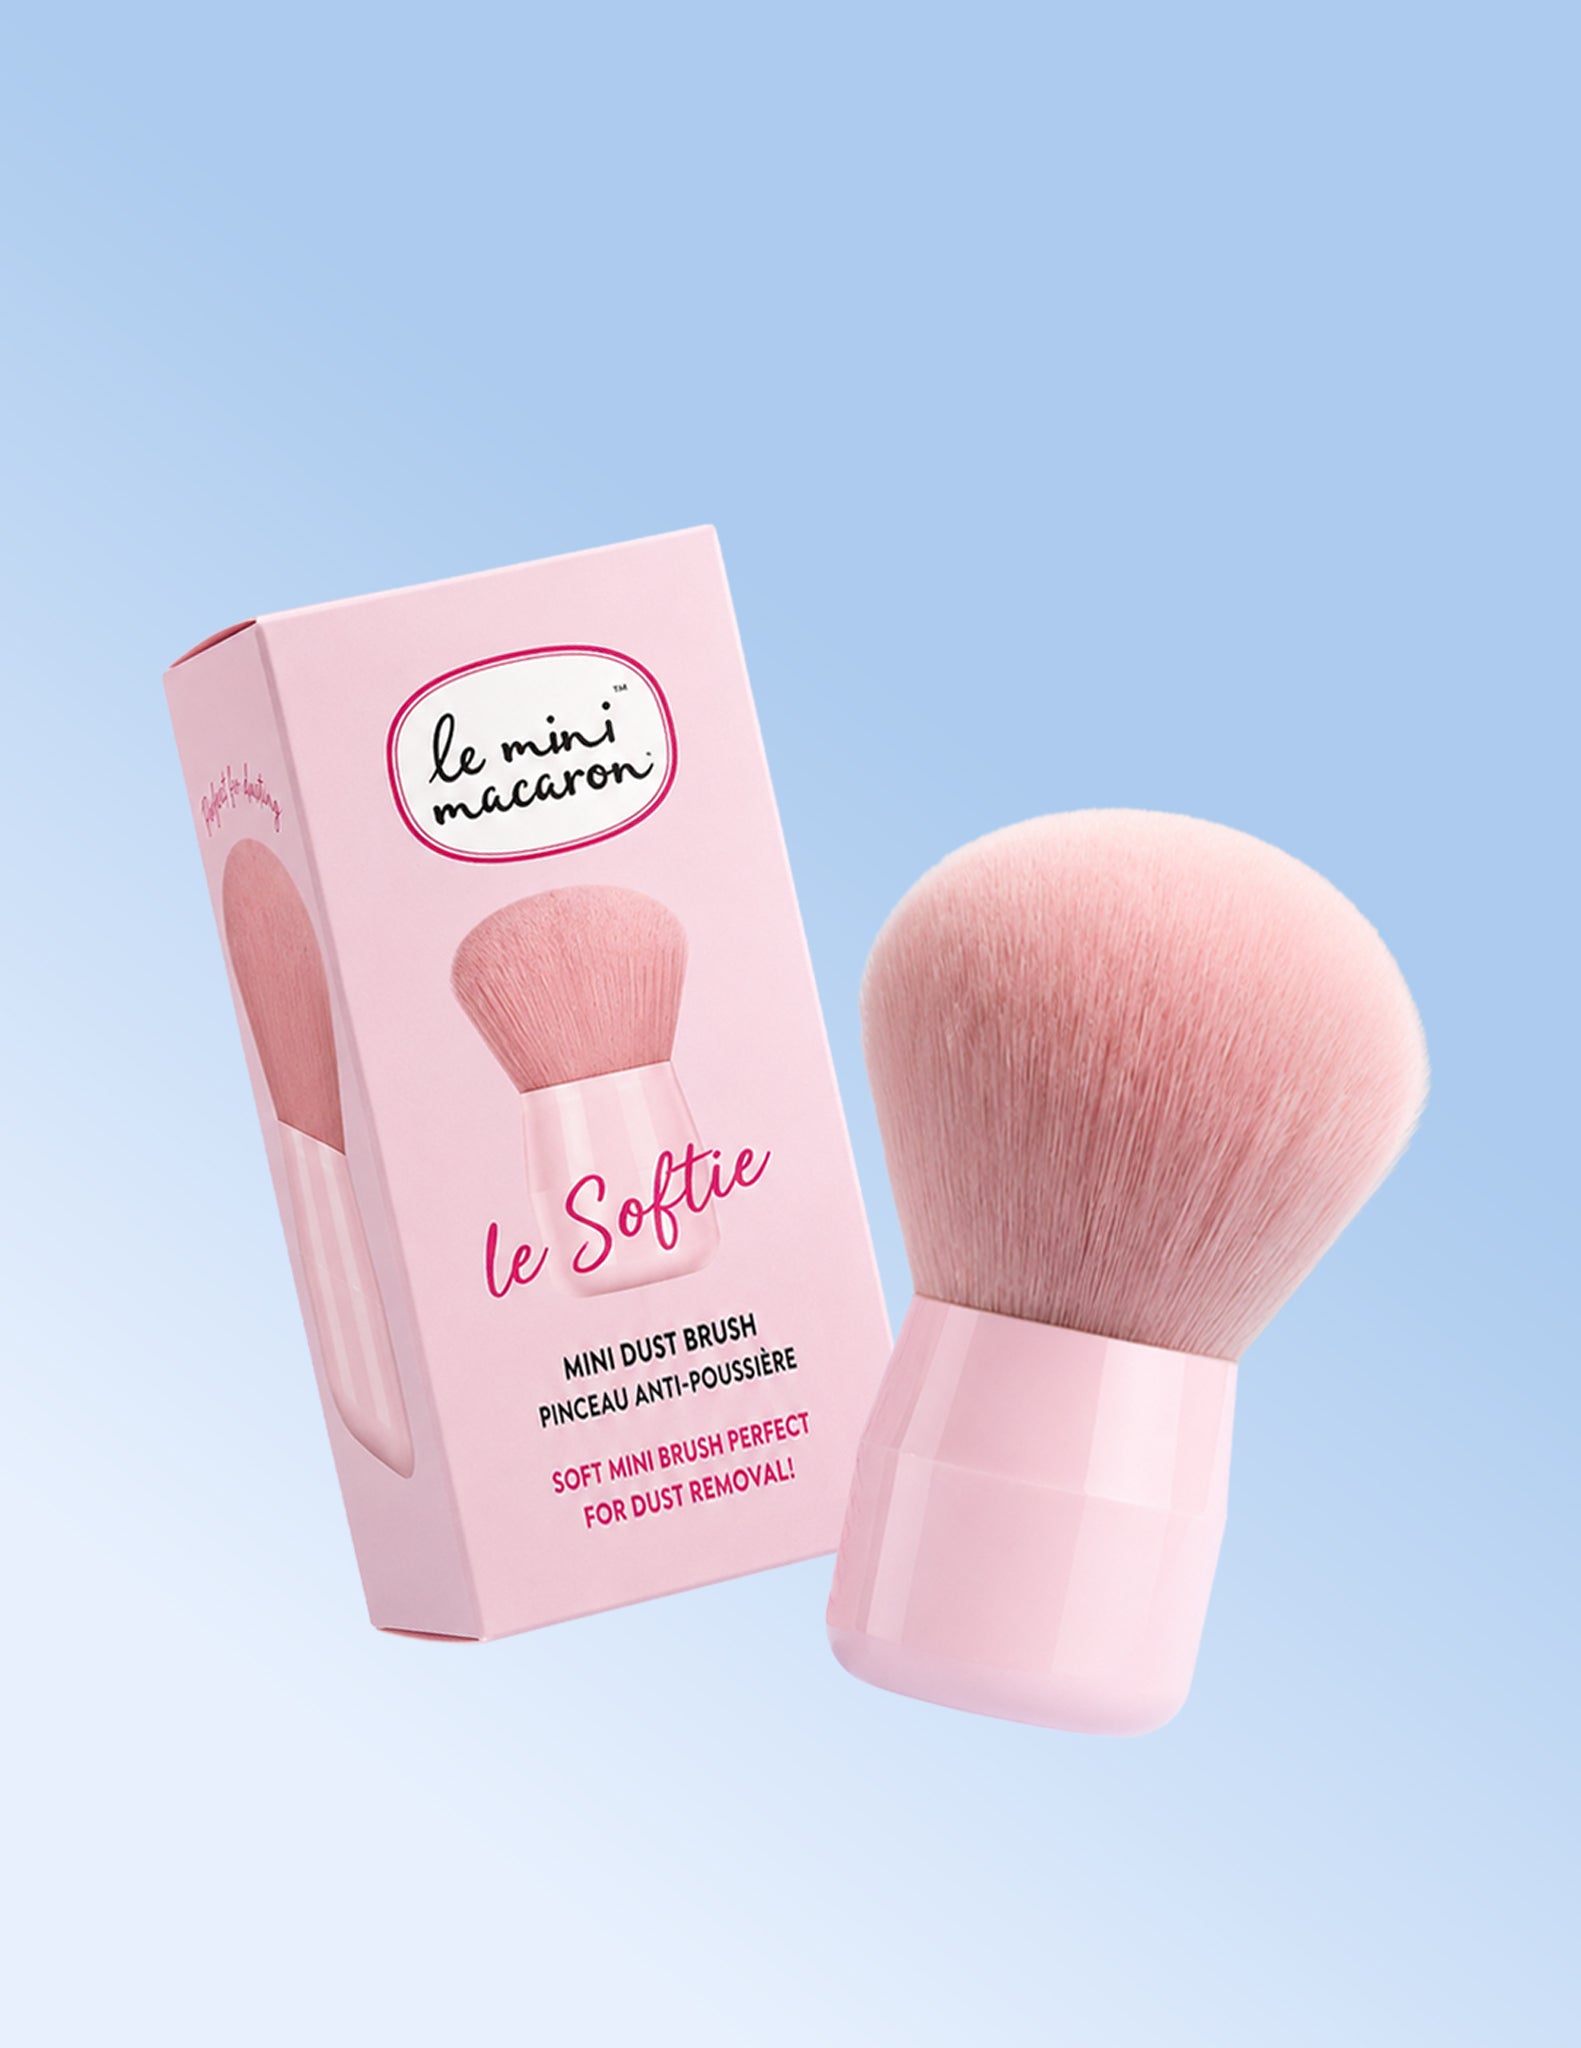
Le Softie Mini Dust Brush
7.95 €
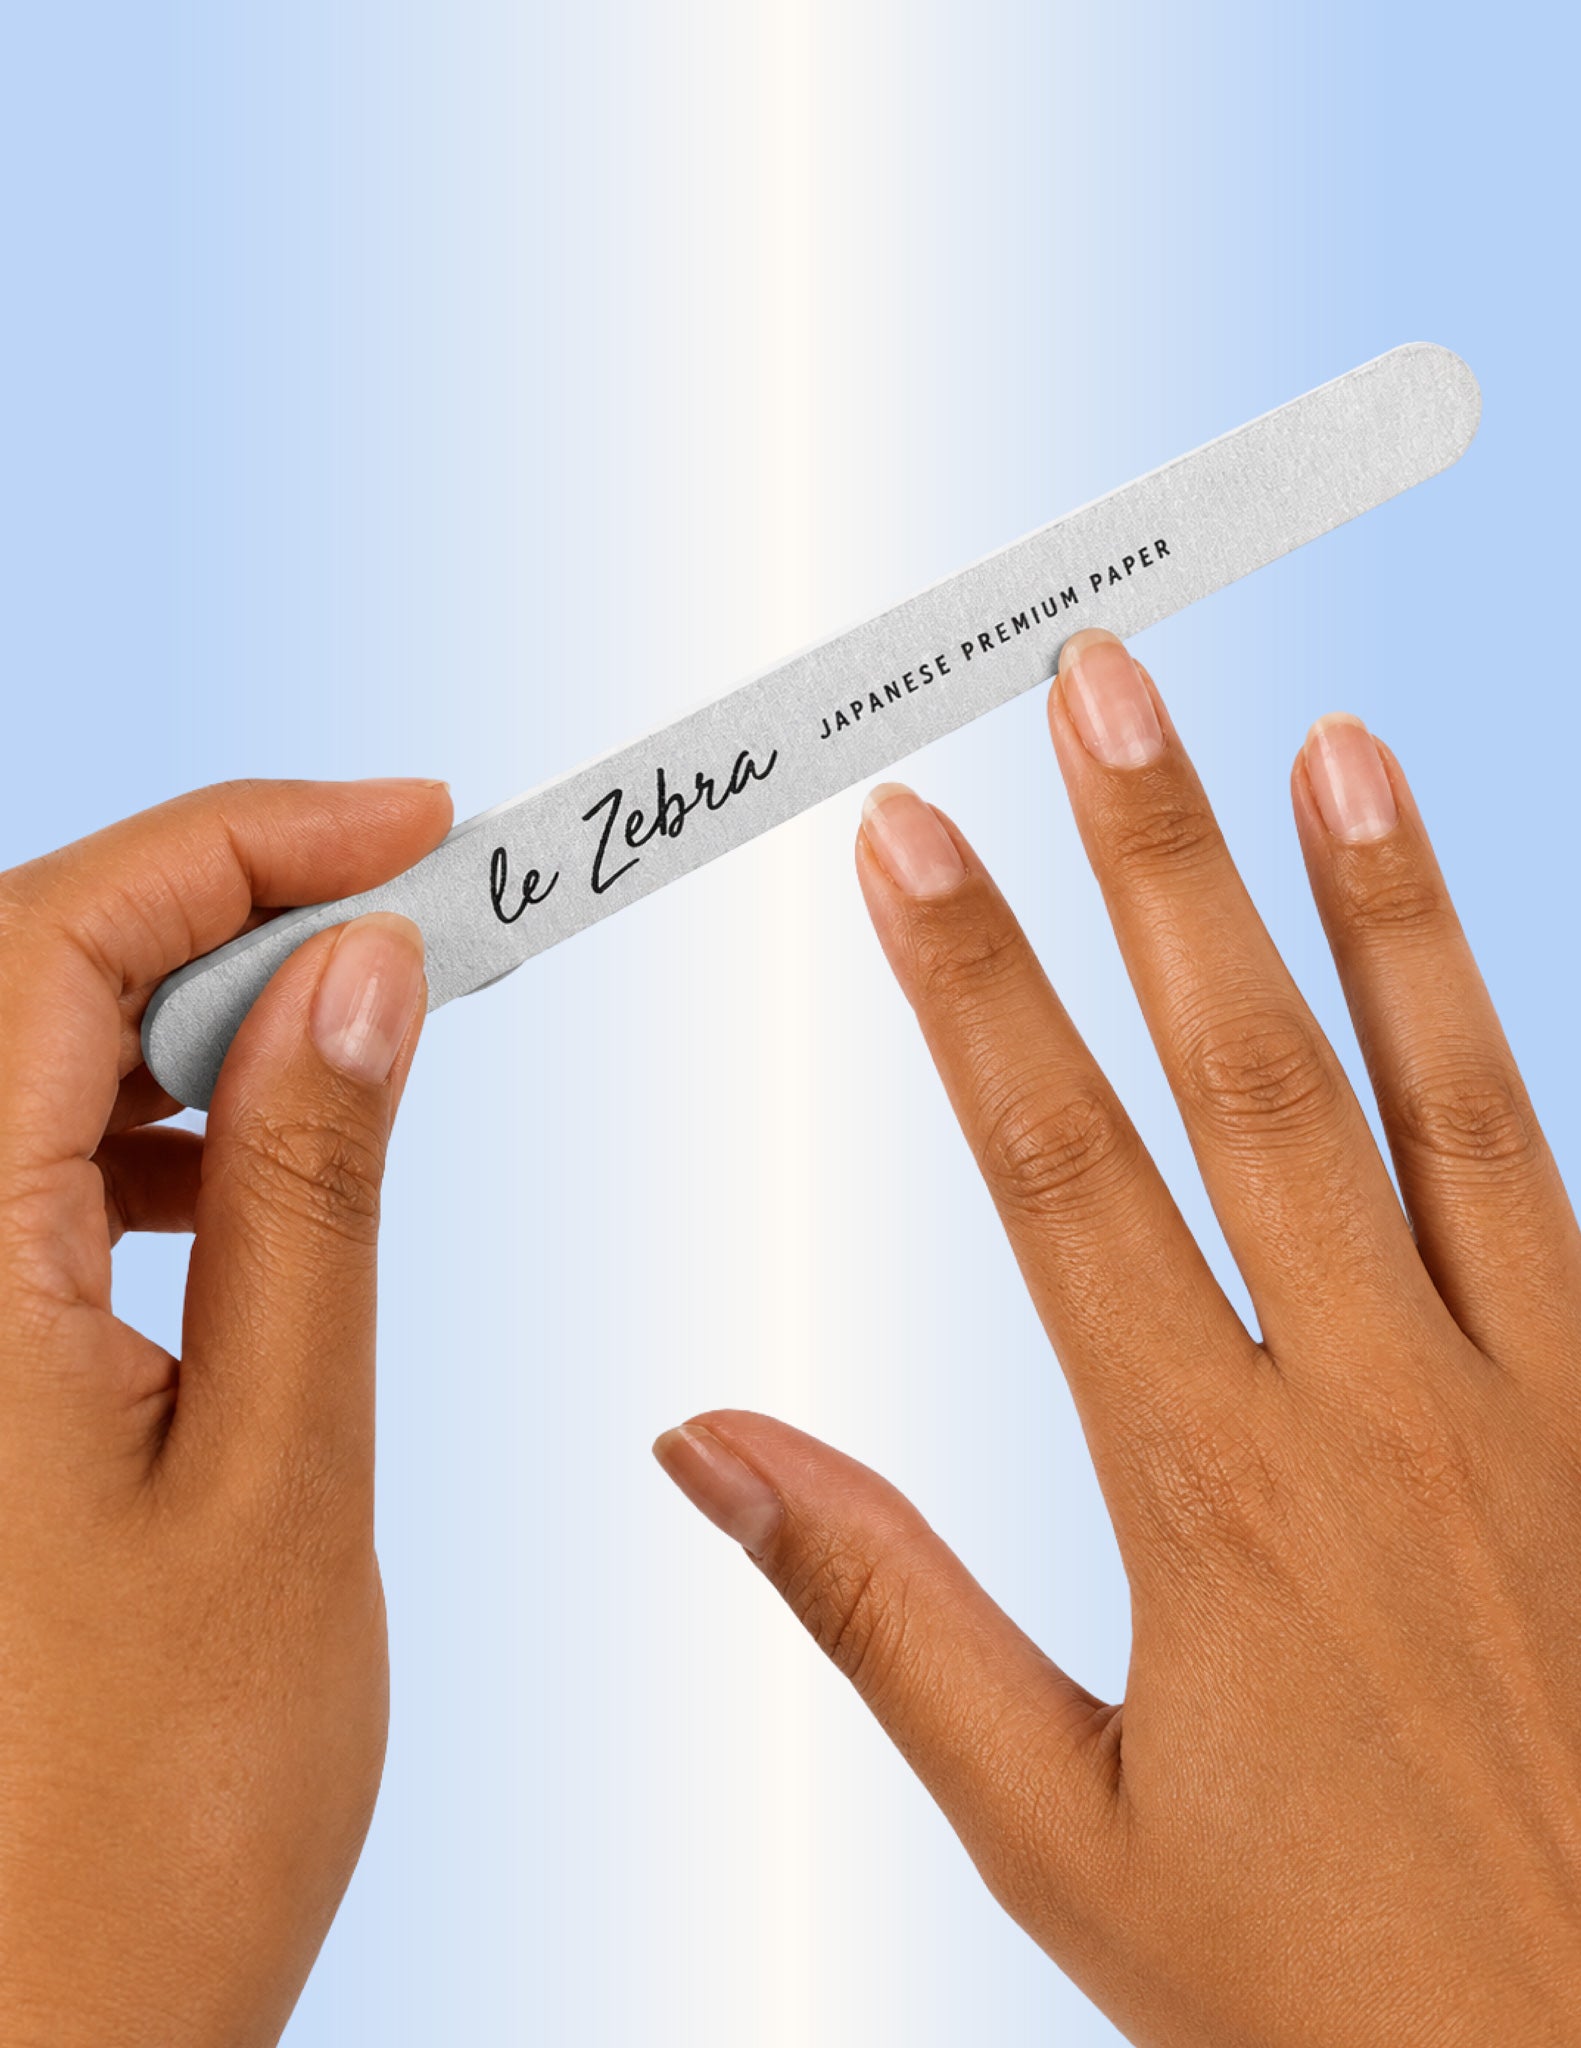
Le Zebra - Nail File
2.95 €
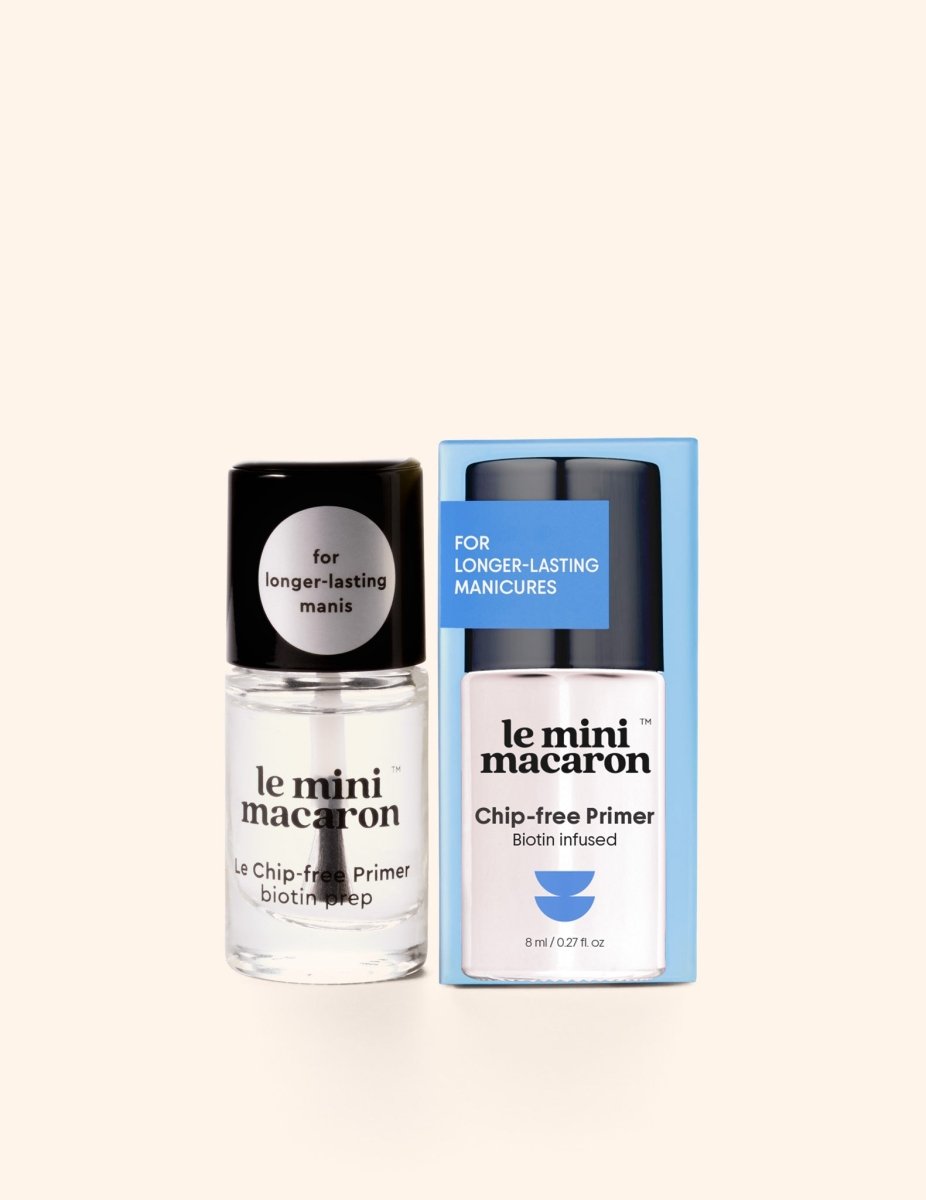
Le Chip-free Primer
8 €
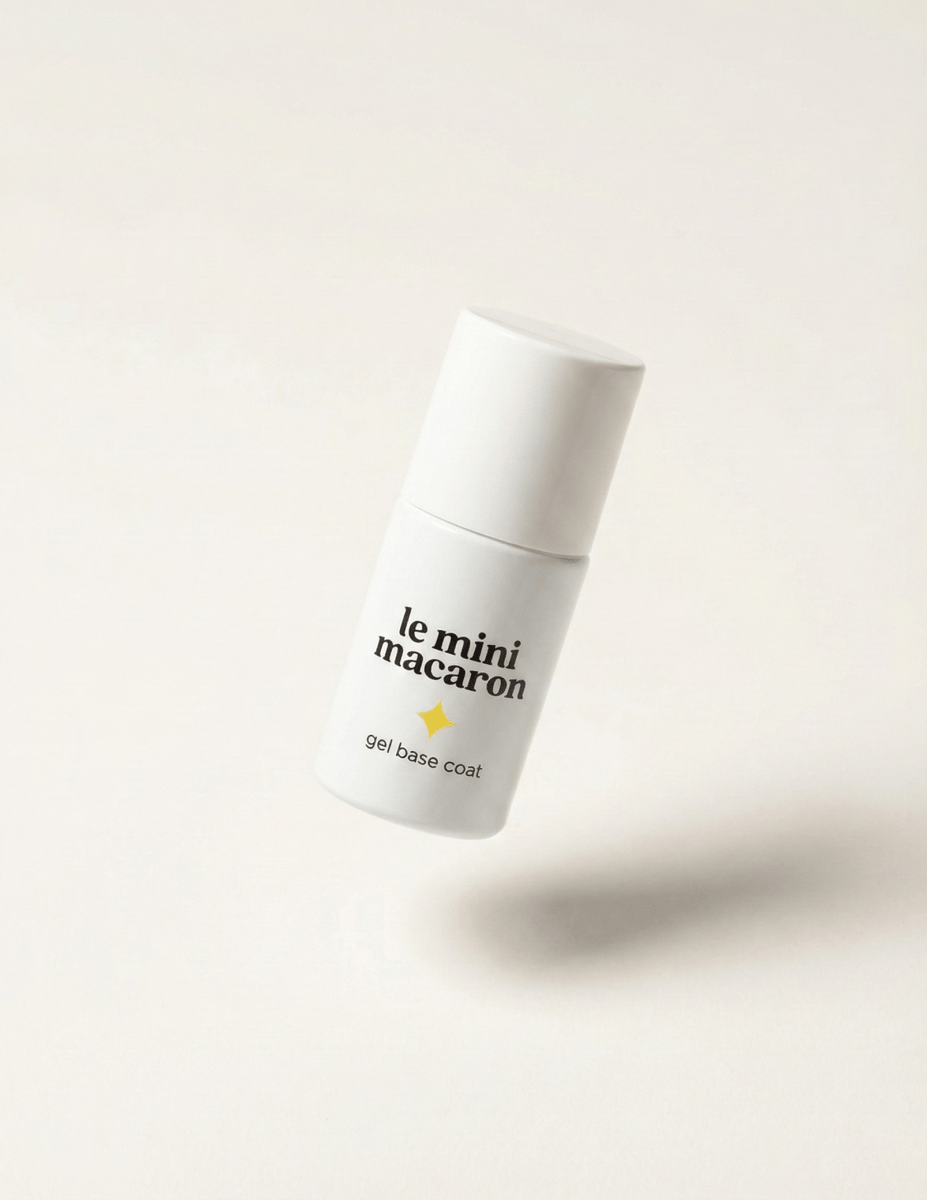
Gel Base Coat
14 €
Why You’ll Love It

Choose options
How to Prep
Follow these easy directions for a perfect manicure:
NAIL PREP: The foundation of every great mani.
1. File nails to smooth edges.
Start with the coarser grit side to shape your nail edges and take down length. Work in one direction for a clean, even finish.
2. Push back cuticles gently.
Use the flat edge of the pusher to gently push back your cuticles with slow, controlled strokes. Work from side to side, then flip to the pointed end to lift and remove any remaining excess cuticle.
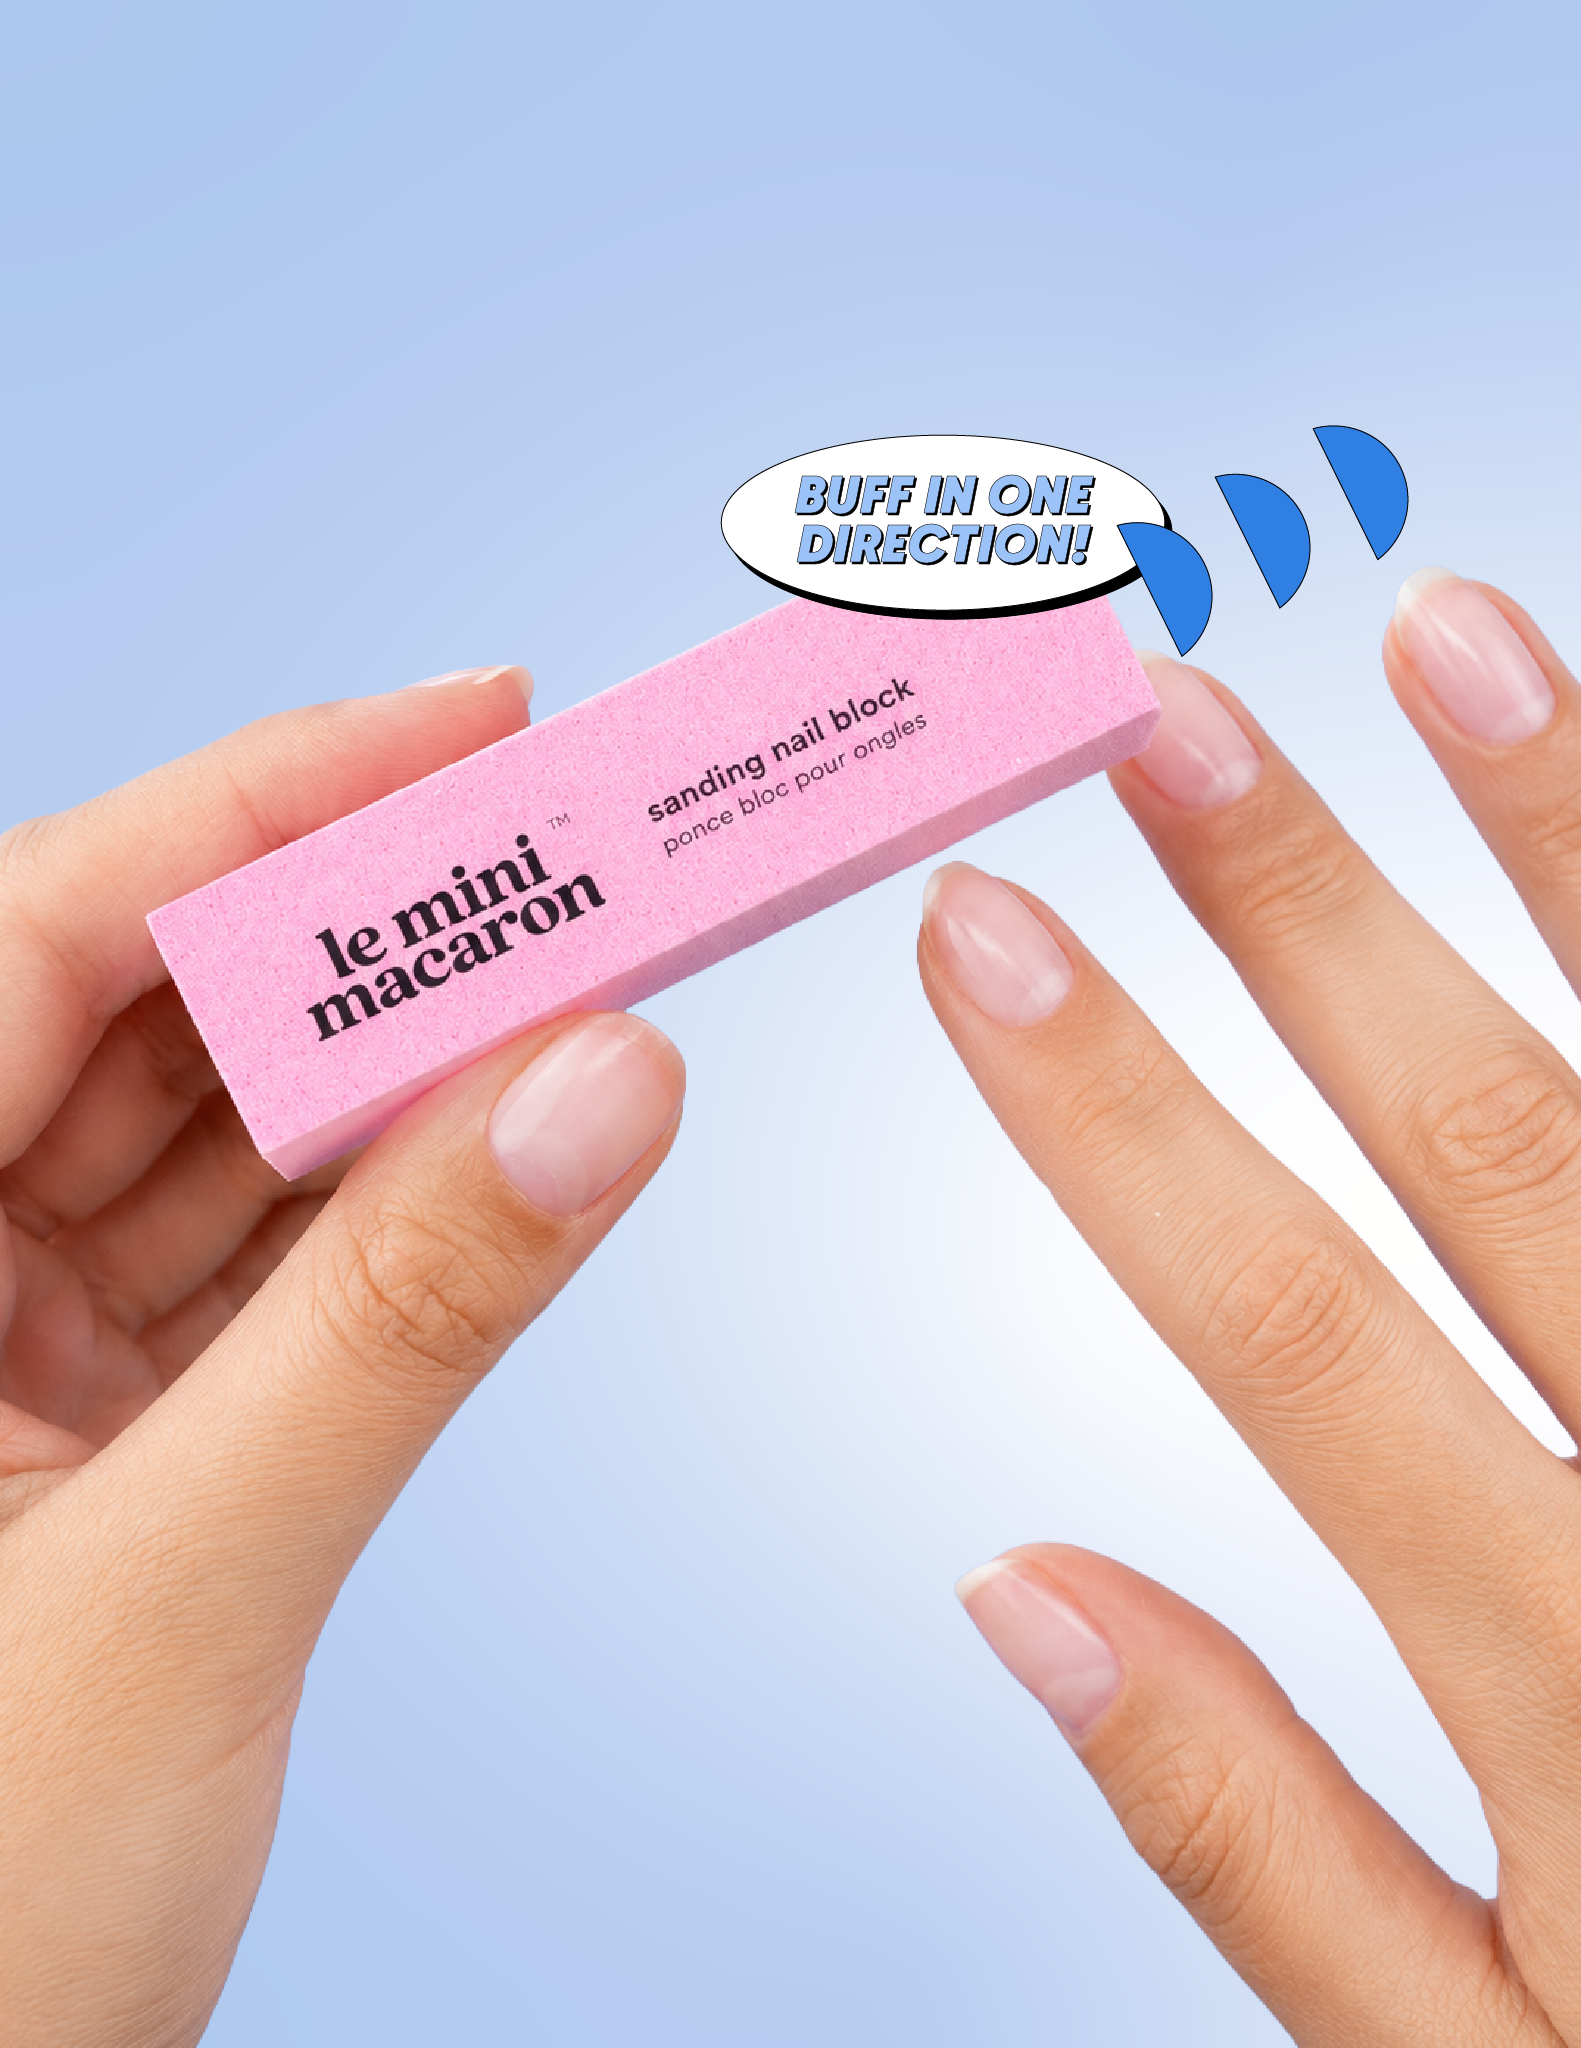
3. Buff nails until the surface looks matte.
Gently buff the nail surface in one direction. Use along the nail edges to smooth any ridges or unevenness, and create a matte base ready for gel.
4. Brush off dust.
Hold Le Softie at the base of your fingers and sweep the brush gently across each nail and fingertip. Work from cuticle to free edge to remove all dust and debris.
5. Wipe nails with cleanser.
Wipe thoroughly with a single Nail Cleanser Prep Pad to remove all dust and oils, or apply Le Clean Nail Cleanser to a Lint‑free Wipe Pad and scrub each nail until fully clean.
Pro tip: Once you've cleaned your nails, avoid touching your face, hair, or any surface — even one touch transfers oils and affects how long your manicure lasts.
How to Prep
Follow these easy directions for a perfect manicure:
NAIL PREP: The foundation of every great mani.
1. File nails to smooth edges.
Start with the coarser grit side to shape your nail edges and take down length. Work in one direction for a clean, even finish.
2. Push back cuticles gently.
Use the flat edge of the pusher to gently push back your cuticles with slow, controlled strokes. Work from side to side, then flip to the pointed end to lift and remove any remaining excess cuticle.
3. Buff nails until the surface looks matte.
Gently buff the nail surface in one direction. Use along the nail edges to smooth any ridges or unevenness, and create a matte base ready for gel.
4. Brush off dust.
Hold Le Softie at the base of your fingers and sweep the brush gently across each nail and fingertip. Work from cuticle to free edge to remove all dust and debris.
5. Wipe nails with cleanser.
Wipe thoroughly with a single Nail Cleanser Prep Pad to remove all dust and oils, or apply Le Clean Nail Cleanser to a Lint‑free Wipe Pad and scrub each nail until fully clean.
Pro tip: Once you've cleaned your nails, avoid touching your face, hair, or any surface — even one touch transfers oils and affects how long your manicure lasts.
SANDING BLOCK FAQS
A sanding block is a nail prep tool designed to lightly buff the nail surface before applying your 3-in-1 gel polish. Used to gently smooth ridges, remove shine, and create a better bond for longer-lasting wear.
Lightly buffing your nails with a sanding block is one of the most important prep steps for a long-lasting gel manicure. It removes shine from the nail surface, which helps your 3-in-1 gel polish bond better and reduces lifting and peeling over time.
Start with clean, dry nails. Lightly buff the nail surface in one direction using gentle pressure. Avoid going back and forth. Remove all dust with a nail cleanser prep pad before applying your 3-in-1 gel polish. For a full step-by-step guide, visit our Mani School section.
Less is more when it comes to buffing. A few gentle strokes in one direction are all you need to remove shine and create a good bond for your 3-in-1 gel polish.
Use your sanding block as part of your nail prep routine each time you do your gel manicure. Avoid buffing more than necessary, as too much buffing over time can weaken the nail. If you are looking for everything you need in one kit, check out our Prep Bundles.
If the grit feels worn down, buffing takes more effort, or you are not getting the same smooth results as before, it is time to replace your sanding block.
If lifting is still an issue after buffing, make sure your nails are completely oil-free before application. Adding our Chip-free Primer after buffing and before your 3-in-1 gel polish creates an even stronger bond and can make a real difference on nails that are naturally prone to lifting.