

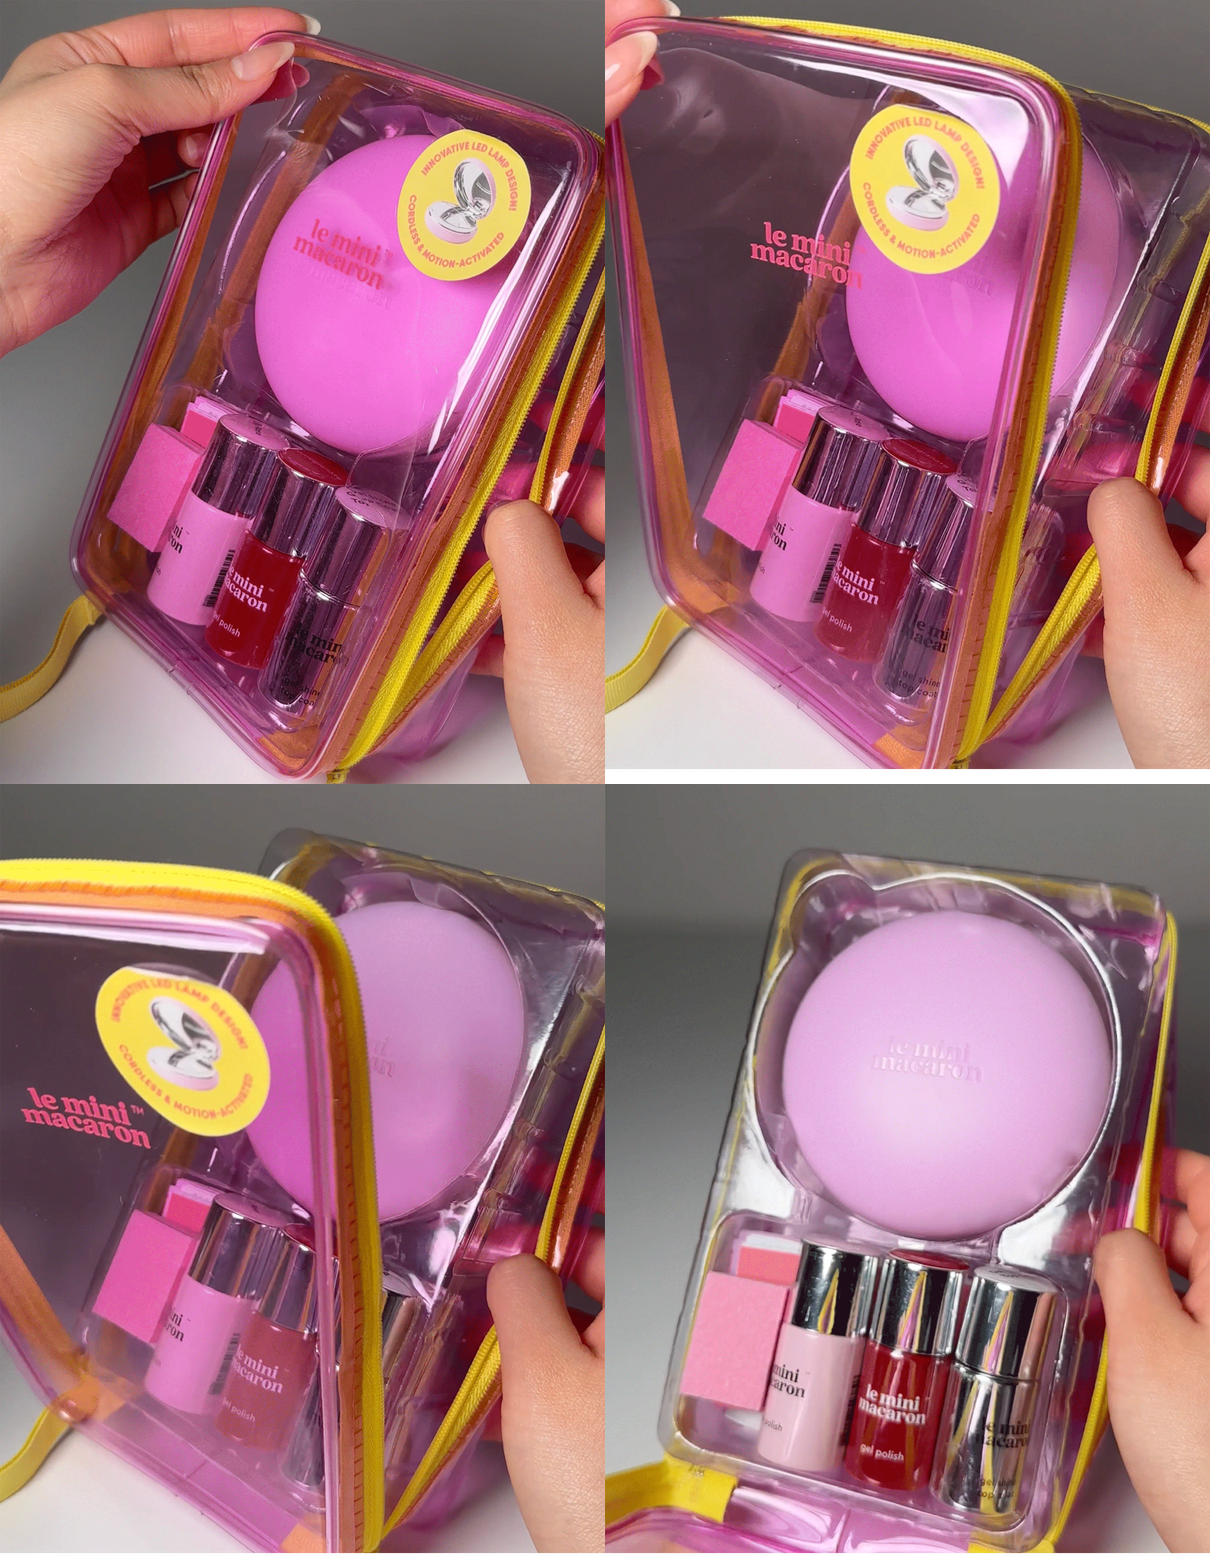
The All-In Gel Manicure Kit
Your all-in-one gel mani, ready to go | TPO-Free

All-in-one kit | 14-day lasting | Cure 4 nails at once | Cordless
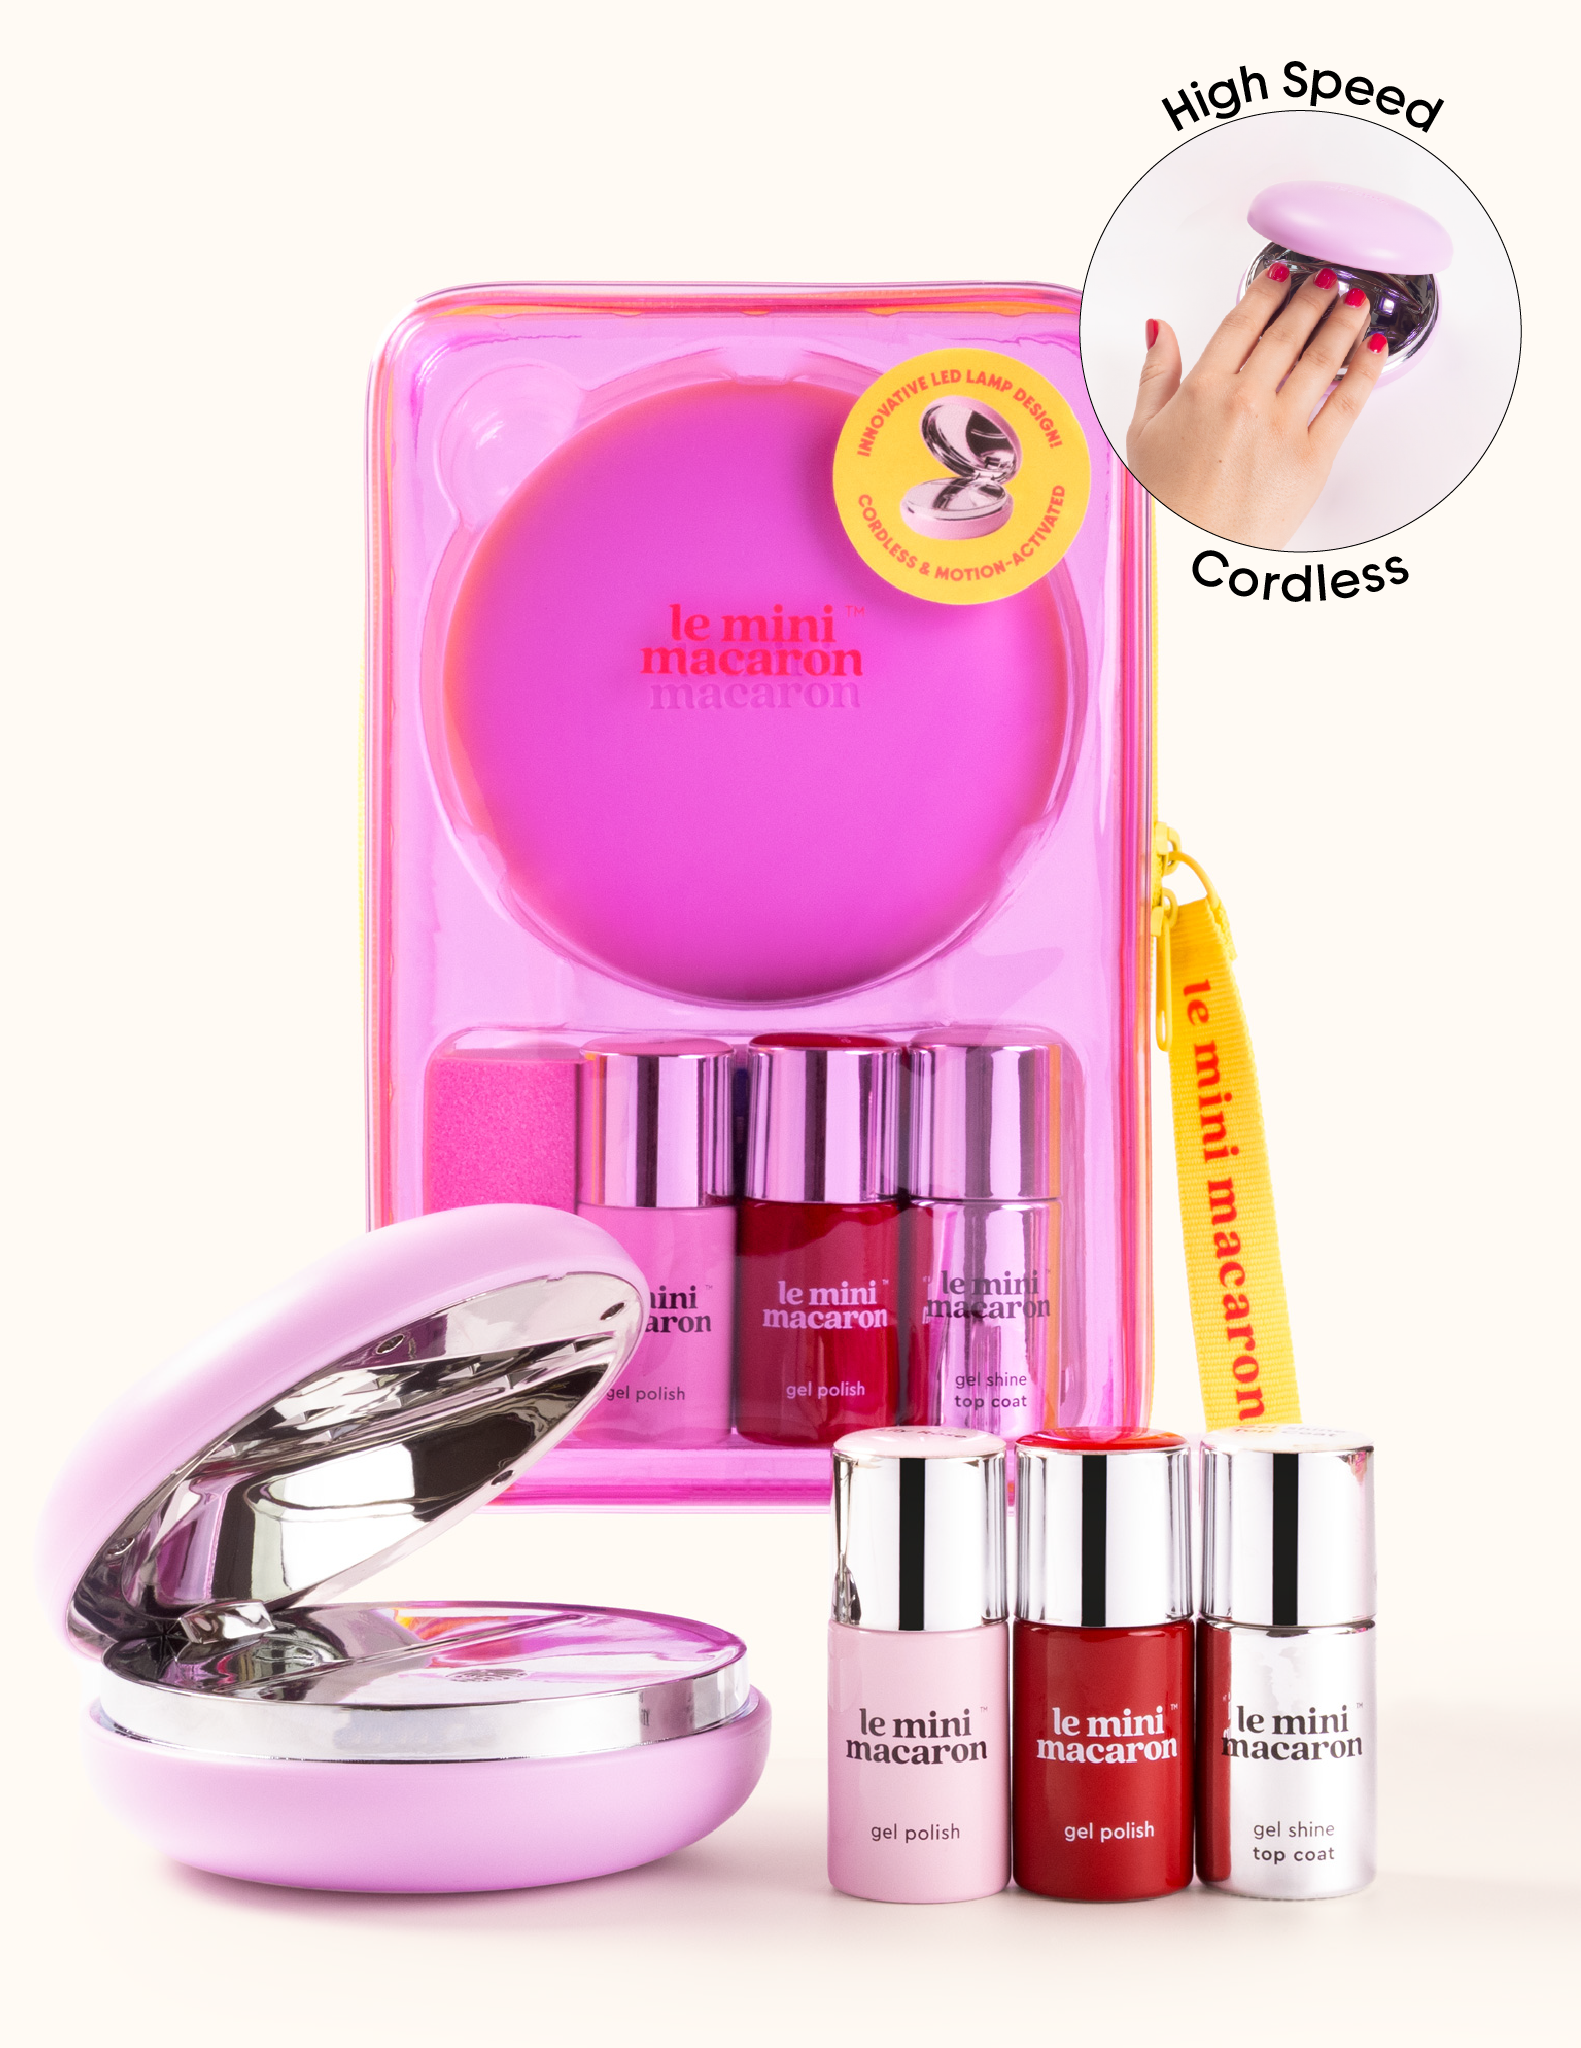
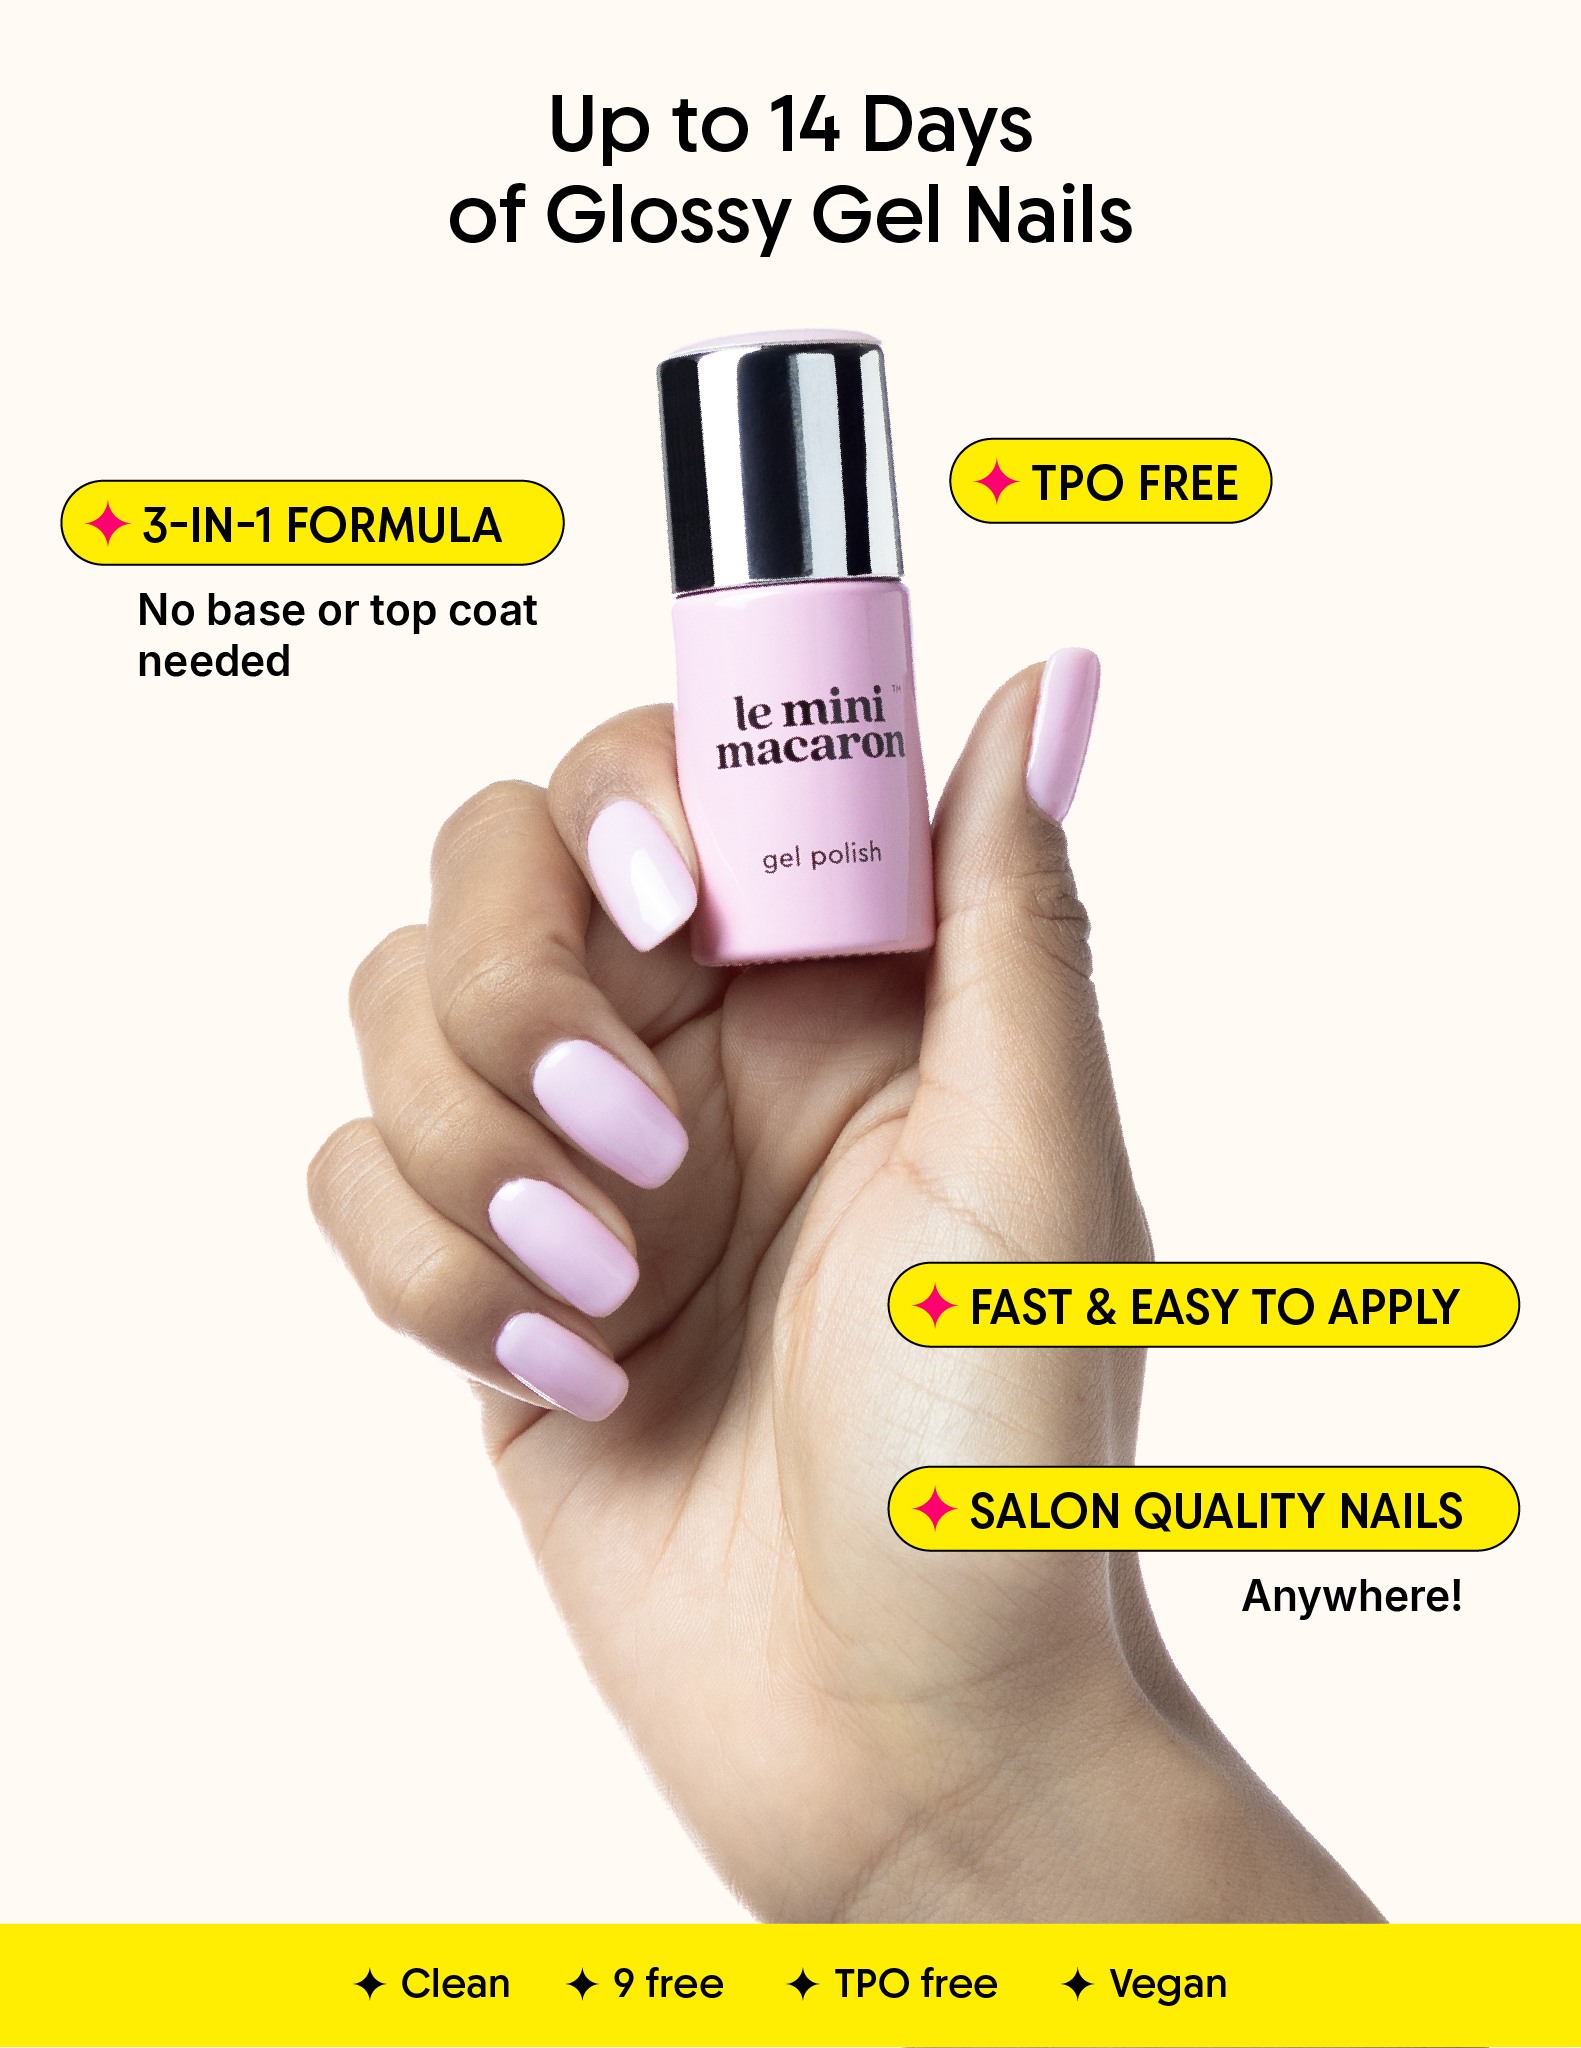
Beginner and travel friendly, this Gel Manicure Kit packs everything you need into one stylish pouch for high-shine gel nails that last up to 14 days.
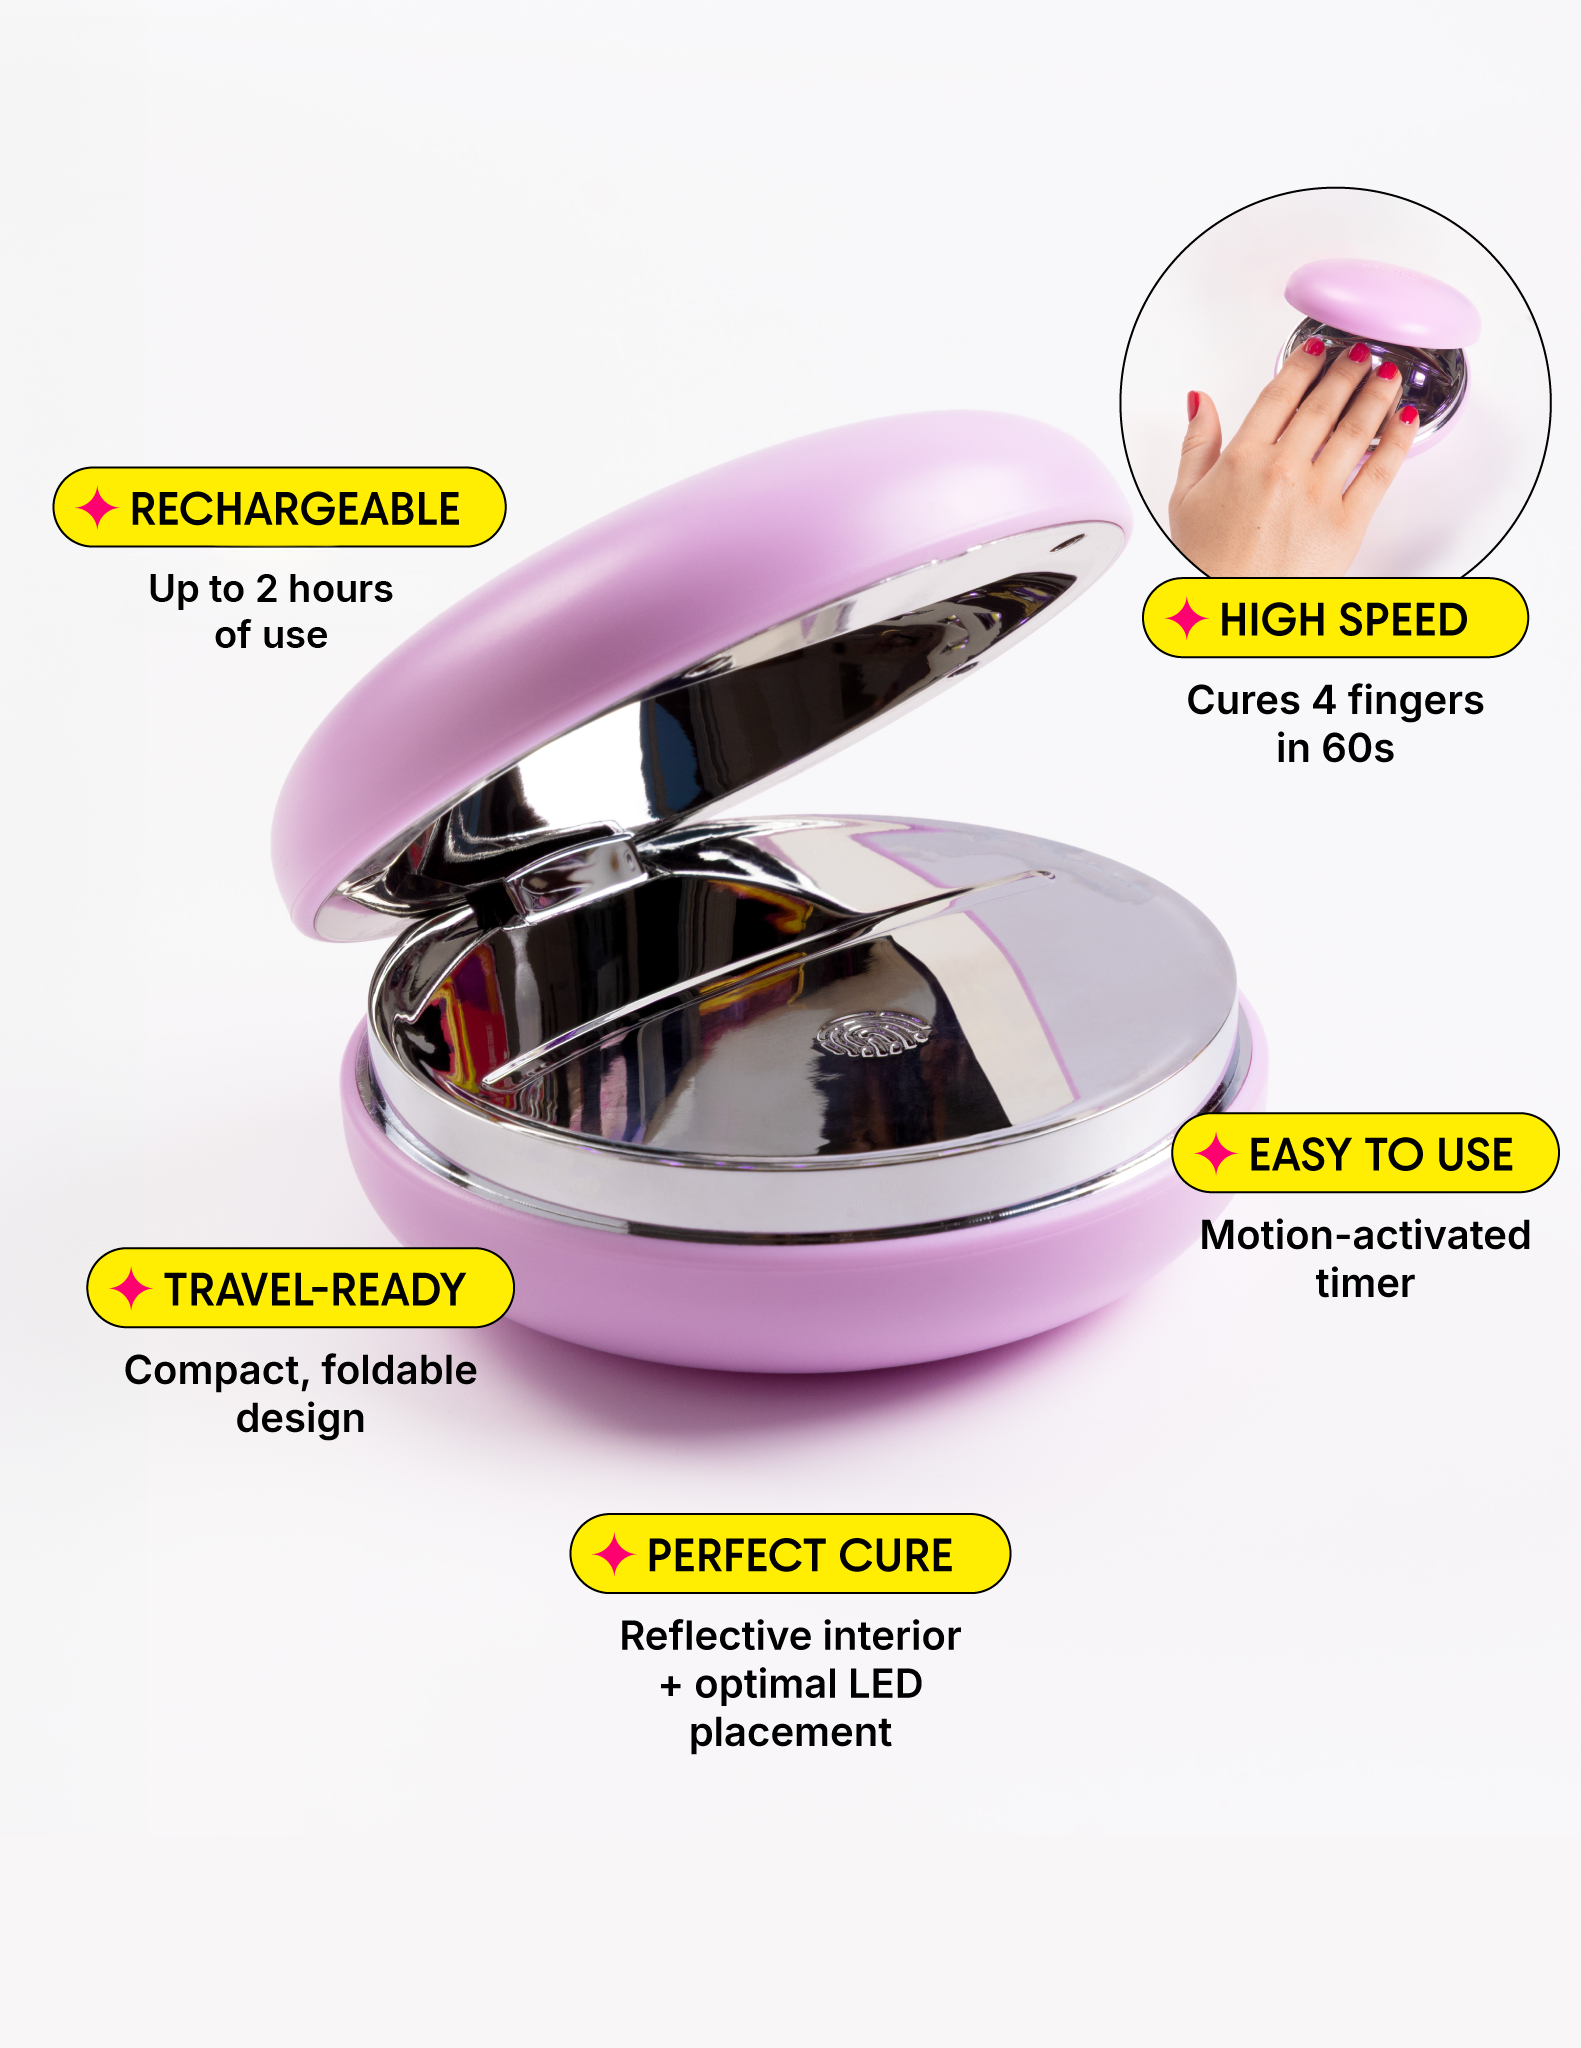
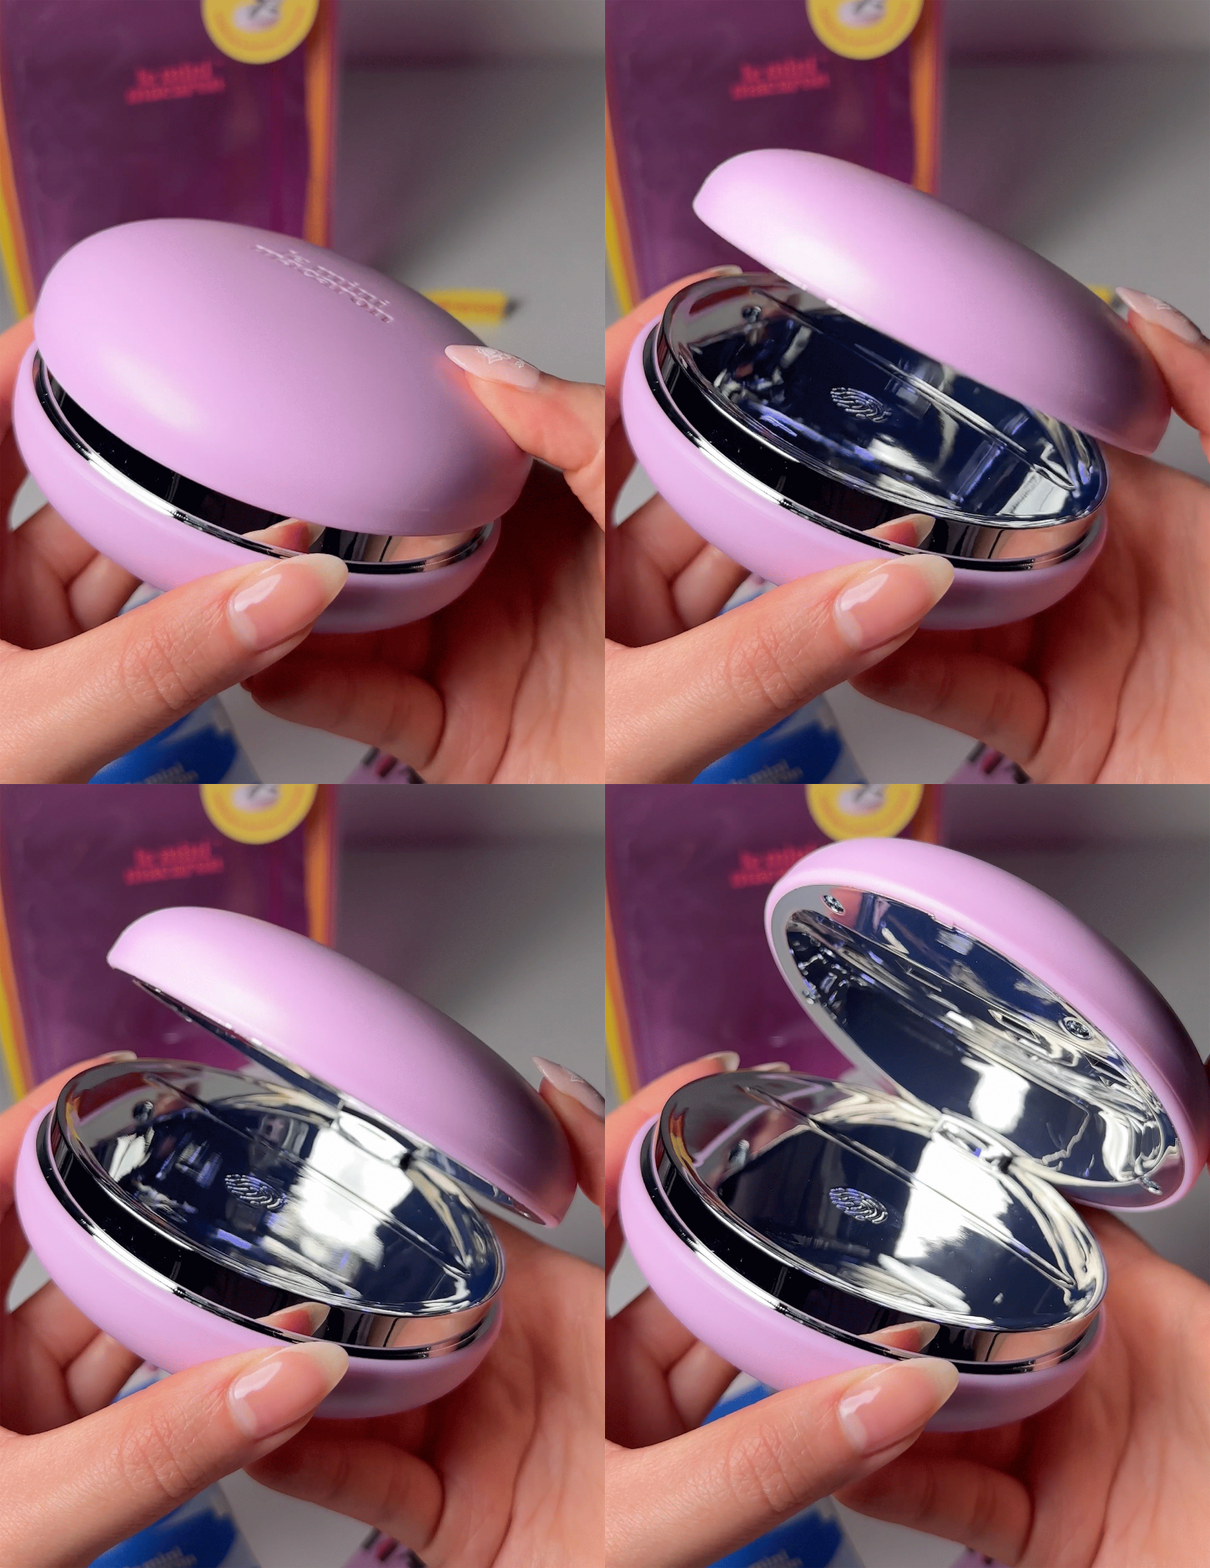
The star of the show? Our patent-pending LED Lamp, curing four fingers at once for even faster manis. Cordless, rechargeable and motion-activated, it’s made for gorgeous nails anytime, anywhere.
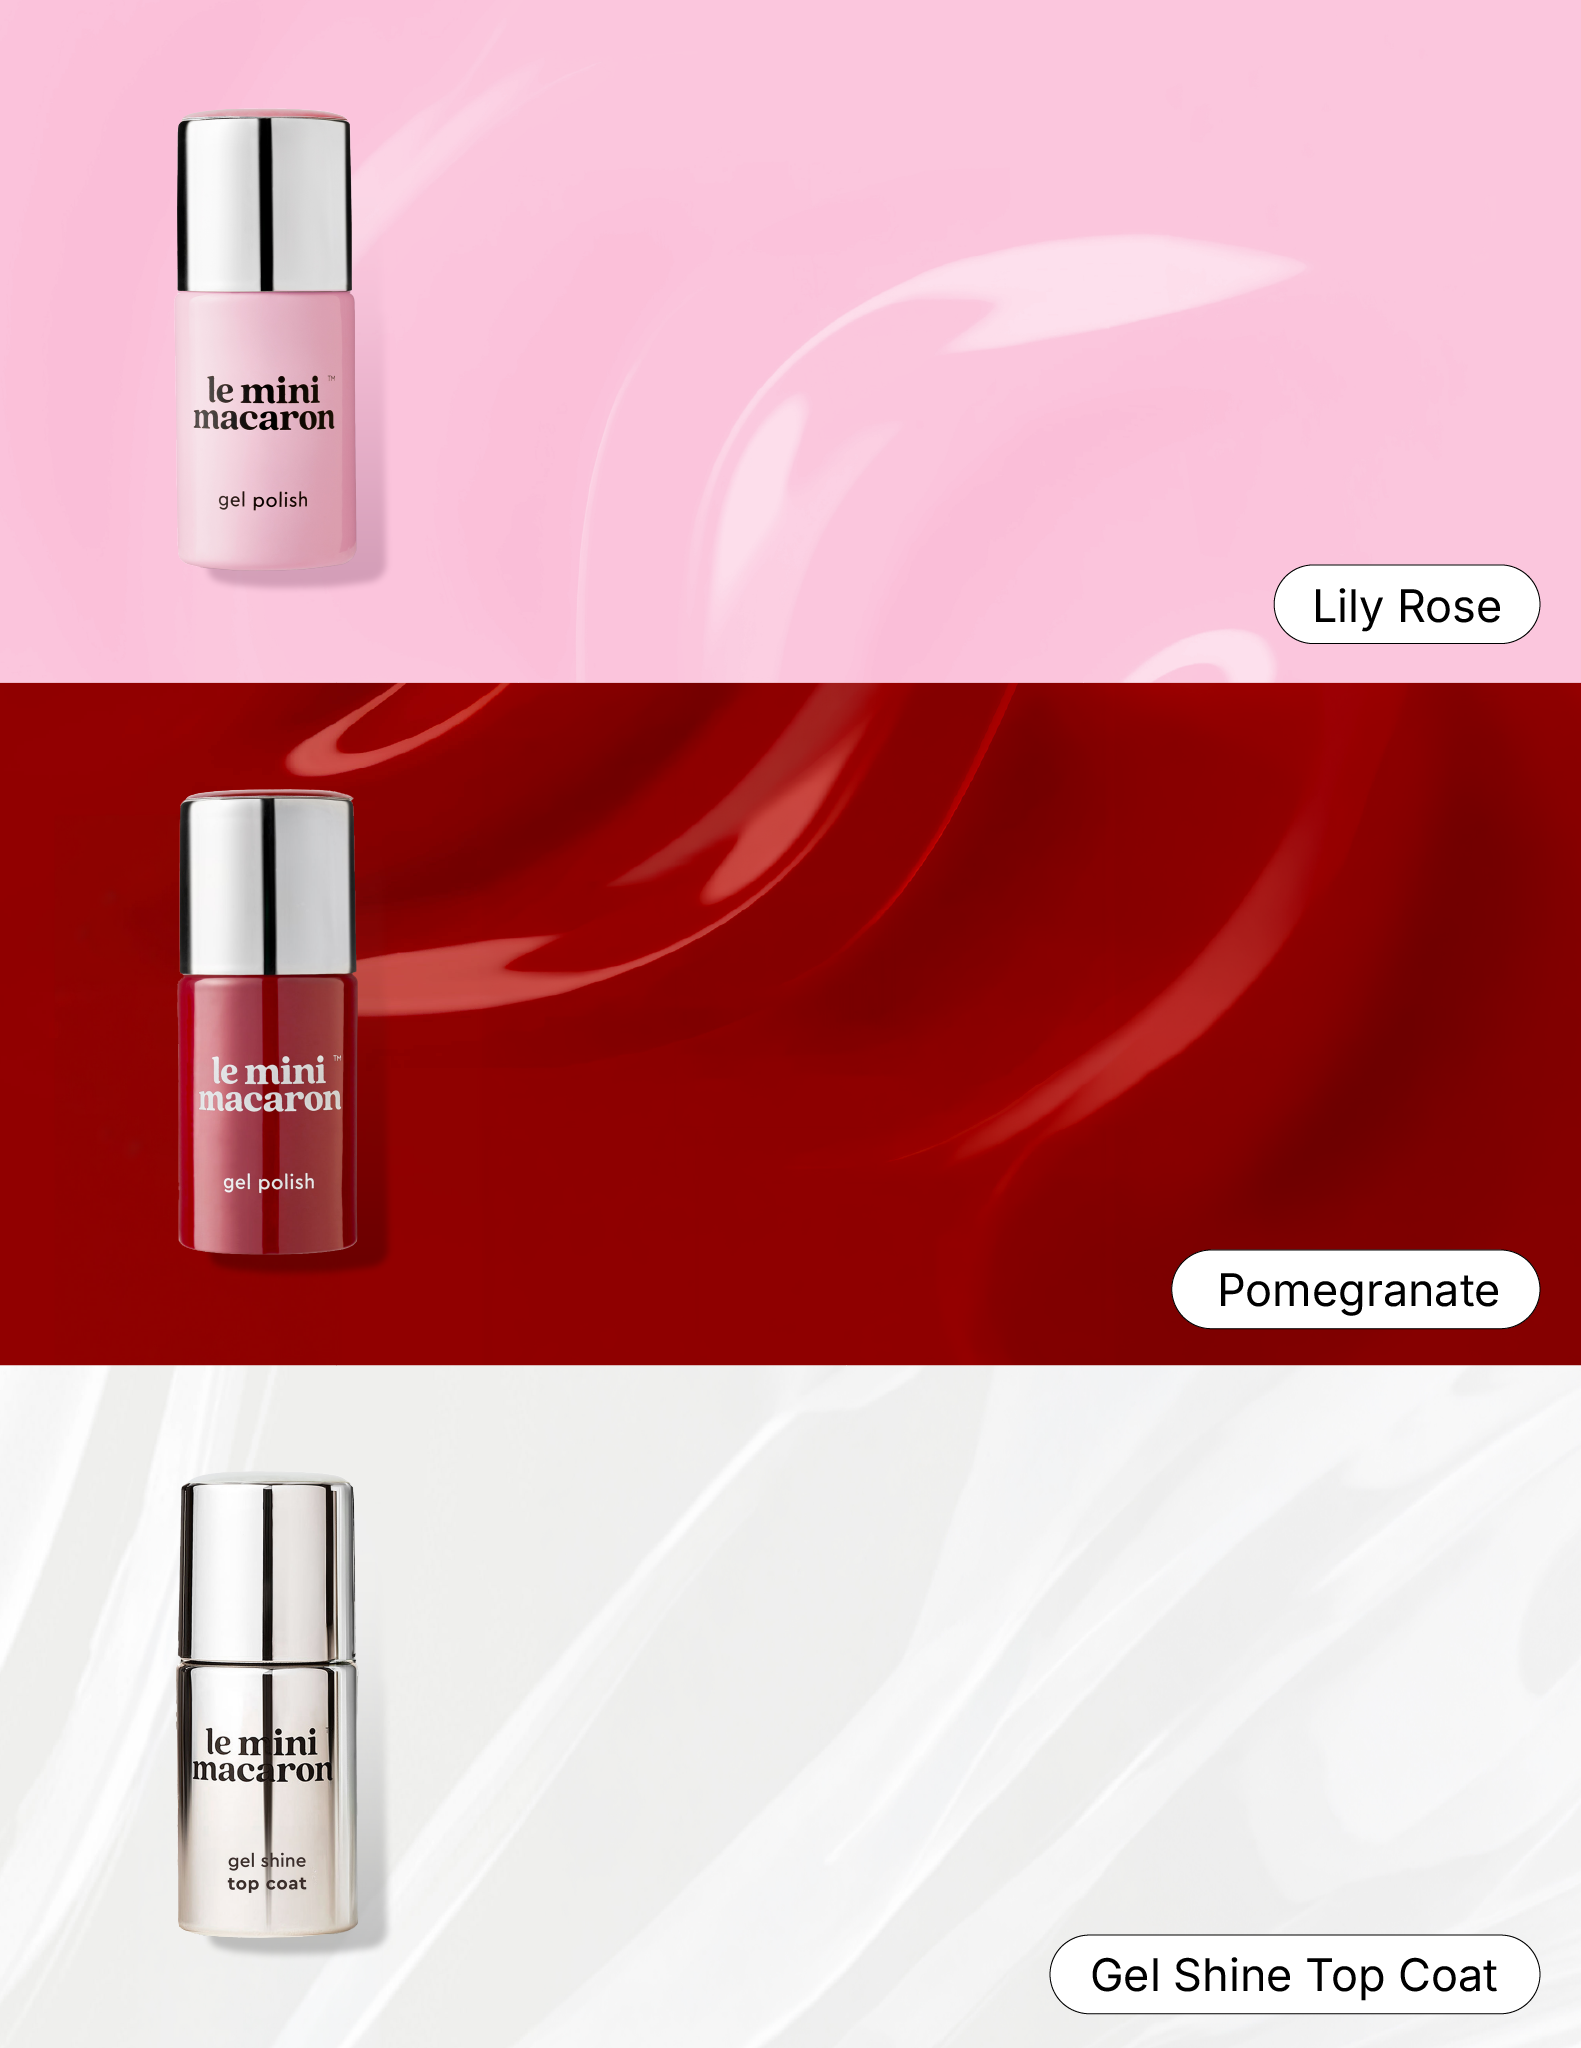
Lily Rose: A pastel pink with a hint of lilac, soft, luminous, and totally crush-worthy.
Pomegranate: A sultry crimson red full of confidence, flattering every skin tone.
Gel Shine Top Coat: Our triple shine gel top coat gives you three times the shine and lasting power!


Pairs Best With:
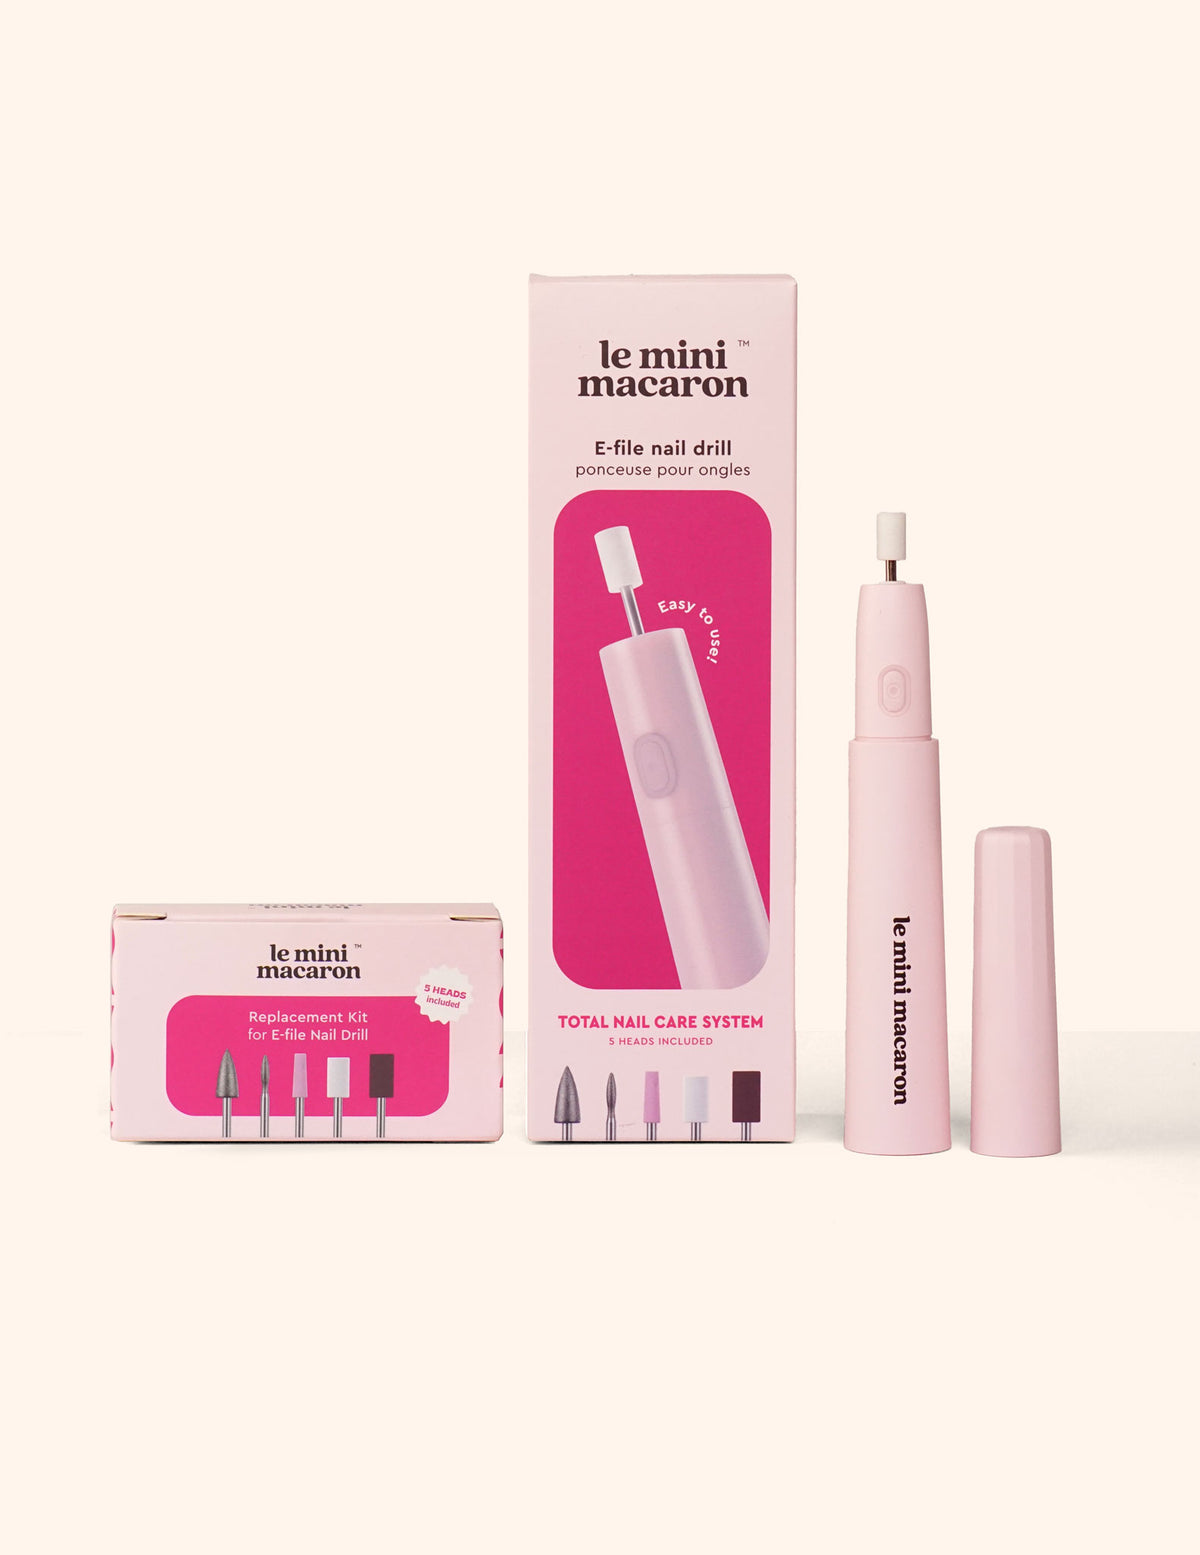
Drill & Exchange Bundle
39 € 43 €
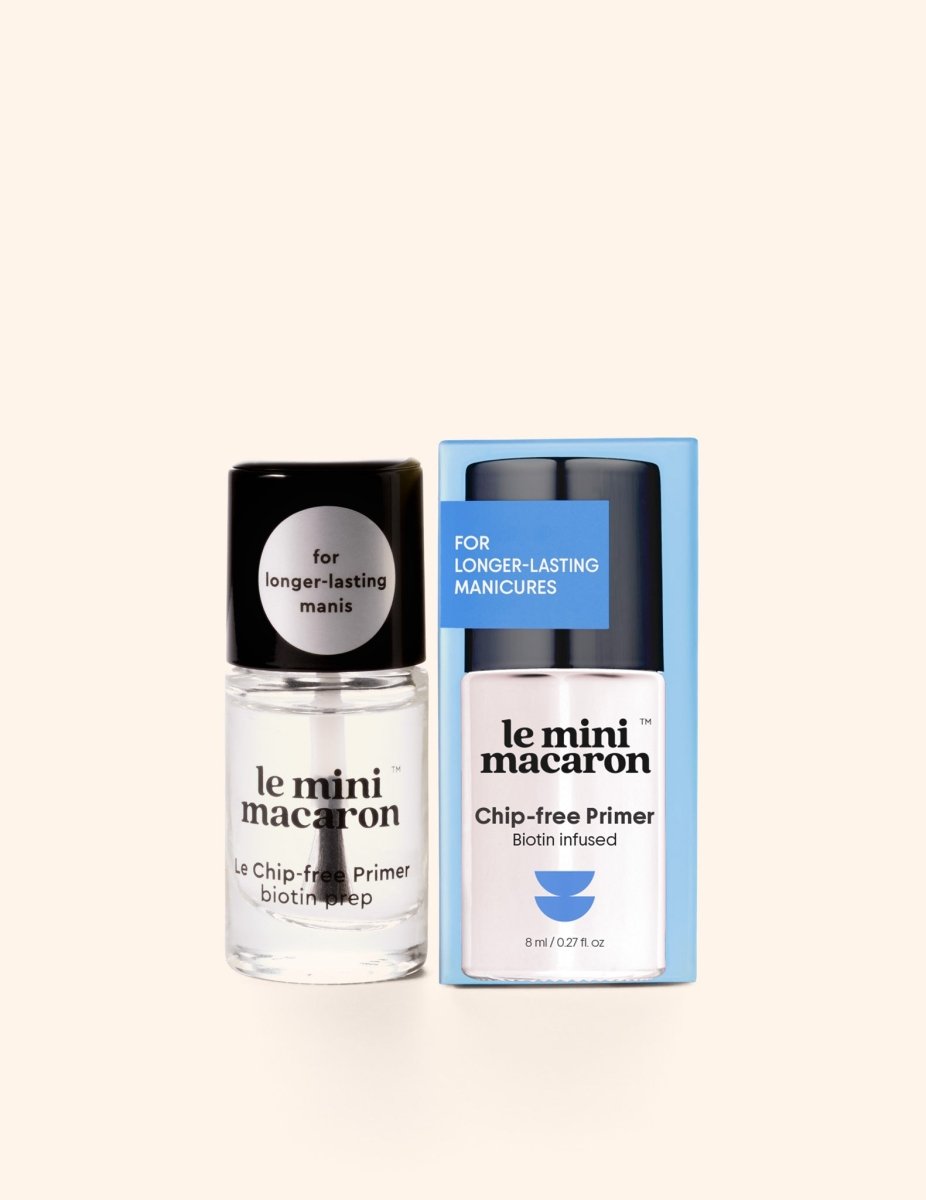
Le Chip-free Primer
8 €
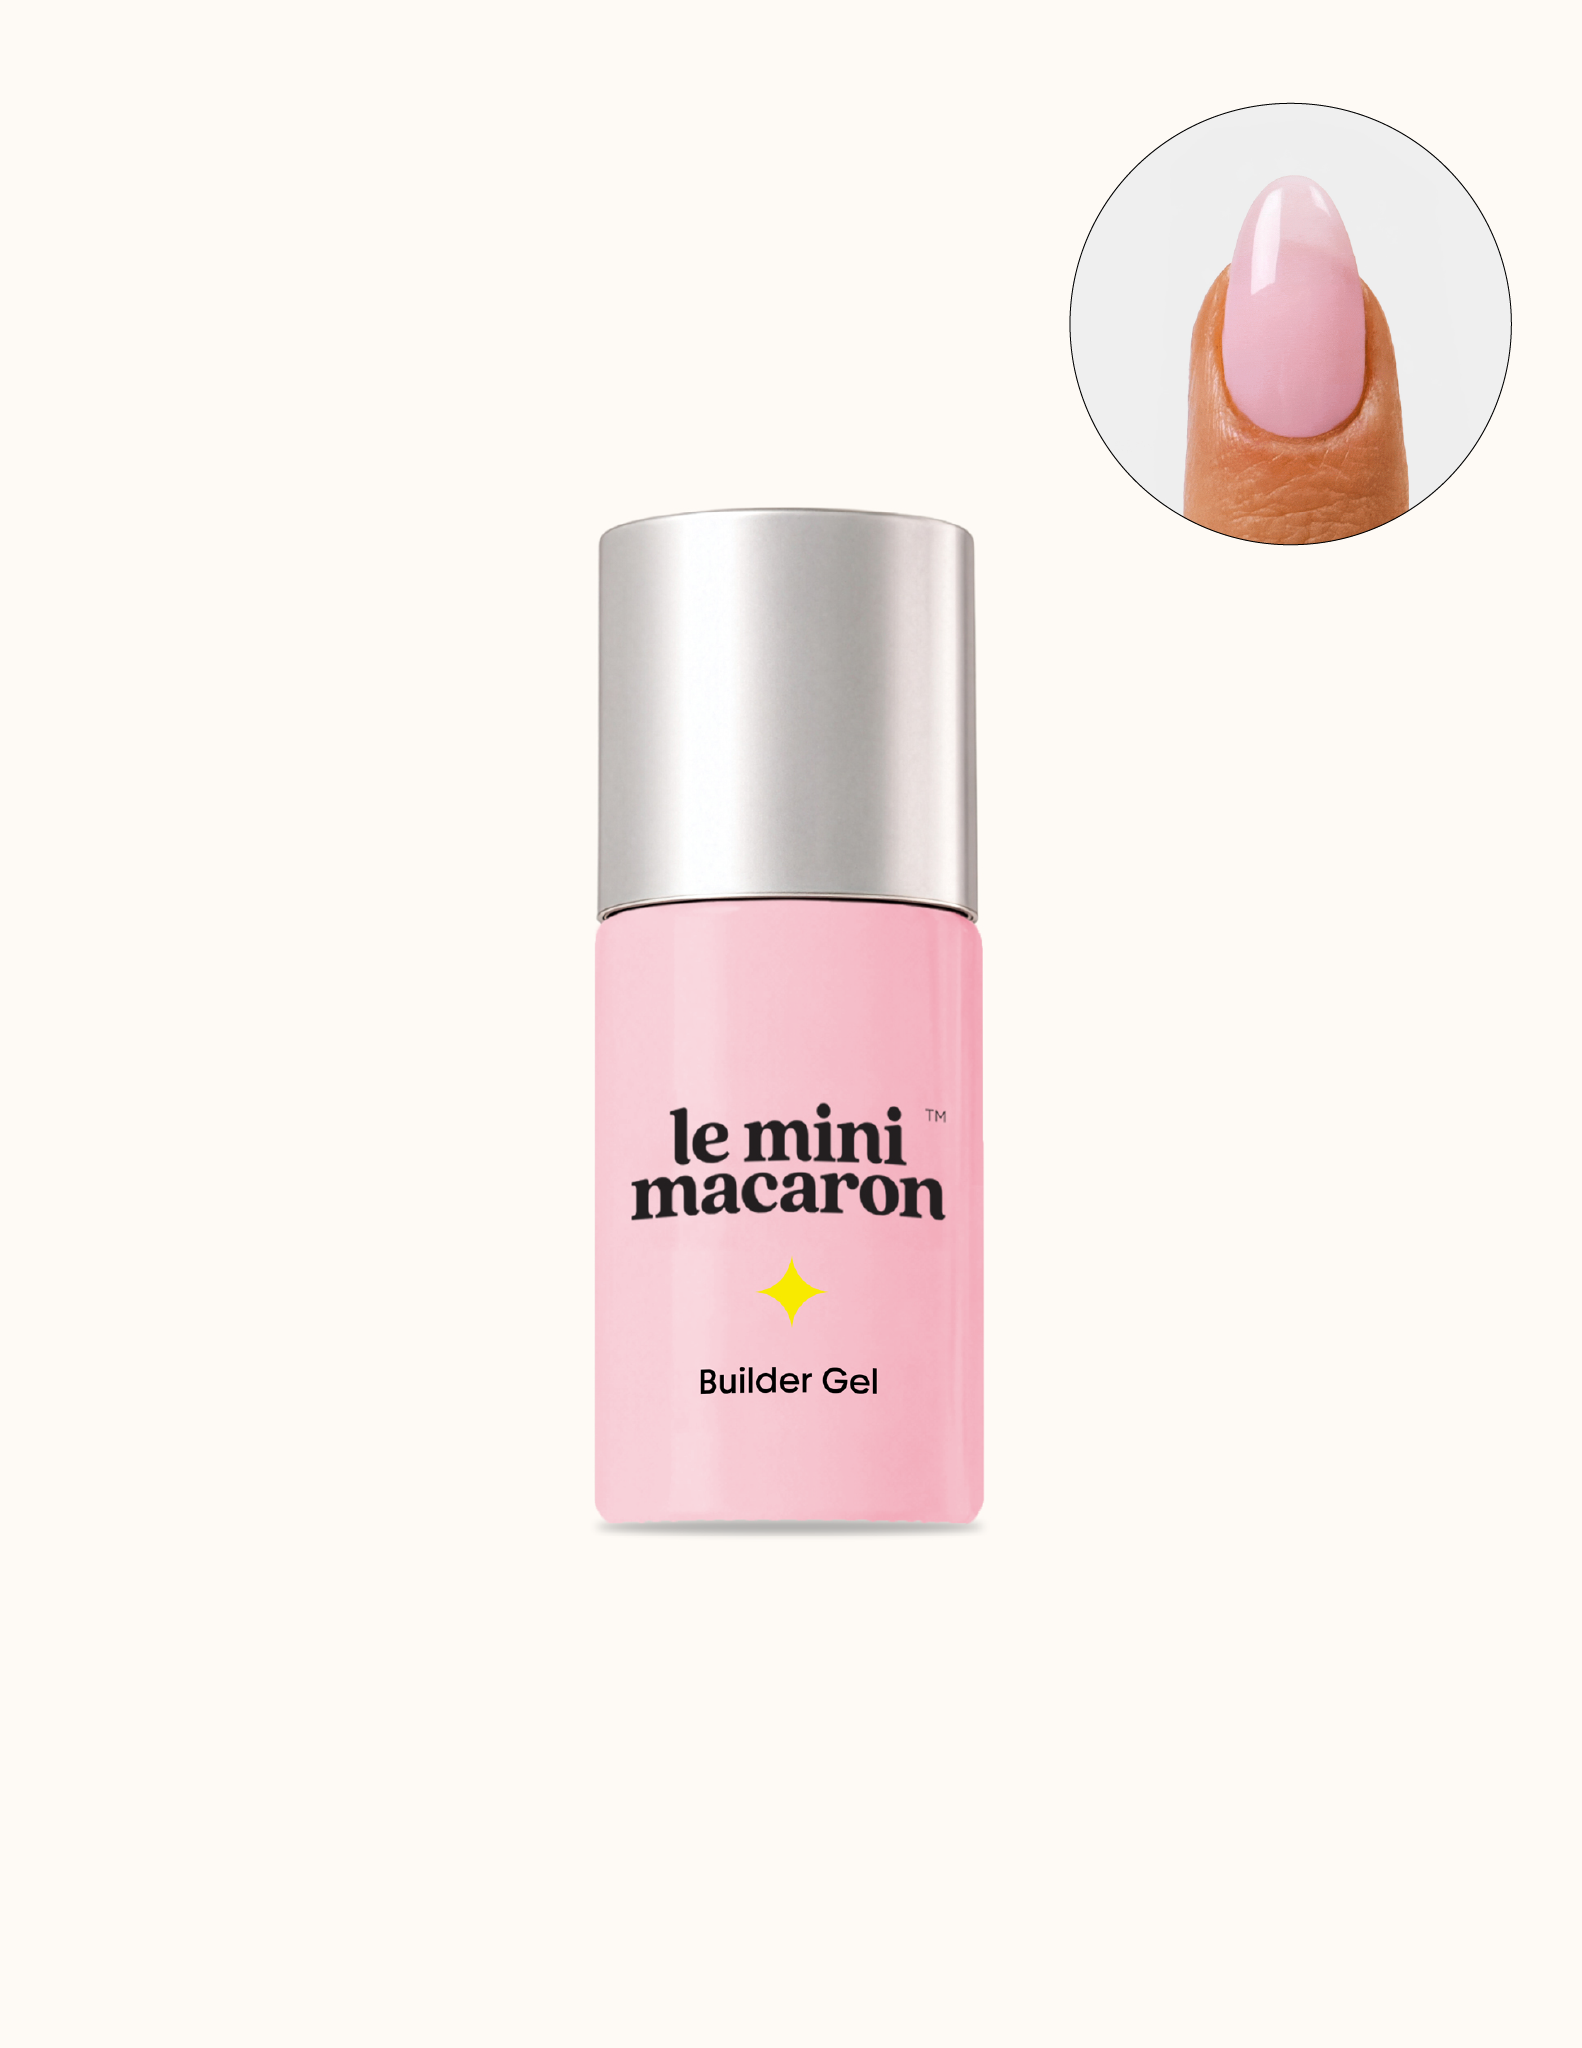
Multi-Use Builder Gel - Strawberry Milk
15 €
Milkshake - Gel Polish
14 €
Cassis - Gel Polish
14 €
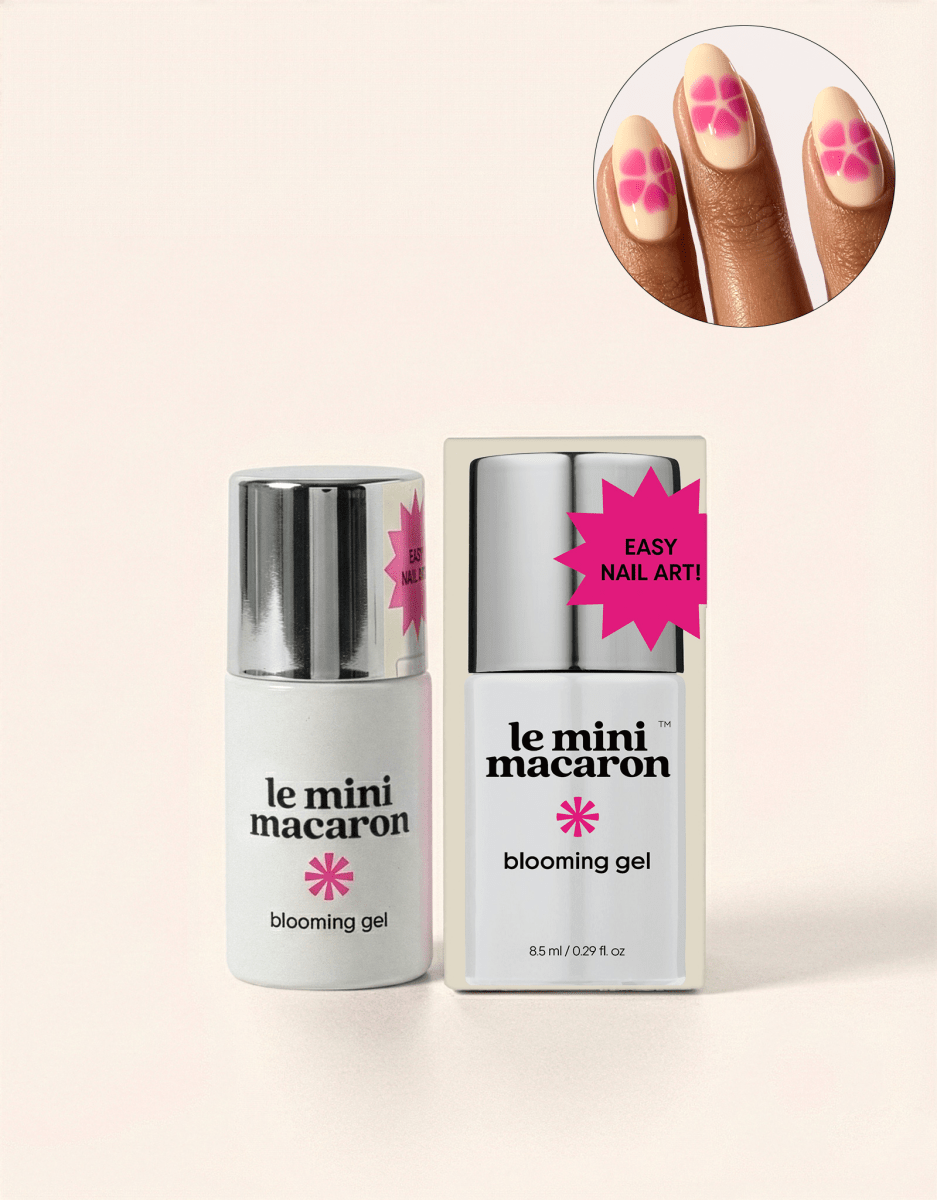
Blooming Gel
12 €
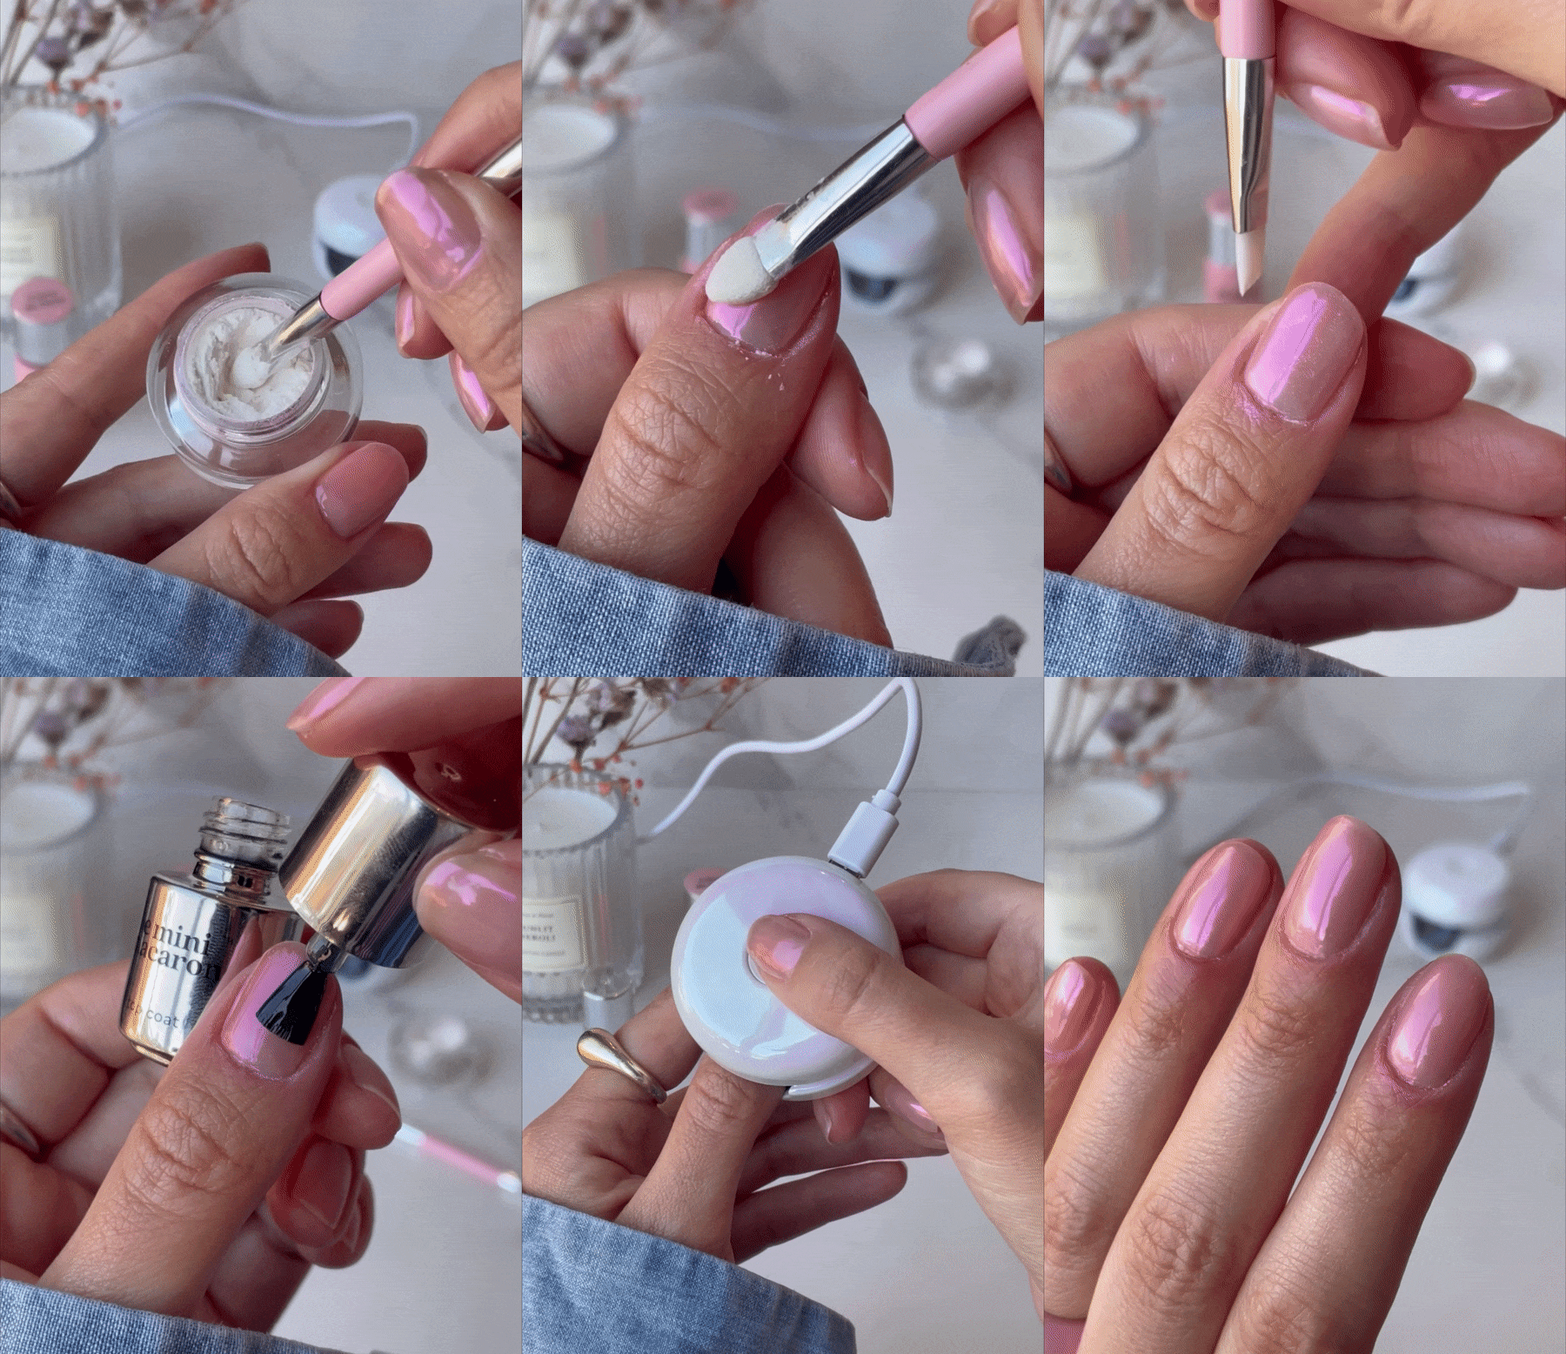
Le Glazed - Nail Powder & Gel Topcoat Set
16 €
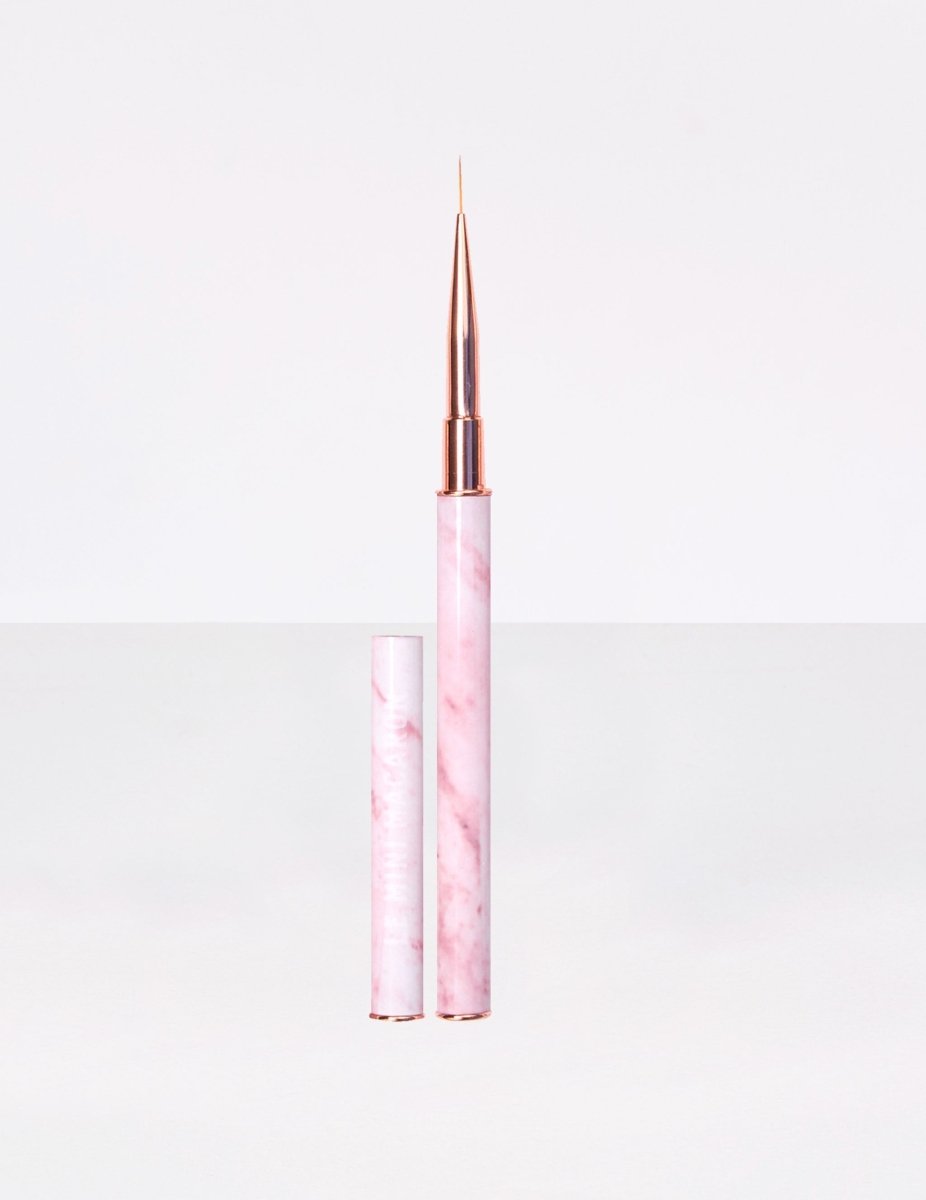
Le Liner Brush
9.95 €
Why You’ll Love It
- All-in-one kit, everything you need for easy application and removal.
- Cordless & rechargeable LED lamp, +2h of use for on-the-go manis!
- Maximal shine, up to 2 weeks of glossy wear.
- Beginner-friendly, simple, stress-free application and removal.
- 4-fingers, cured in just 60 seconds, no waiting time.
- Glossy, chip-resistant & smudge-free
- Premium curved brush, smoother, easier application.
- HEMA-free, TPO-free, 9-free
- Vegan and Cruelty-free
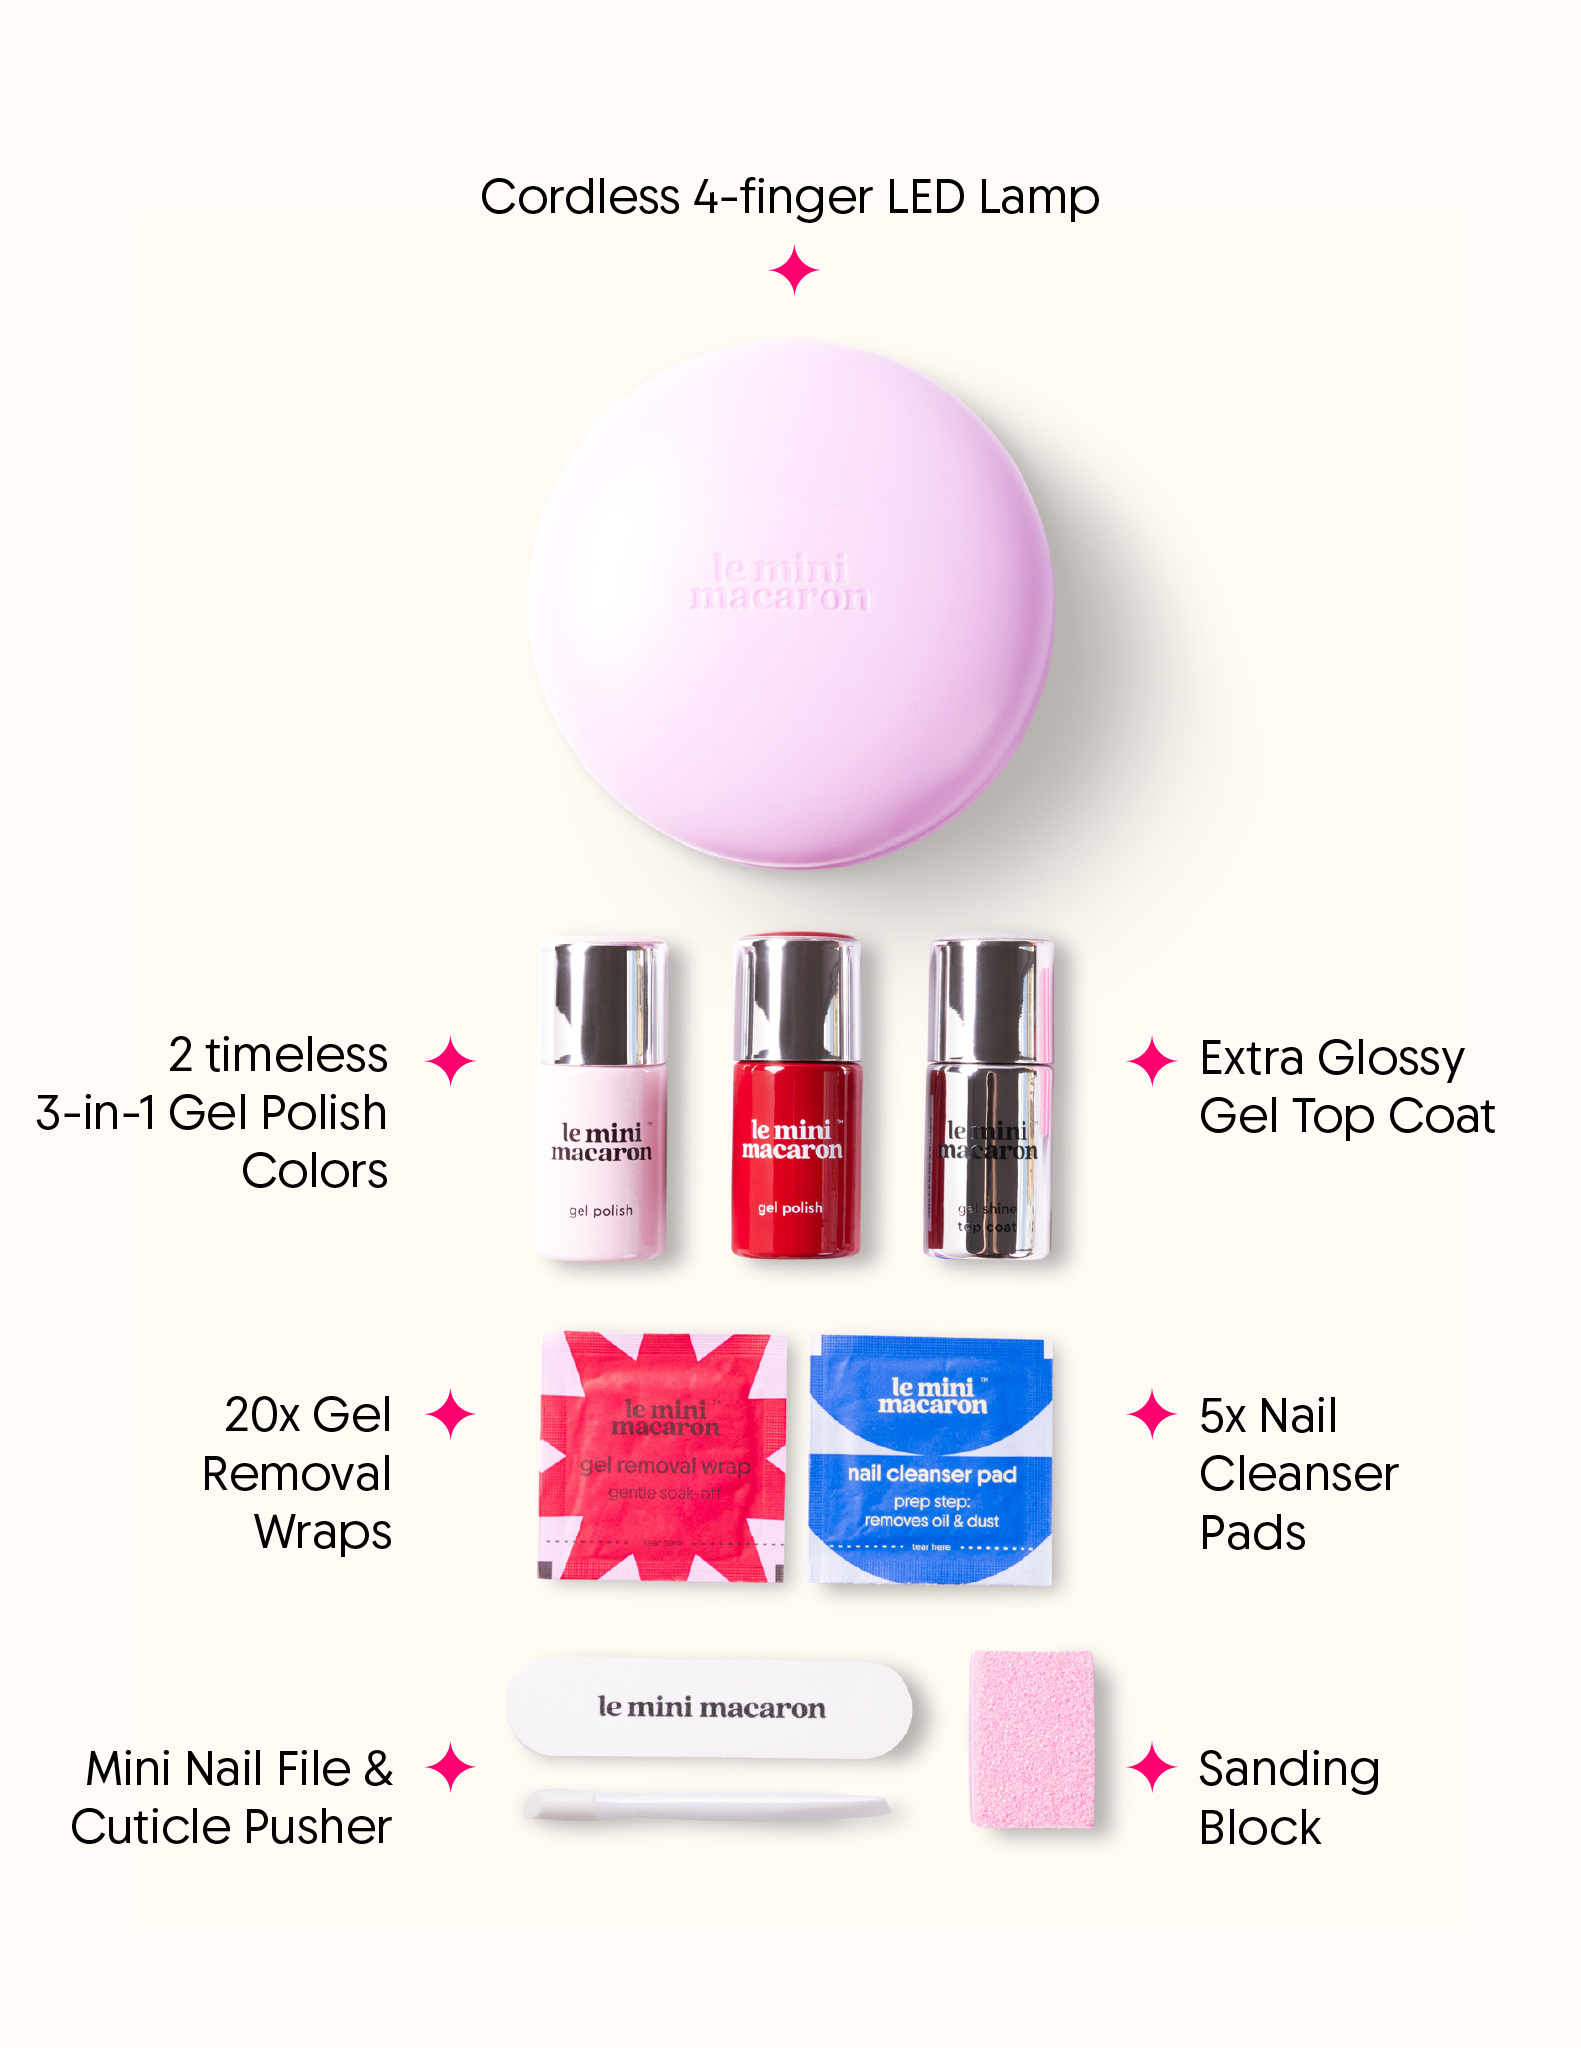
Each Kit Includes:
- 24W cordless, motion-activated LED Lamp
- 2 timeless 1-step gel polish shades (no base or top coat needed)
- Top Coat for extra-glossy shine
- 5 Nail Cleanser Pads and 20 Gel Remover Wraps
- Accessories to apply & remove your gel manicure easily
- Large reusable pouch

Choose options
How to Apply
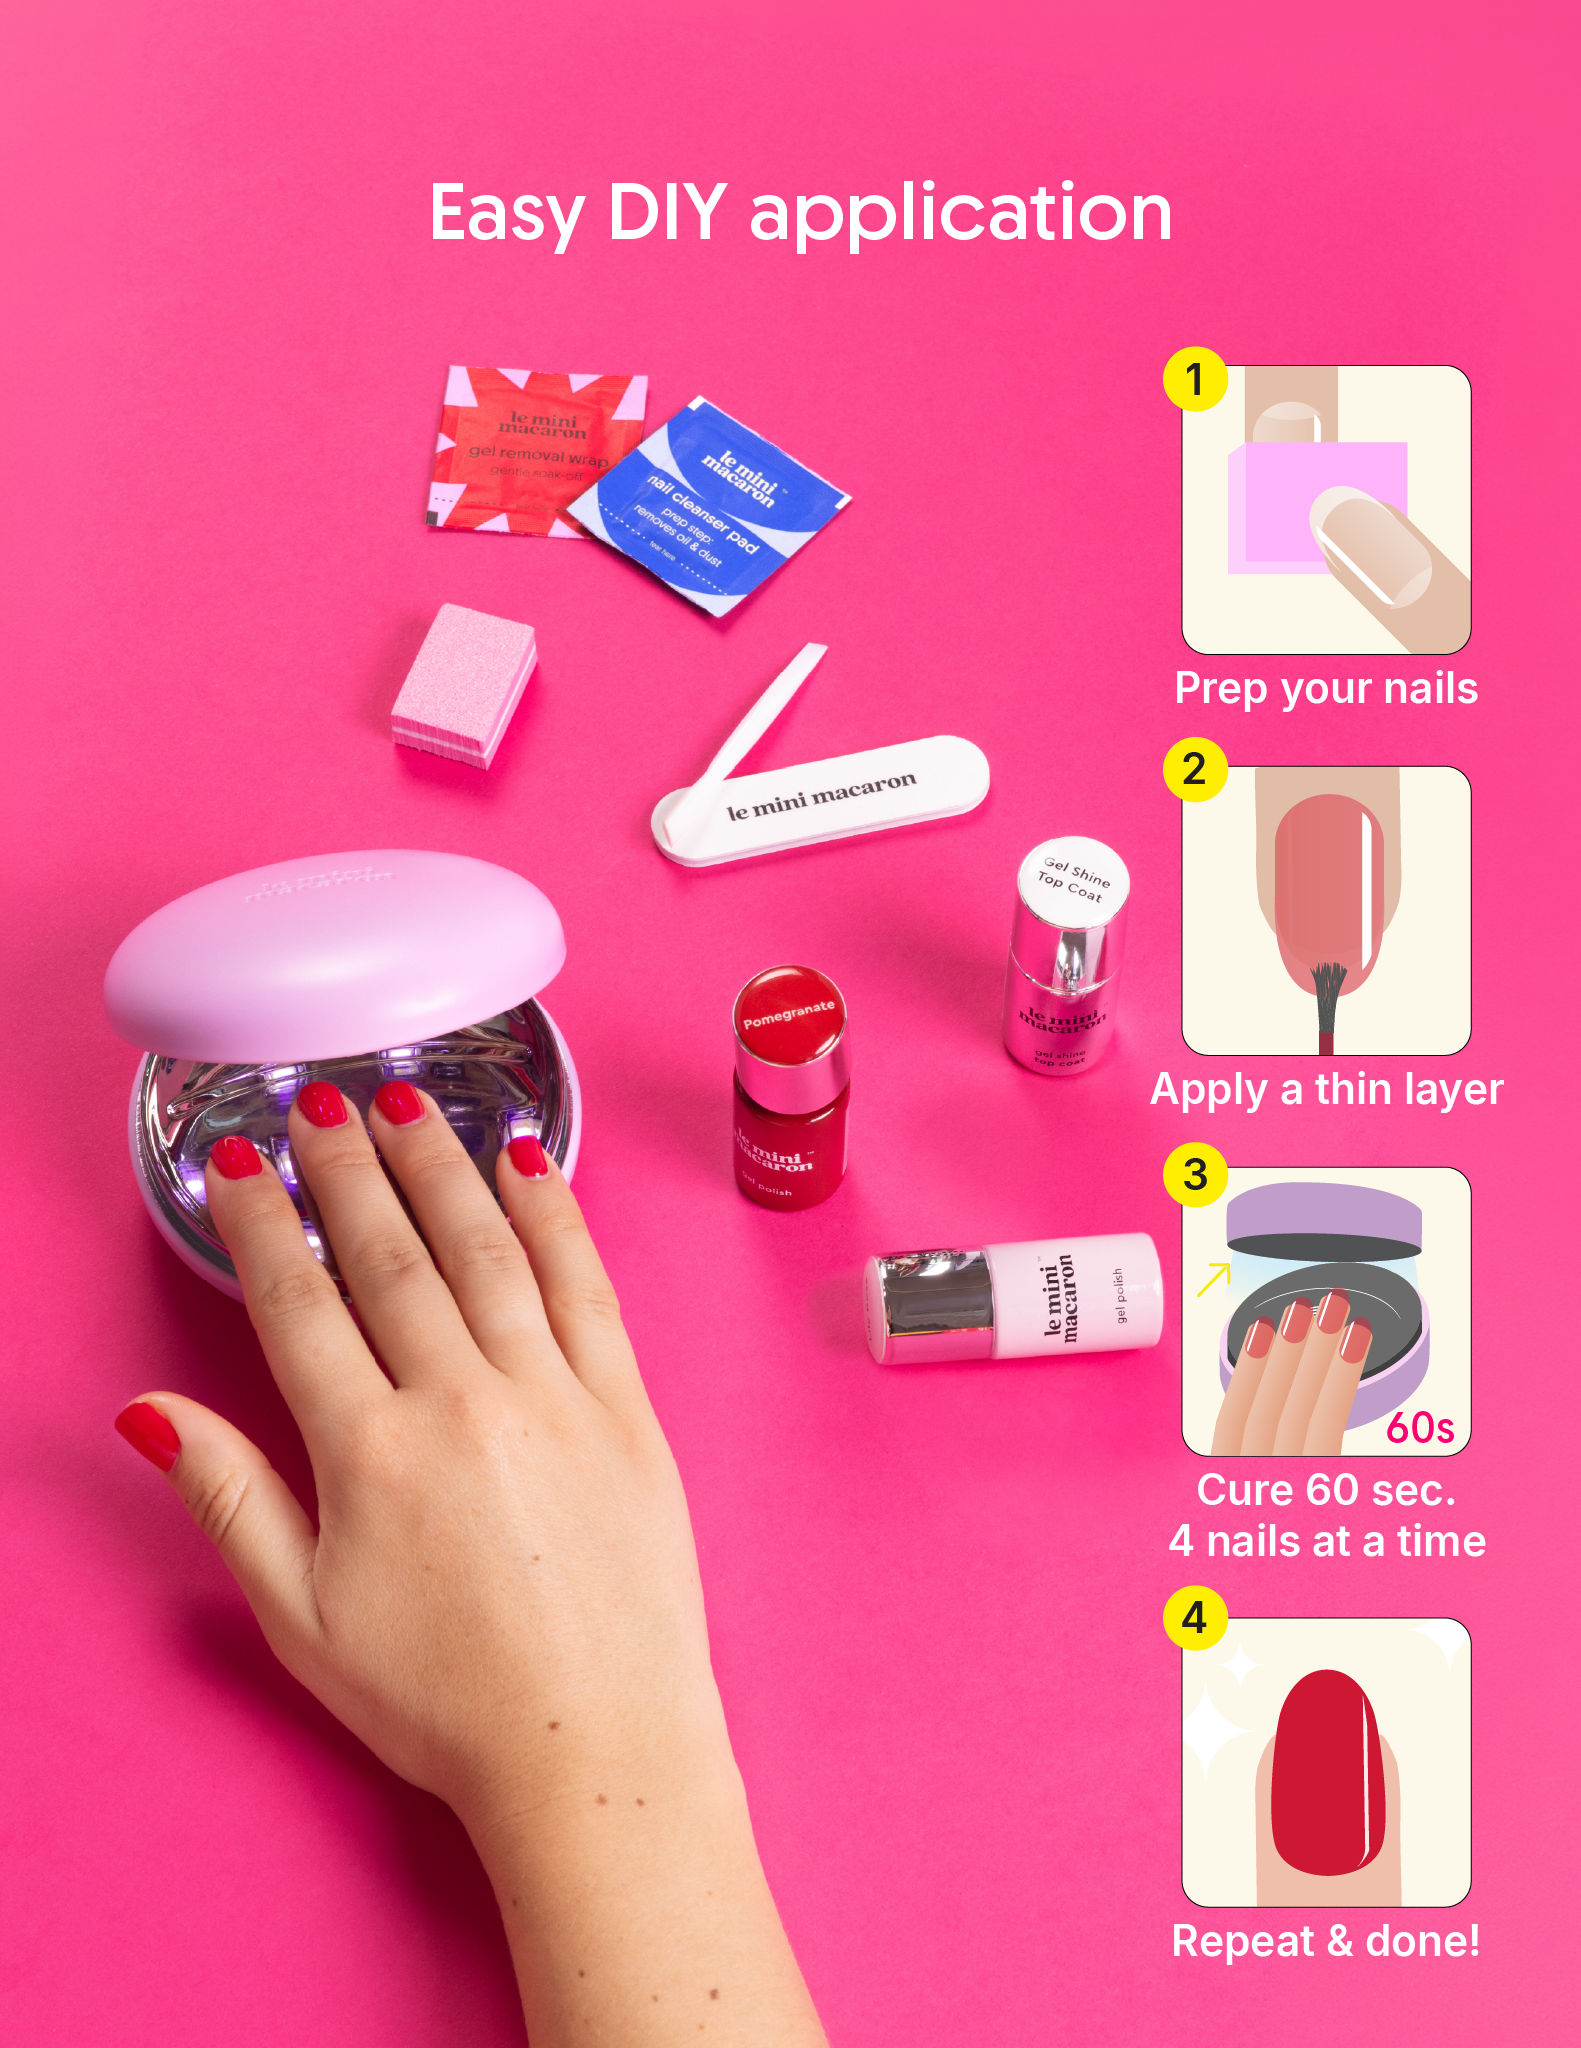
Follow these easy directions for a perfect manicure:
NAIL PREP
The foundation of every great mani.
- File nails to smooth edges.
- Push back cuticles gently.
- Buff nails until the surface looks matte and brush off dust.
- Wipe nails with cleanser.
Avoid touching anything after cleaning to keep nails free of oils!
APPLY GEL POLISH
Shake the gel polish bottle well.
- Apply first coat – thin, almost transparent and seal the edges.
- Cure in lamp – 2-3 nails at a time. 60 seconds.
- Apply second coat – Slightly thicker coat. Seal the edges.
- Cure in lamp – 60 seconds.
PRO TIPS
- Cure an extra 30 - 60 seconds, to make sure nails are fully dry.
- For an extra glossy finish, apply Top Coat.
- Keep your nails happy—apply cuticle oil and moisturize!
How to Apply
Follow these easy directions for a perfect manicure:
NAIL PREP
The foundation of every great mani.
- File nails to smooth edges.
- Push back cuticles gently.
- Buff nails until the surface looks matte and brush off dust.
- Wipe nails with cleanser.
Avoid touching anything after cleaning to keep nails free of oils!
APPLY GEL POLISH
Shake the gel polish bottle well.
- Apply first coat – thin, almost transparent and seal the edges.
- Cure in lamp – 2-3 nails at a time. 60 seconds.
- Apply second coat – Slightly thicker coat. Seal the edges.
- Cure in lamp – 60 seconds.
PRO TIPS
- Cure an extra 30 - 60 seconds, to make sure nails are fully dry.
- For an extra glossy finish, apply Top Coat.
- Keep your nails happy—apply cuticle oil and moisturize!
How to Remove
Follow these easy directions for perfect removal:
FILE THE TOP LAYER
- Use a 150/180 grit file – until nail looks completely matte.
APPLY REMOVAL WRAPS
- Insert finger into wrap – ensure cotton pad covers top of nail.
- Wrap tightly around finger
- Wait 15 minutes – then remove wrap.
- Polish should be shattered or bubbled – ready to be removed.
GENTLY REMOVE GEL
- Use a cuticle pusher or removal tool – gently scrape off the softened gel.
- Scrape in one direction – from cuticle to free edge of nail.
BUFF NAILS
Smooth out any remaining residue – use a buffer.
How to Remove
Follow these easy directions for perfect removal:
FILE THE TOP LAYER
- Use a 150/180 grit file – until nail looks completely matte.
APPLY REMOVAL WRAPS
- Insert finger into wrap – ensure cotton pad covers top of nail.
- Wrap tightly around finger
- Wait 15 minutes – then remove wrap.
- Polish should be shattered or bubbled – ready to be removed.
GENTLY REMOVE GEL
- Use a cuticle pusher or removal tool – gently scrape off the softened gel.
- Scrape in one direction – from cuticle to free edge of nail.
BUFF NAILS
Smooth out any remaining residue – use a buffer.
Lamp Instructions
Lamp charging instructions:
- To charge the lamp, connect the power cord to the back of the lamp and plug into a power source (preferably an adaptor). The indicator red light on the side of the lamp, close to the charging plug, will flash to confirm it is charging.
- After approximately 2 hours, the battery will be fully charged and the indicator light will remain on.
- A full battery allows for ≤ 2 hours of continuous use.
- When the lamp is out of battery, the indicator light will start flashing.
Turn on/off:
- To start the lamp, open the lamp and place your fingers on top of the line inside. The lamp is motion activated.
- The lamp stops automatically after 60 seconds (1 curing cycle). To start a new curing cycle, insert your fingers again inside the lamp making sure you touch the bottom of the lamp for the LED light to turn on again.
- After 60 seconds, the light will turn off. If you have finished your manicure, you can close the lamp.
- If you want to stop the curing process, close the lamp.
Additional tip: For first-time use, we recommend fully charging the lamp before using it to ensure optimal performance.
Lamp Instructions
Lamp charging instructions:
- To charge the lamp, connect the power cord to the back of the lamp and plug into a power source (preferably an adaptor). The indicator red light on the side of the lamp, close to the charging plug, will flash to confirm it is charging.
- After approximately 2 hours, the battery will be fully charged and the indicator light will remain on.
- A full battery allows for ≤ 2 hours of continuous use.
- When the lamp is out of battery, the indicator light will start flashing.
Turn on/off:
- To start the lamp, open the lamp and place your fingers on top of the line inside. The lamp is motion activated.
- The lamp stops automatically after 60 seconds (1 curing cycle). To start a new curing cycle, insert your fingers again inside the lamp making sure you touch the bottom of the lamp for the LED light to turn on again.
- After 60 seconds, the light will turn off. If you have finished your manicure, you can close the lamp.
- If you want to stop the curing process, close the lamp.
Additional tip: For first-time use, we recommend fully charging the lamp before using it to ensure optimal performance.

Cordless

Beginner-Friendly

Glossy Finish
Cordless
Beginner-Friendly
Glossy Finish
ALL-IN KIT FAQS
Frequently Asked Questions
Yes, and the motion-activated lamp makes it easier than most kits. Open the lamp, rest your fingers inside, and it starts curing automatically. No buttons to press, no guessing. The 1-step formula too is designed to be as straightforward as possible: no separate base coat, color and top coat; plus a gel-shine top coat is already included in the kit for extra shine and longer lasting manis.
No. The Cordless Maxi Kit includes everything you need to create and remove gel manicures at home. Our 1-step gel polish combines base coat, color, and top coat in one formula, and the kit already includes a Gel Shine Top Coat for extra shine, prep pads, remover wraps, and the basic manicure accessories. To complete your routine you can look at our Prep Tools, Removal Tools, or Nail Care but it is optional.
More than 14 days chip-free with the proper Prep and Application routines. The included Gel Shine Top Coat adds extra staying power and triples the shine. For best results make sure to follow all the steps in our Mani School: Nail Prep is the most important part of your mani!
If your manicure chips or lifts after a few days, don't be discouraged. Nail prep can sometimes take a little practice to really perfect your technique but once you've mastered the prep routine, you'll enjoy stronger adhesion and longer-lasting wear.
Yes. The lamp is rechargeable, and the kit comes in a large reusable travel pouch. The lamp battery is lithium-ion — permitted in carry-on luggage on most airlines. Confirm with your airline before flying.
Yes. The Cordless Maxi Kit can be used for both gel manicures and gel pedicures. The rechargeable LED lamp and cordless design make it easy to use wherever you're most comfortable, while the included gel polishes, Top Coat, and manicure tools help you achieve long-lasting results on both fingers and toes.
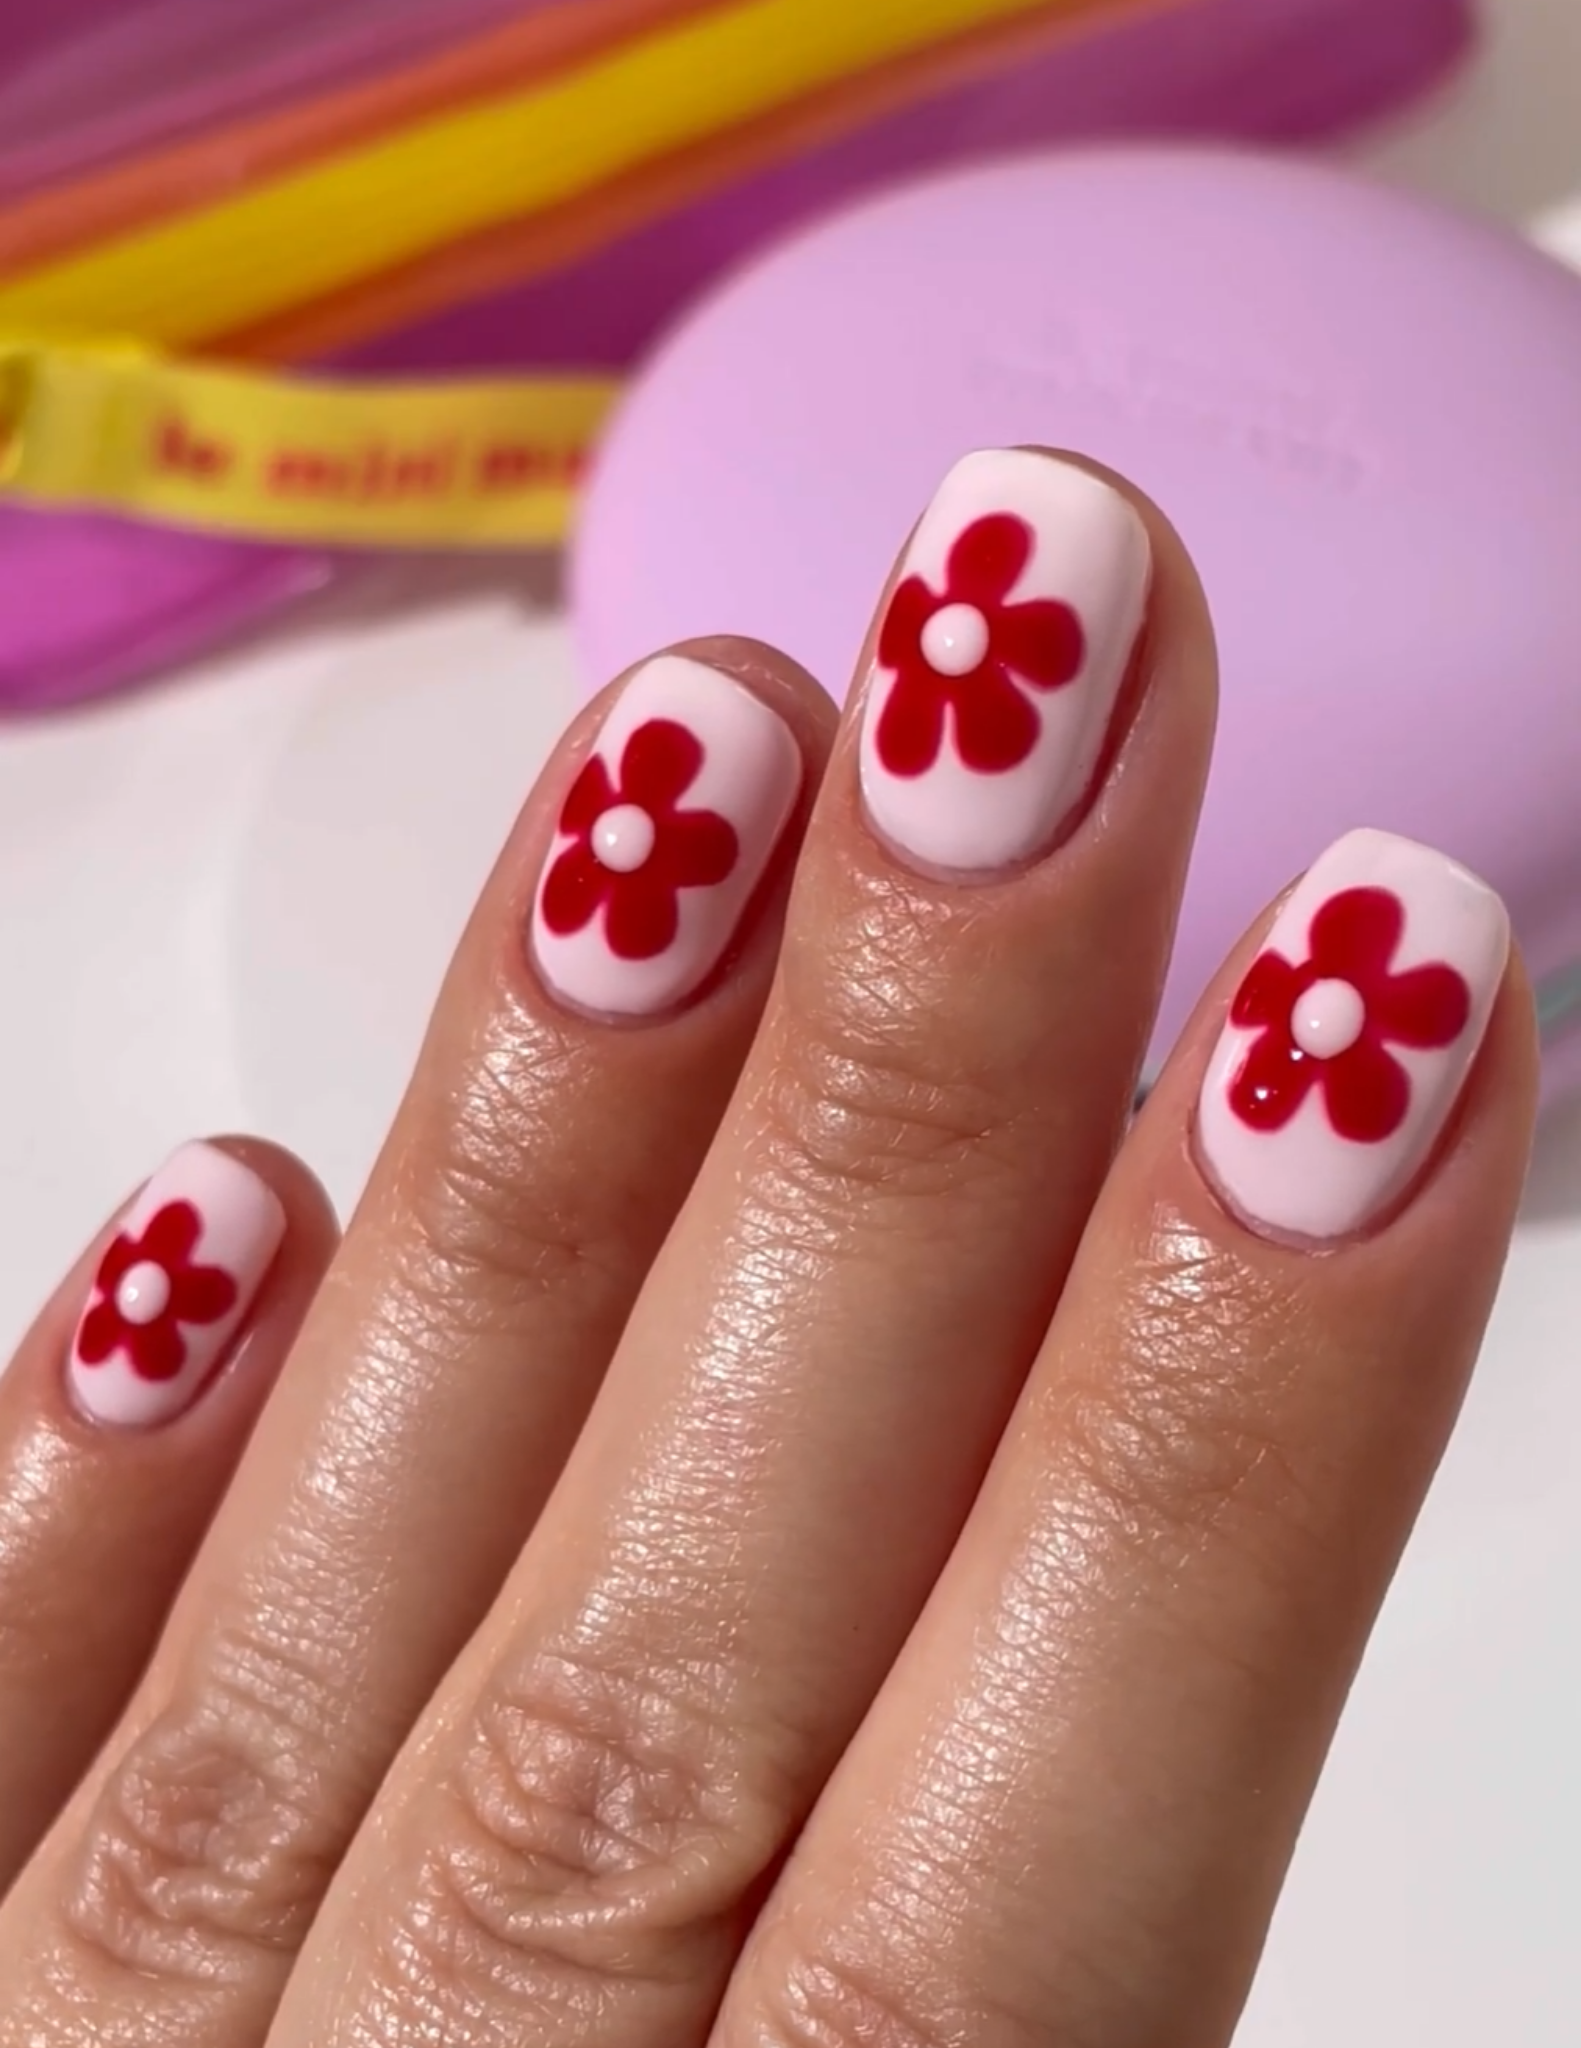
You can find plenty of Nail art inspo to use these shades in our Get The Look page or on our TikTok or Instagram. Flowers, French with a twist, Blooming nails ... you will find all the inspiration you need there. If you want to complete your kit, we also have beginner-friendly Nail Art Tools to help you create gorgeous nails.