THE GEL GAME: STEP-BY-STEP
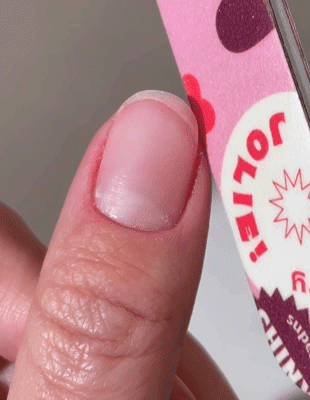
1. Trim & File
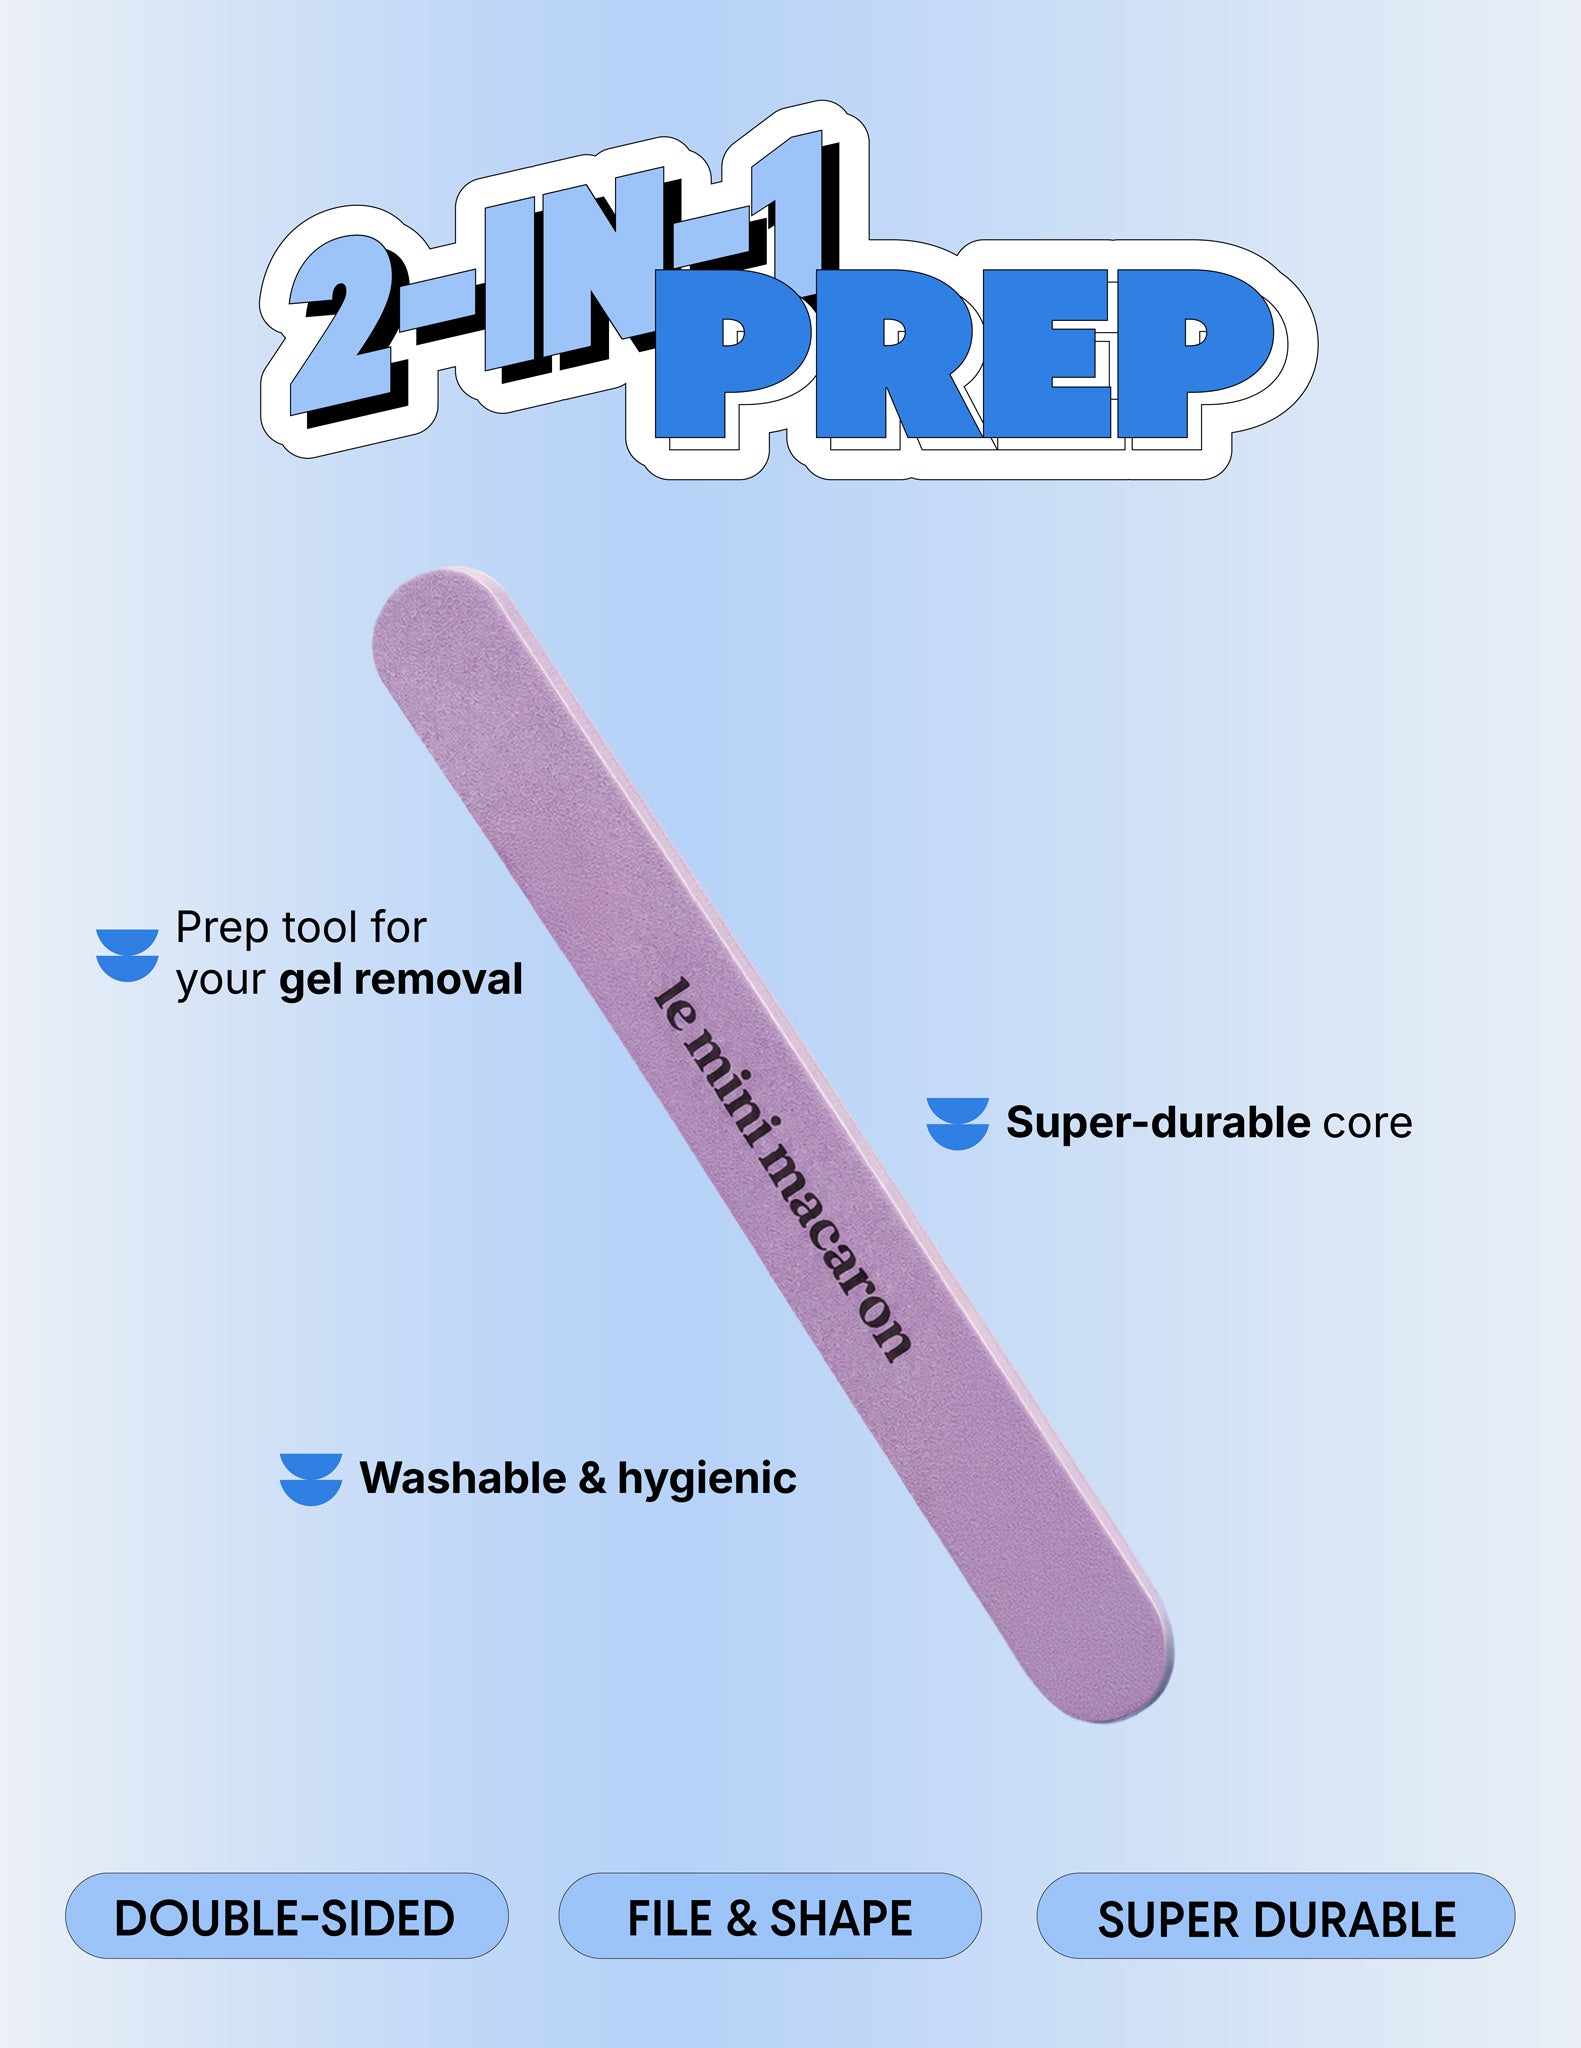
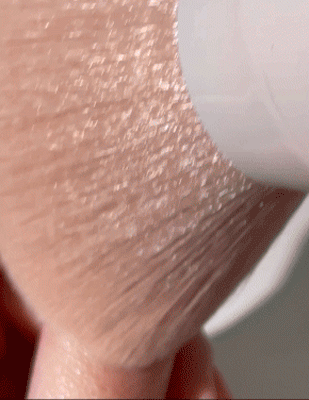
Let’s begin: Trim and shape the nails. File in one direction to avoid breakage.
2. Cuticle time
First soften the cuticles with remover liquid. Leave on for 1-2 min. Then push back the cuticles.
3. Cuticle finish
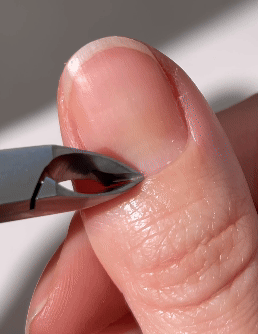
Push back skin around the nail edges, even if invisible. For an extra clean finish remove skin on the edges.
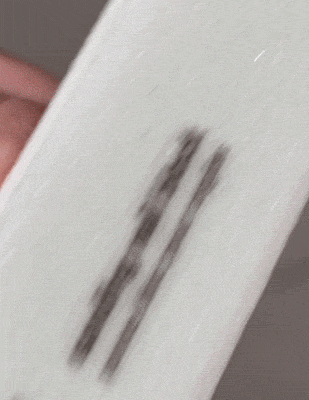
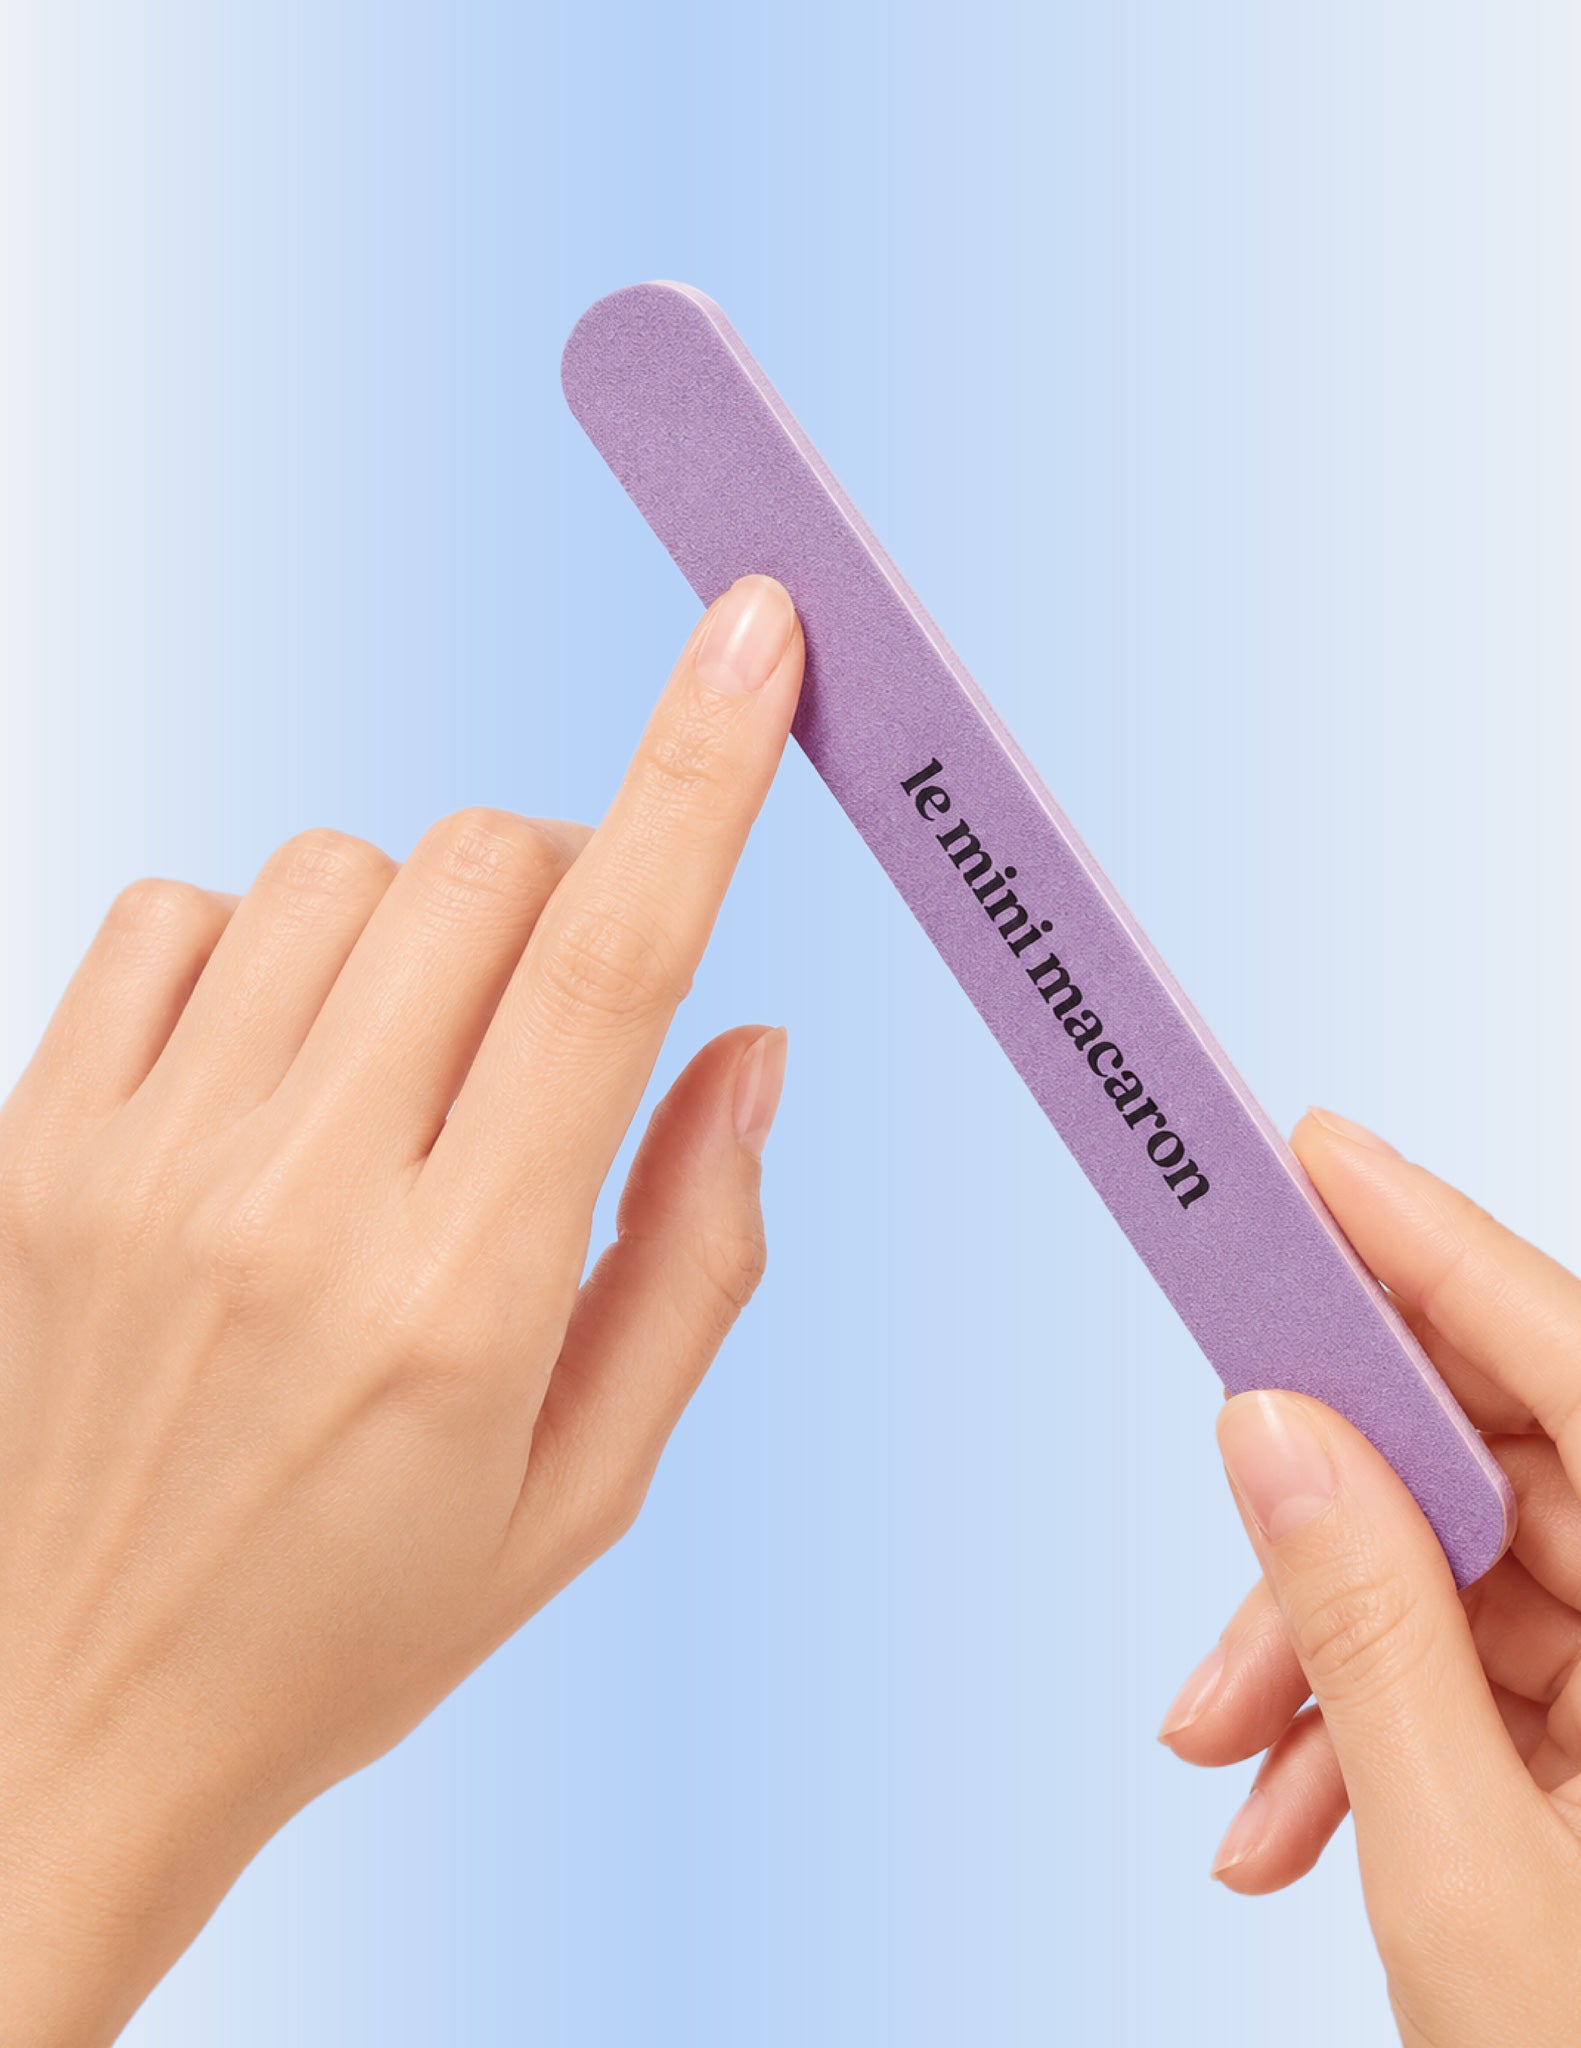
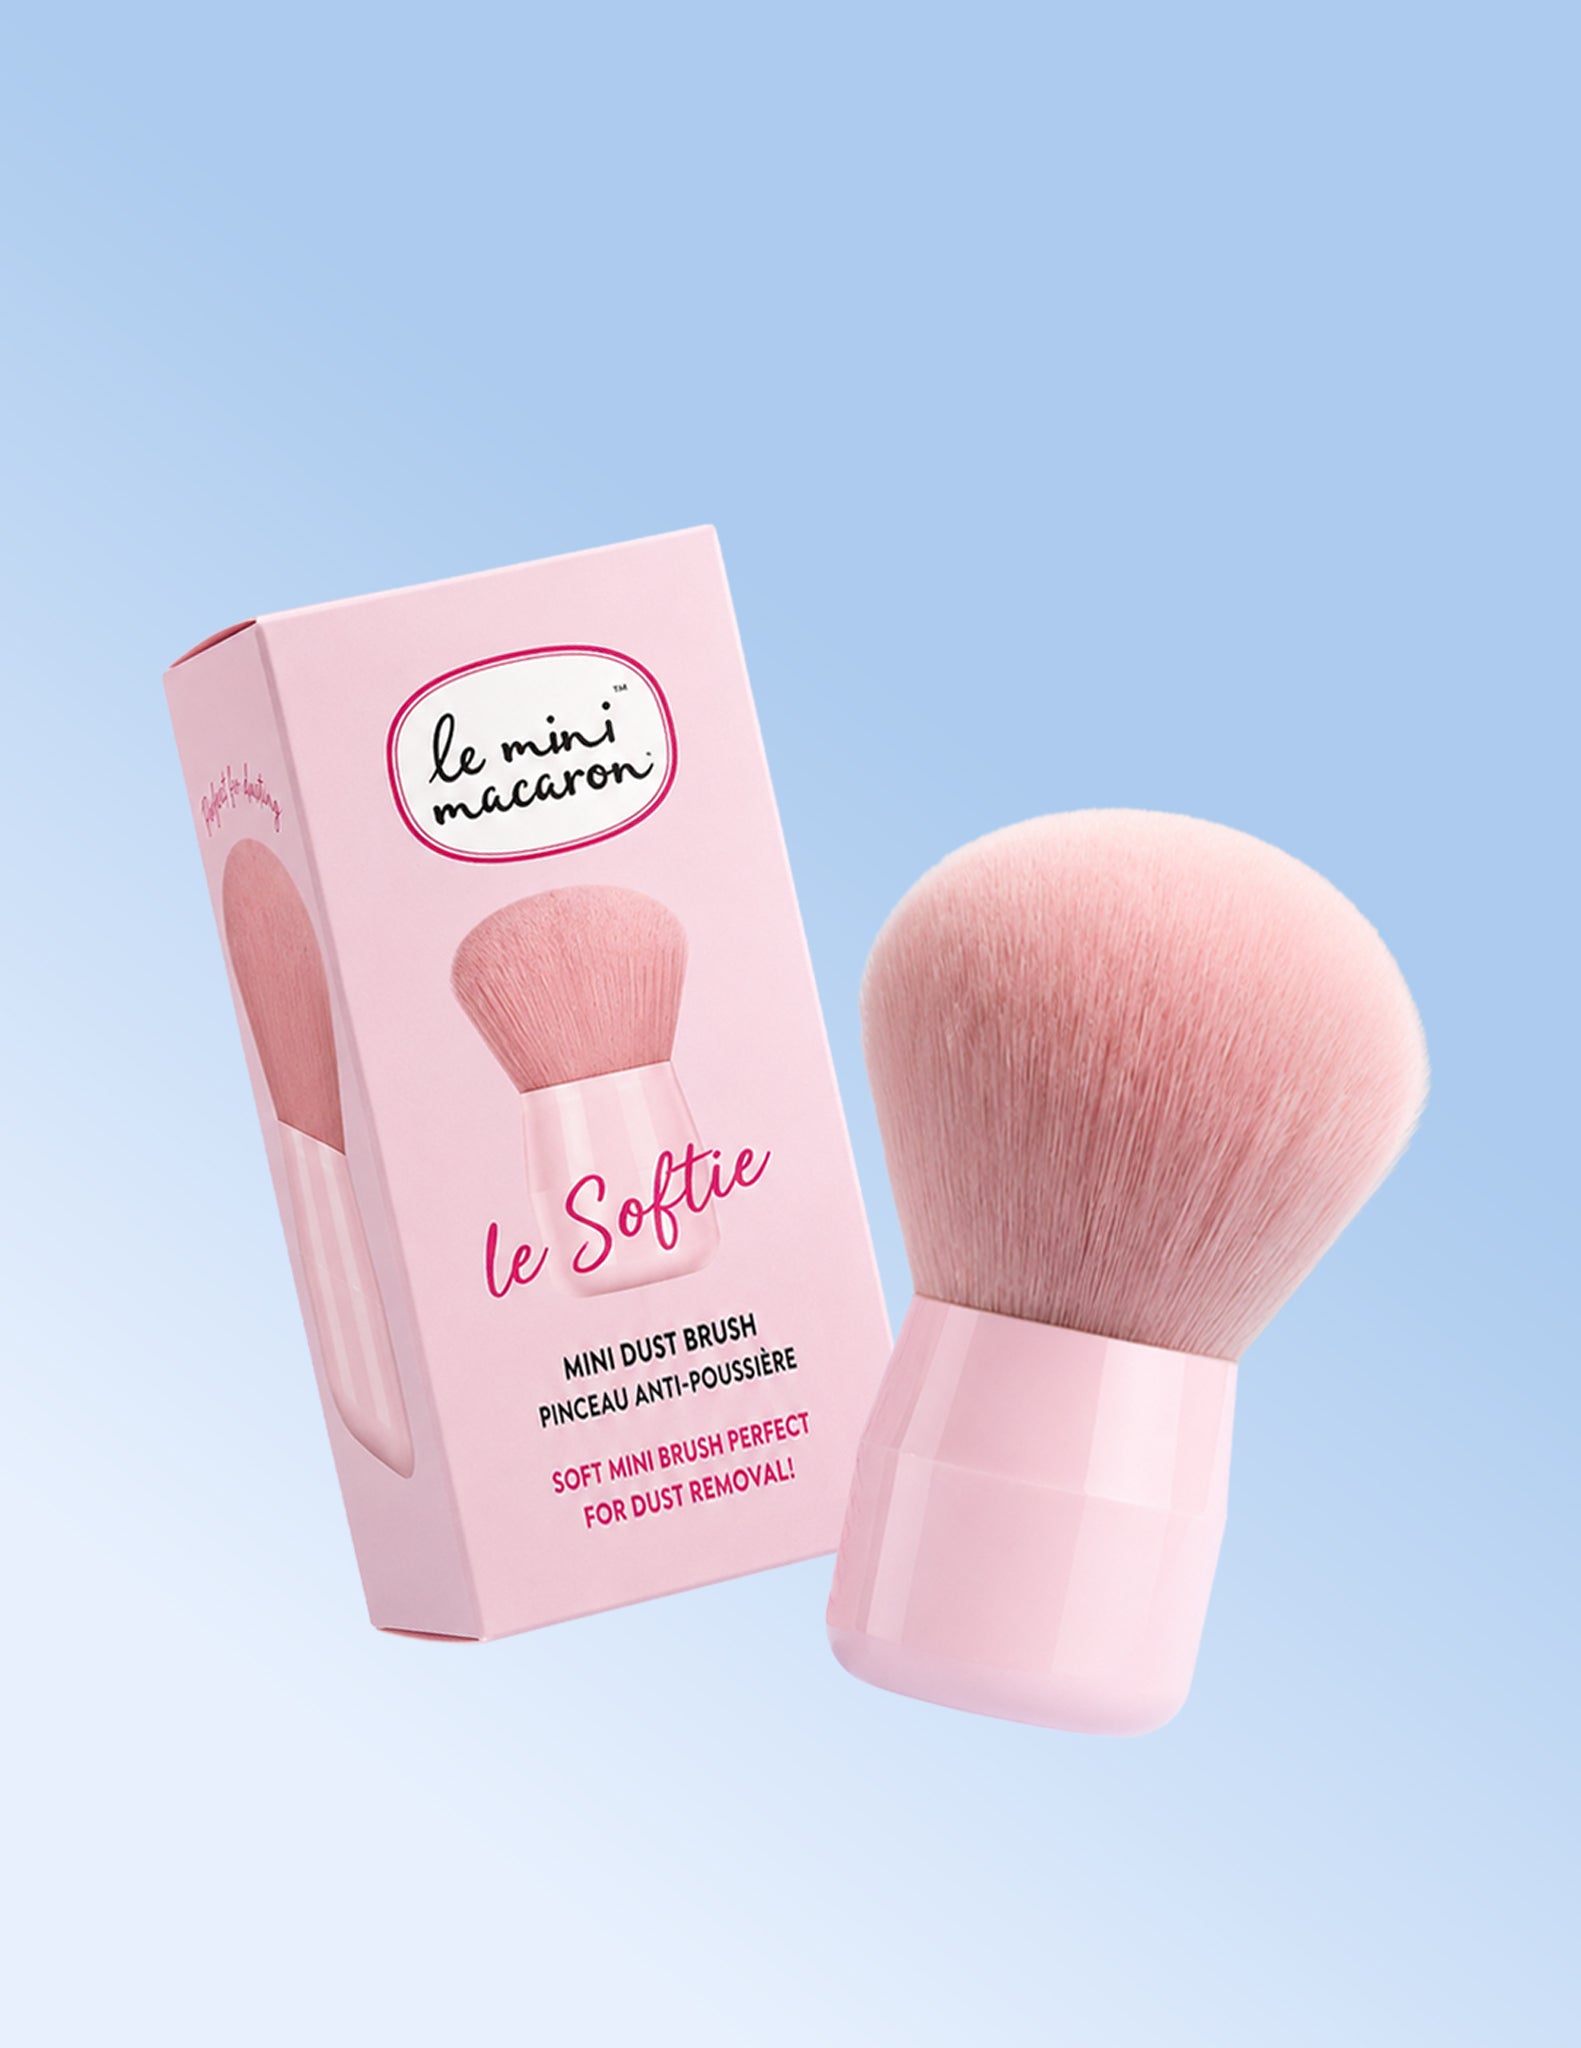
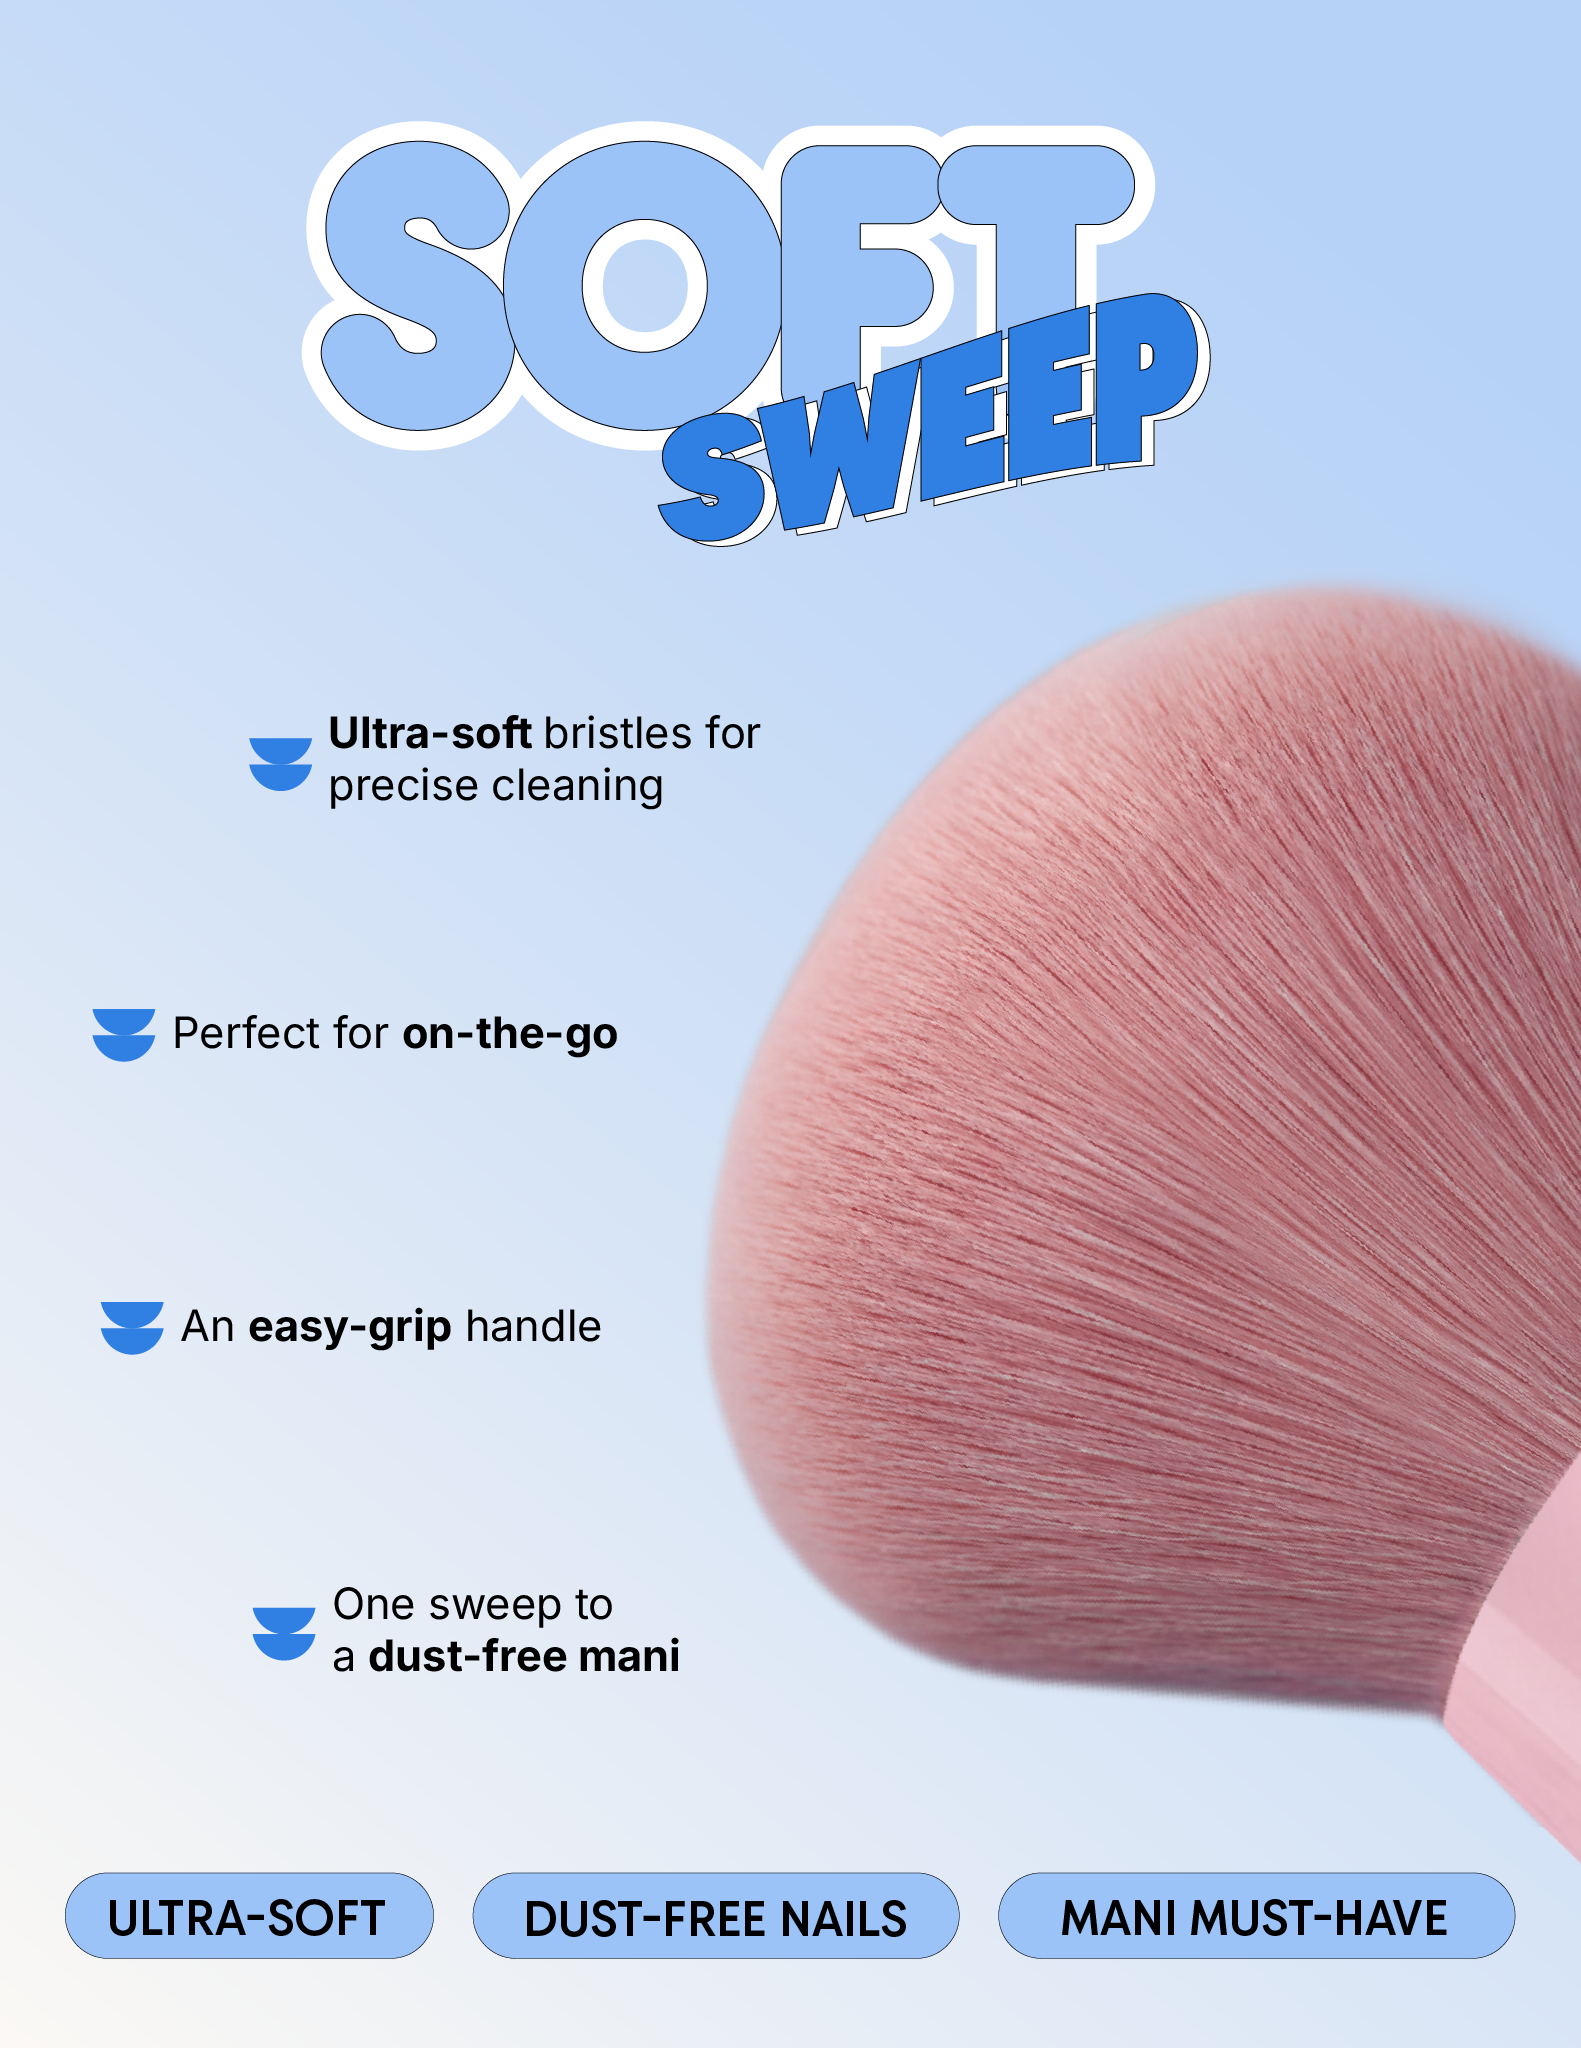
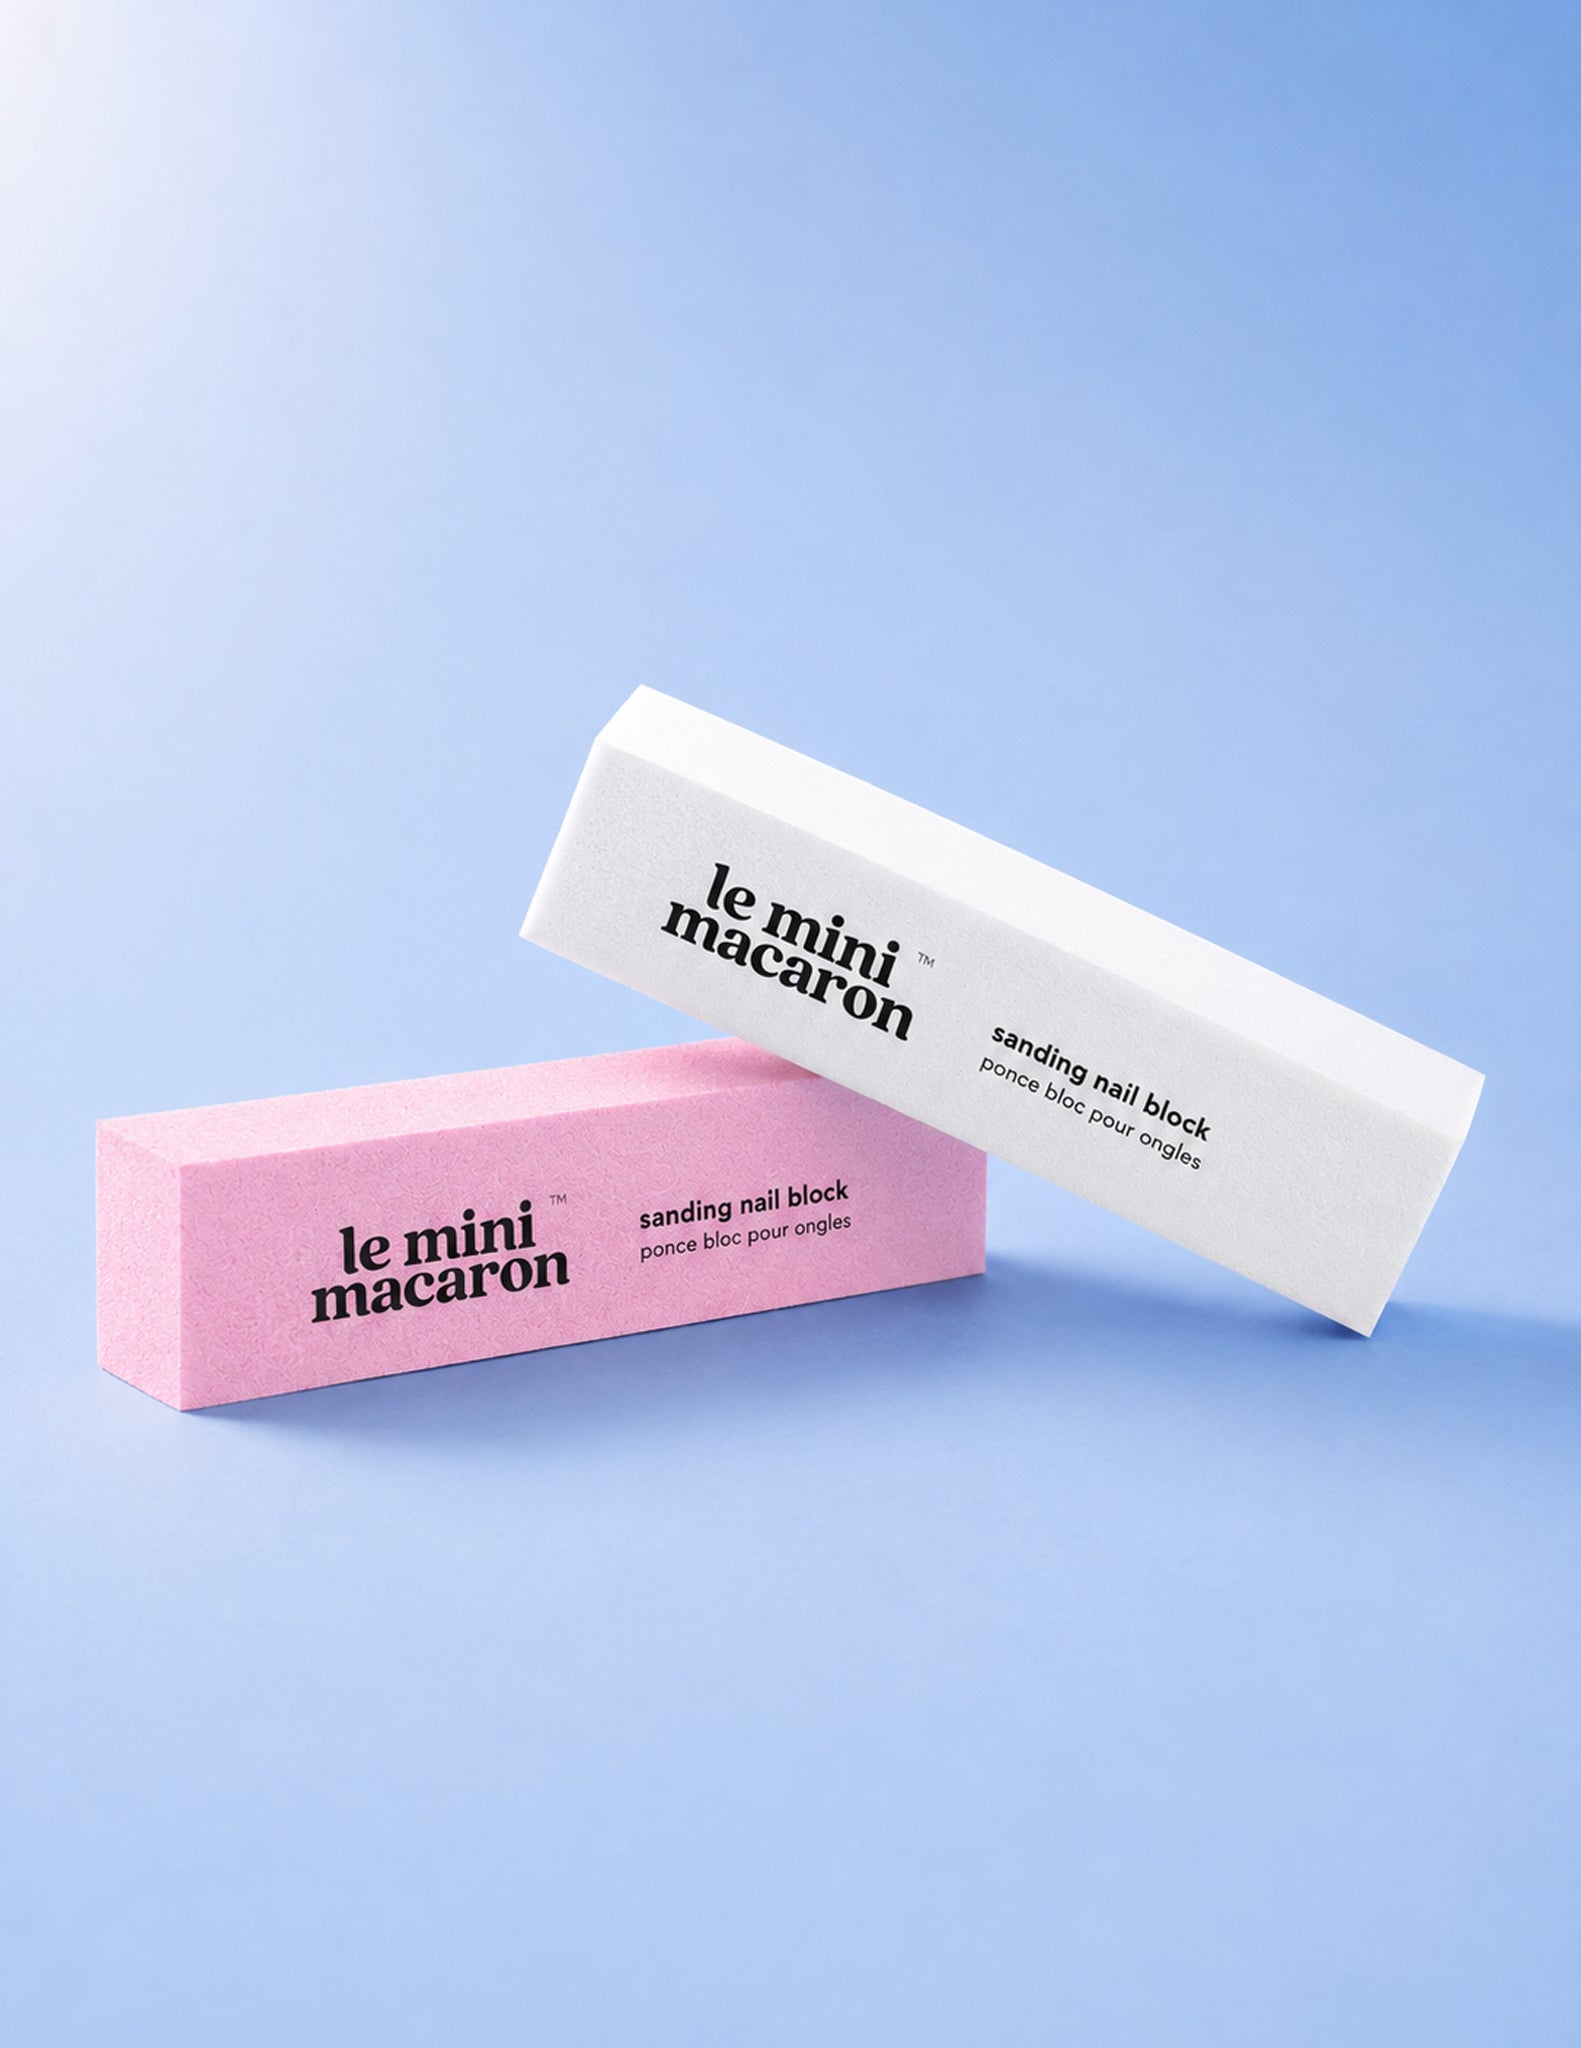
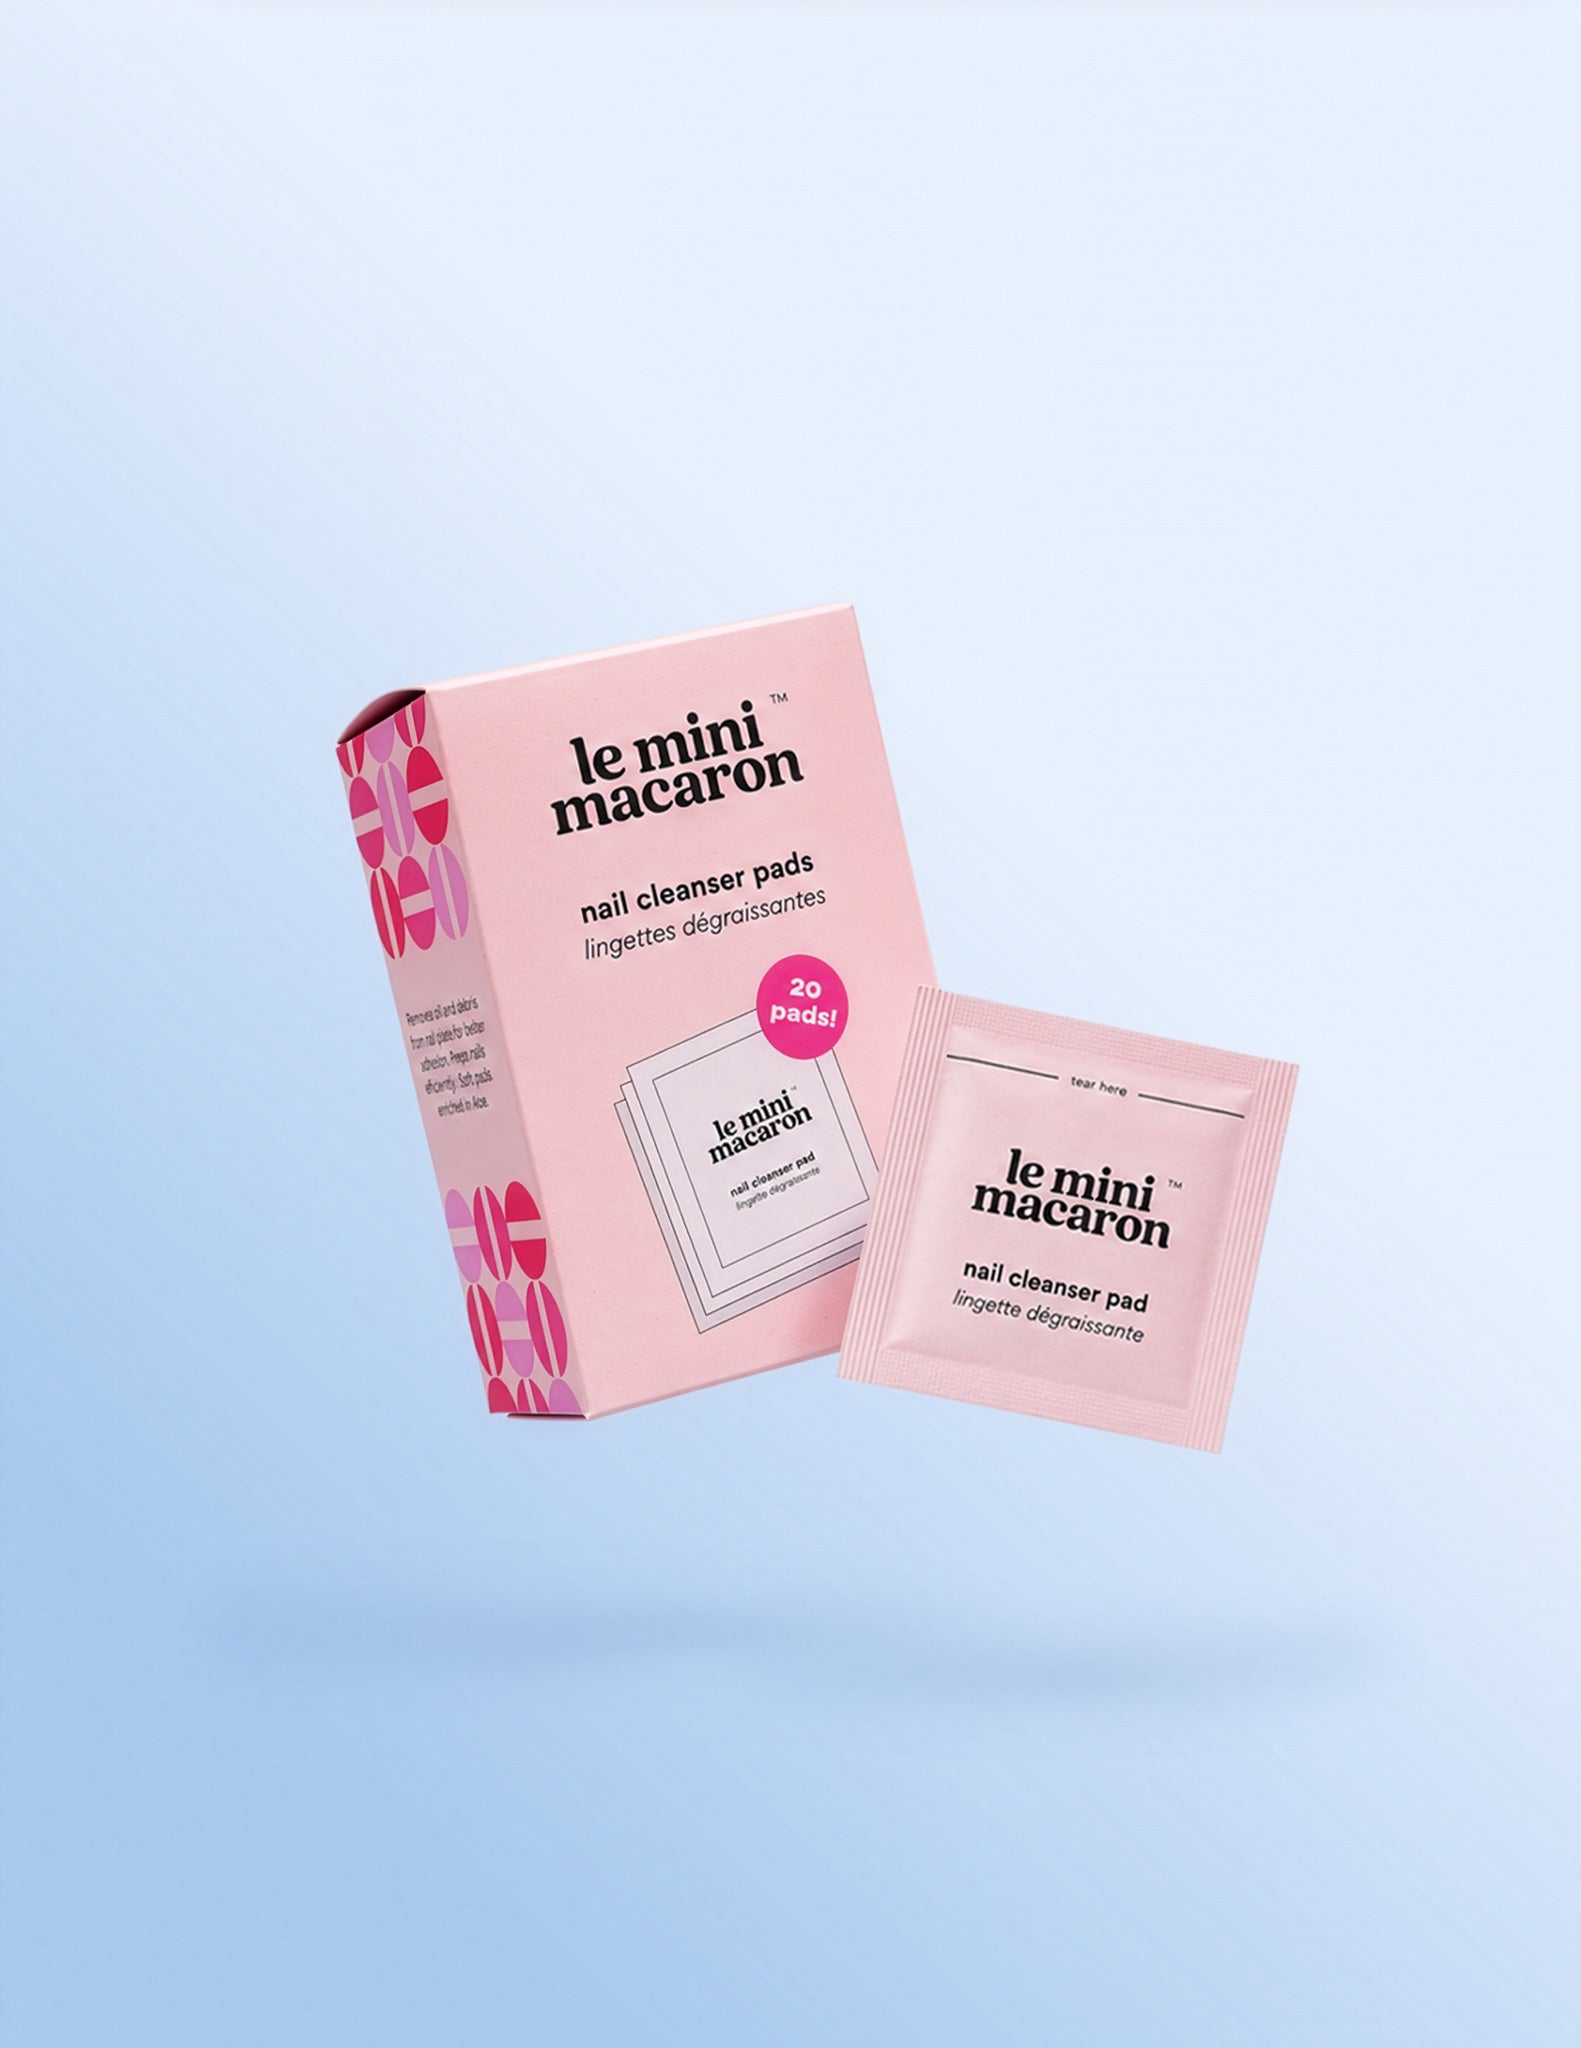
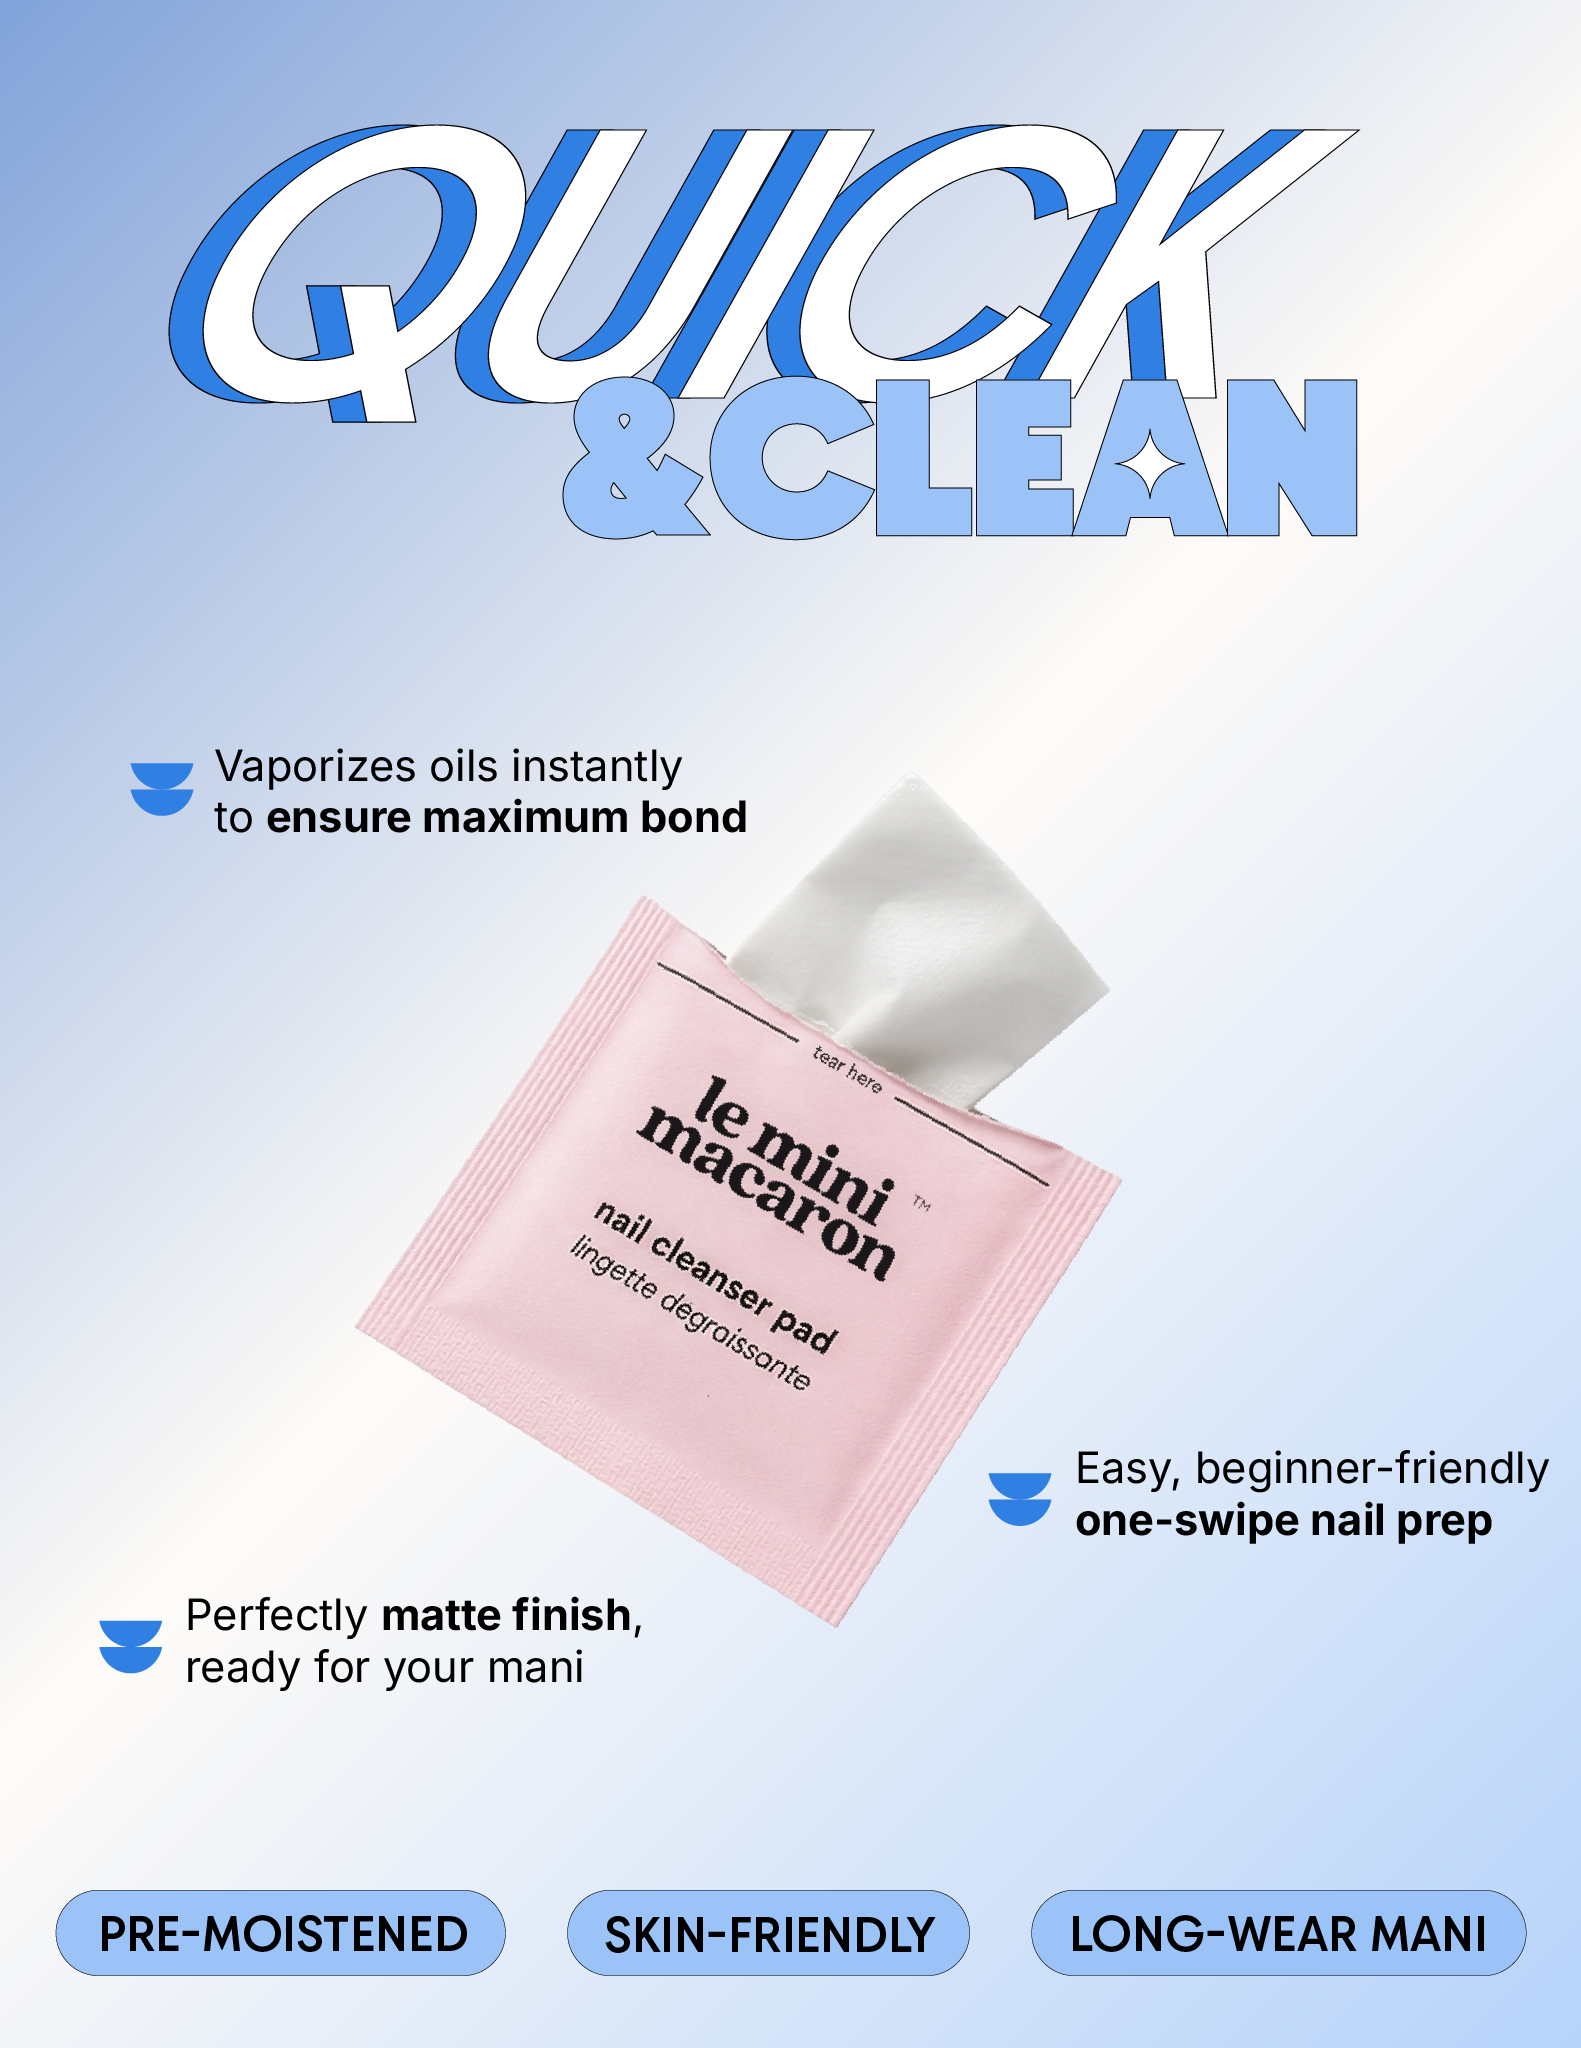
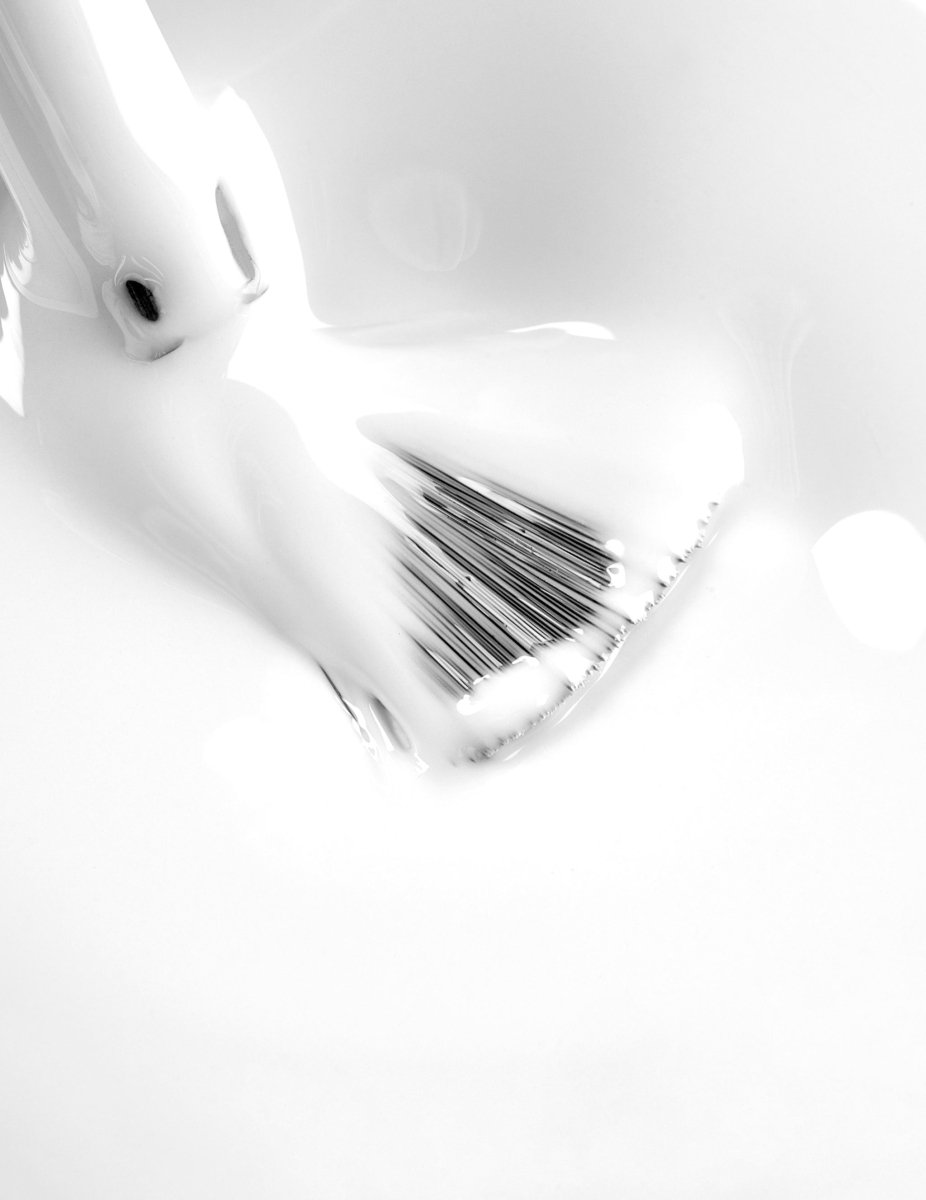
5. Clean away dust
Brush away the dust but not with your fingertips. Then cleanse your nails with a pad.

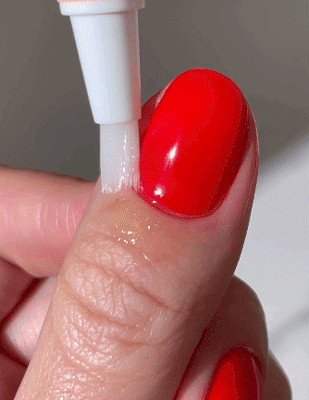
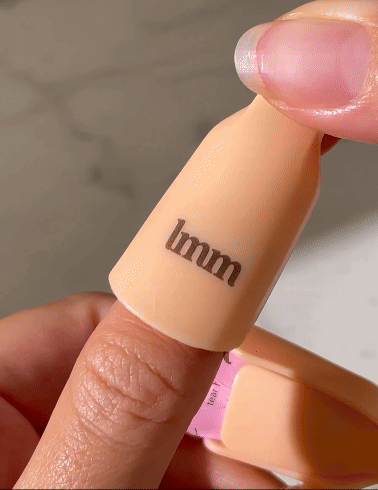
6. Primer
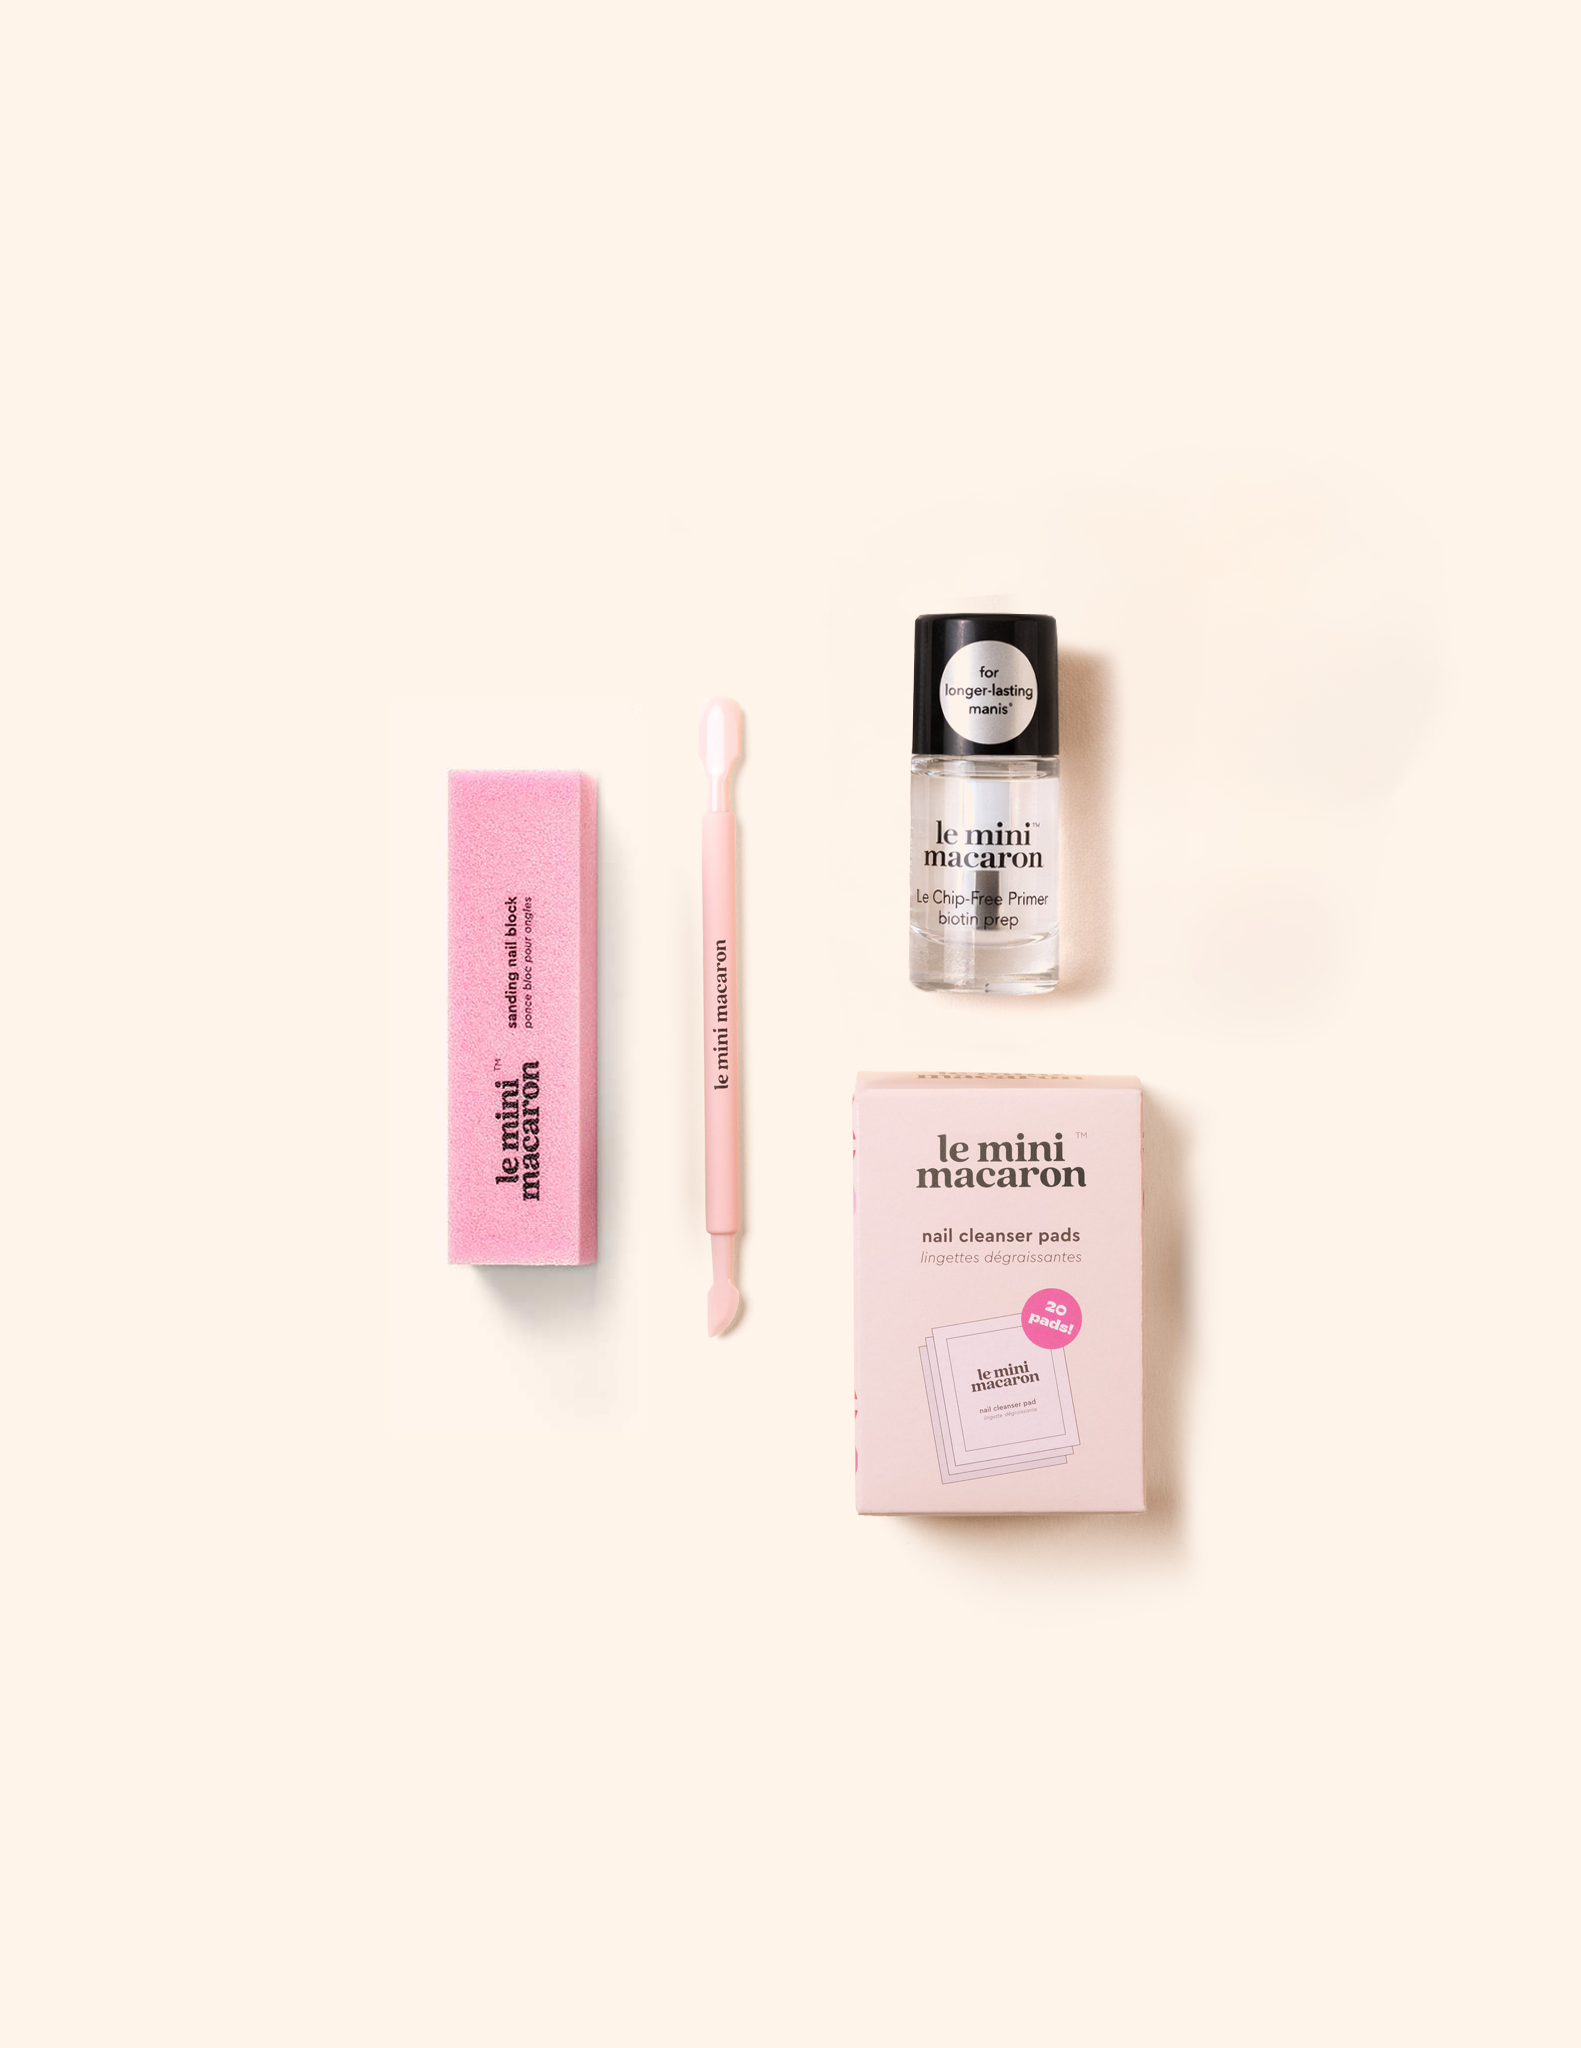
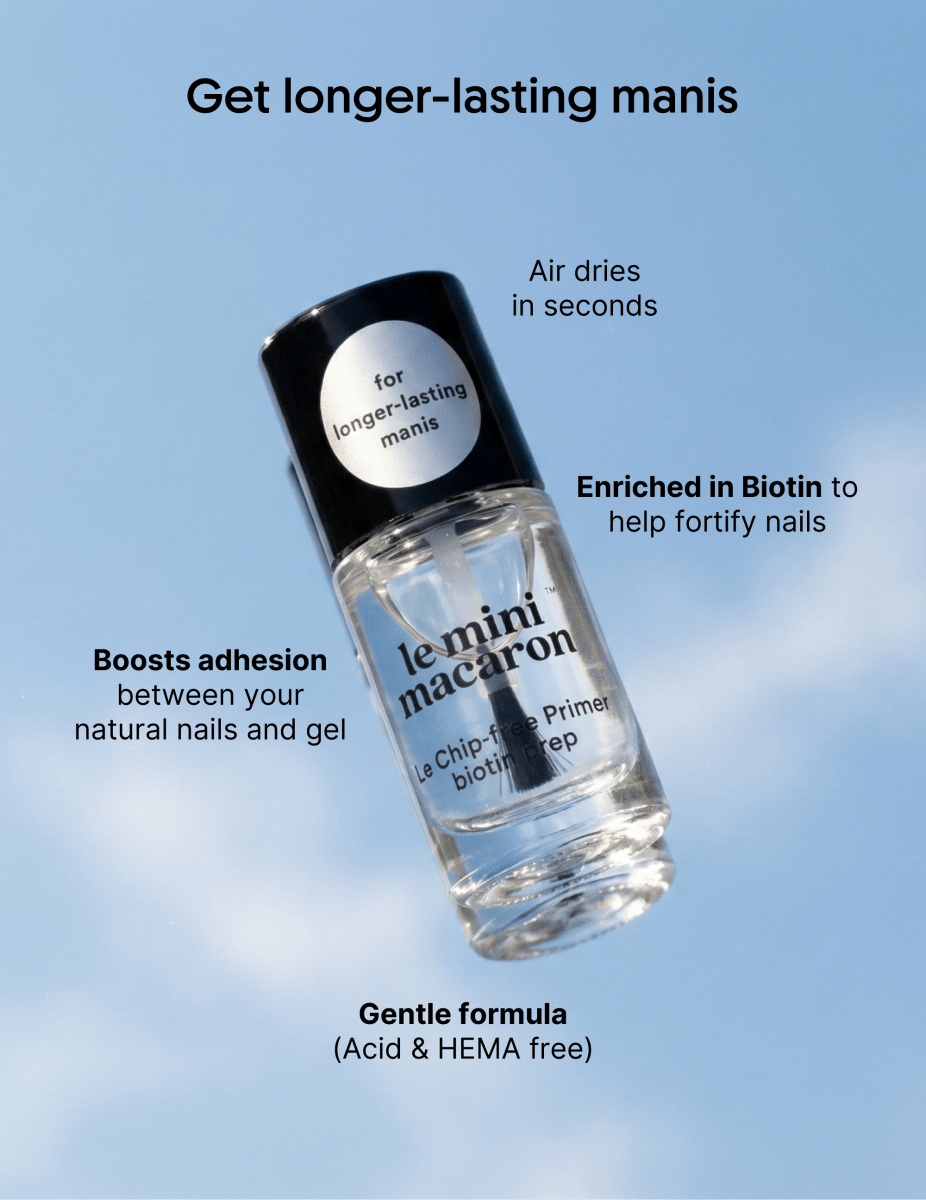
Apply a thin layer of Le Chip-free Primer (one drop is enough) on the nail surface. Let it air dry for a few seconds.
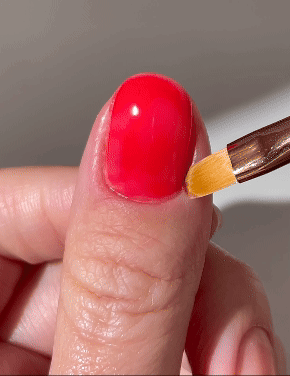
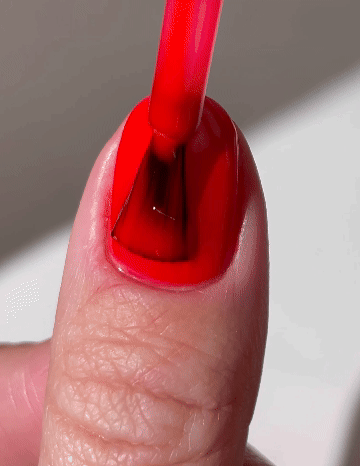
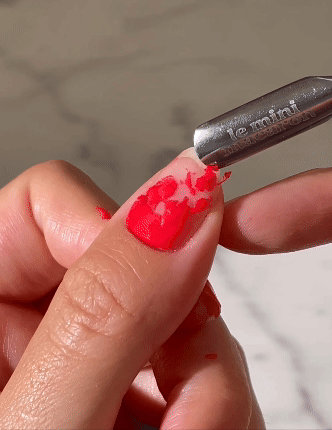
7. Apply
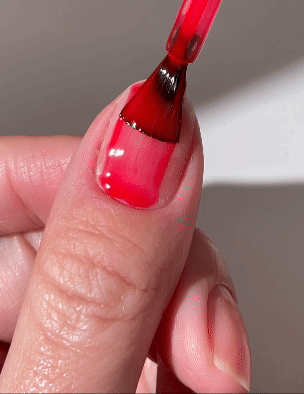
Shake gel polish bottle well. Keep first coat super thin, even if a bit transparent. Paint the whole surface & cap the edge.
8. Pre-Cure
Before lamp curing, clean your nail edges & skin, so polish won’t lift at the sides.
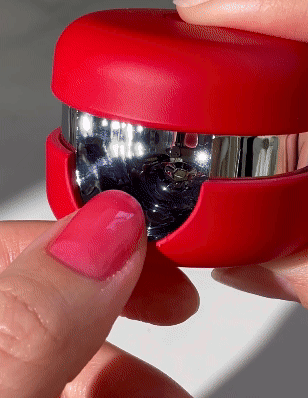
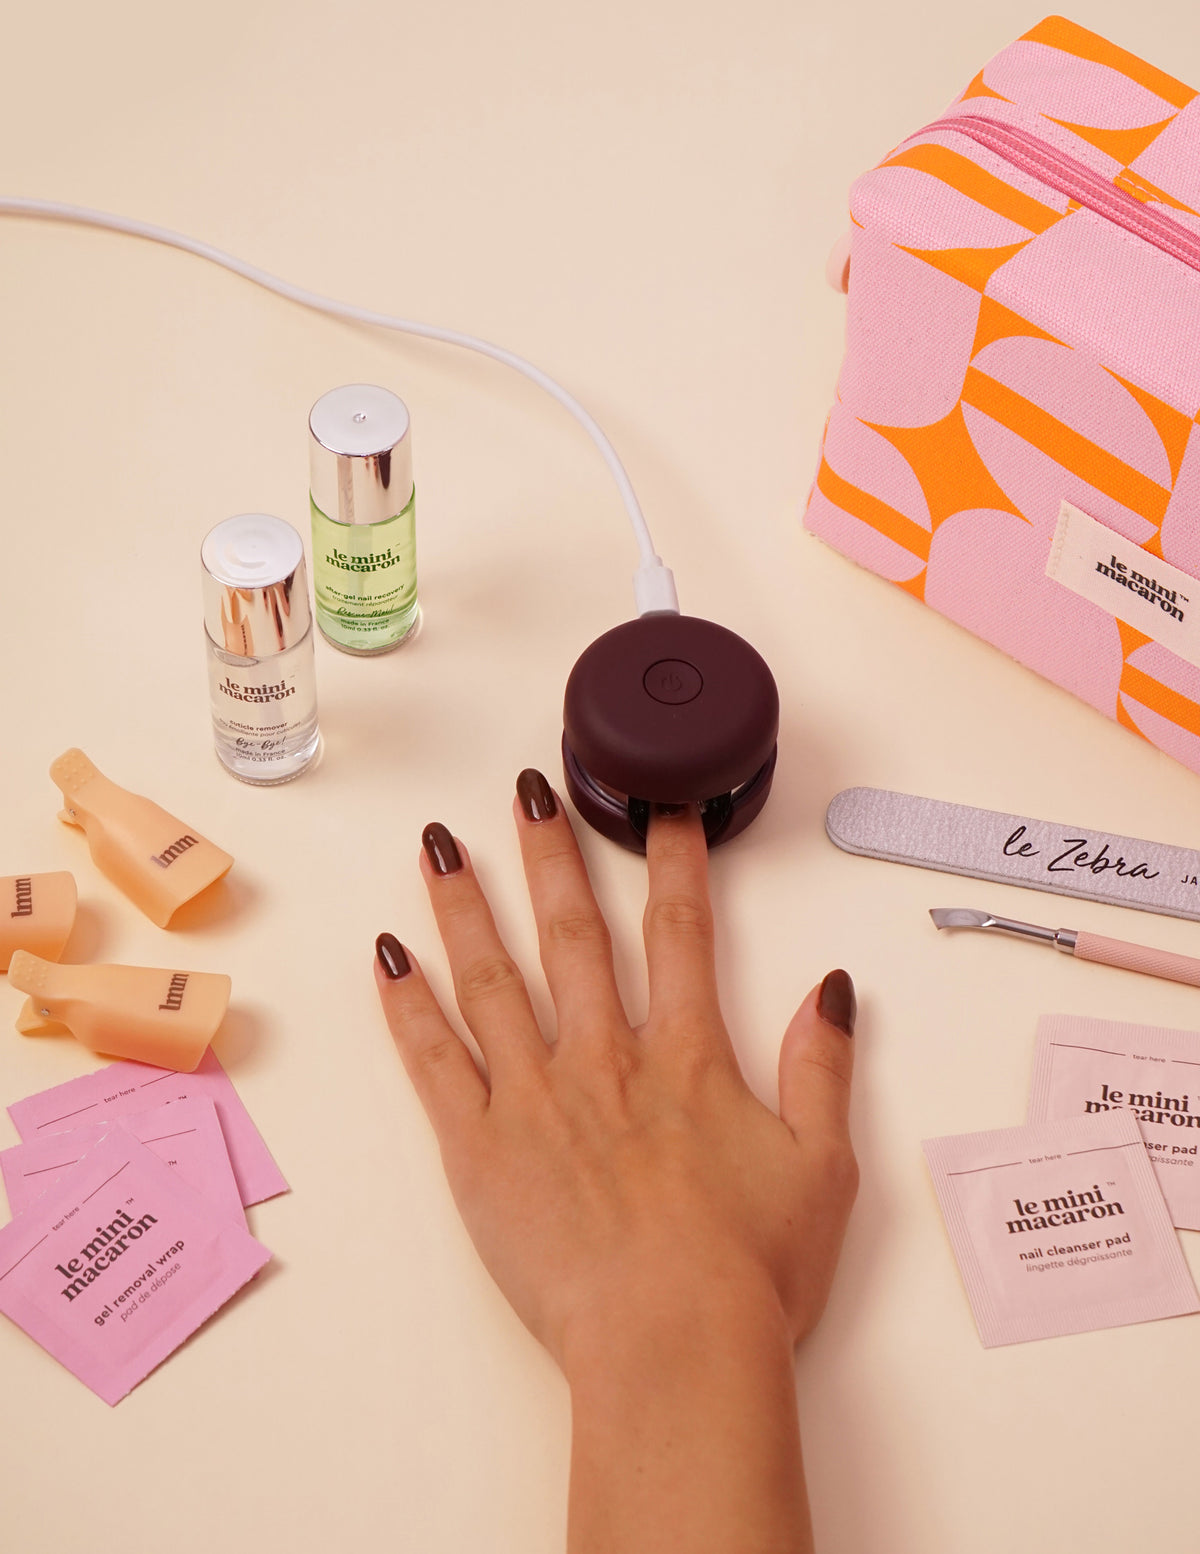
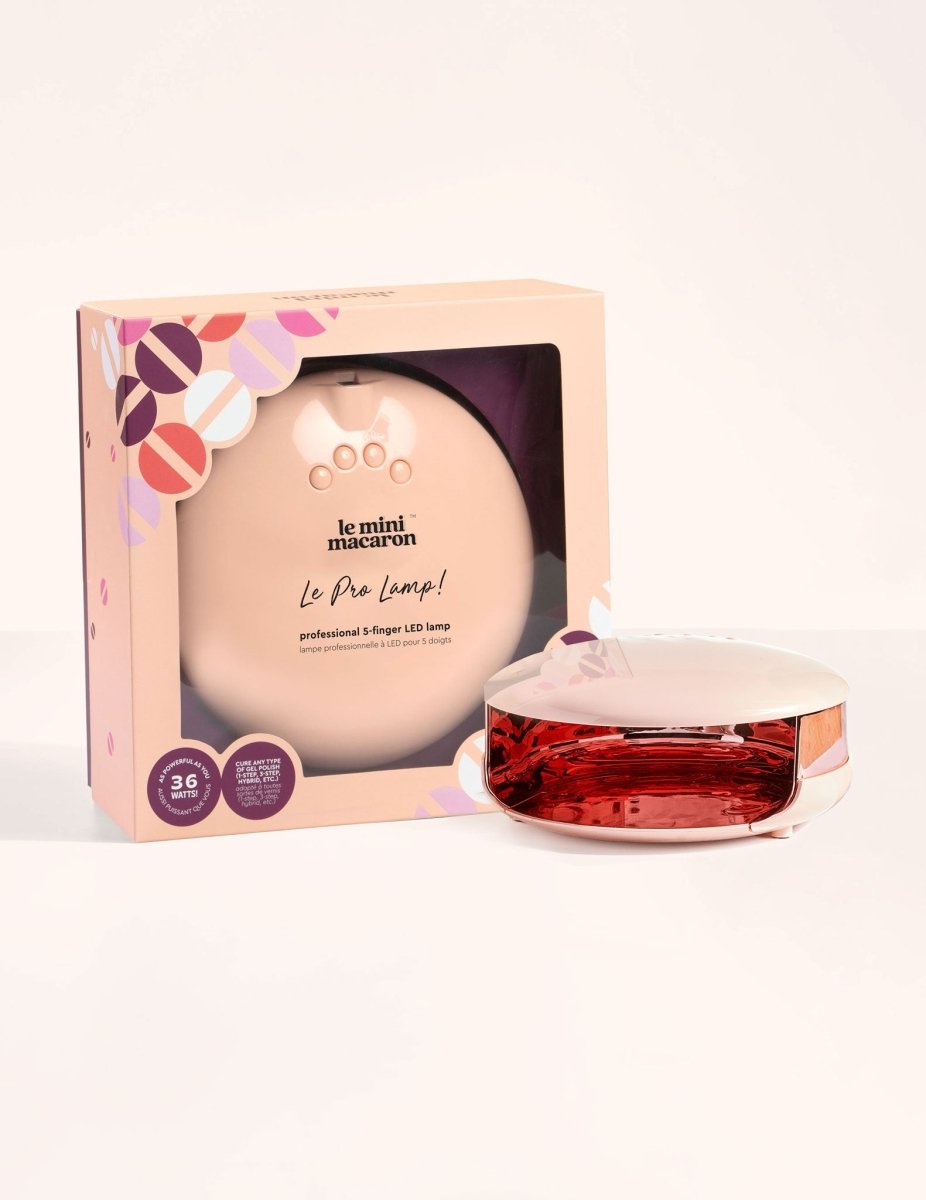
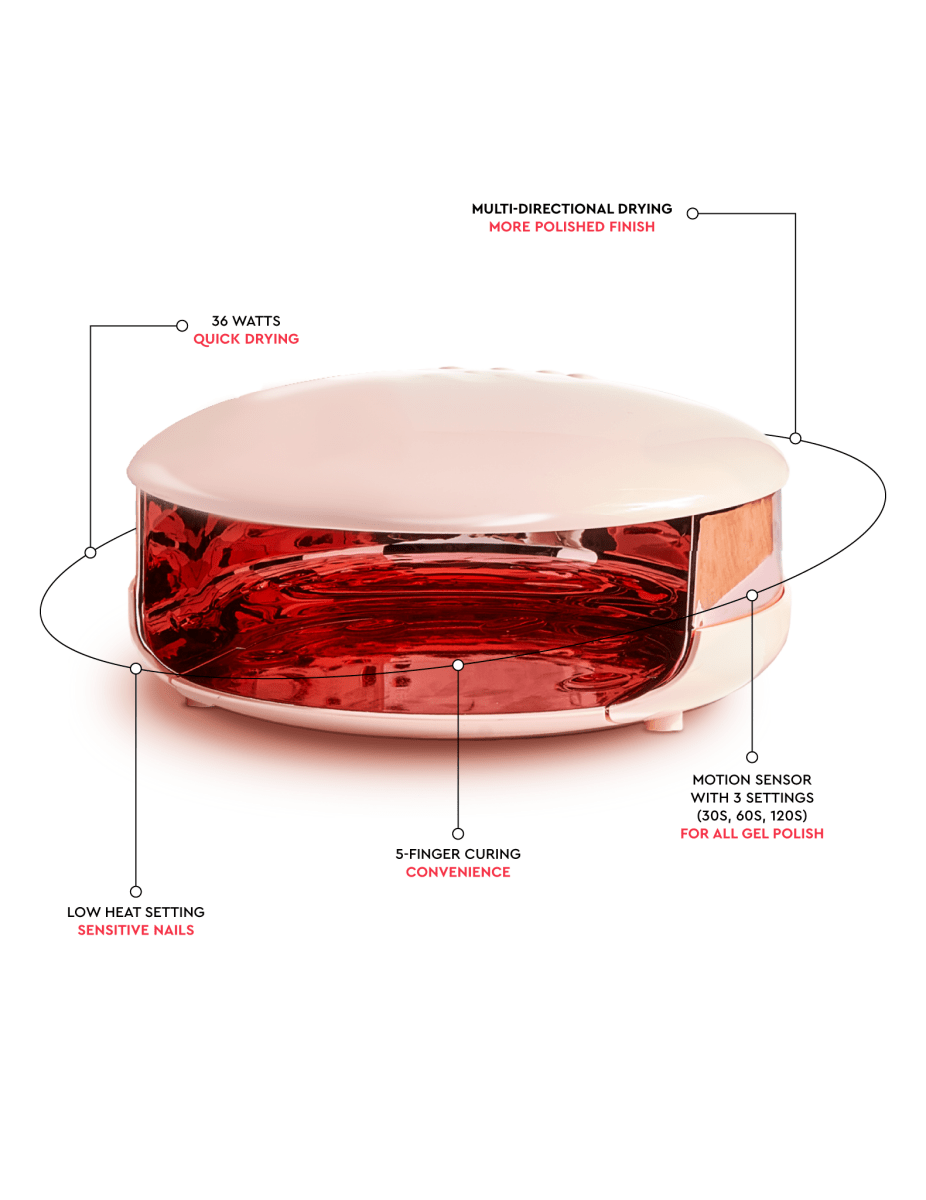
9. Cure
Place your nails under LED lamp & limit air contact. Paint one nail at a time. Curing time: 30 sec (mini lamp) & 60 sec (maxi lamp.)
10. Apply again
It’s OK if the second layer is thicker than the first. Lamp cure again.
Still see through the color? Do a third layer. Light colors will look richer.
12. Care
Restore nail moisture, flexibility & prevent breakage, and hydrate your hands with hand cream for youthful-looking hands & strong nails.
Gel polish manicures started to become popular in the past 4-5 years as an alternative to regular nail polish manicures. Whereas nail polish requires 20-30 minutes of air drying time (and can still be smudged or dented in the hours after application), gel polish contains a special polymer that must be “cured” under an LED or UV light – allowing it to harden during the curing cycle and become instantly dry. Gel polish is much easier to control as it doesn’t air dry (it only dries when it’s curated under the LED light), that’s why you can take all your time to perfect your application. It’s also much thicker than regular nail polish.
Traditionally, gel polish manicures needed to be done at a salon by a professional nail technician using professional equipment. The cost of a gel manicure would be higher than a regular nail polish manicure as well, but the results and benefits were worth it:
- Brilliant, glossy shine (shinier than regular nail polish).
- Chip-free results (gel won’t chip off like regular nail polish – which can start to chip within 2-3 days – even with activities like dishwashing or excessive typing).
- Up to 7-10 days lasting (salon or professional 3-step gel manicures).
The removal process for gel is also different, as it requires a “soak-off” method vs. acetone "wipe off" removal.
If you are a new user of gel polish, please give yourself 2-3 manicures (tries) to get used to how to apply gel polish.
There are many tips and tricks to applying gel polish that make the difference between a good application and an application that is too thick or doesn’t last long enough (i.e. chips easily). Often, new users of gel polish make small mistakes during the application process and then think that any chipping is due to the formula of the gel.
We have tested our gel polish countless times and it truly is an amazing 1-step formula. You won’t find a better 1-step formula on the market (really!)…so please be patient, read our application instructions carefully, and take your time to familiarize yourself with LMM gel!
Once you get used to the application process, you will find that this is a fantastic gel that will give you a shiny, colorful, and chip-free manicure for work, play, and travel!
-
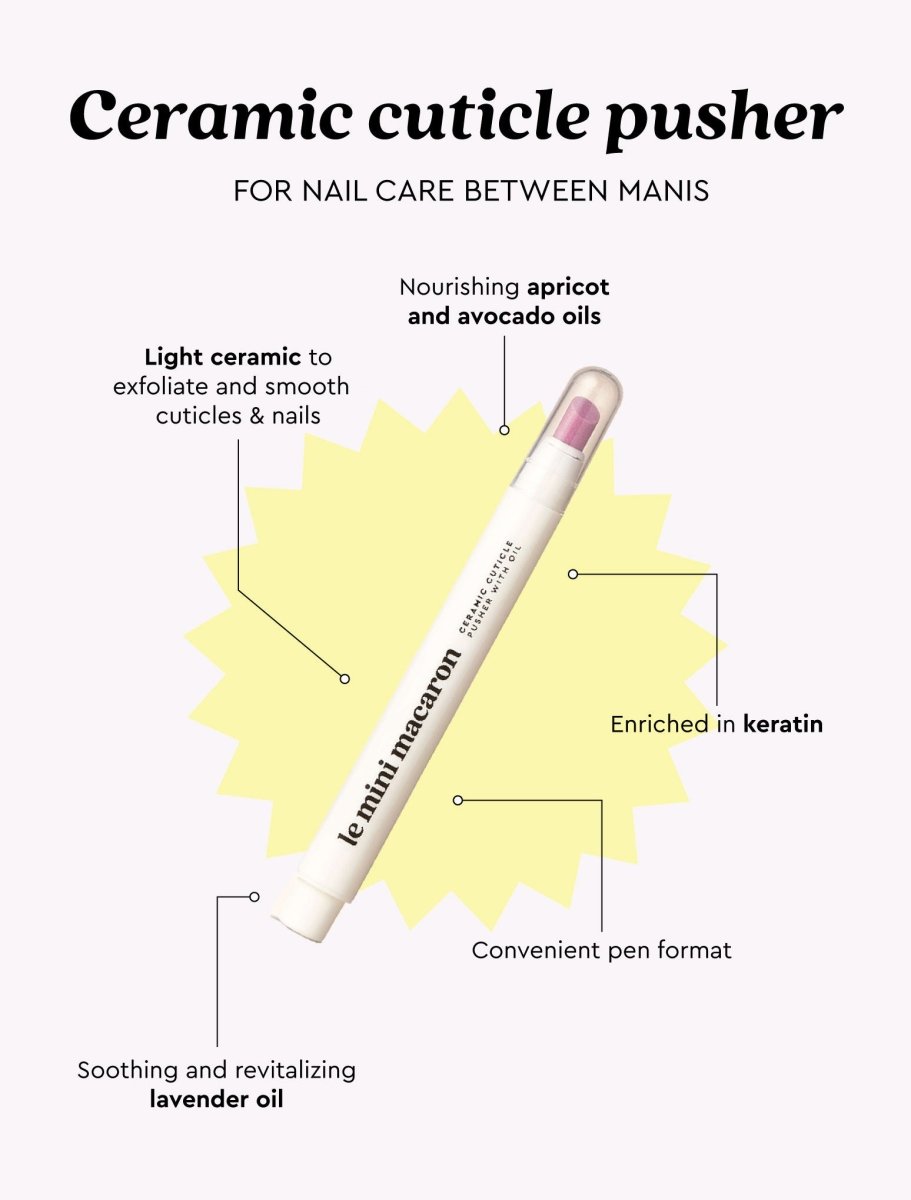
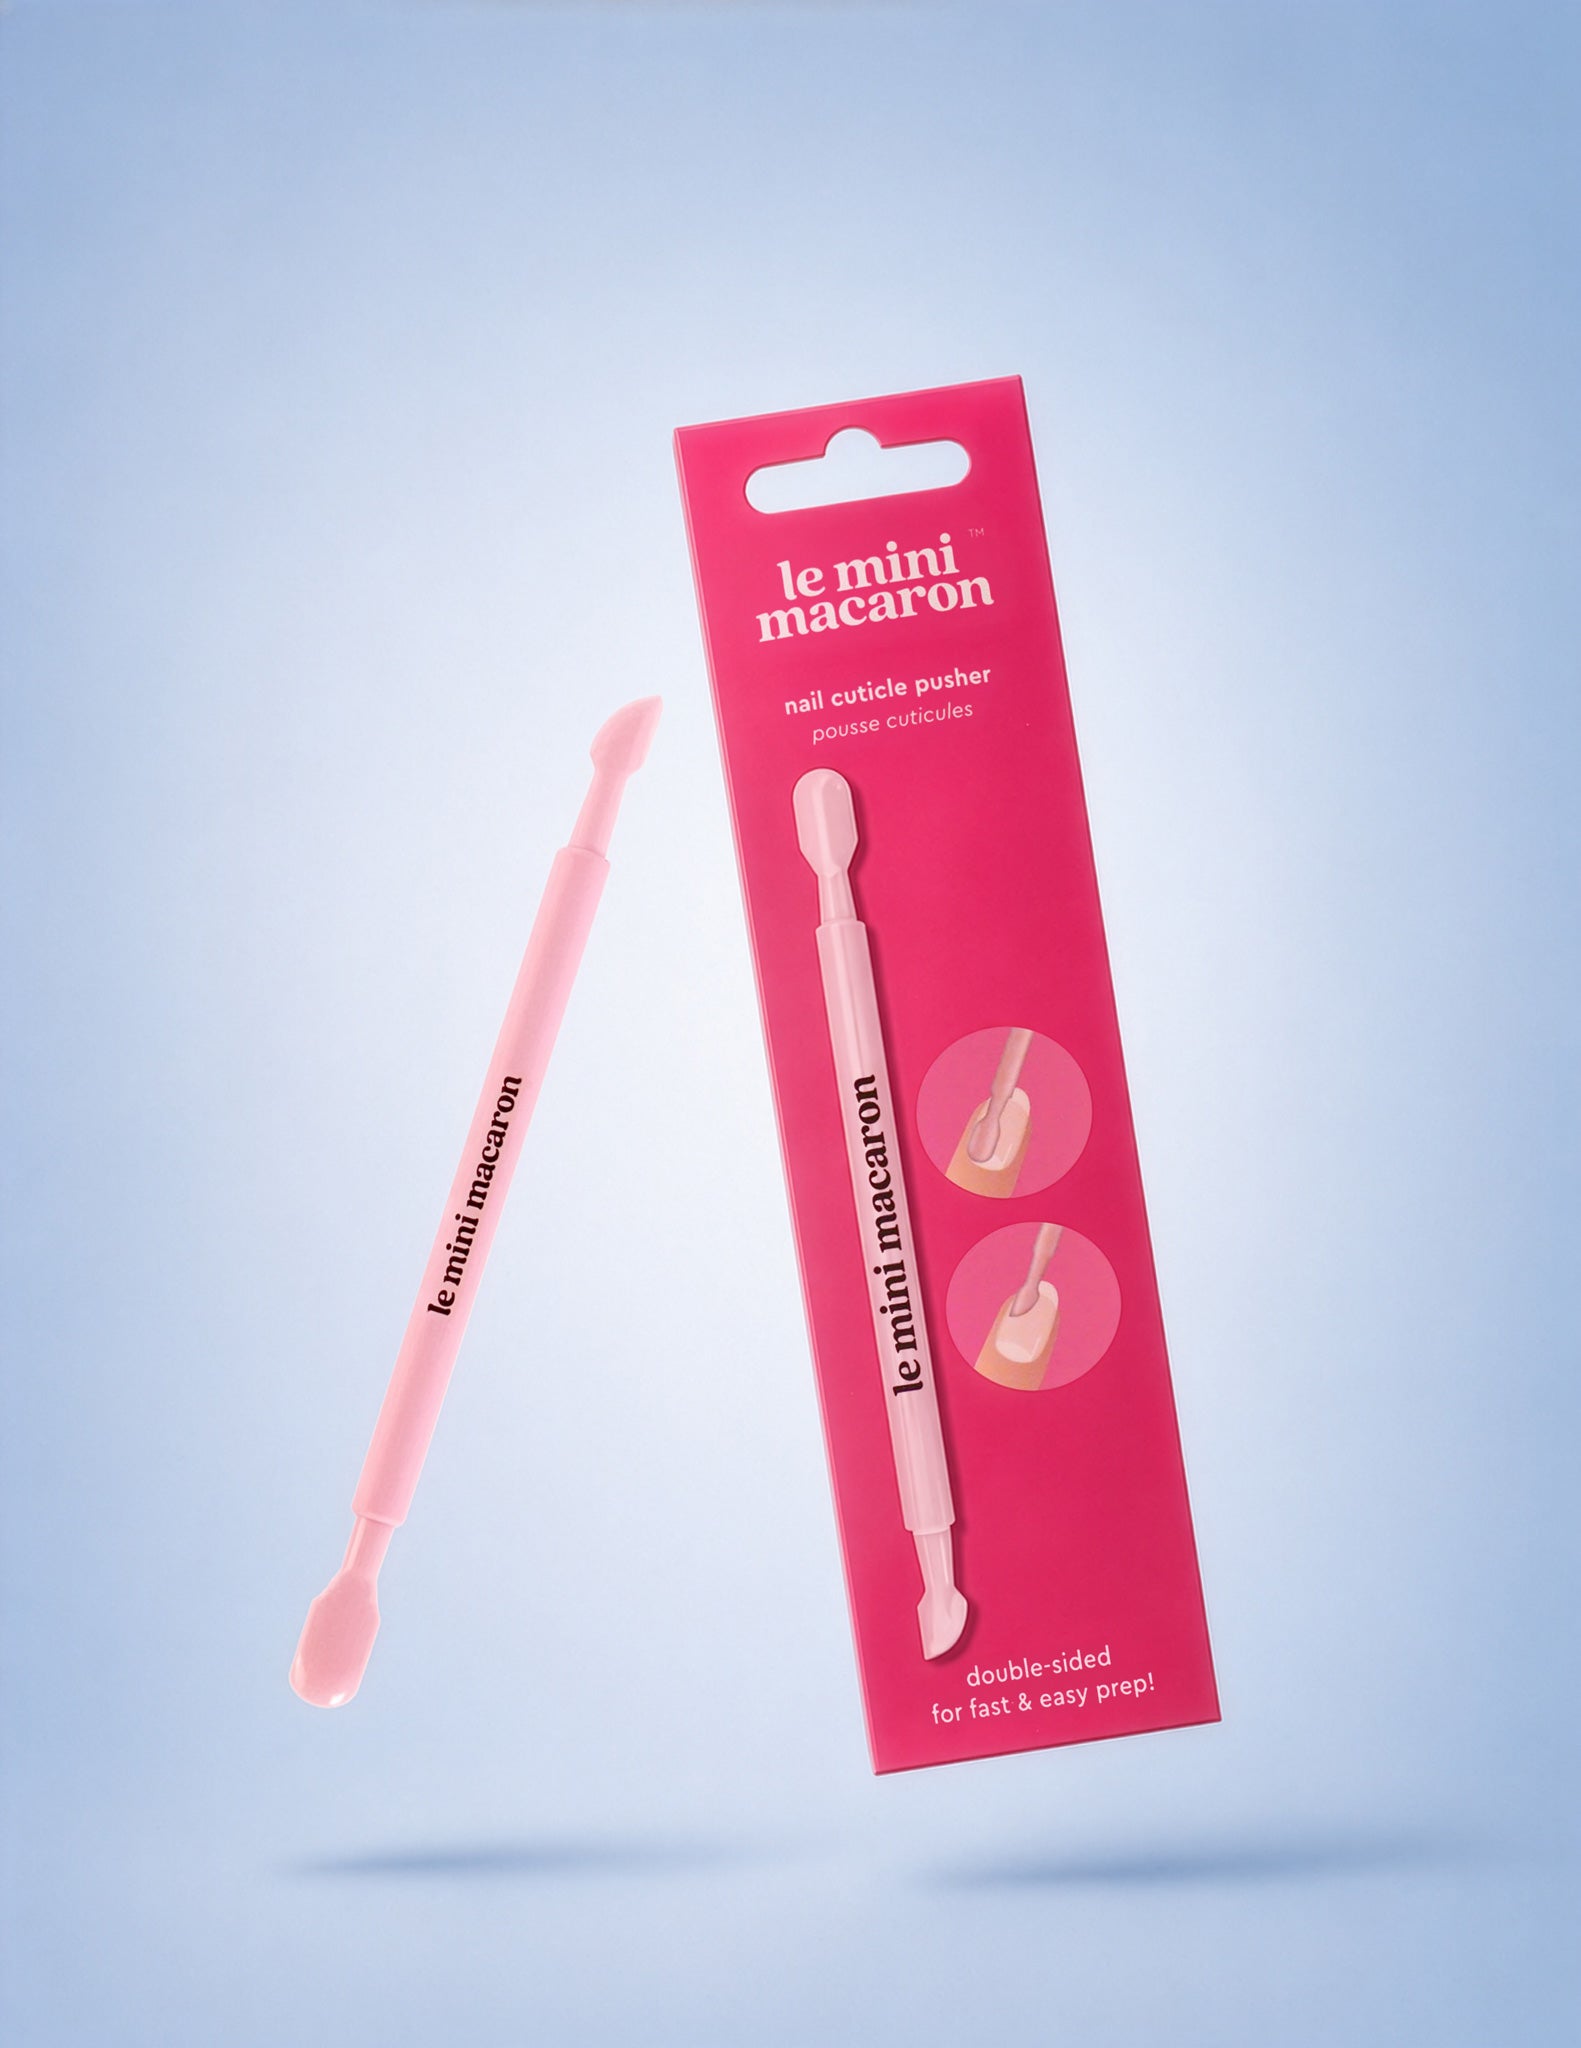
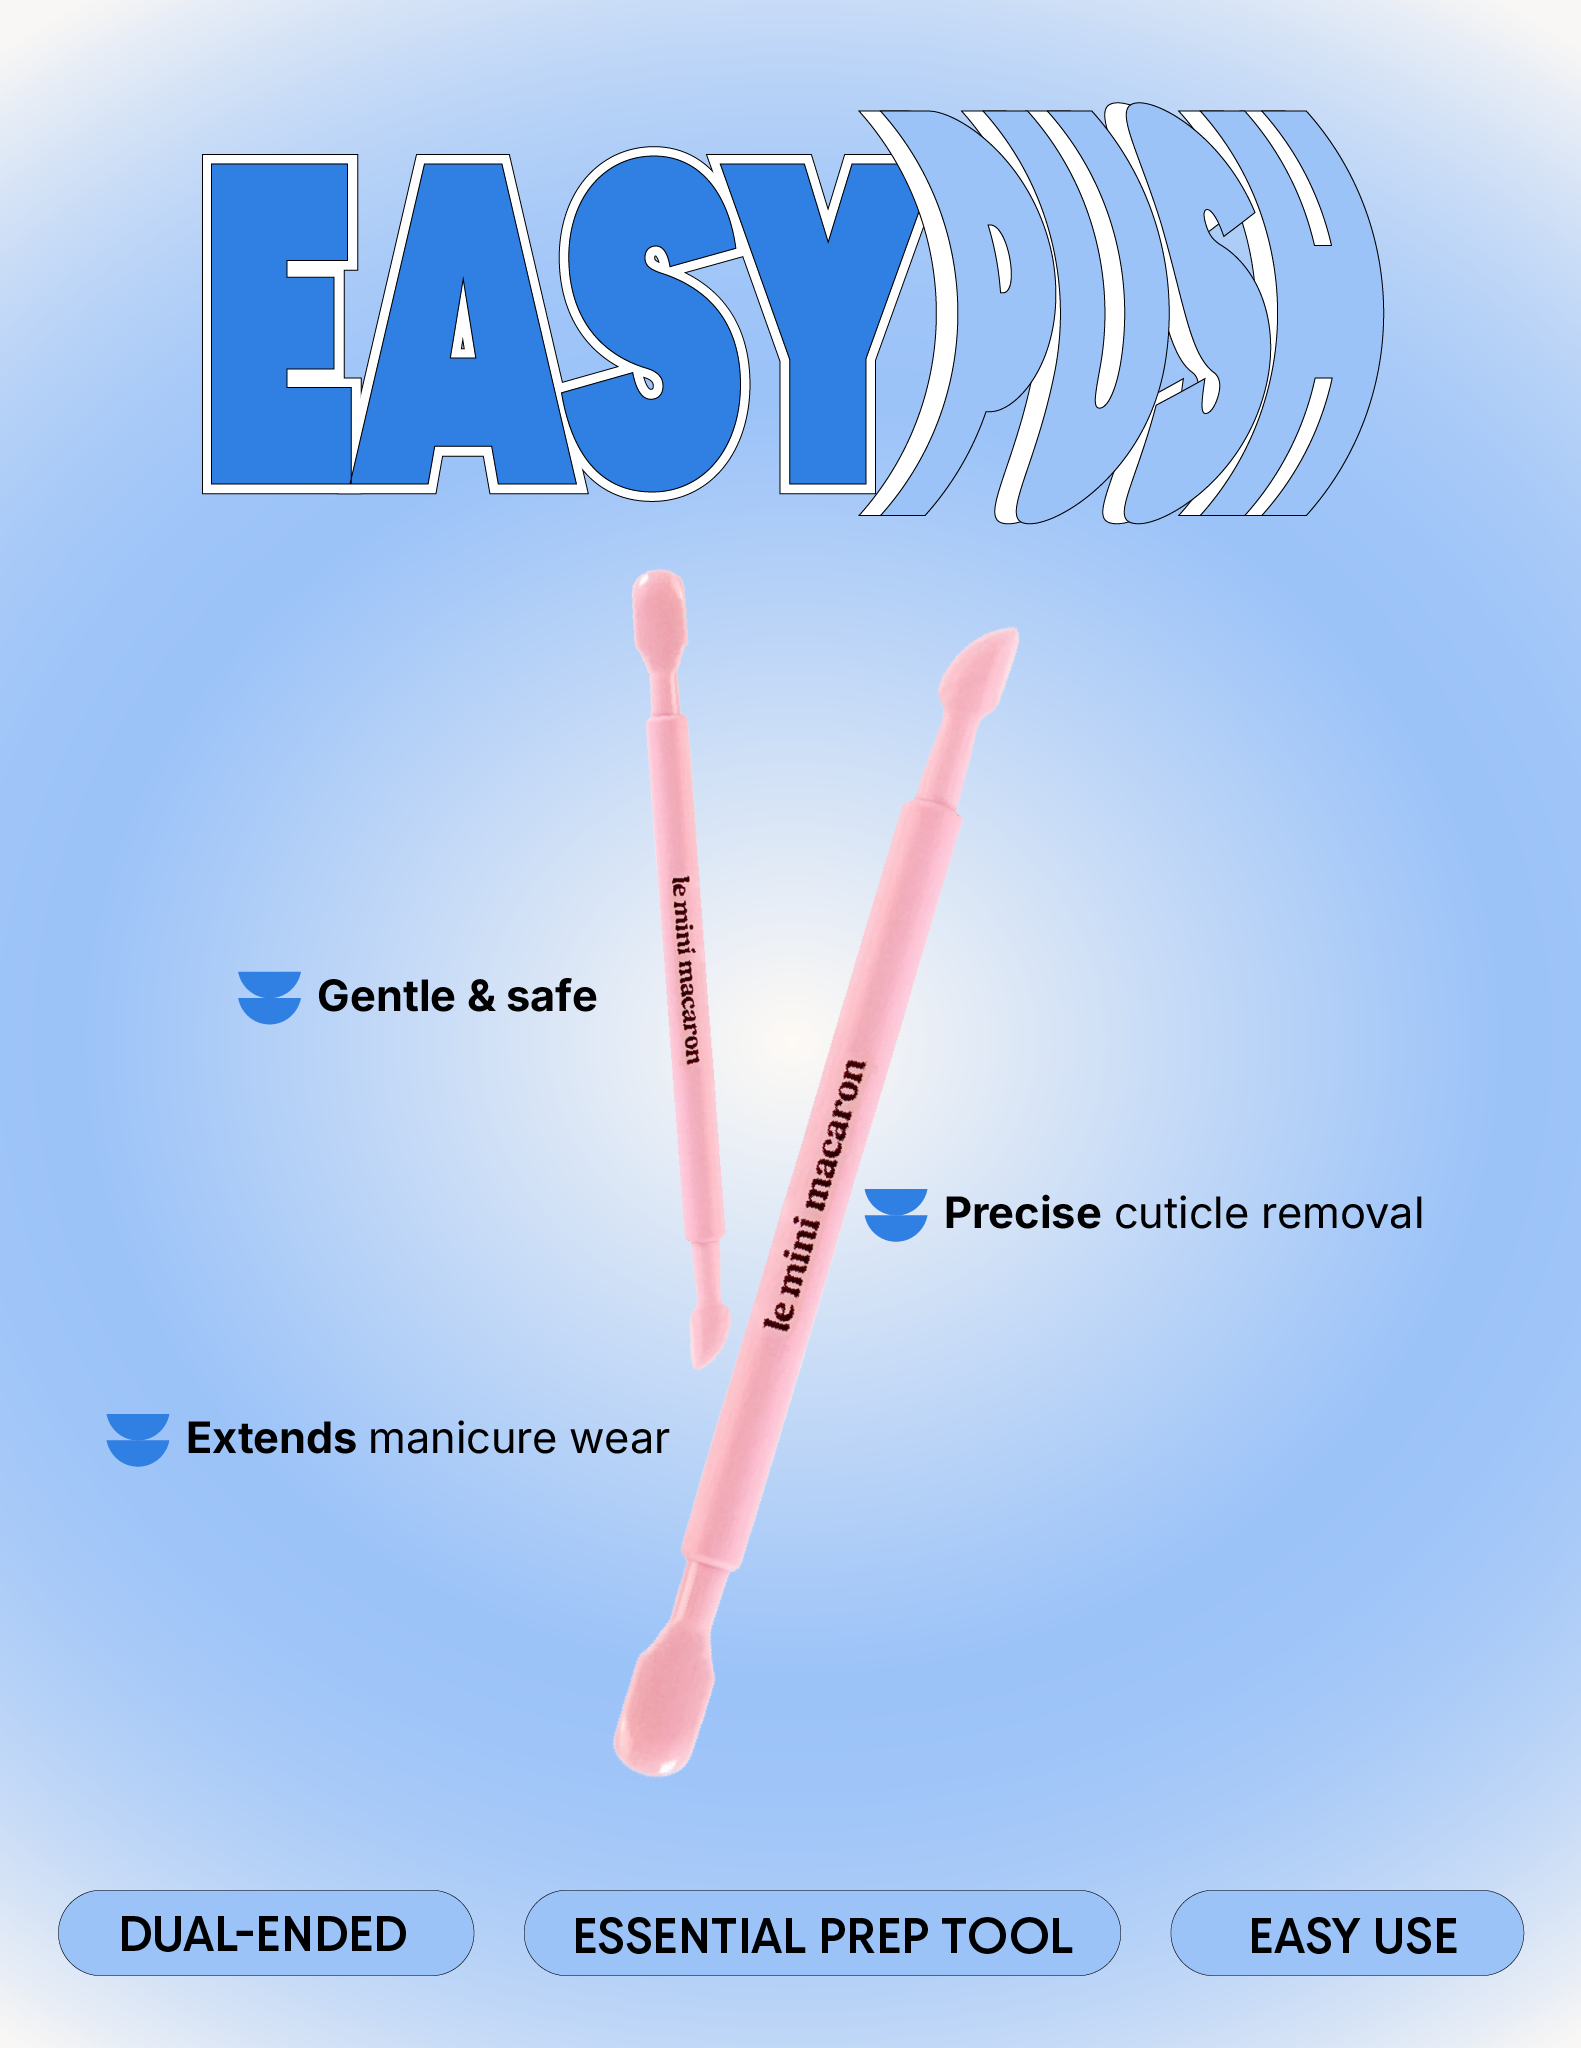
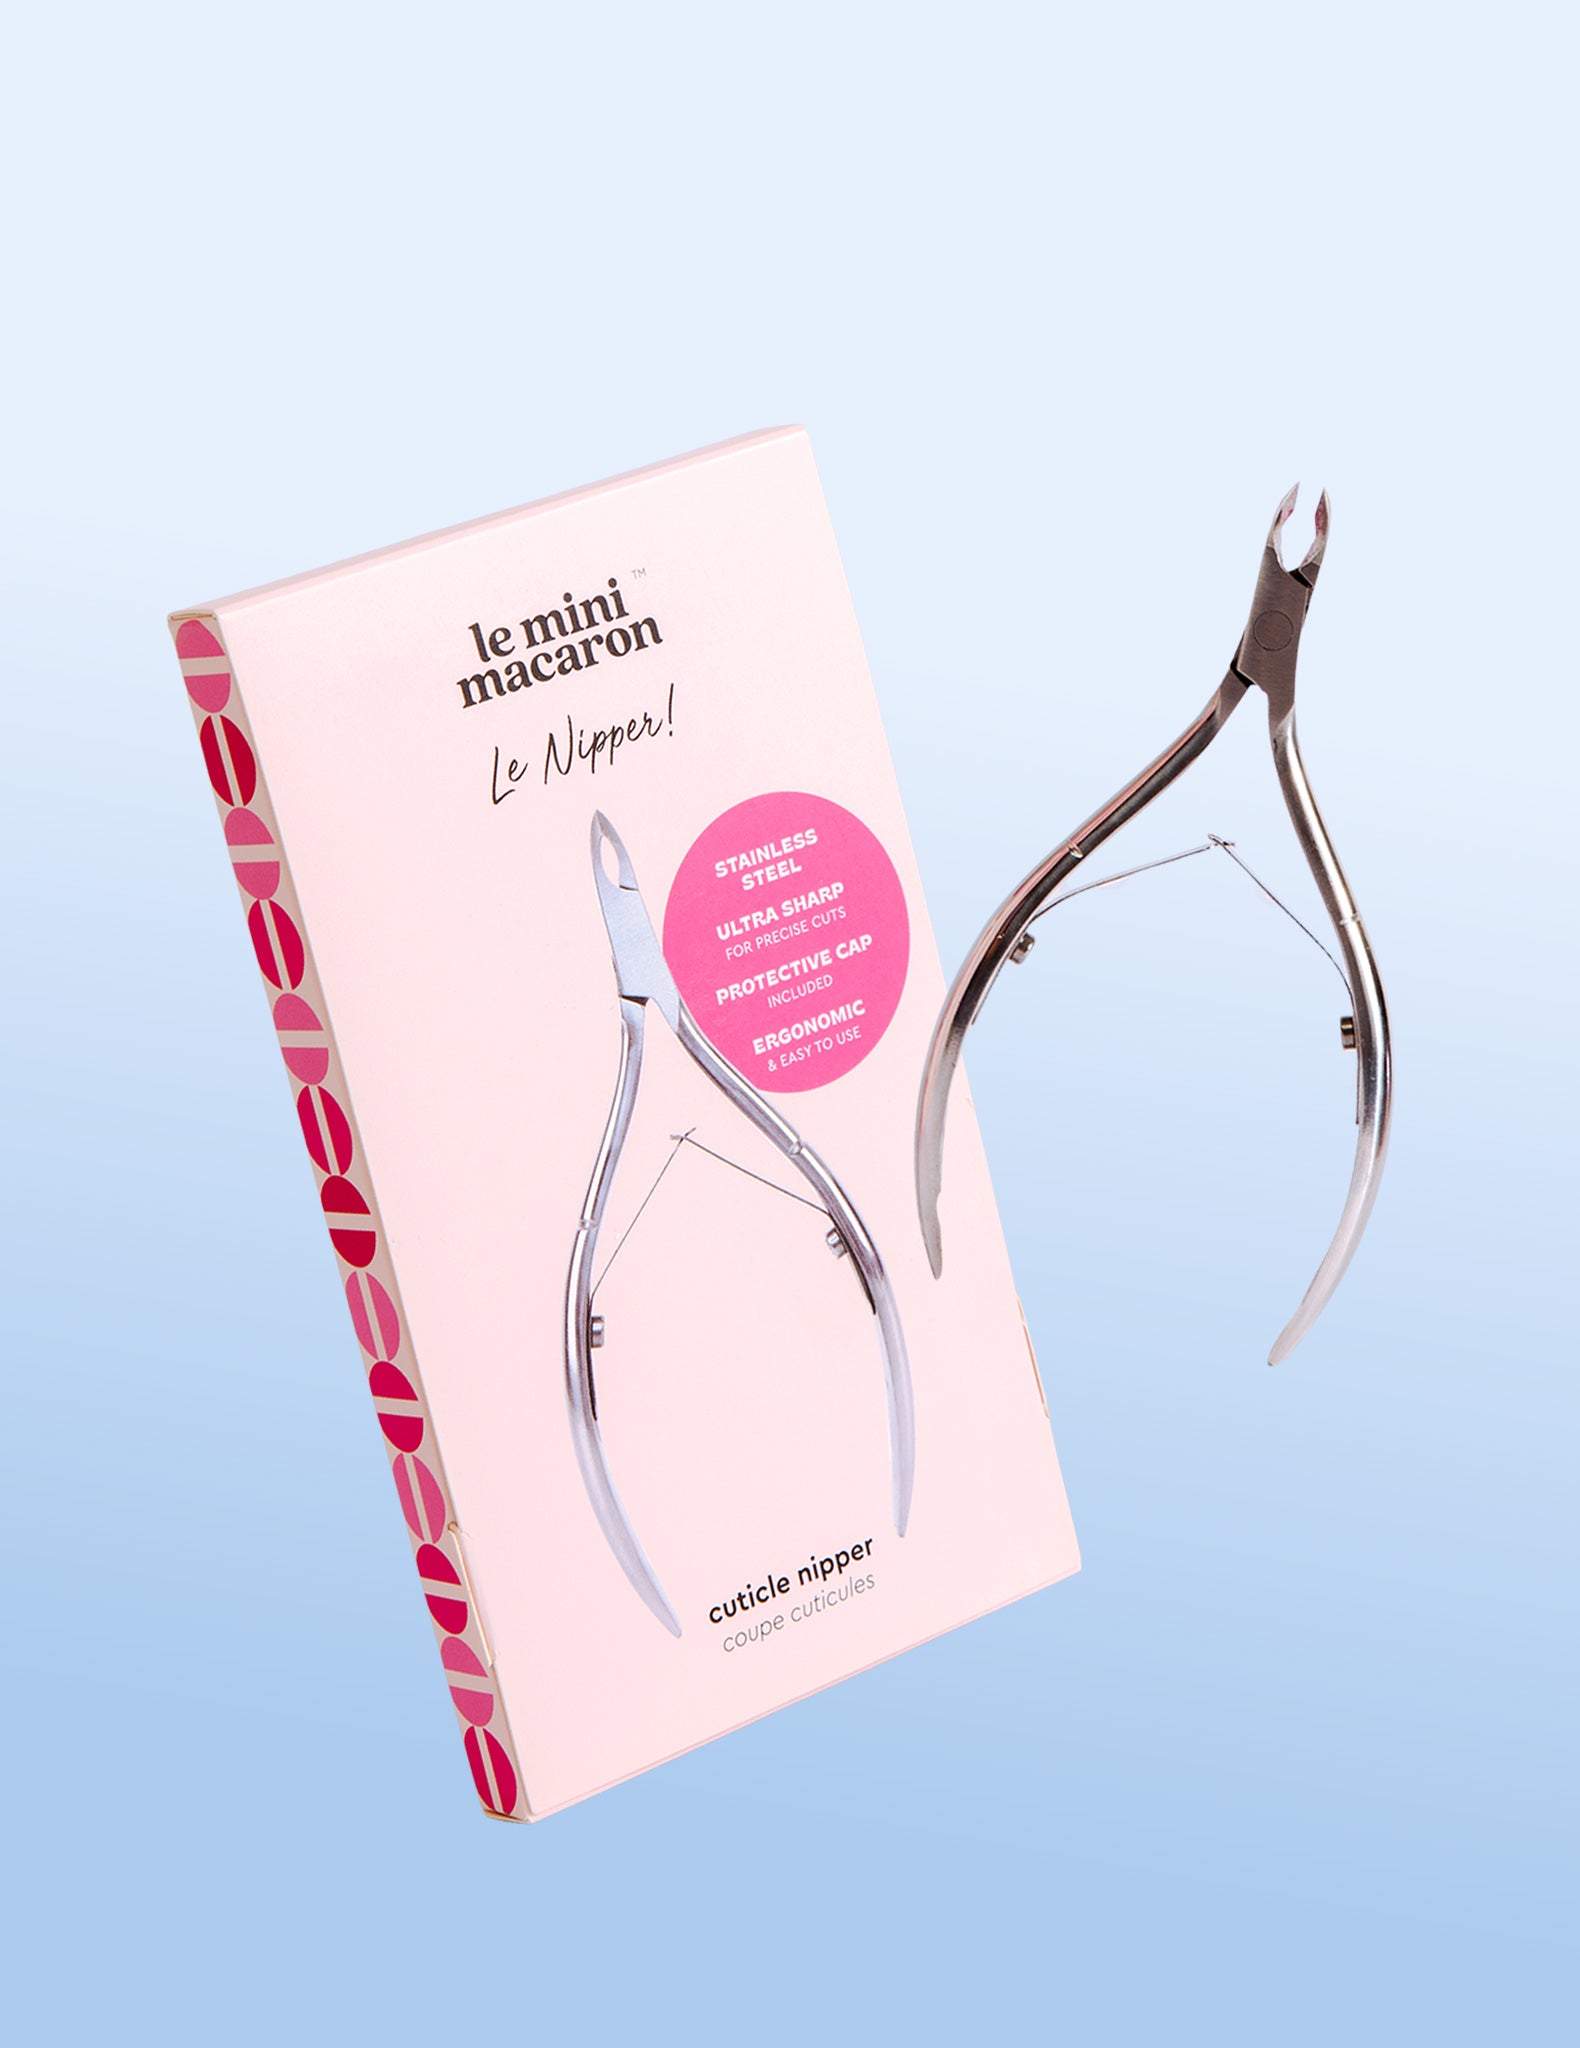
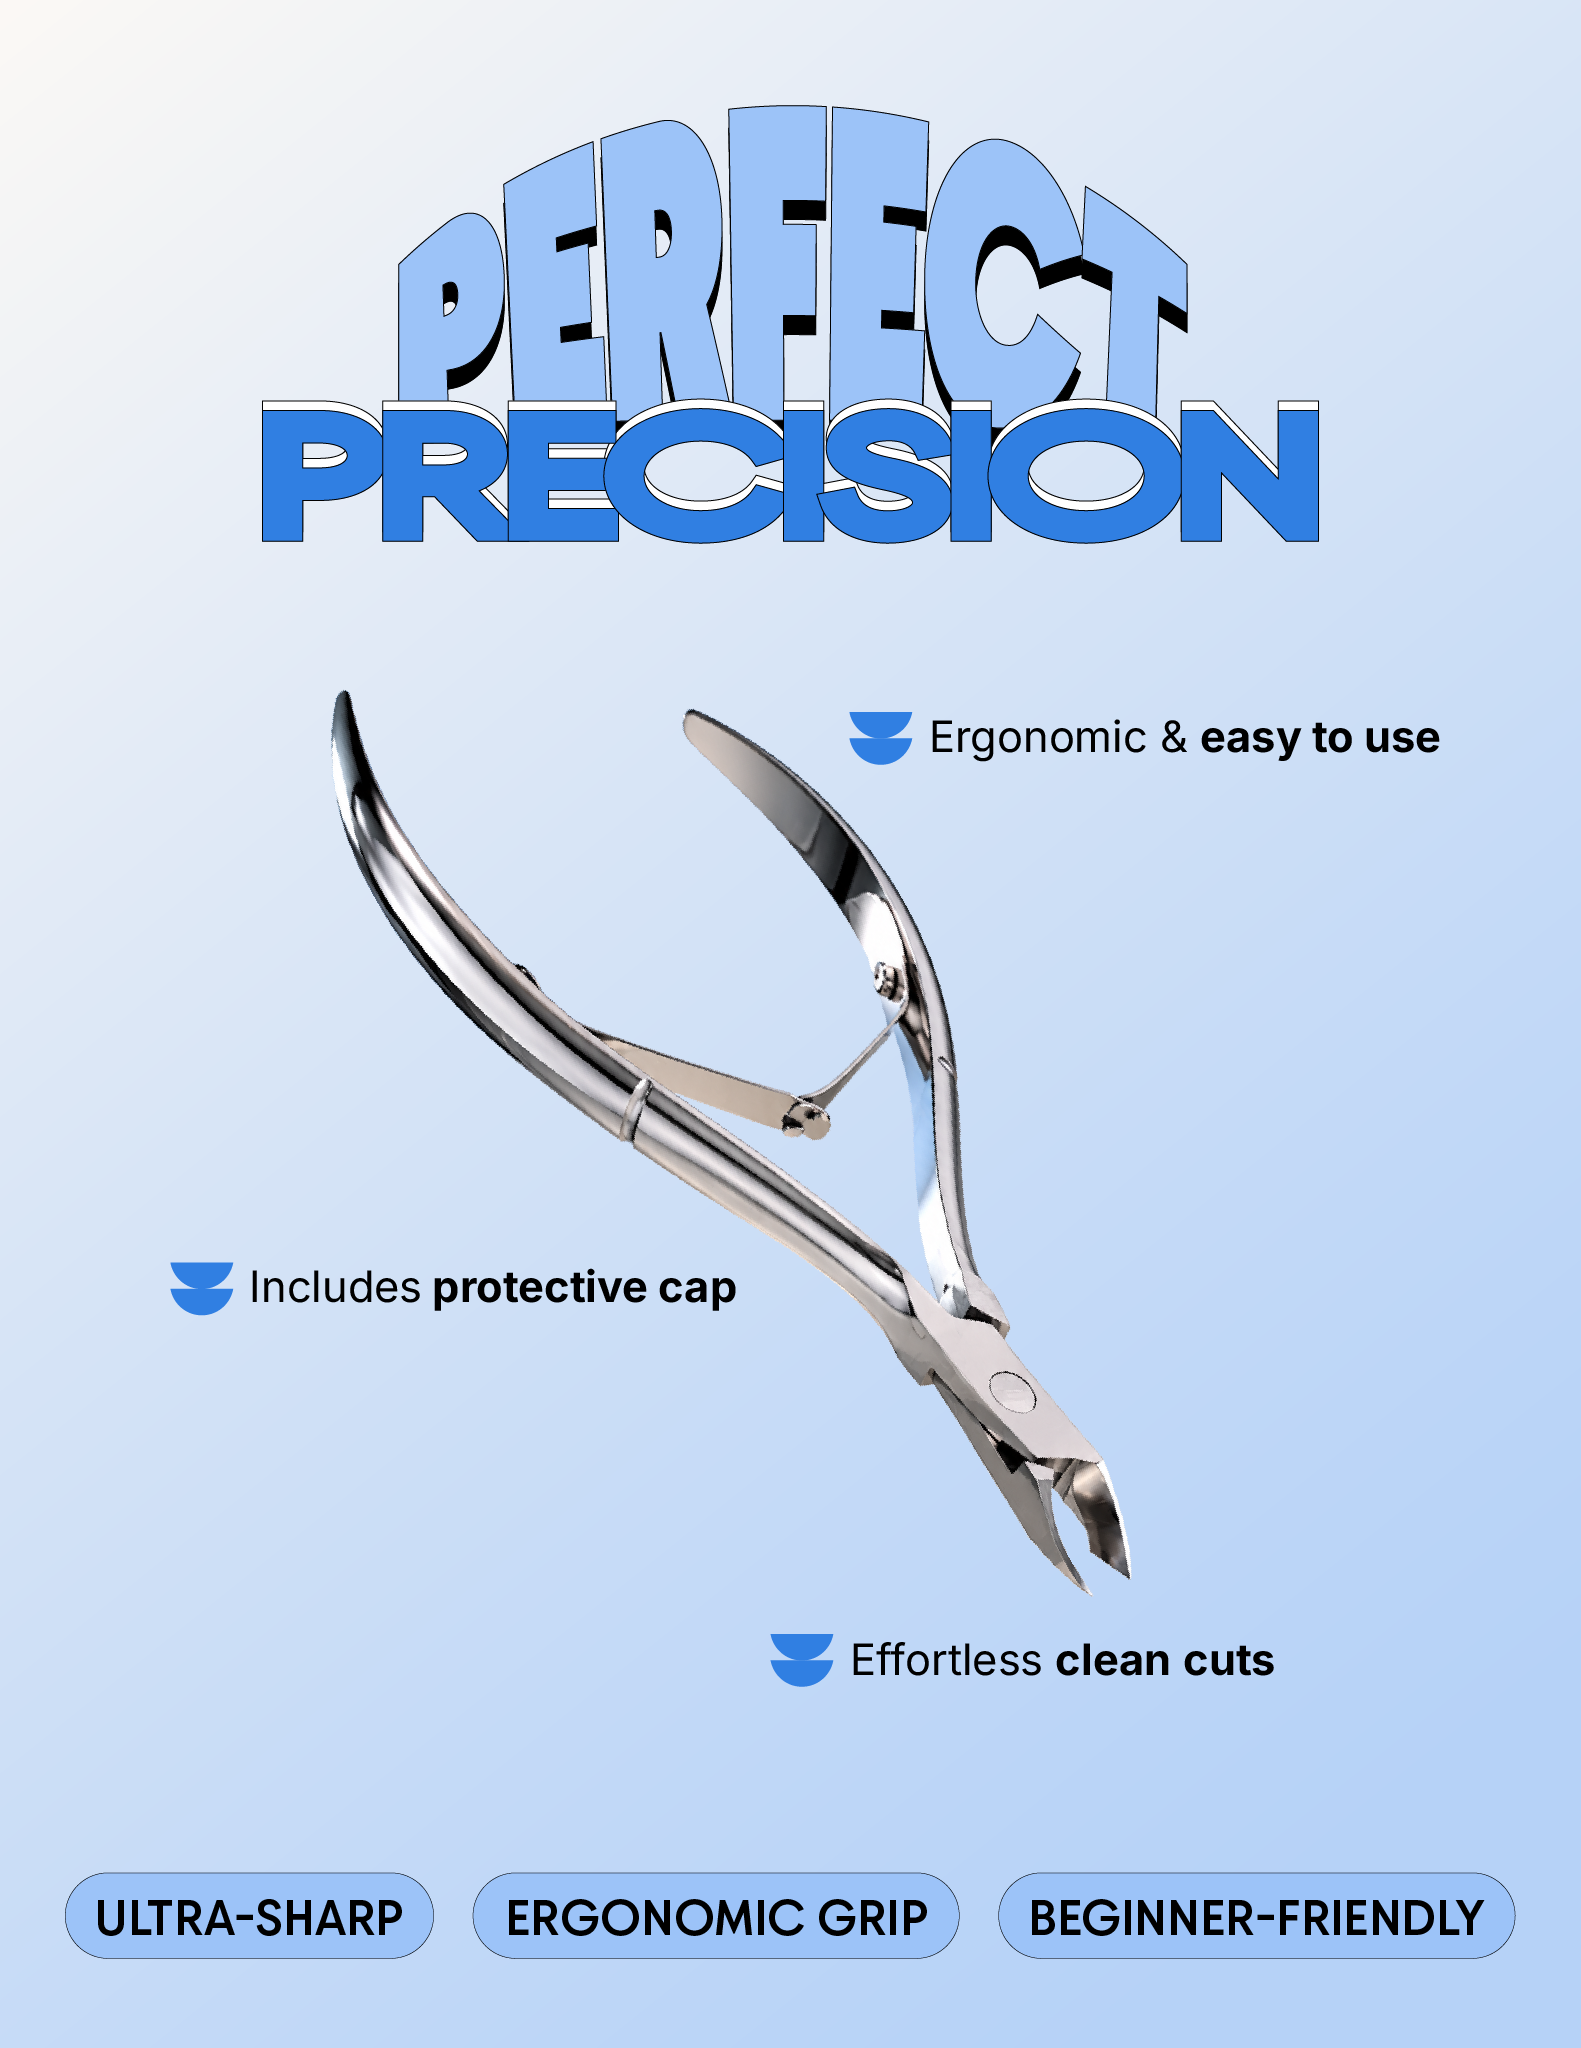
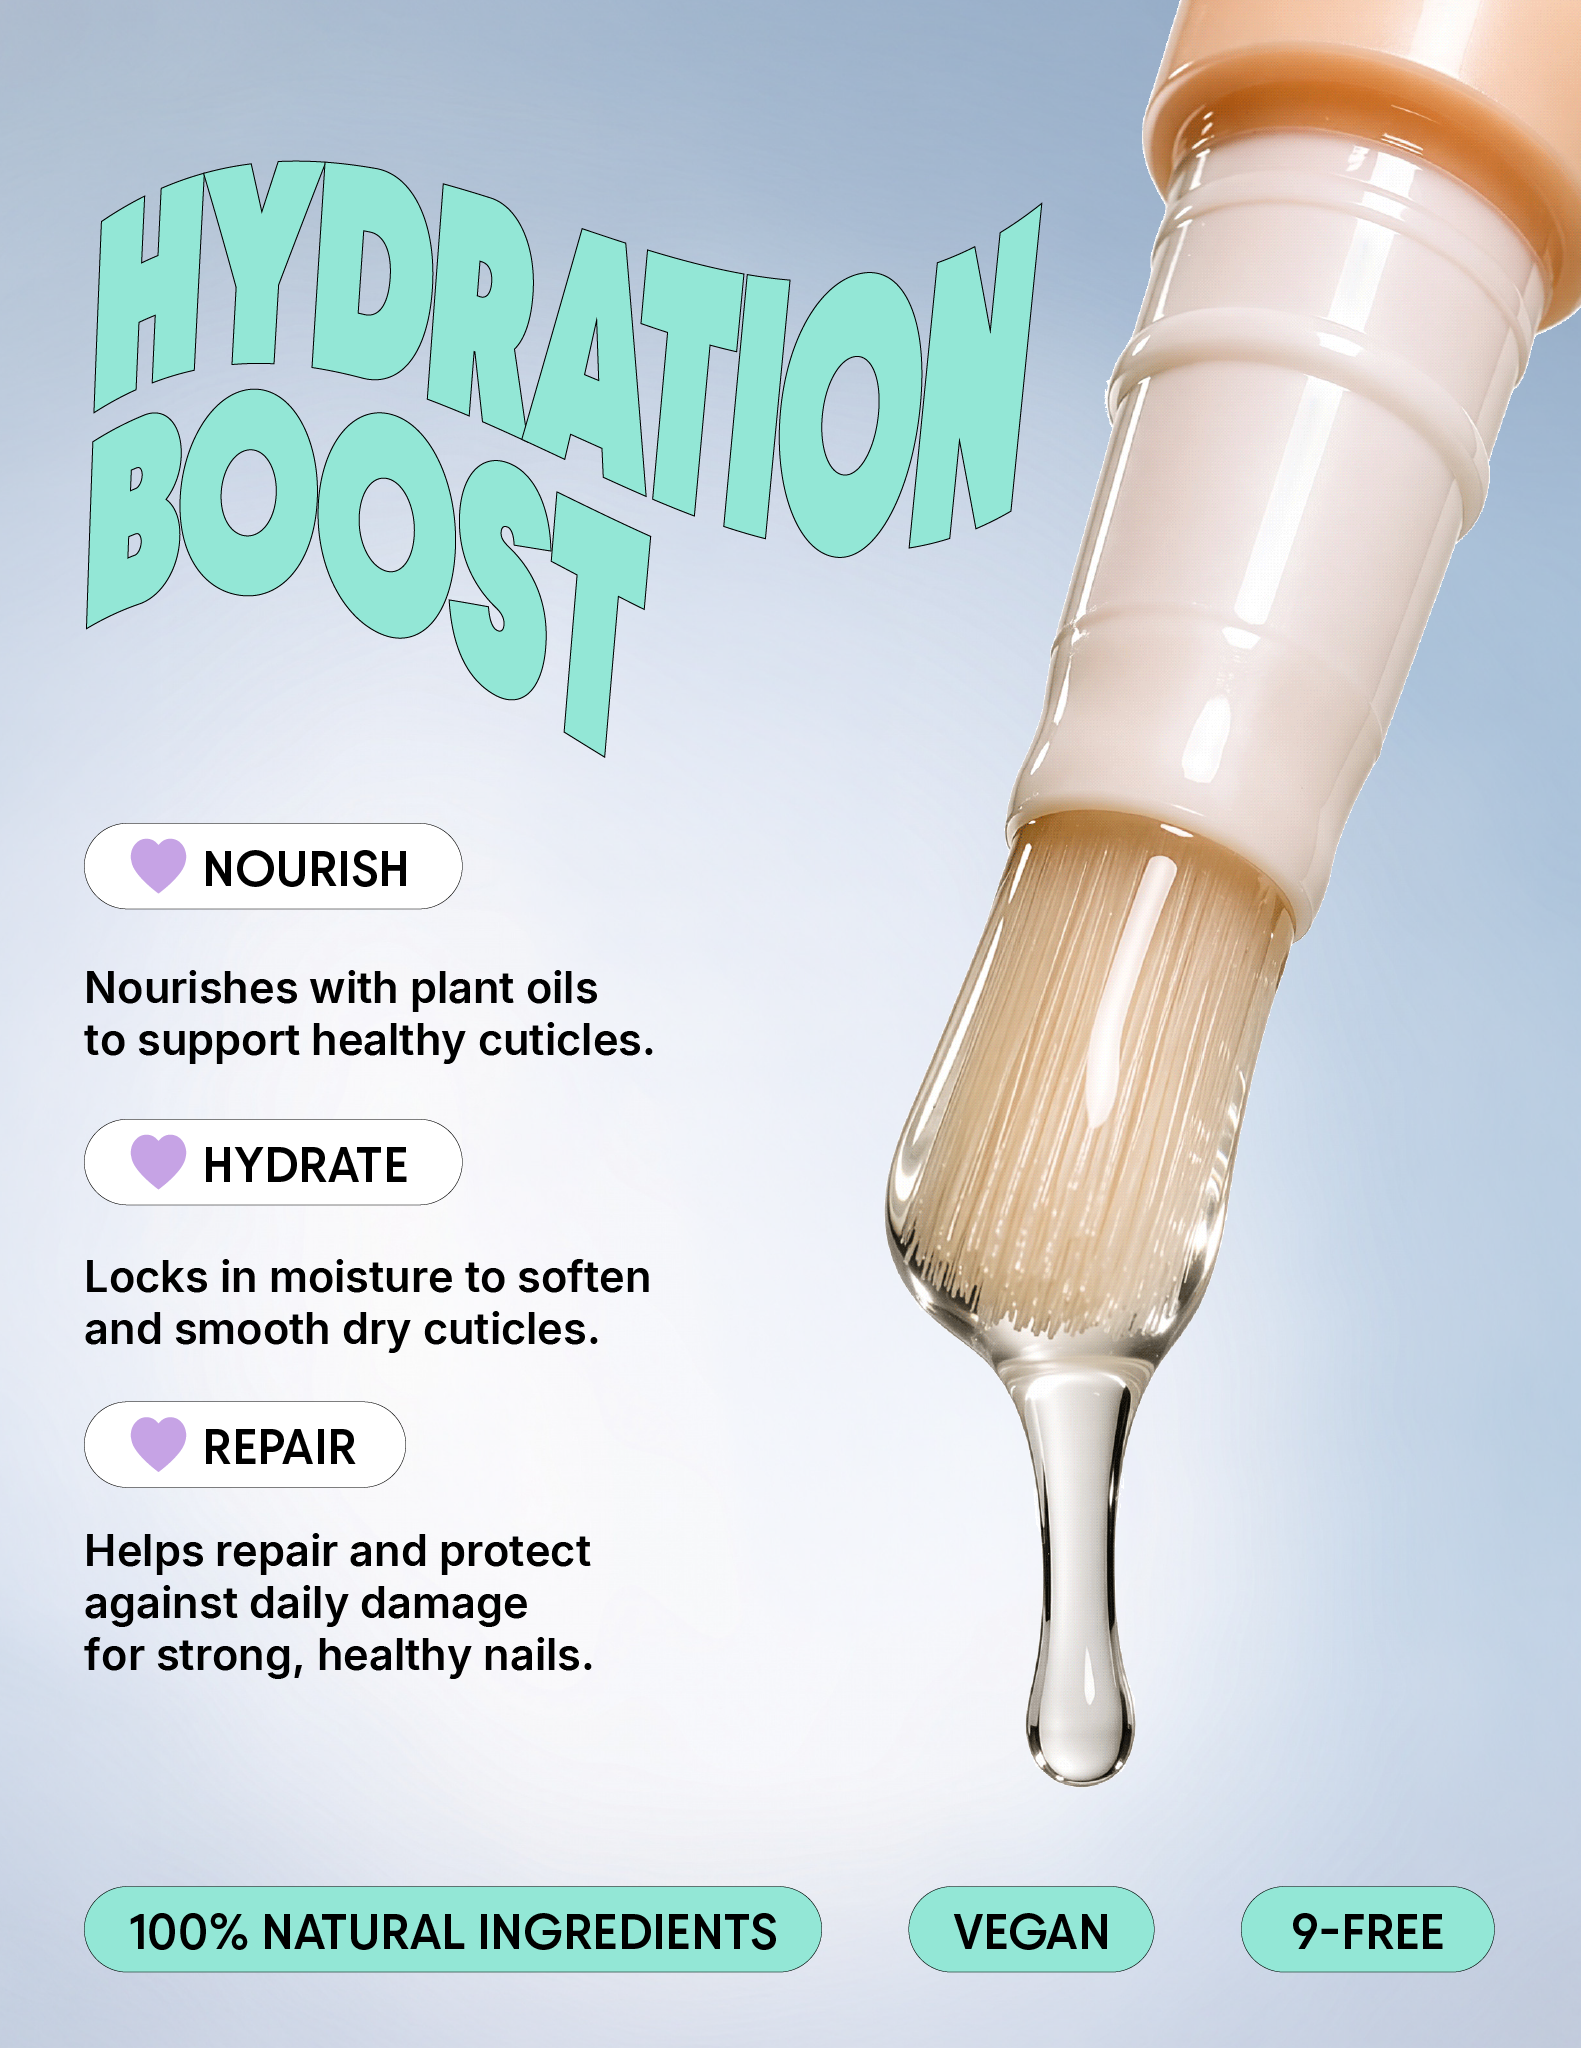
When you start your nail prep, you just need to push your cuticles back (we include a cuticle pusher in our kits). Trim loose skin or snags (with a cuticle nipper). This is an optional step; you don't really need to do it as long as you use cuticle oil and hand cream regularly and push them back sometimes. This keeps them groomed on an ongoing basis.
-
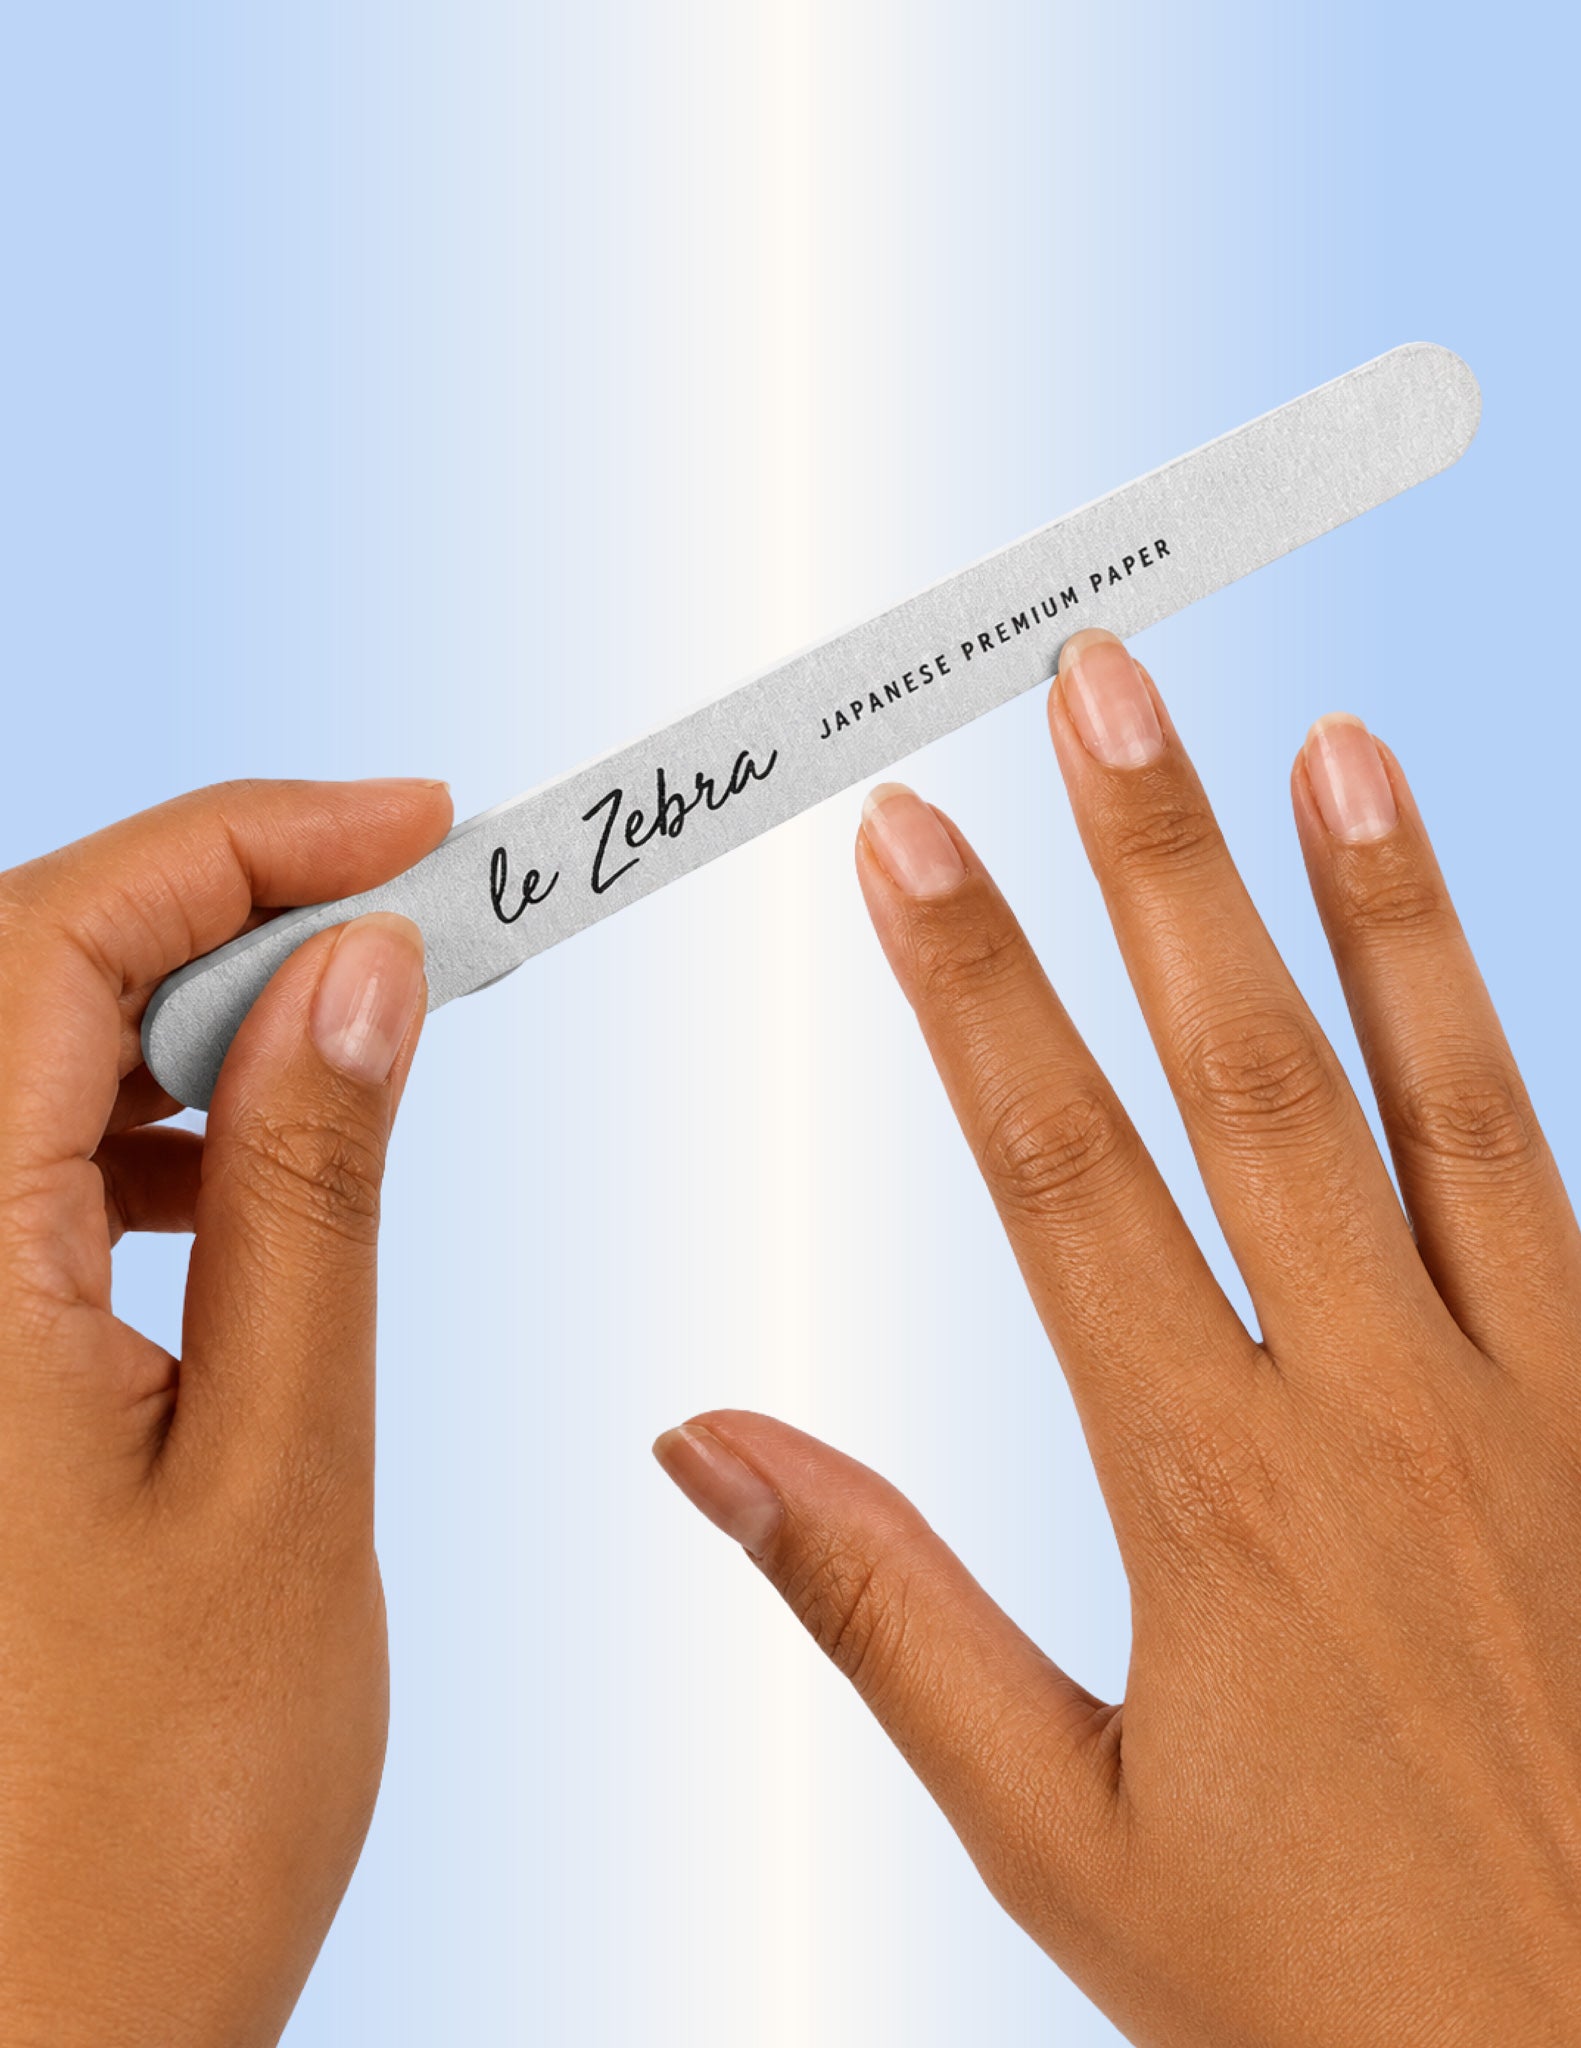
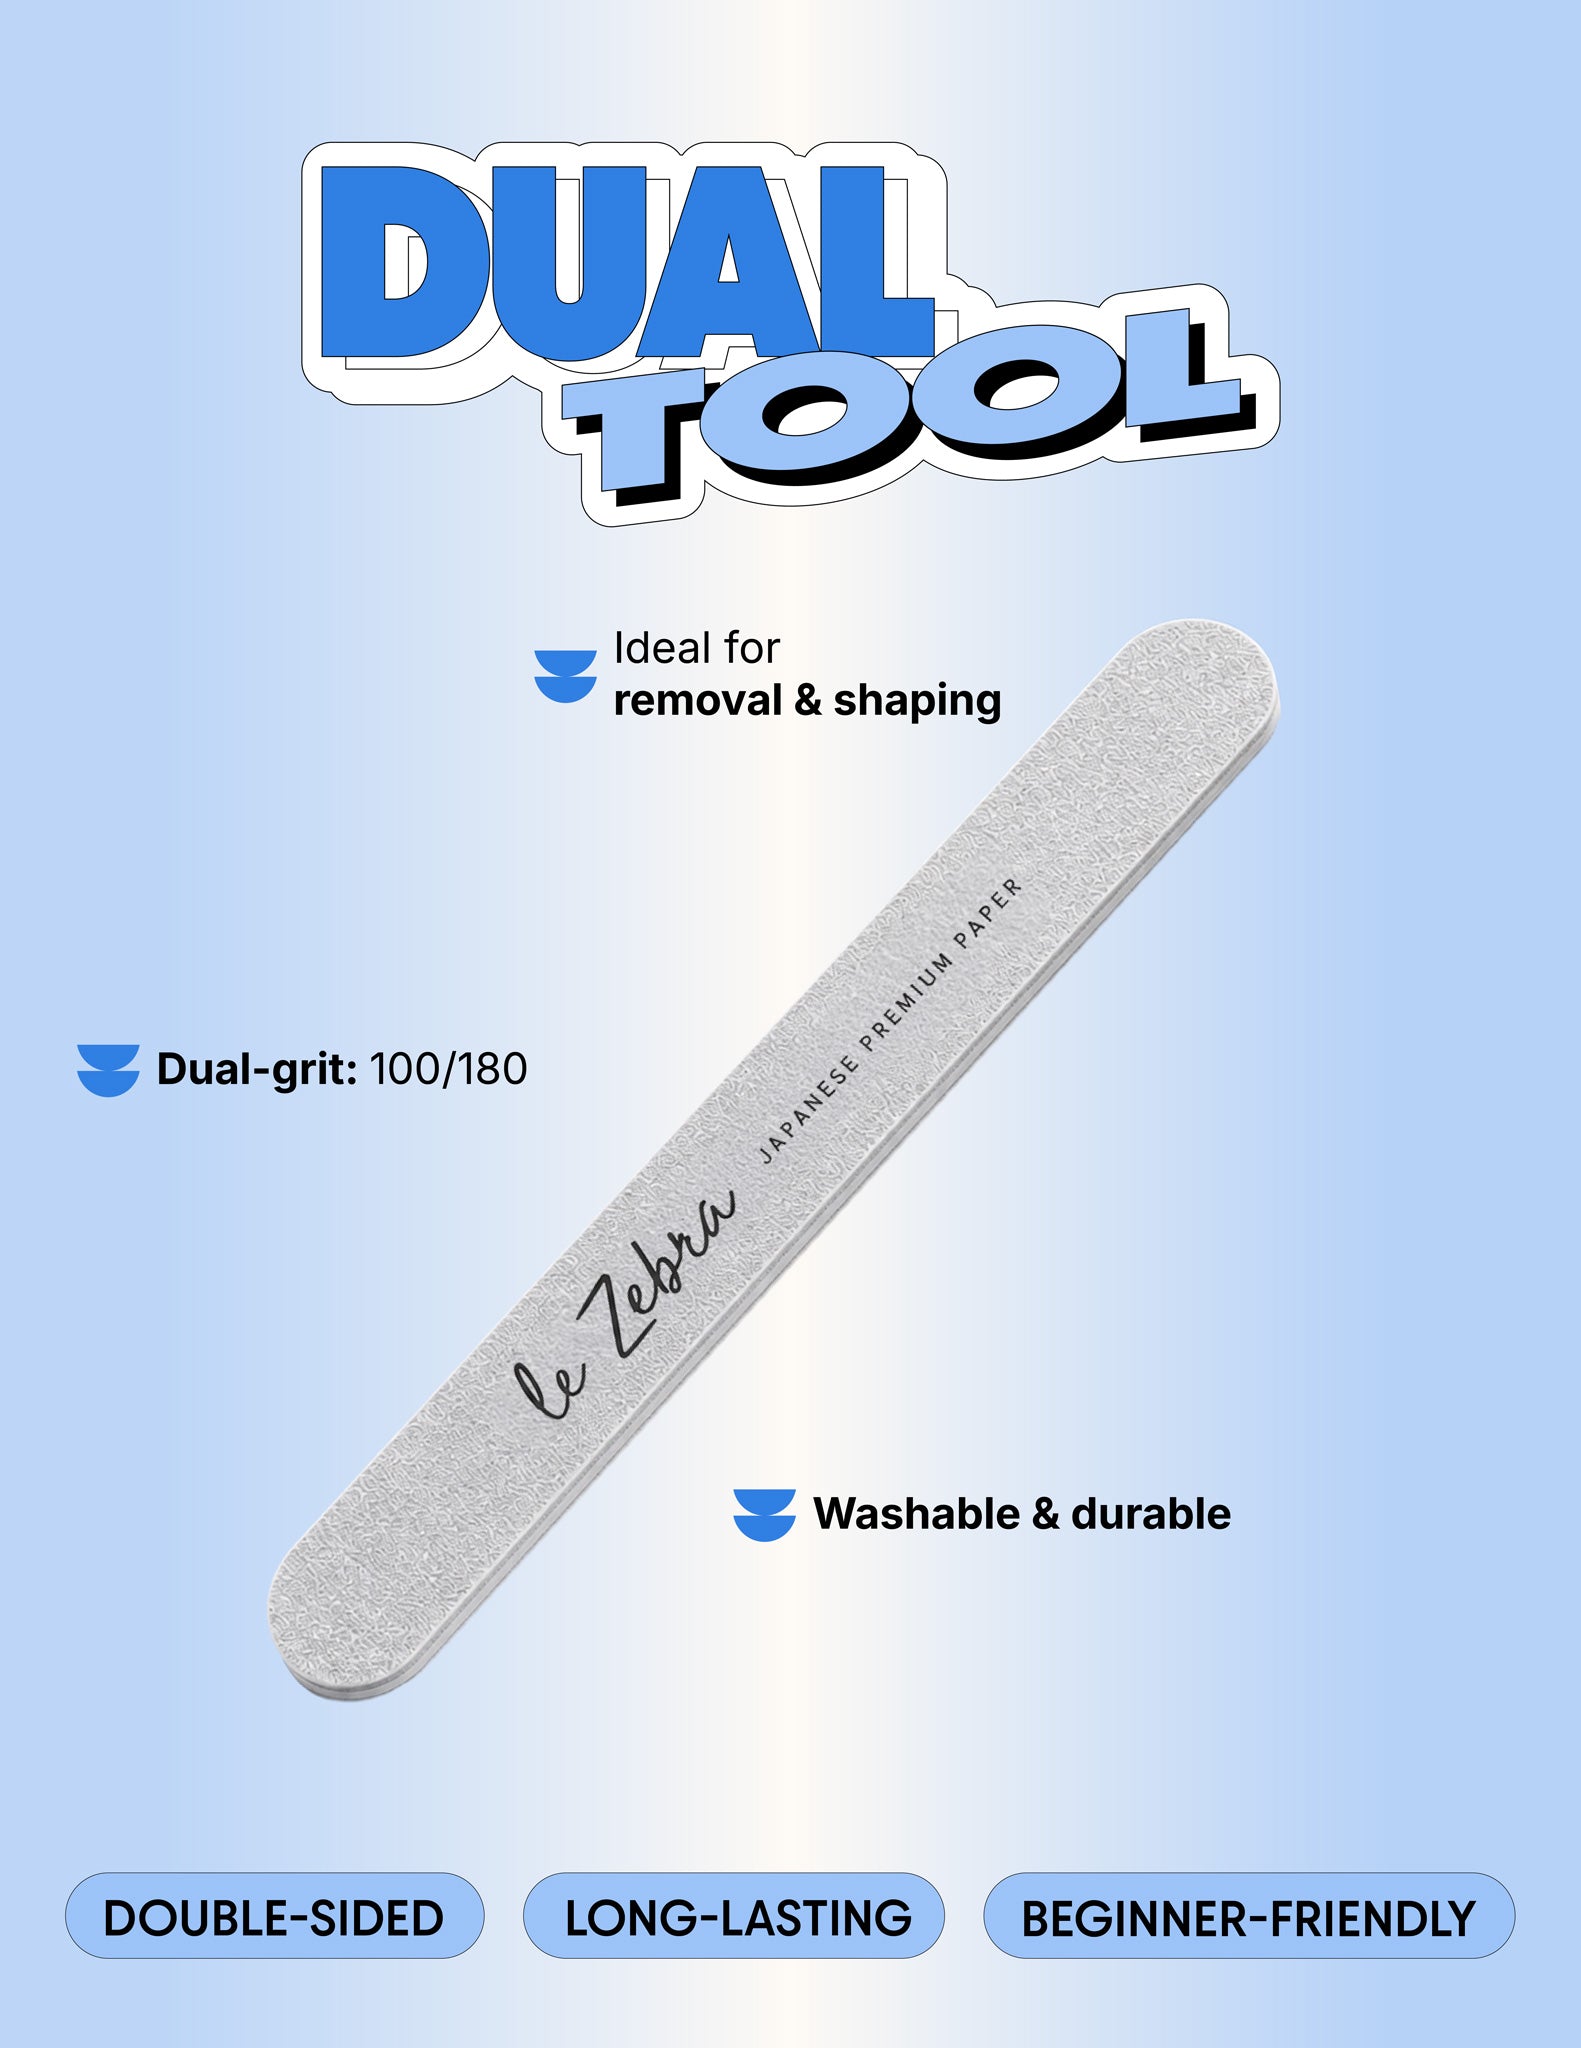
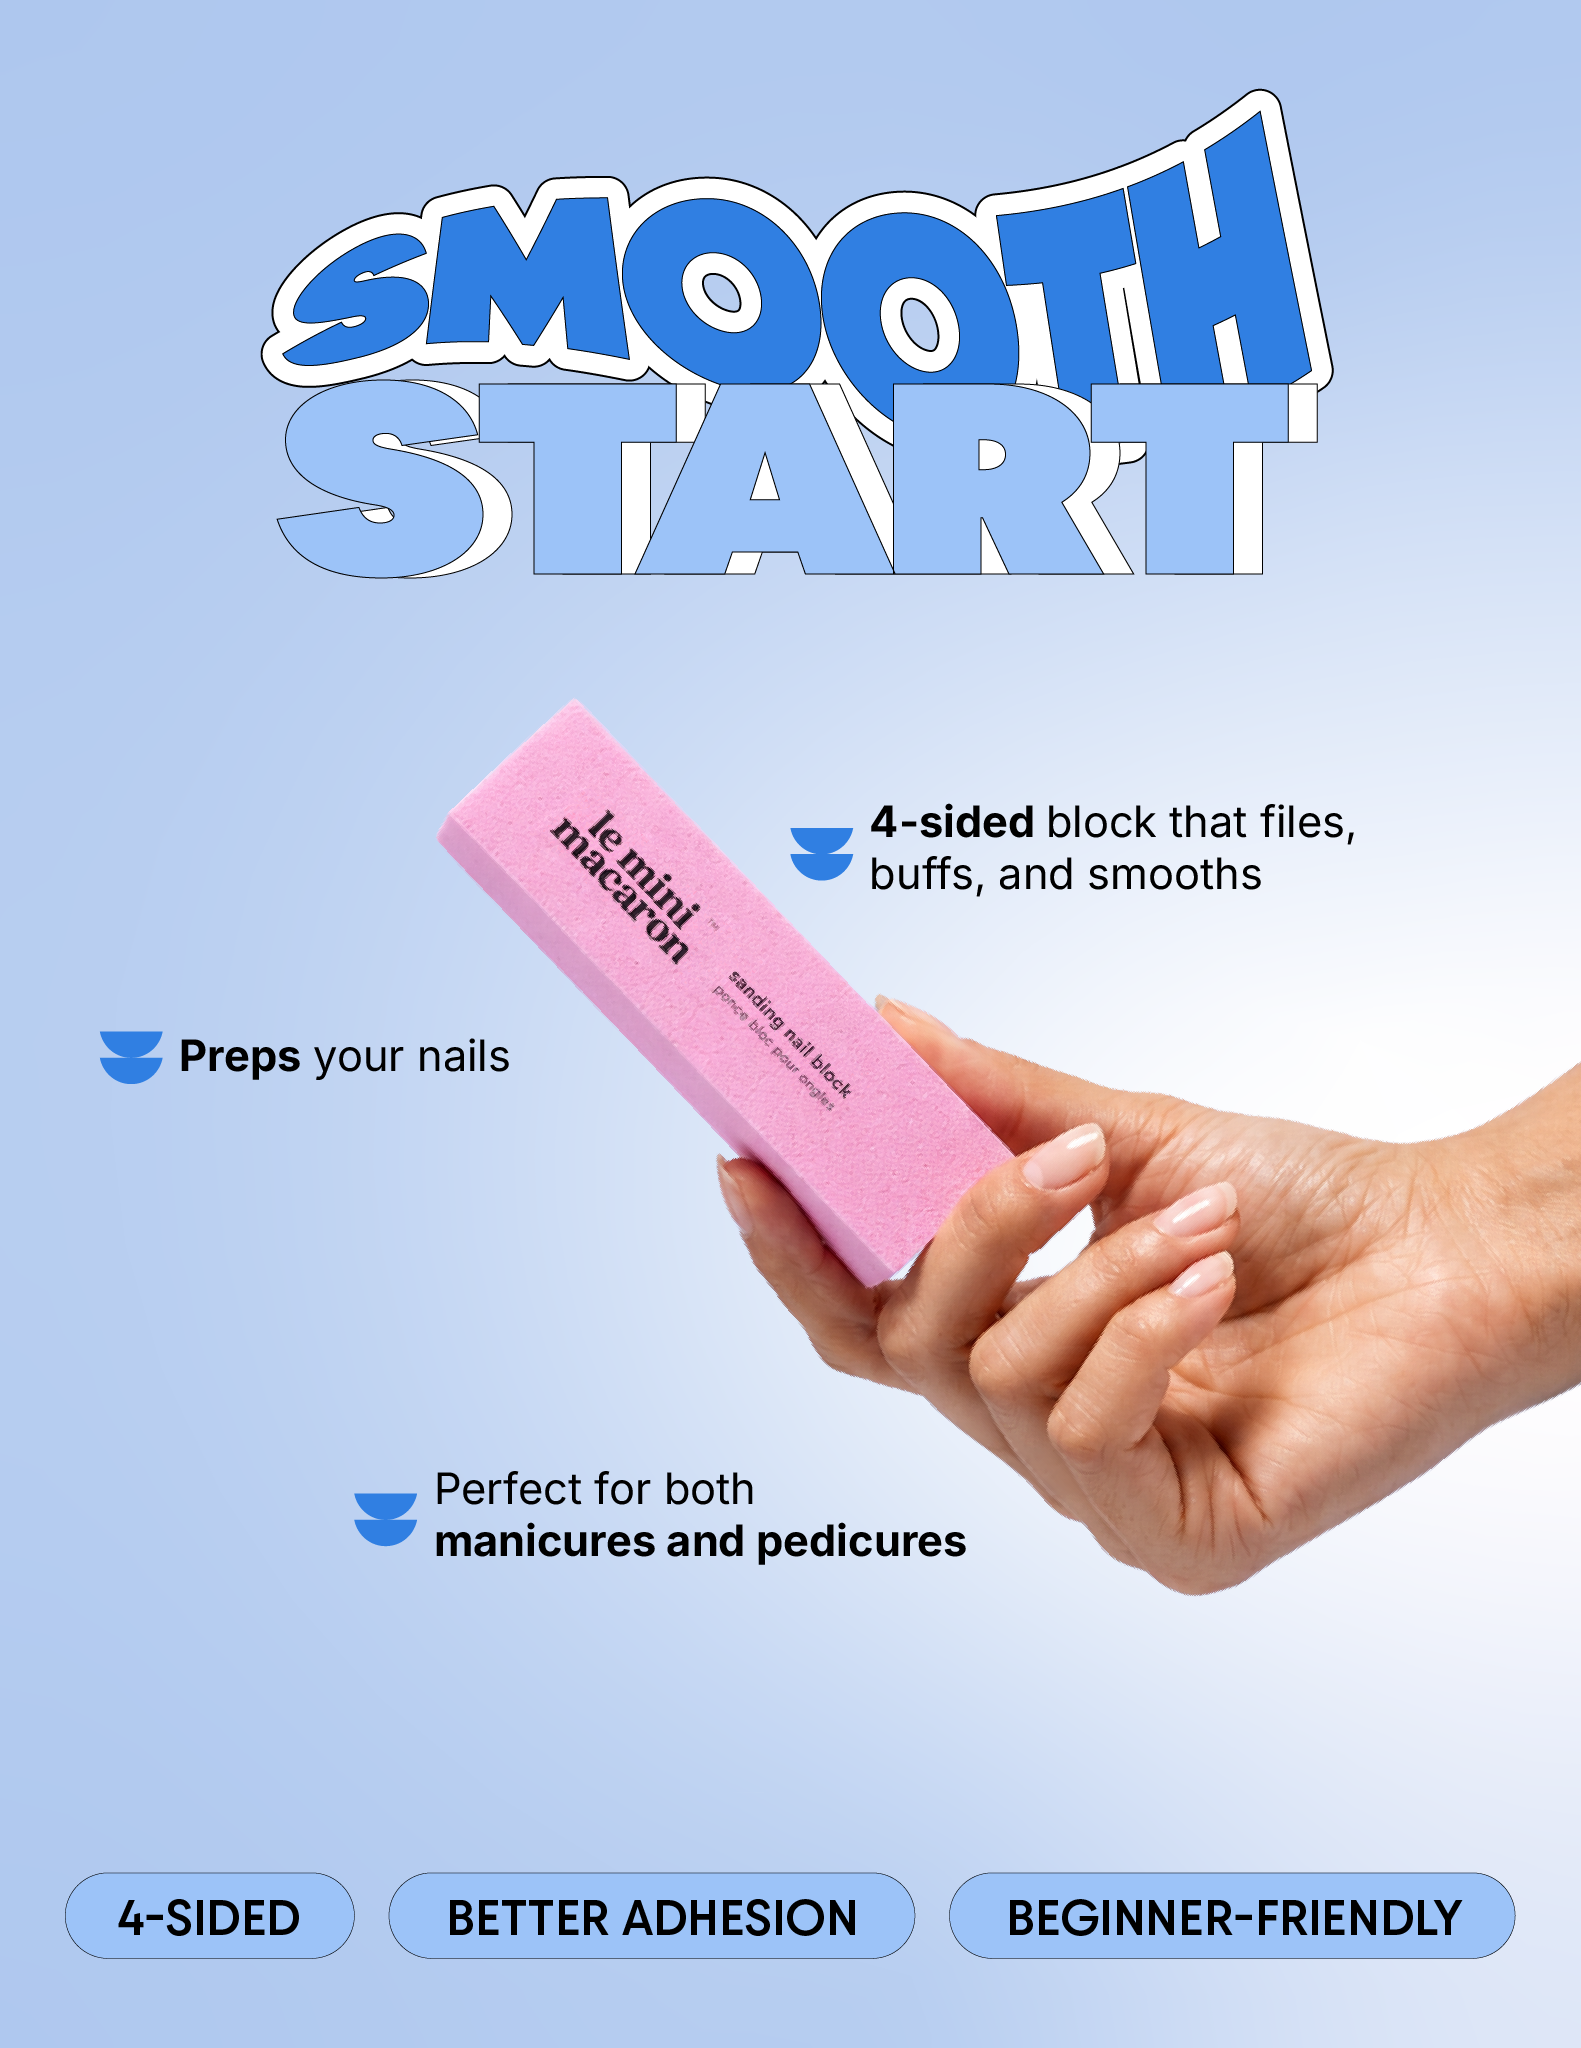
File the edge and the surface of each nail. Filing the surface allows the gel to adhere better and filing the edges helps keep the gel from chipping. File in one direction using light strokes. You don't want to saw away (back and forth) at the edge of your nail as this wears it down quickly and it's easy to get an uneven shape.
-
Make sure the first coat of gel polish is VERY thin (with barely any gel in the brush). Do not lob on a bunch of polish the way you would do with regular nail polish. This is extremely important to ensure that the base layer is not too thick, which will affect the lasting. You can remove excess gel polish from the brush (before applying) by wiping it along the opening of the bottle. This will help in ensuring a VERY thin first layer.
-
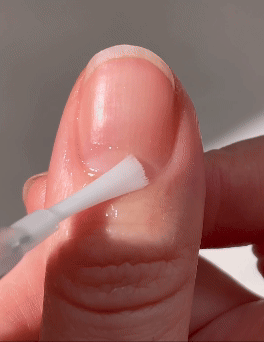
If you get it on your skin, use the cuticle stick or your thumb nail from the other hand to remove the excess before curing the nail with the LED lamp.
-
If you smear it before you go into the lamp to dry it, just wipe off the entire nail with remover + a cotton pad and re-paint it.
-
Cure the nail as soon as the gel is applied (instead of applying gel on all five fingers then curing one by one). It's important to cure each nail immediately to minimize the amount of time the gel is exposed to air, as this will negatively affect the result. The mini macaron is a 30 sec cycle, and the maxi macaron (larger lamp) is a 60 sec cycle.
-
Apply a second layer of gel polish and cure again. Make the 2nd coat slightly thicker with even strokes of gel polish. This will create a nice, smooth top layer which can last longer.
-
Cap the tip of every nail by running the brush along the edge. This will protect from chipping by providing a thicker layer of gel along the nail edge.
-
Let the lamp rest for 30–60 seconds between application on your left and right hands. This will allow the lamp to cool down.
-
Close the bottle of gel polish when not in use, and while you are waiting for each curing cycle if possible (or at least set the cap over the bottle while you are curing to minimize the amount of air and light that enters the bottle). This will prevent the gel from drying out, as gel reacts to both LED light and natural light. Avoid having the LED lamp shine directly on an open bottle of gel, as this will also dry out the gel.
-
Be sure to shake the bottle well each time before applying because our gel polish is a 3-in-1 gel (base coat, color, and top coat all in one formula). Sometimes if the bottle has been sitting for a long time, the top coat component can separate, so shake well to mix the formula.
-
For new users, when you're drying the nail under the LED light, it's possible to accidentally move the nail if you're not paying attention. It's important to keep the finger still so that the light dries all around the entire surface (including the edges of your nail). You can always cure your nail for an additional 5–10 seconds to ensure the nail is completely dry before moving on to the next one. If you are still experiencing chipping issues, we recommend curing for an extra 5–10 seconds to rule out under-curing as the cause.
- Don't apply hand lotion or cuticle oil BEFORE or DURING the gel application process. This will cause the gel to slip and not adhere well.
- Don't buff your nails after filing them. Filing creates a rough surface, allowing the gel to adhere better. Buffing reverses this effect by making the surface smooth again, which will cause the result not to last very long.
- Don't apply the gel on or too close to the skin. If you get gel on your skin, use the cuticle stick to remove it before curing. Curing gel on your skin will affect the lasting.
- Don't apply gel polish in direct sunlight (outdoors or in a sunny room) as this can cause the gel to harden. Work in a cool, dark space with interior light. The same goes for storage of your gel polishes.
All of our nail care items dry with air. There is no need to use the LED lamp to dry. Just apply 1 or 2 coats to bare nails and let them air dry.
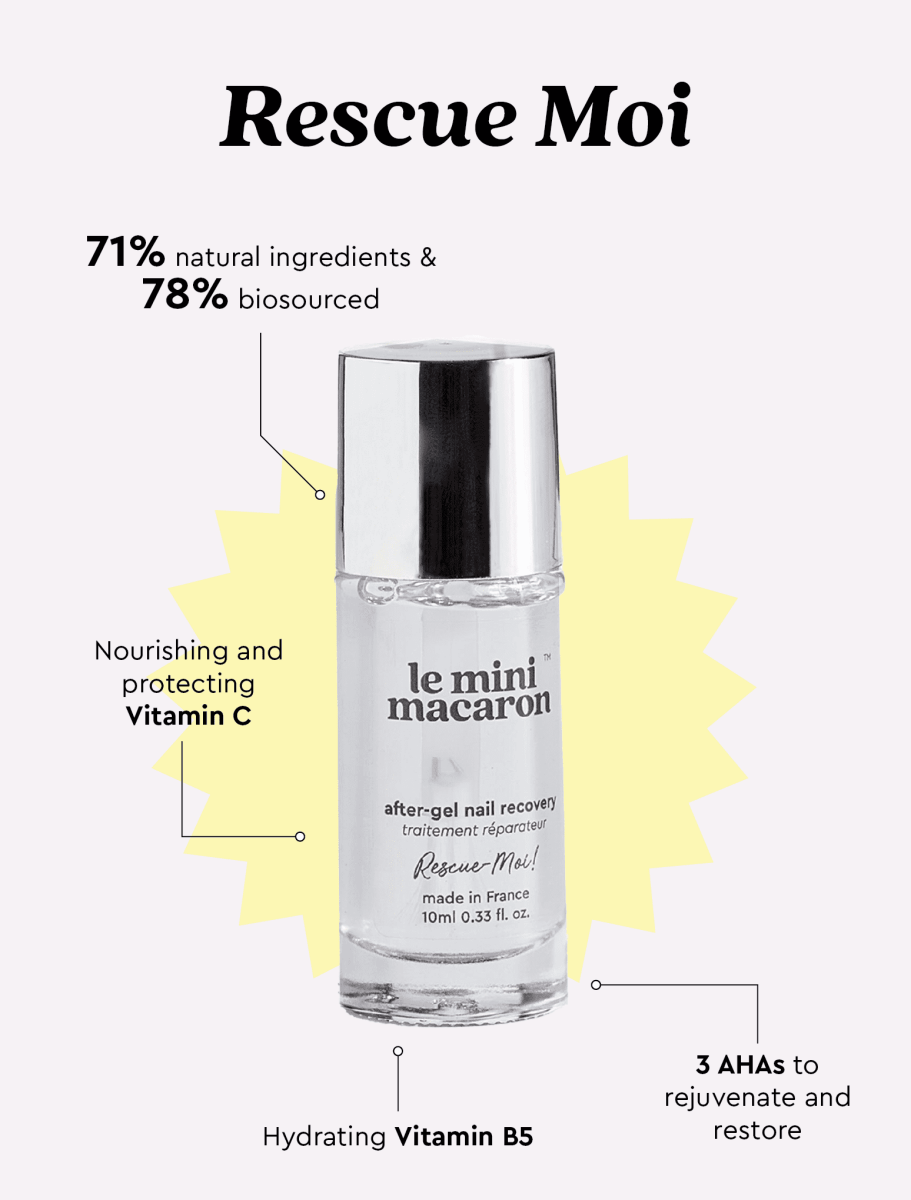
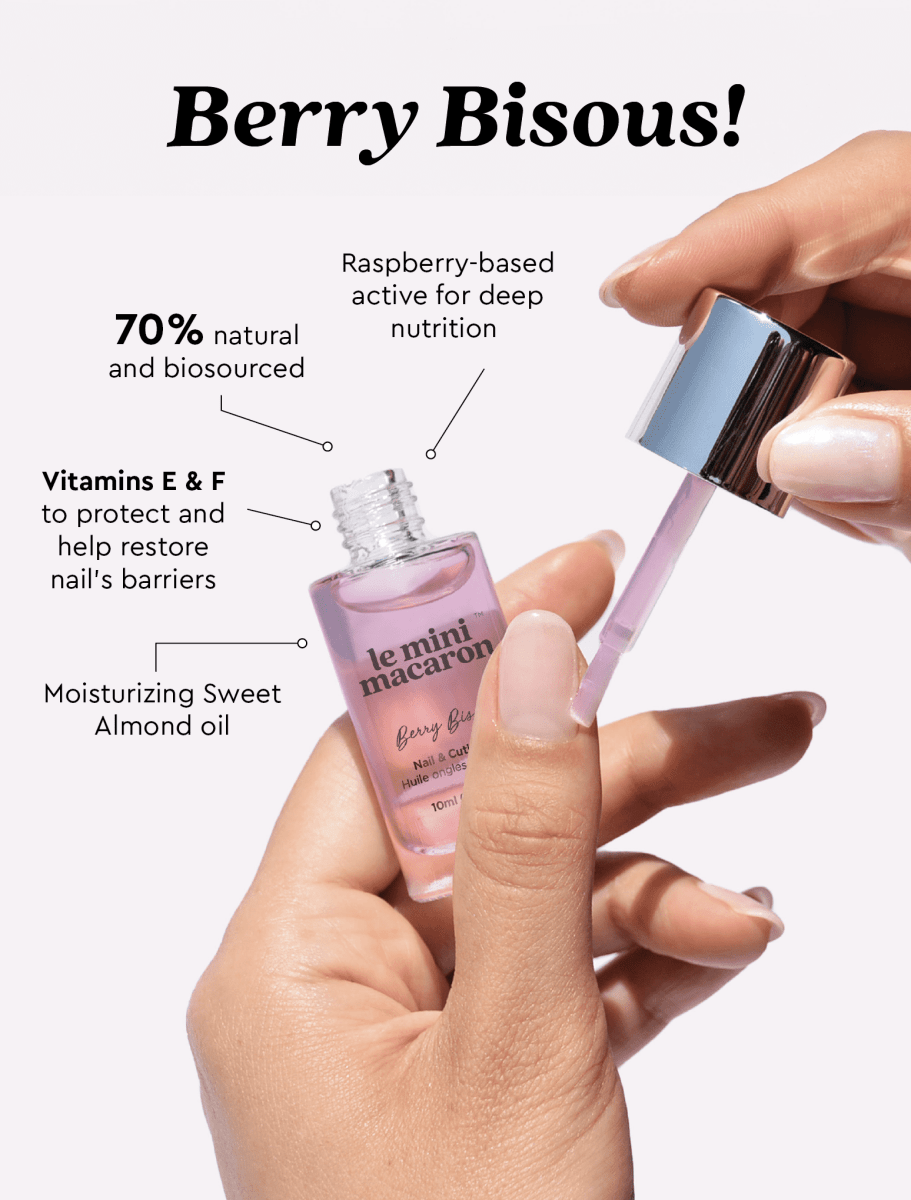
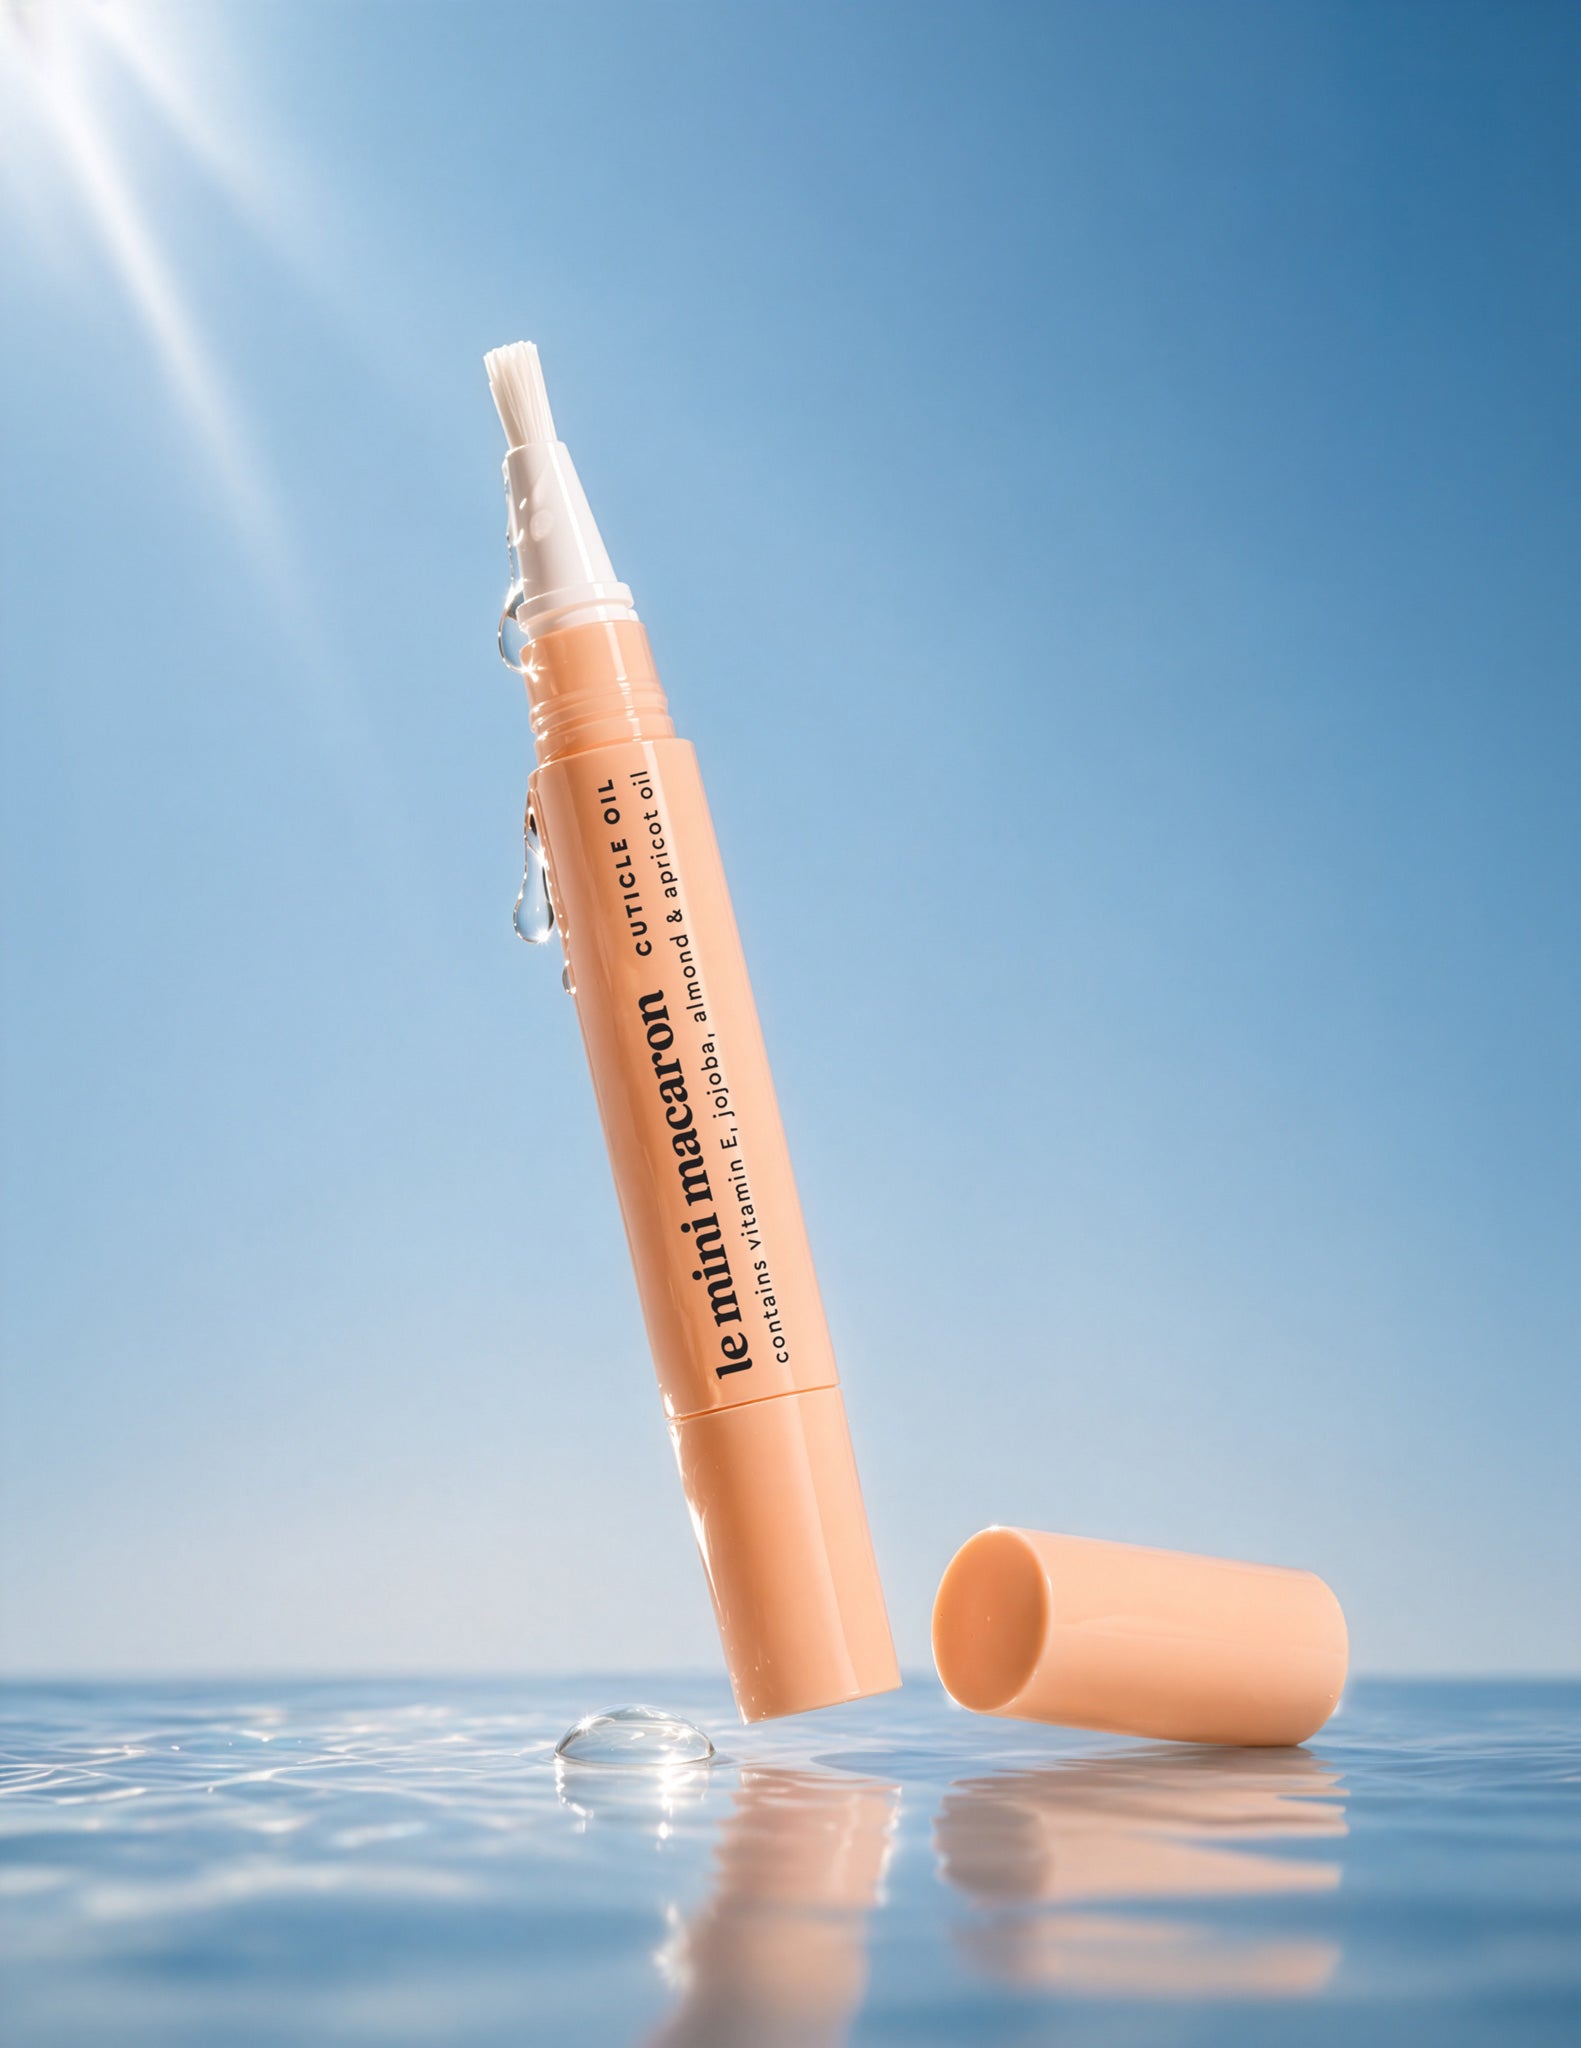
Our nail care line is designed to be used to rebuild your nails between gel manicures. It is not recommended to be used under gel polish as this will affect the lasting of your gel manicure and cause chipping. You can, however, use our nail care line as a base for regular, air-dry nail polish. Our cuticle oil can be used to nourish and moisturize cuticles after your gel manicure is cured and complete. This can also be used between gel manicures or over regular nail polish manicures.
Our LMM products are safe to use during pregnancy, but we understand that some women like to limit the amount of beauty products that they use (in general) while pregnant. It is up to each woman to decide. If you feel comfortable to use regular nail polish products, then you can feel comfortable to use gel products, which contain little to no fumes and no harmful chemicals. And unlike UV lamps (which contain UV light), our LMM lamps use LED light – the same kind of light you get from inside an office building – which is safe to be exposed to on a daily basis.
If you have followed all the basic tips on the application do’s, and you are still face chipping issues, it may be because of the natural oils in your nails. In fact, 20% of women have naturally oilier nails just due to body chemistry.
We recommend that you wipe your nails before you apply gel polish. You can use regular nail polish remover to quickly wipe each nail after filing the surface. This will remove the dust from filing and create a non-oily surface to start your application.


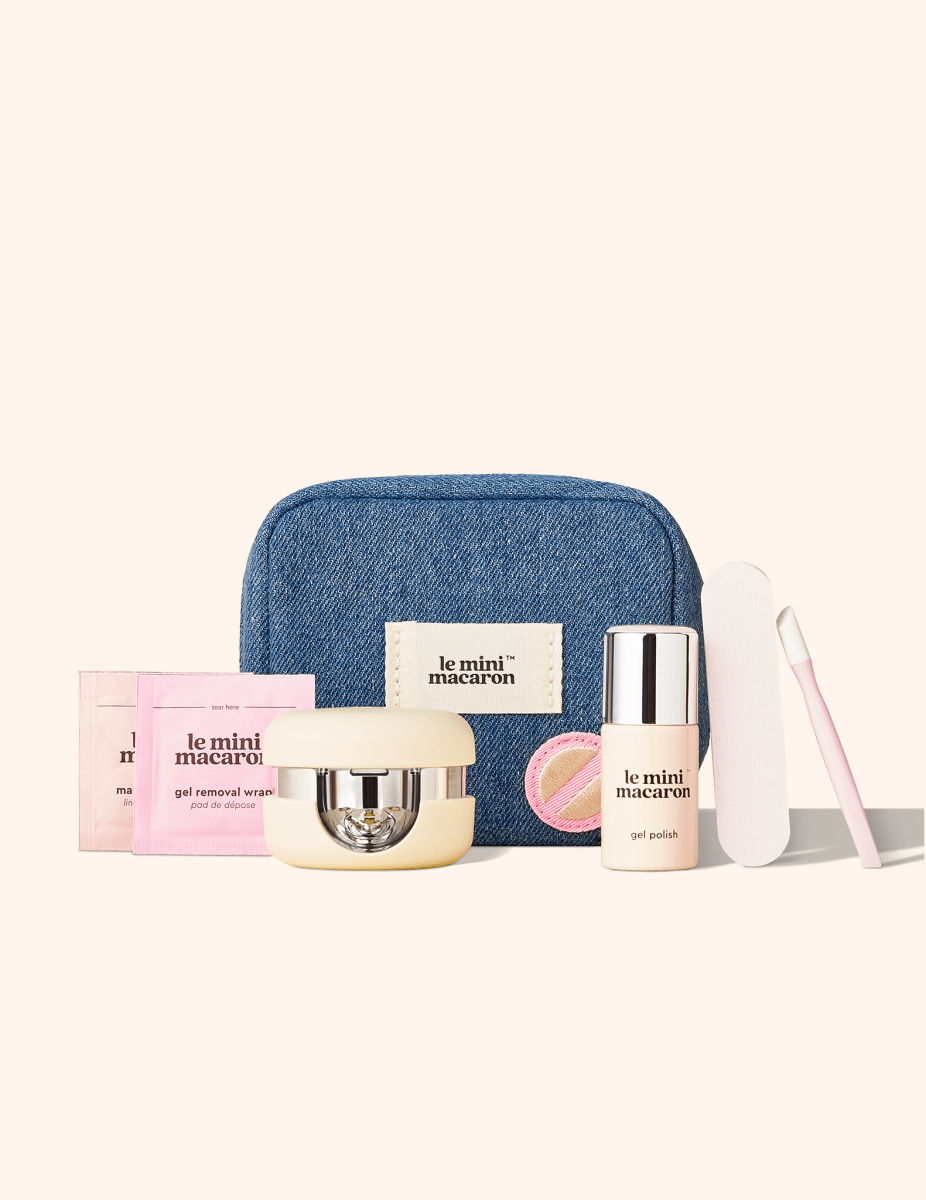

HOW TO REMOVE YOUR GEL MANICURE
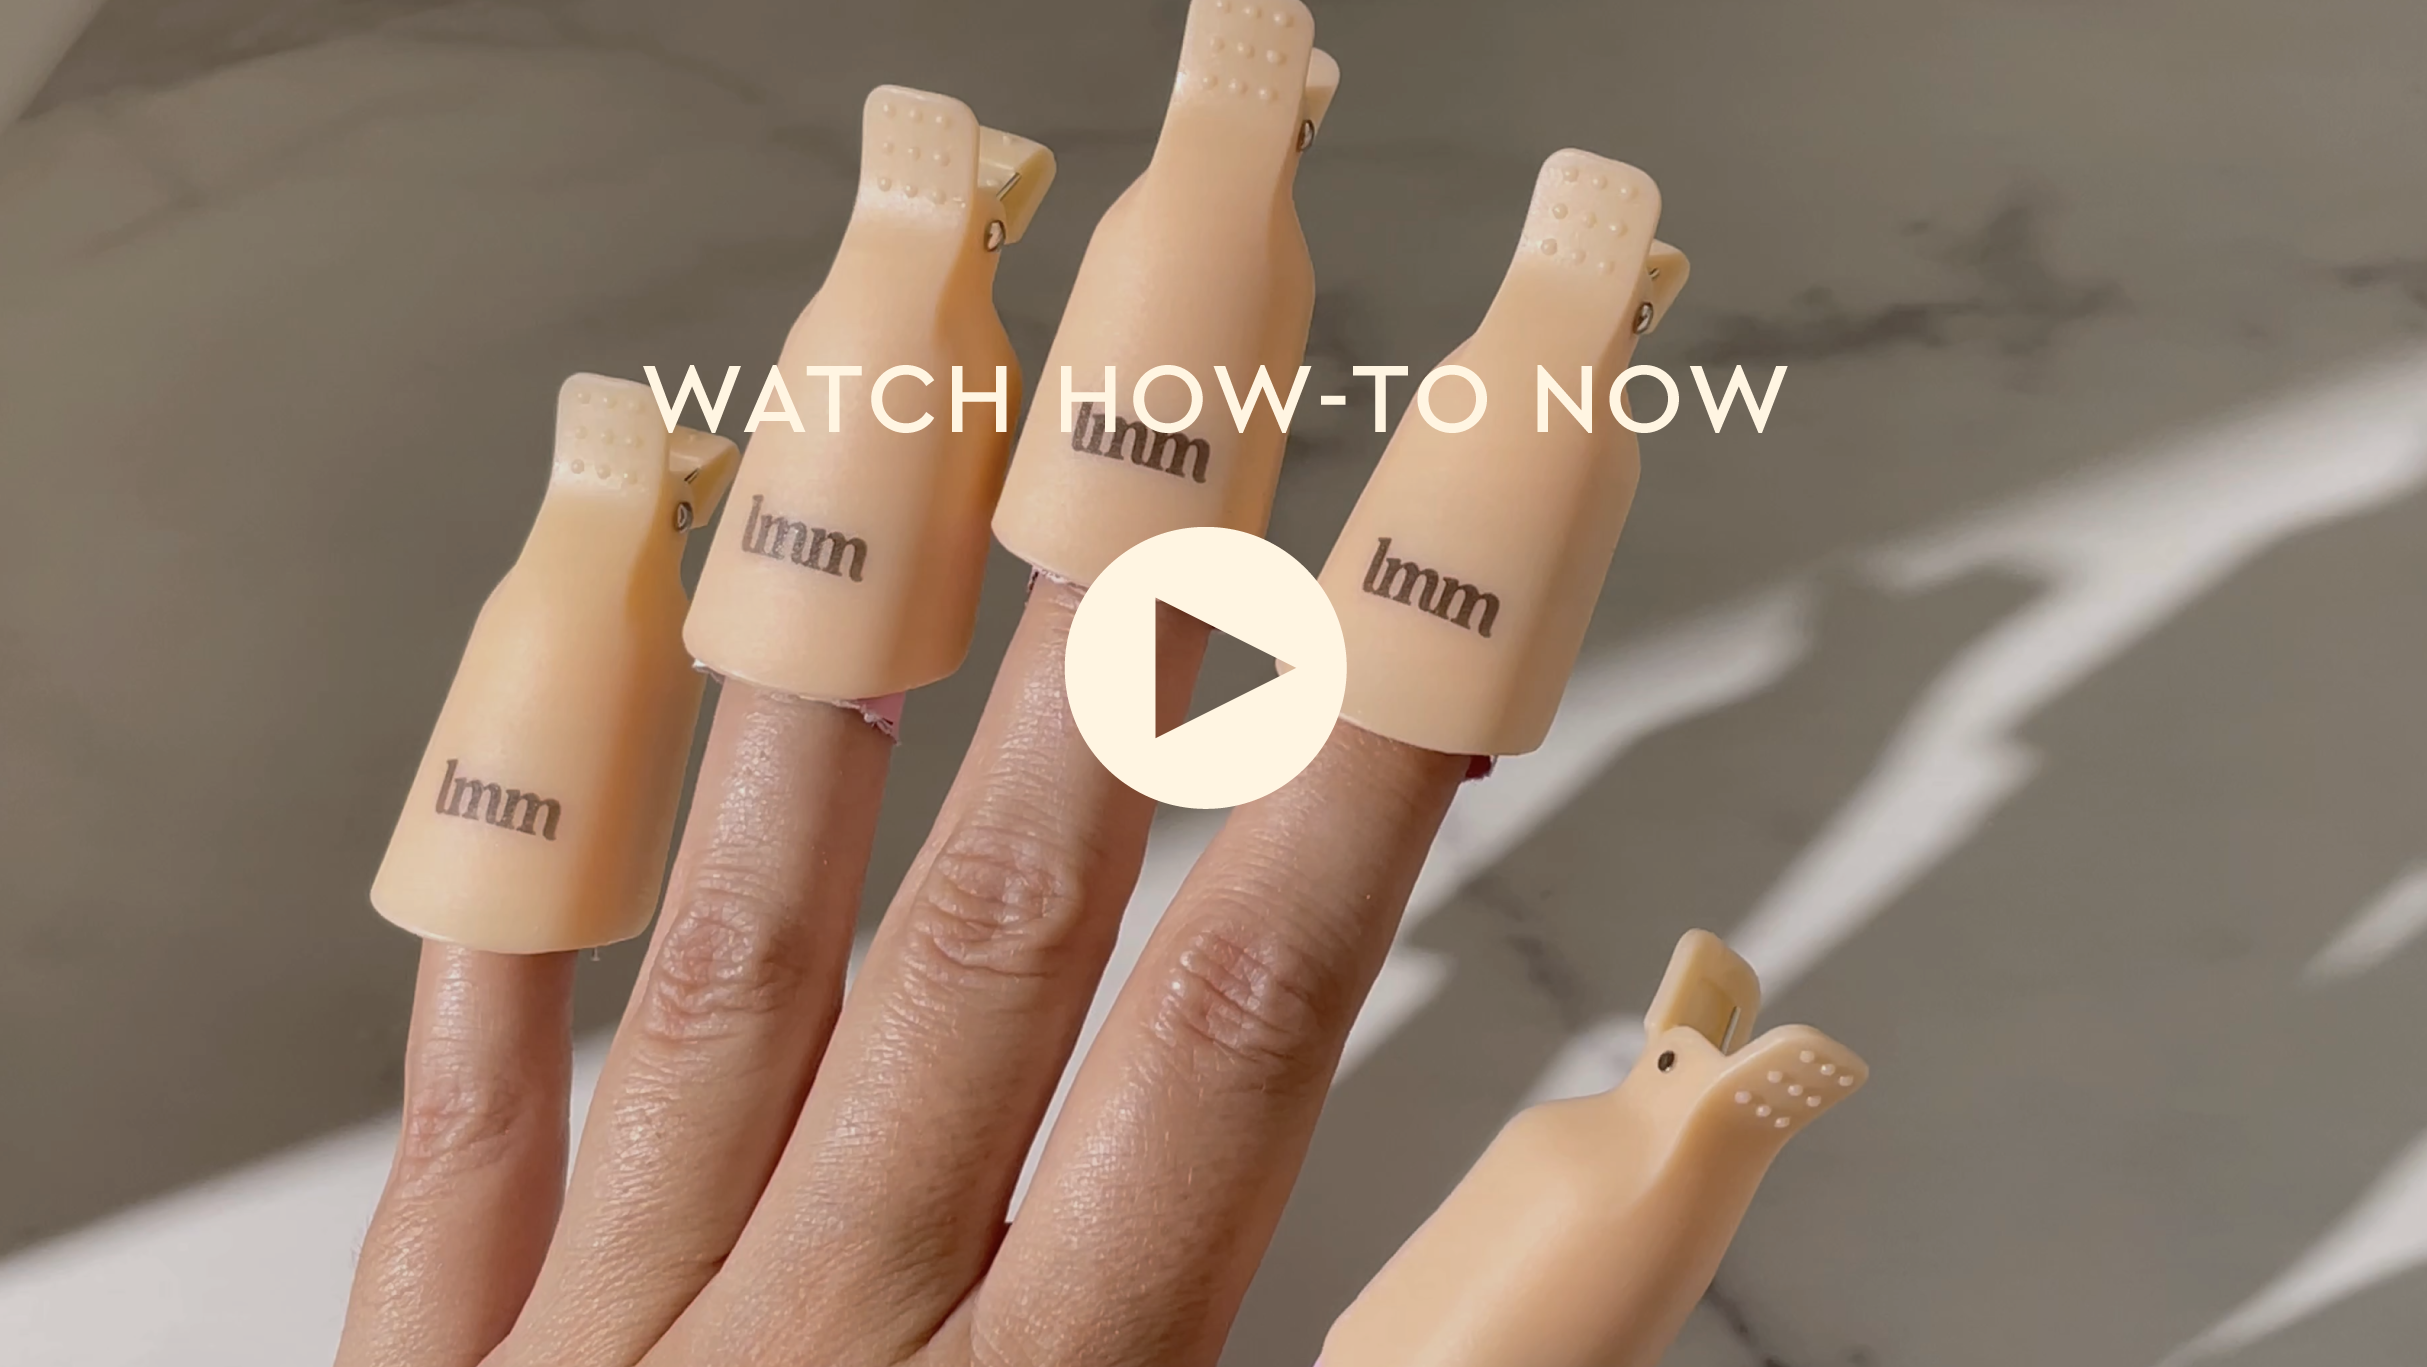
1. File surface
File the gel mani surface, until dusty. Stop once top coat is removed, don’t remove color completely.
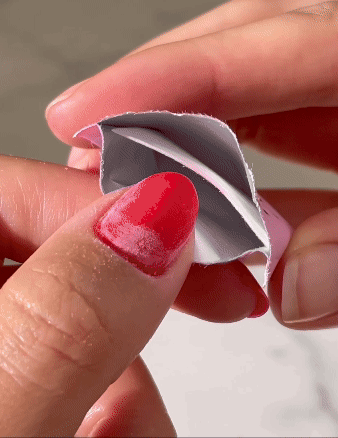
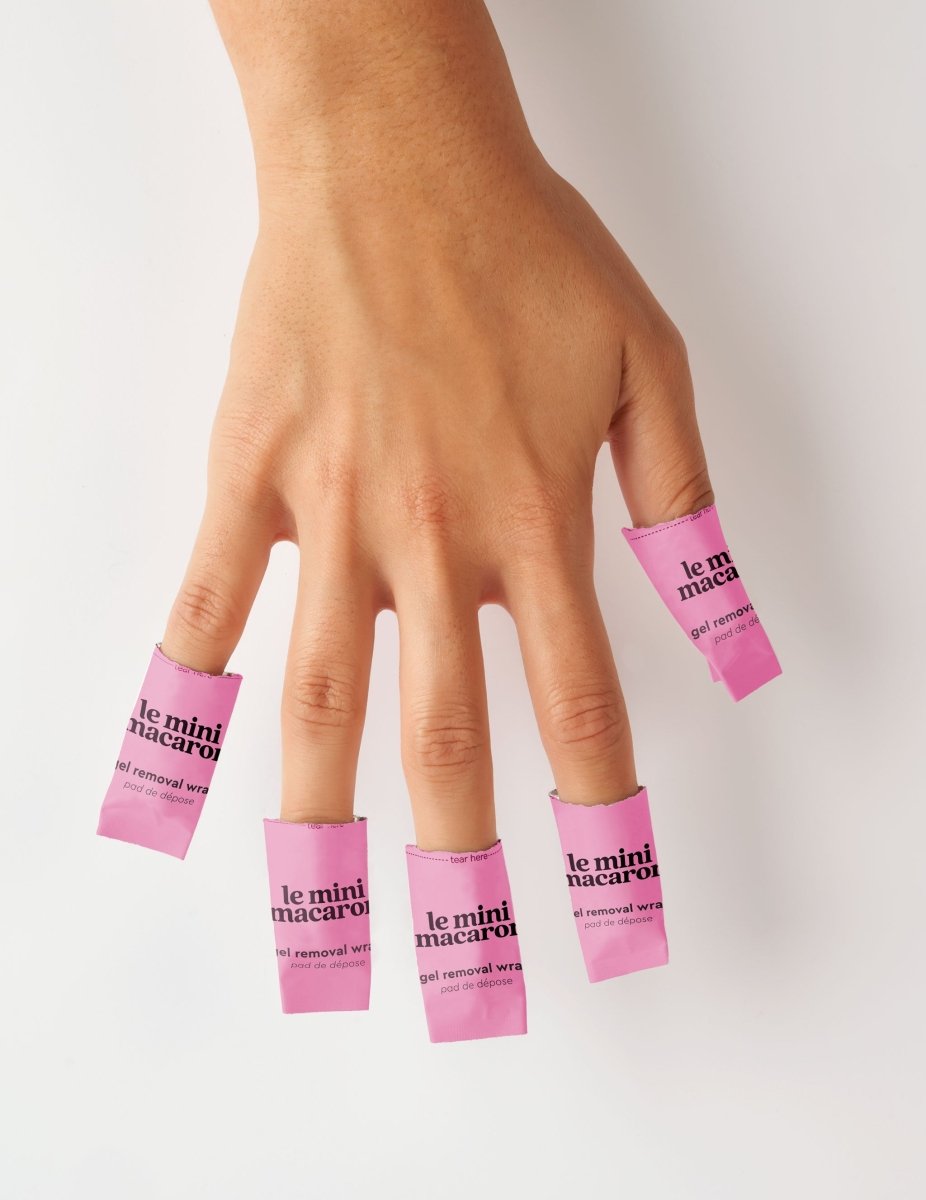
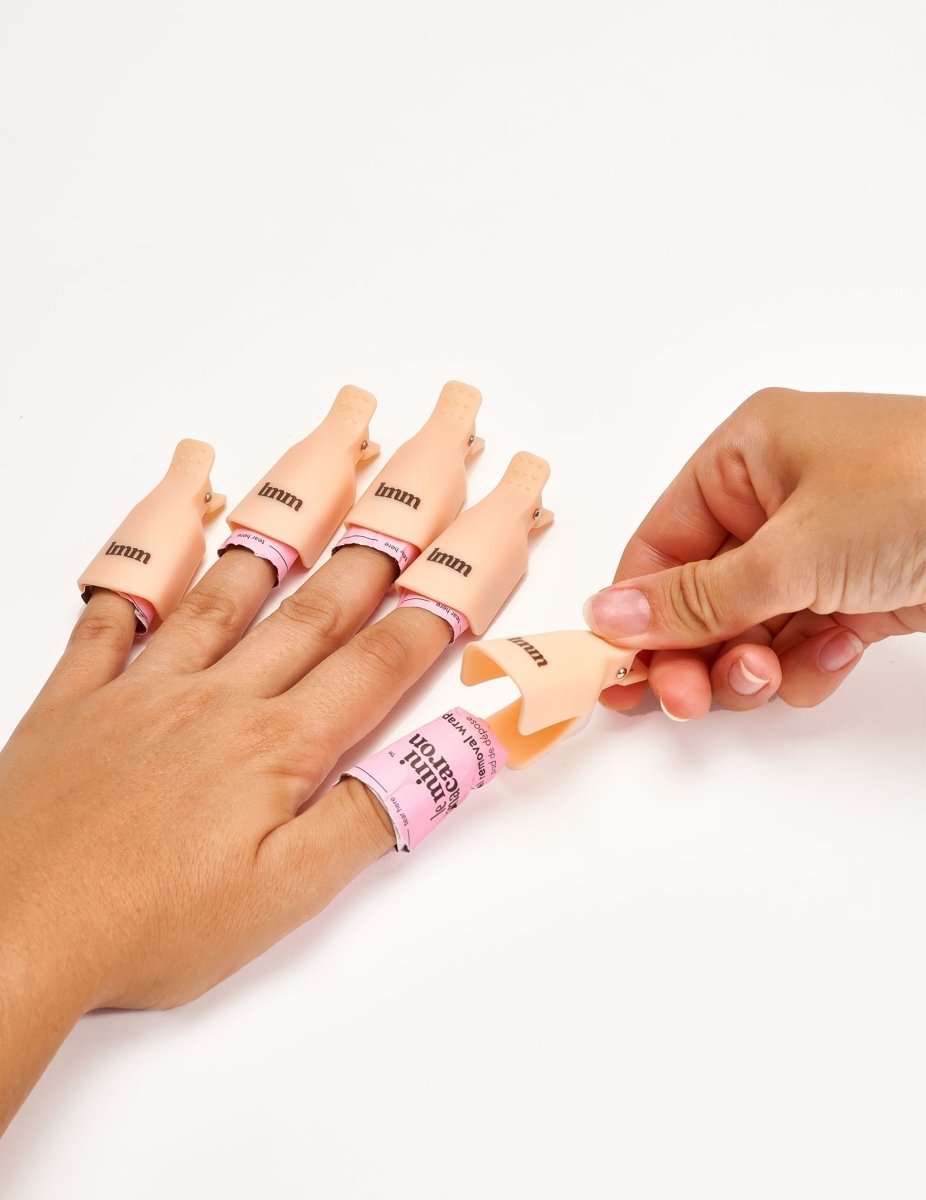
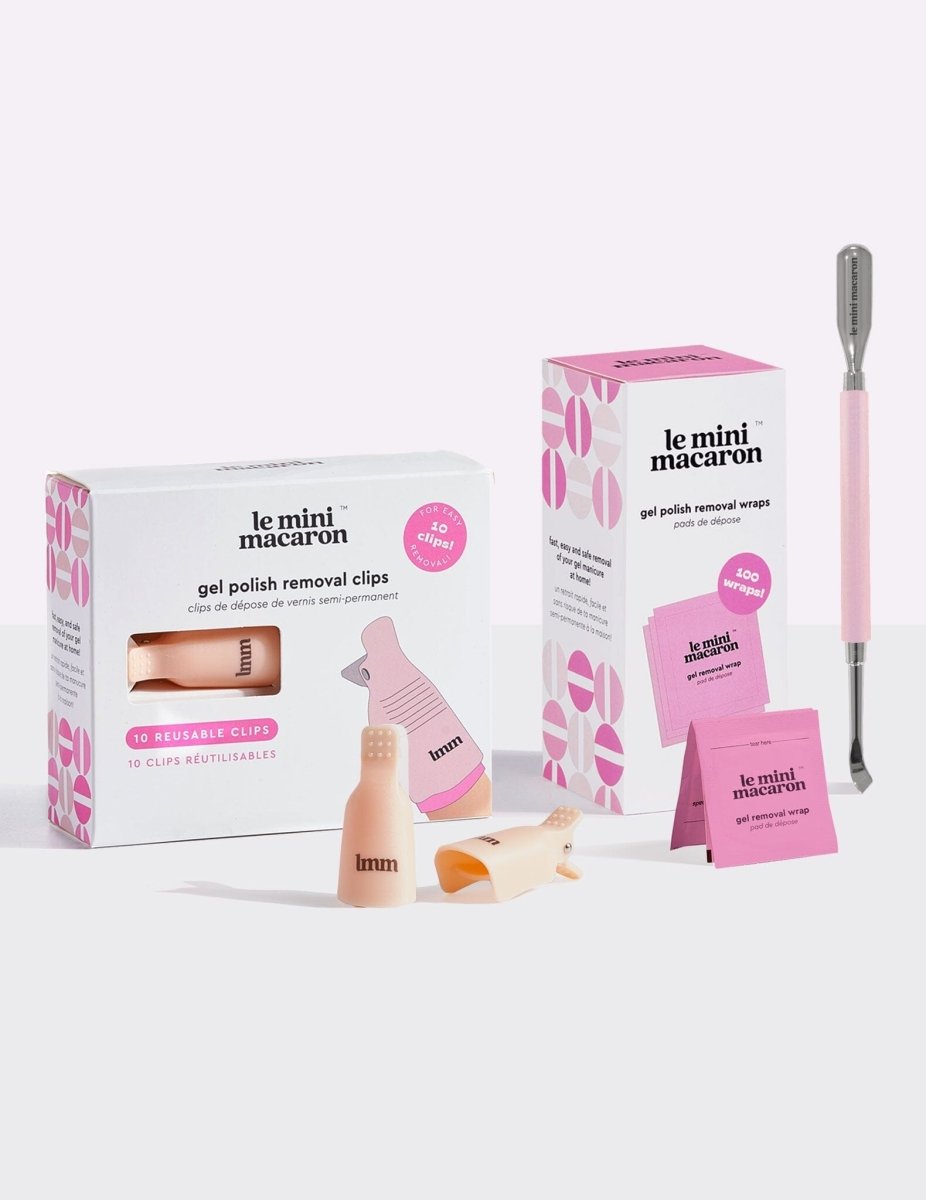
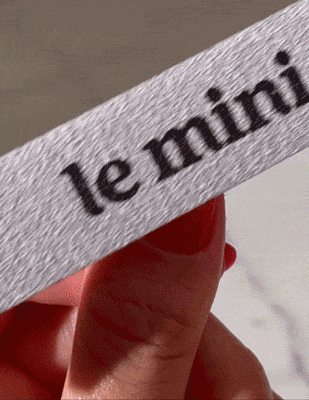
2. Apply Removal Wraps
Open & slide finger inside until nail touches wet cotton pad. Wrap tightly & close.
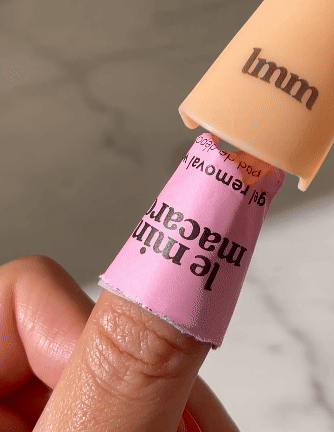
3. Use clips
Prevent air from entering & ensure a snug fit, placing a remover clip over the pad. Wait 15 minutes to remove.
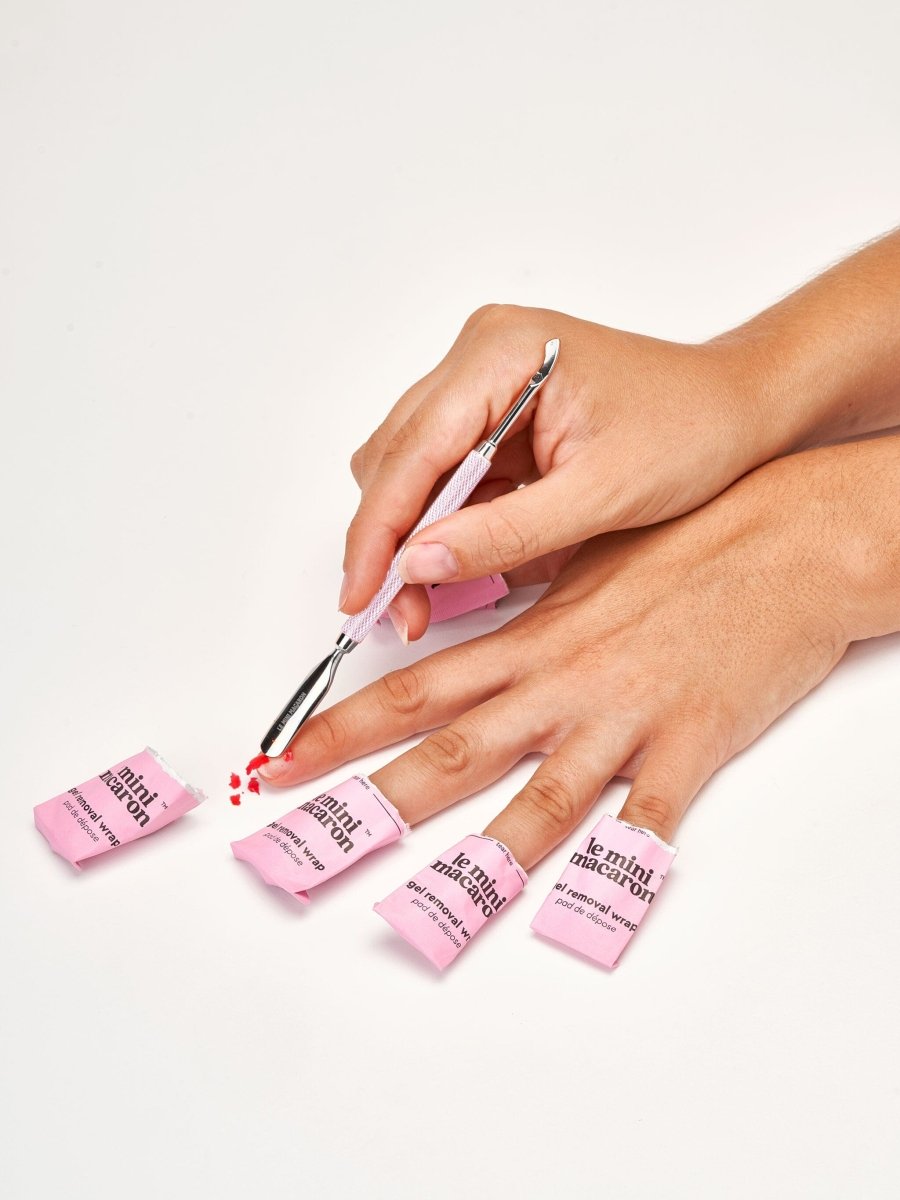
4. Remove polish
When gel polish has shattered or bubbled, remove. If the gel is still too solid, rewrap & wait 5 minutes.
6. Remove gel
Gently scrape off the gel in one direction: from the cuticle to tip of the nail.

7. Care
To give your nails a break? Use cuticle oil to hydrate the nails - as often as you like, and nail strengthener if needed.