

E-file Nail Drill
The easiest way to prep & remove your gel

Compact design | Beginner friendly | Prep & Removal
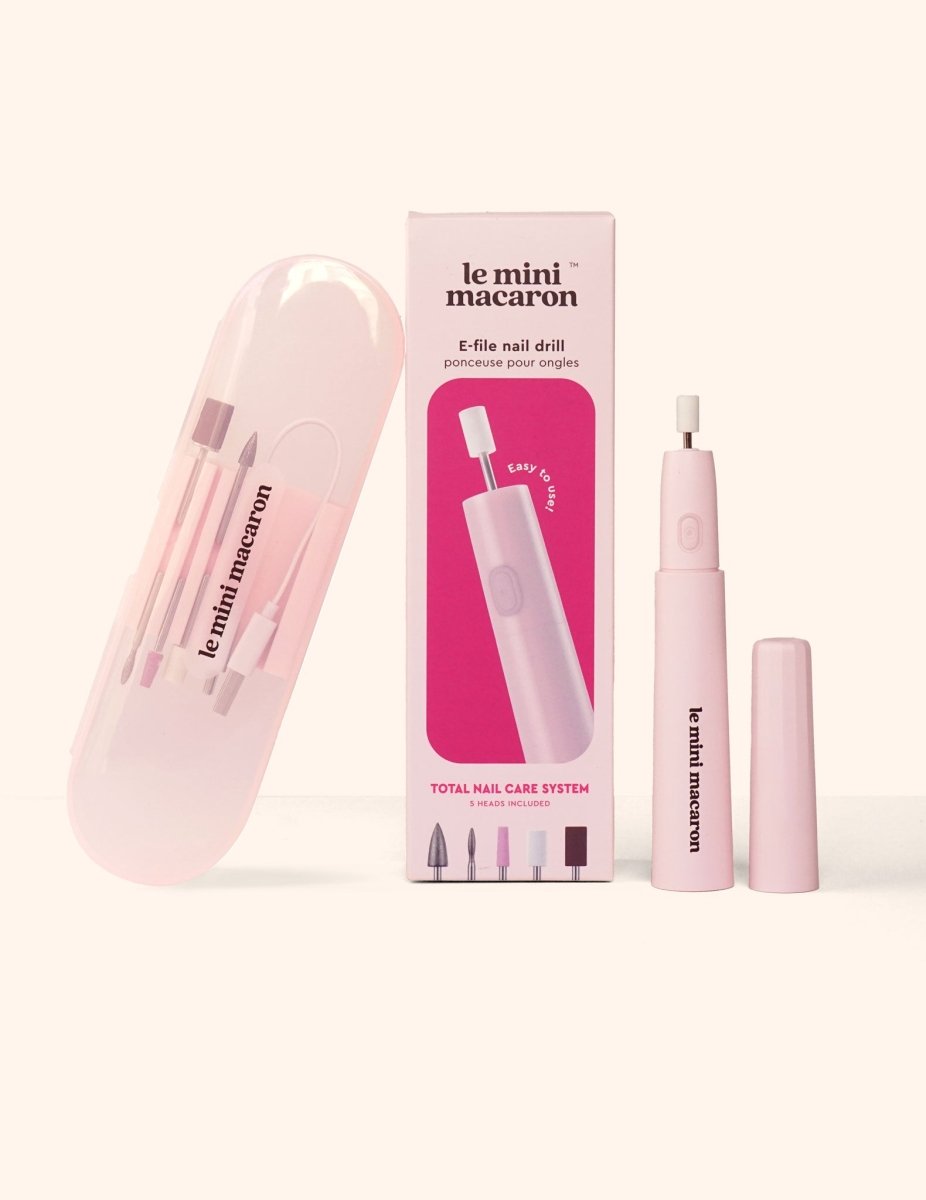
This beginner-friendly nail drill makes every step easier. From shaping and prepping your nails to removing gel quickly and gently. Designed for total control, it helps you achieve salon-quality results anywhere without damaging your nails.
Cordless, rechargeable, and ultra-compact, it goes wherever you go. Includes 5 heads to cover every step of your manicure routine.


Pairs Best With:
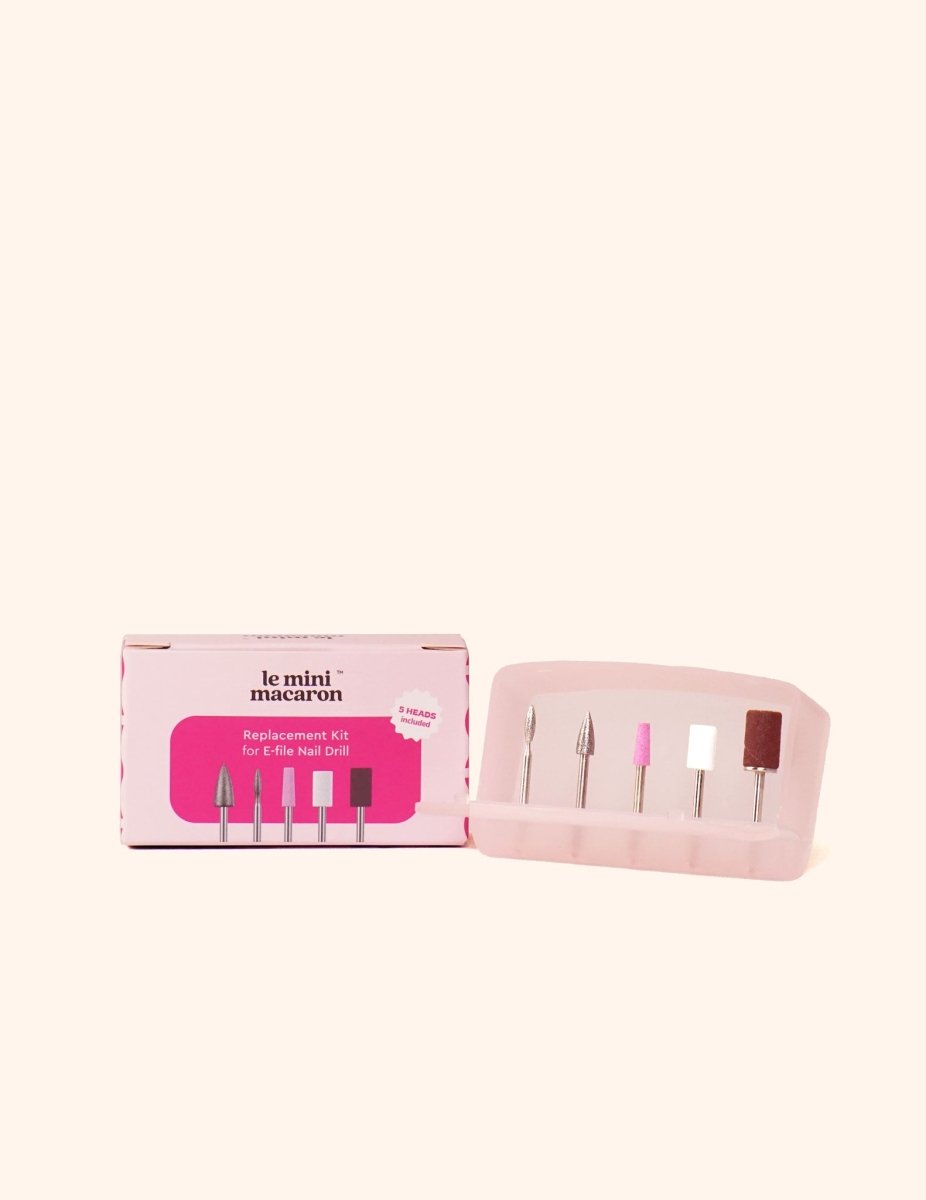
Replacement Kit for E-file Nail Drill
8 €
Le Softie Mini Dust Brush
7.95 €
Multi-Use Builder Gel - Strawberry Milk
15 €
Soft Gel Tips - Medium Square
13 €
Why You’ll Love It
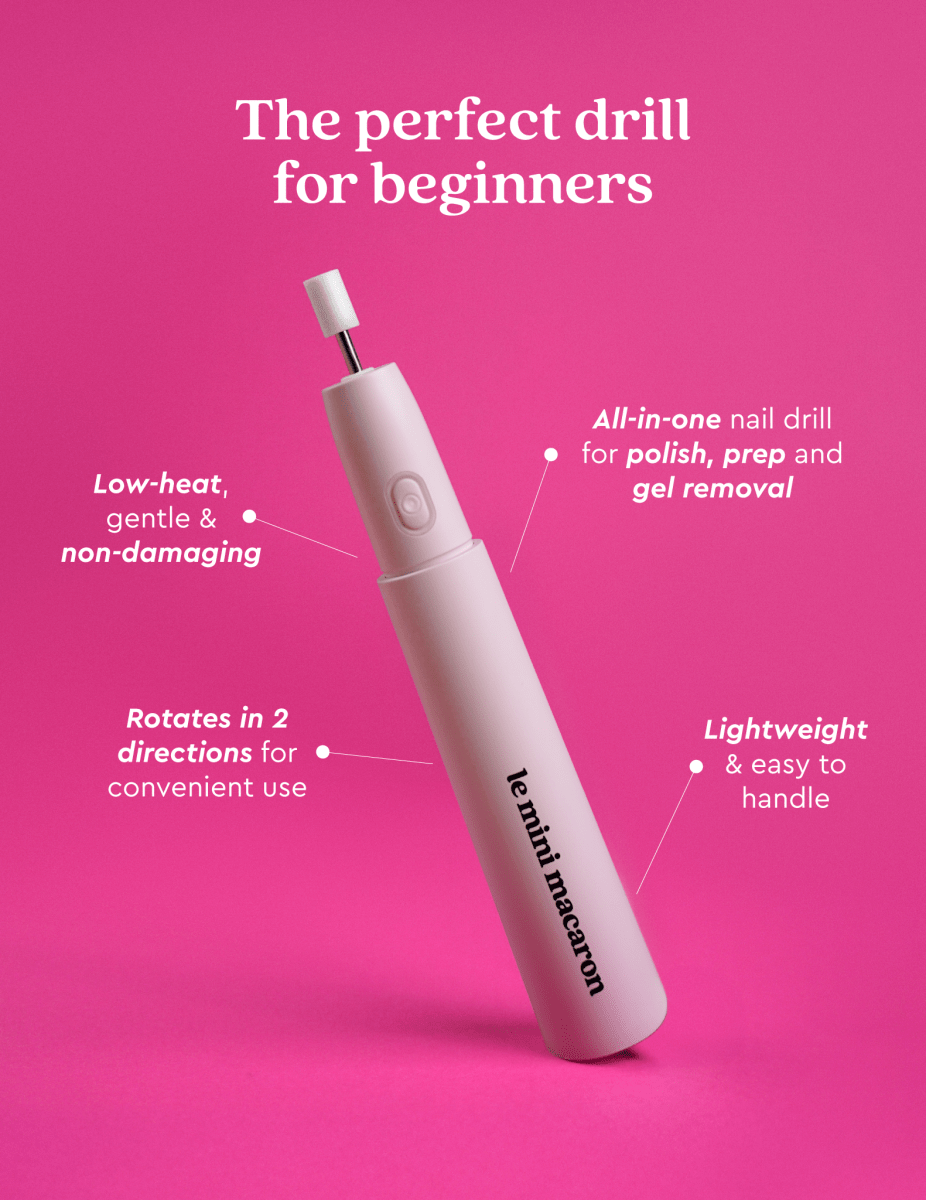
- The perfect tool for nail beginners
- All-in-one nail drill for polish, prep and gel removal
- Rechargeable & cordless
- Lightweight & easy to handle
- Perfect for at-home or on-the-go use
- Low-heat, gentle & non-damaging
- Salon-quality experience
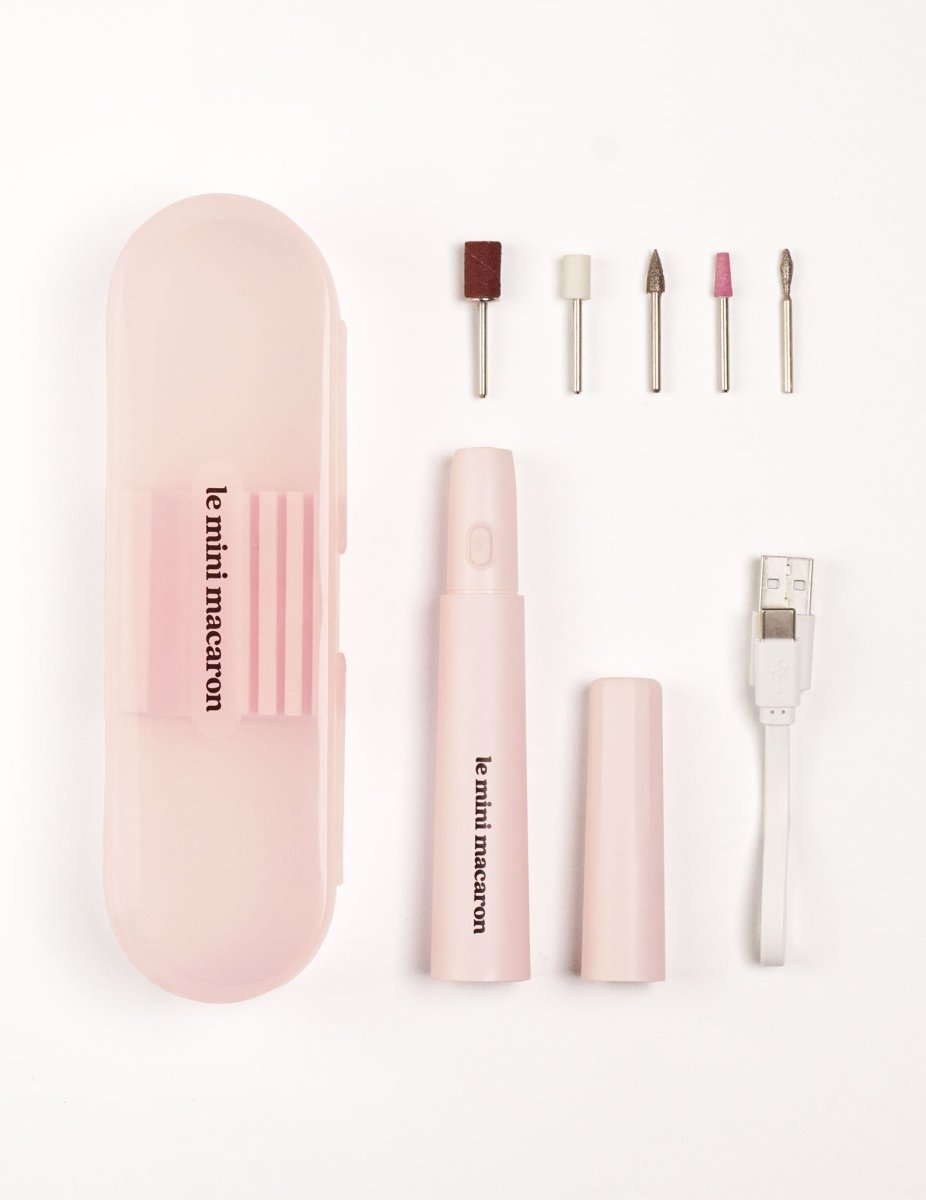
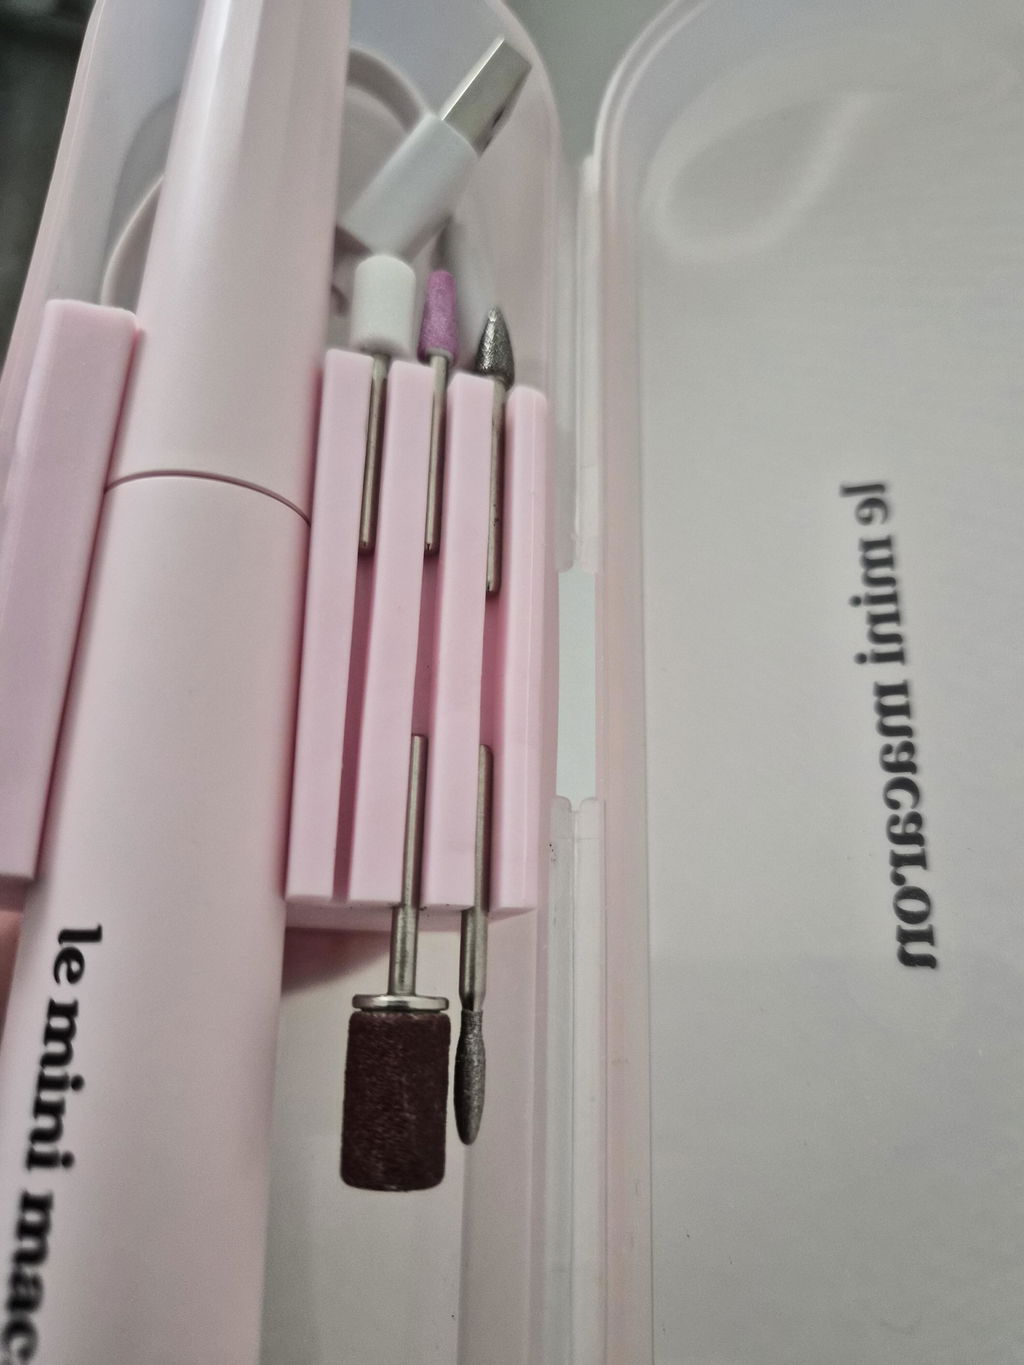
- Drill and 5 heads come packed in a sleek and protective case for storage
Each Kit Includes:
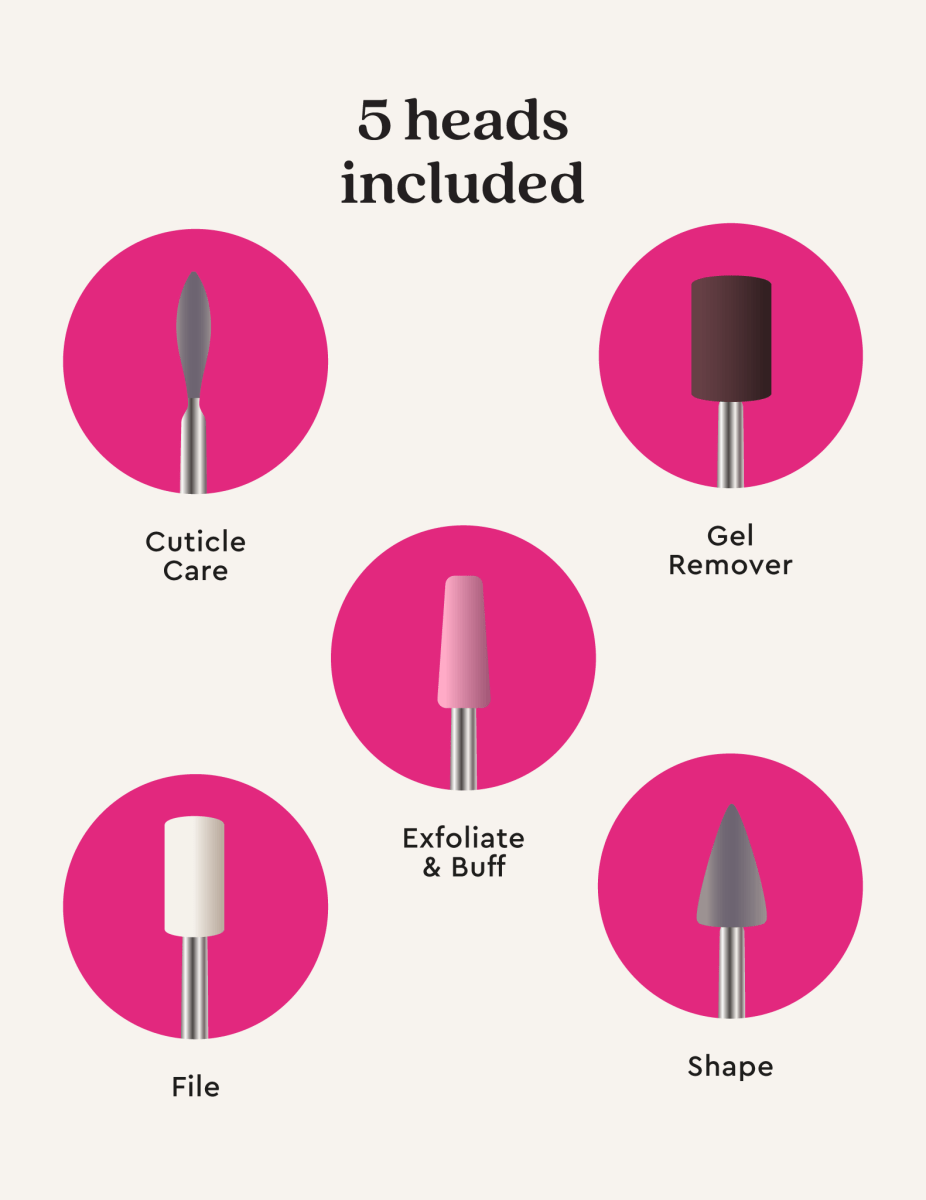
- Shape Head (hard skin removal): Clean dry, toughened skin around the nail edge.
- Cuticle Care Head: Removes dead skin and cuticles around the nail plate.
- Exfoliate & Buff Head: Buffs out ridges for a smoother nail surface. Use this head to achieve a smoother and flatter nail bed.
- File Head: Shortens and shapes the nails.
- Gel Remover Head: Files off the top layer of gel polish before soak-off removal for faster and more convenient removal.
Why Not Level Up?


Choose options
How to Use
The drill arrives with a low battery, so we recommend fully charging it before first use.
- Select the drill head you prefer and insert it into the drill hole. Verify it is secured and not pulling easily.
- Press the power button for a few seconds to turn on the drill. The head will start to rotate in one direction. To change the direction, press the power button once briefly (without holding it).
- When finished using the drill, press and hold the power button again until the bit stops rotating. Then, pull the head out firmly to remove it from the drill.
How to use the heads:
1. Shape Head (hard skin removal)
Place it at a diagonal angle, above the skin around the nail (nail walls and edges). Use small dragging motions in the opposite direction of the head's rotation to gently remove any rough skin or calluses around your fingers, and to smooth these areas.
2. Cuticle Care
Use this accessory to lift the cuticle from your nails. Place the tip of the head between the nail and the excess cuticle skin. Gently lift the cuticle with the tip of the head. Once lifted, position the head flat and parallel to the nail to remove any excess skin from the cuticle. Use a diagonal angle to eliminate the skin around the nail walls.
3. Exfoliate & Buff
Use the shape of the head to match the natural curve of your nail plate, positioning the narrower part of the head closer to the cuticle. Work in a single direction to remove any skin residue or leftover product. Glide the head across the entire nail plate to buff the surface before applying polish.
4. File
Place the head on the nail edge and work in a single direction to file and shorten the nails to the desired length and shape.
5. Gel Remover
For safety reasons, only remove the top layers of the gel polish. You should still see a thin layer of color after using the drill.
Work in the opposite direction that the drill head is rotating, from the cuticle to the free edge of the nail. Try to make long, continuous passes without crossing the same area to avoid overheating the natural nail. Take care to follow an organized pattern, such as moving from right to left and top to bottom. Ensure you work across the entire surface of the nail to achieve the desired result. Then soak off following the usual removal instructions.
Pro tips : Begin with gentle pressure and gradually adjust as you become more comfortable with the technique.
How to Use
The drill arrives with a low battery, so we recommend fully charging it before first use.
- Select the drill head you prefer and insert it into the drill hole. Verify it is secured and not pulling easily.
- Press the power button for a few seconds to turn on the drill. The head will start to rotate in one direction. To change the direction, press the power button once briefly (without holding it).
- When finished using the drill, press and hold the power button again until the bit stops rotating. Then, pull the head out firmly to remove it from the drill.
How to use the heads:
1. Shape Head (hard skin removal)
Place it at a diagonal angle, above the skin around the nail (nail walls and edges). Use small dragging motions in the opposite direction of the head's rotation to gently remove any rough skin or calluses around your fingers, and to smooth these areas.
2. Cuticle Care
Use this accessory to lift the cuticle from your nails. Place the tip of the head between the nail and the excess cuticle skin. Gently lift the cuticle with the tip of the head. Once lifted, position the head flat and parallel to the nail to remove any excess skin from the cuticle. Use a diagonal angle to eliminate the skin around the nail walls.
3. Exfoliate & Buff
Use the shape of the head to match the natural curve of your nail plate, positioning the narrower part of the head closer to the cuticle. Work in a single direction to remove any skin residue or leftover product. Glide the head across the entire nail plate to buff the surface before applying polish.
4. File
Place the head on the nail edge and work in a single direction to file and shorten the nails to the desired length and shape.
5. Gel Remover
For safety reasons, only remove the top layers of the gel polish. You should still see a thin layer of color after using the drill.
Work in the opposite direction that the drill head is rotating, from the cuticle to the free edge of the nail. Try to make long, continuous passes without crossing the same area to avoid overheating the natural nail. Take care to follow an organized pattern, such as moving from right to left and top to bottom. Ensure you work across the entire surface of the nail to achieve the desired result. Then soak off following the usual removal instructions.
Pro tips : Begin with gentle pressure and gradually adjust as you become more comfortable with the technique.
Technical Specifications
- Drill rotates in 2 directions for convenient use.
- Comes with a USB cord to charge. A 2.5 hour full charge allows for >30 min of continuous use.
- Indicator light shows blue when fully charged, red when charging.
- 3W.
- 10,800 rotations per minute.
Technical Specifications
- Drill rotates in 2 directions for convenient use.
- Comes with a USB cord to charge. A 2.5 hour full charge allows for >30 min of continuous use.
- Indicator light shows blue when fully charged, red when charging.
- 3W.
- 10,800 rotations per minute.


Nail Drill FAQS
Yes. The E-file Nail Drill is designed to be easy to control, lightweight and beginner friendly. Start with gentle pressure and keep the drill moving to avoid over-filing.
Yes. Use the Gel Remover Head to gently file off only the top layer of gel polish. Then continue with soak-off removal using Gel Polish Remover Wraps
Yes. You can use it on natural nails for gentle shaping, buffing, smoothing and cuticle care. Avoid strong pressure and do not over-file the nail plate.
The drill is designed to be gentle and low-heat when used correctly. Use light pressure, keep the drill moving and do not file all the way down to the natural nail.
Replace your nail drill heads when they look worn down, feel less effective or no longer give a smooth result. Fresh heads help keep prep and removal more precise.
Insert the selected head into the drill hole and check that it is secure. When finished, turn off the drill completely, wait until the bit stops rotating and pull the head out firmly.
This bundle is best for anyone who wants the full at-home nail prep and gel removal solution from the start. It is especially useful for gel polish users, nail beginners and anyone who wants extra replacement heads included.