

Le Soft Gel Tips - Medium Almond Starter Kit
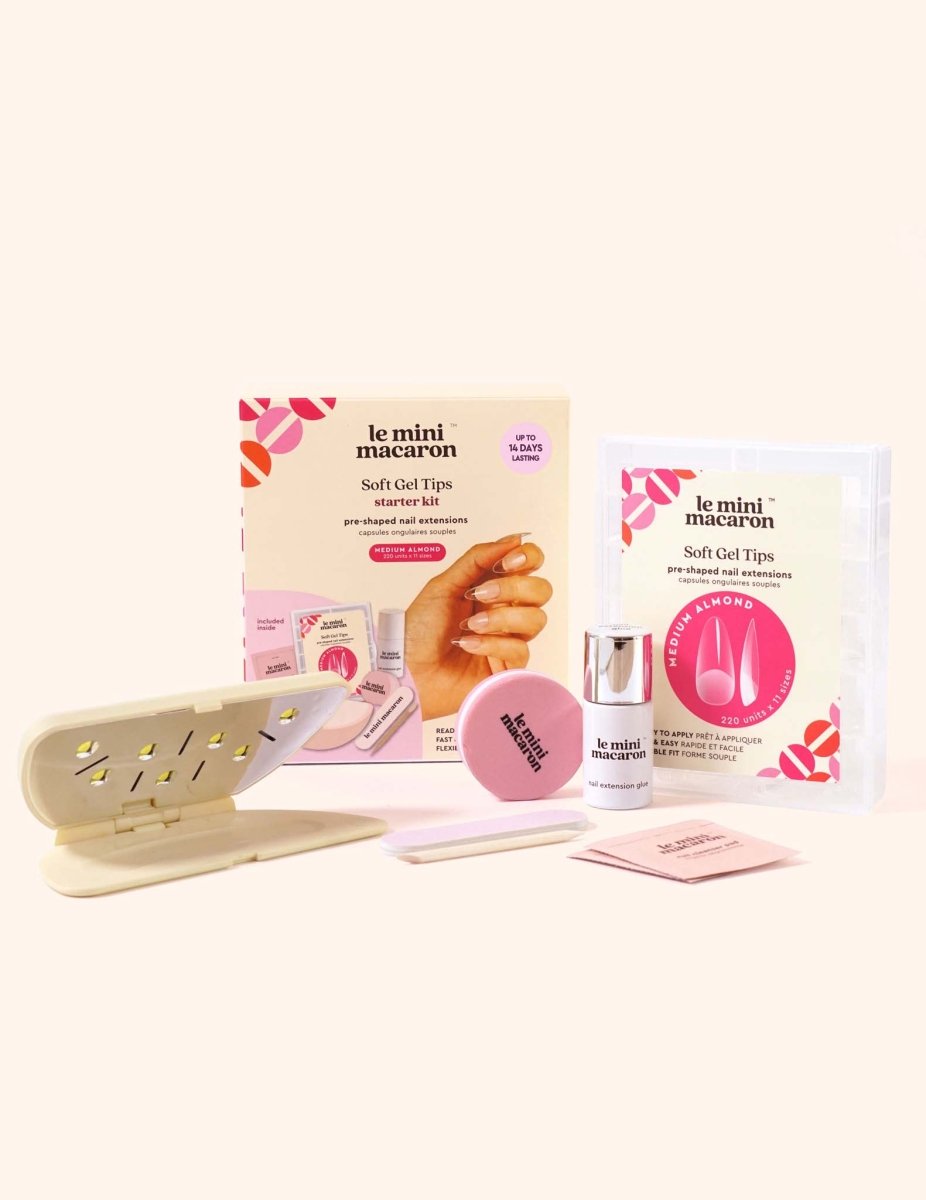
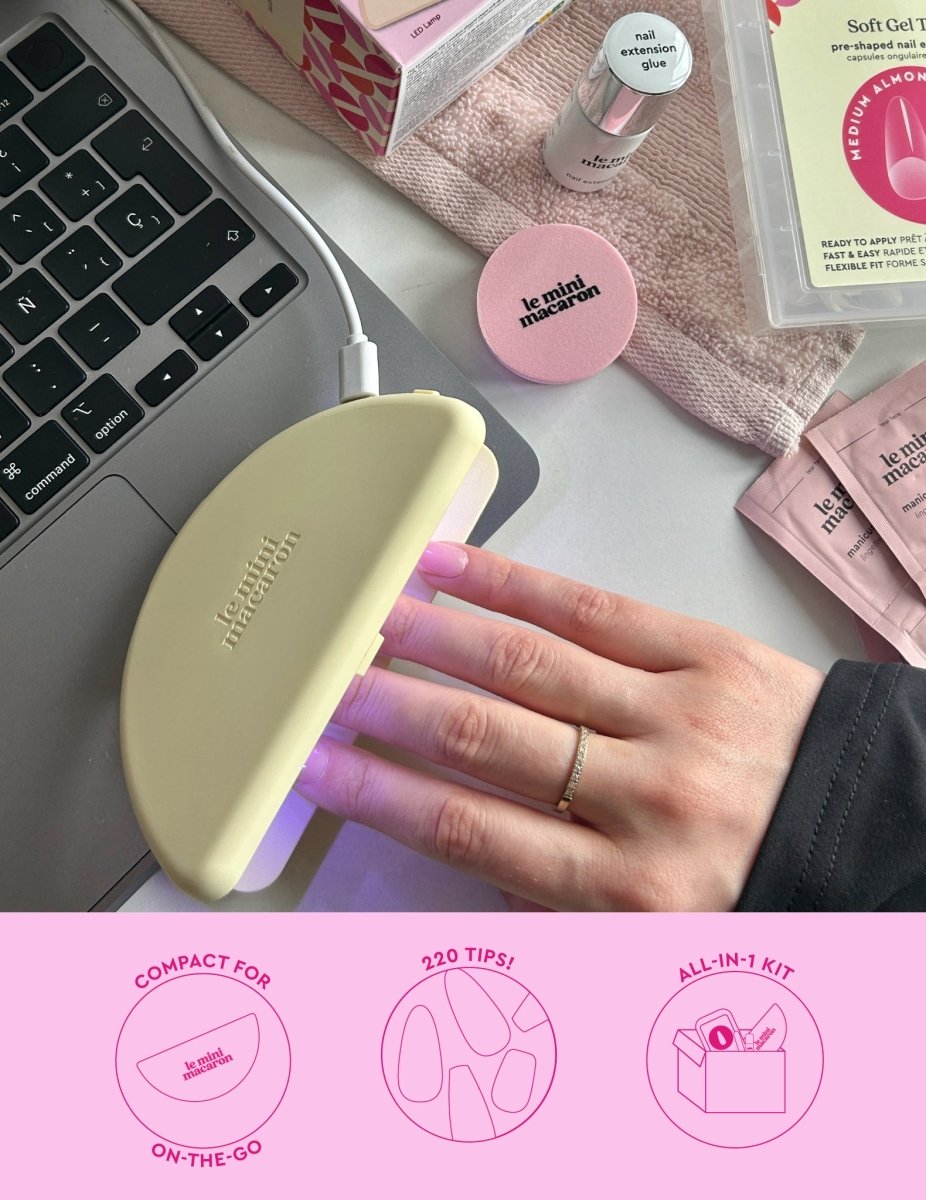
The Soft Gel Tips Starter Kit is your all-in-one route to salon-quality nail extensions, no appointment needed. Beginner-friendly and everything-included, it comes with our compact Demi LED lamp for quick, easy curing at home.
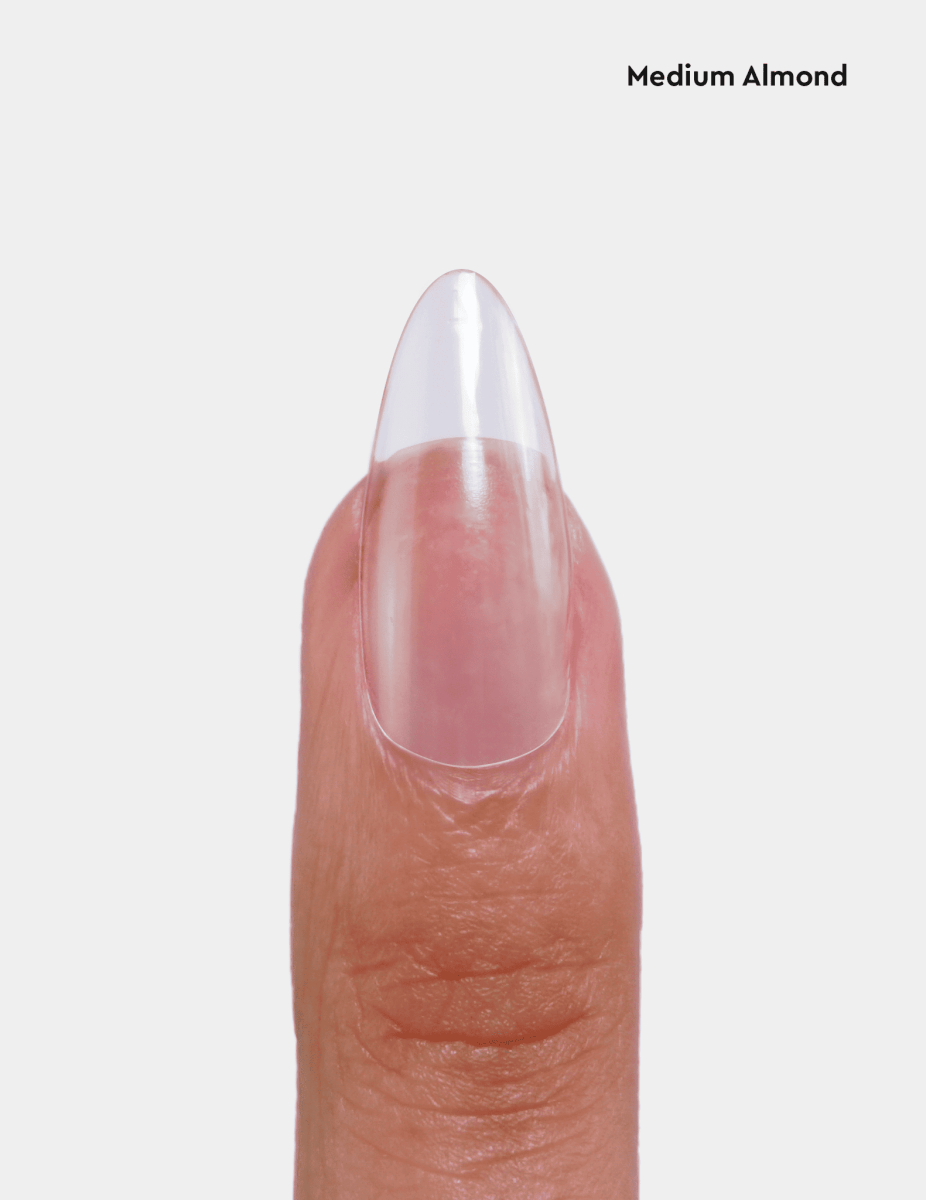
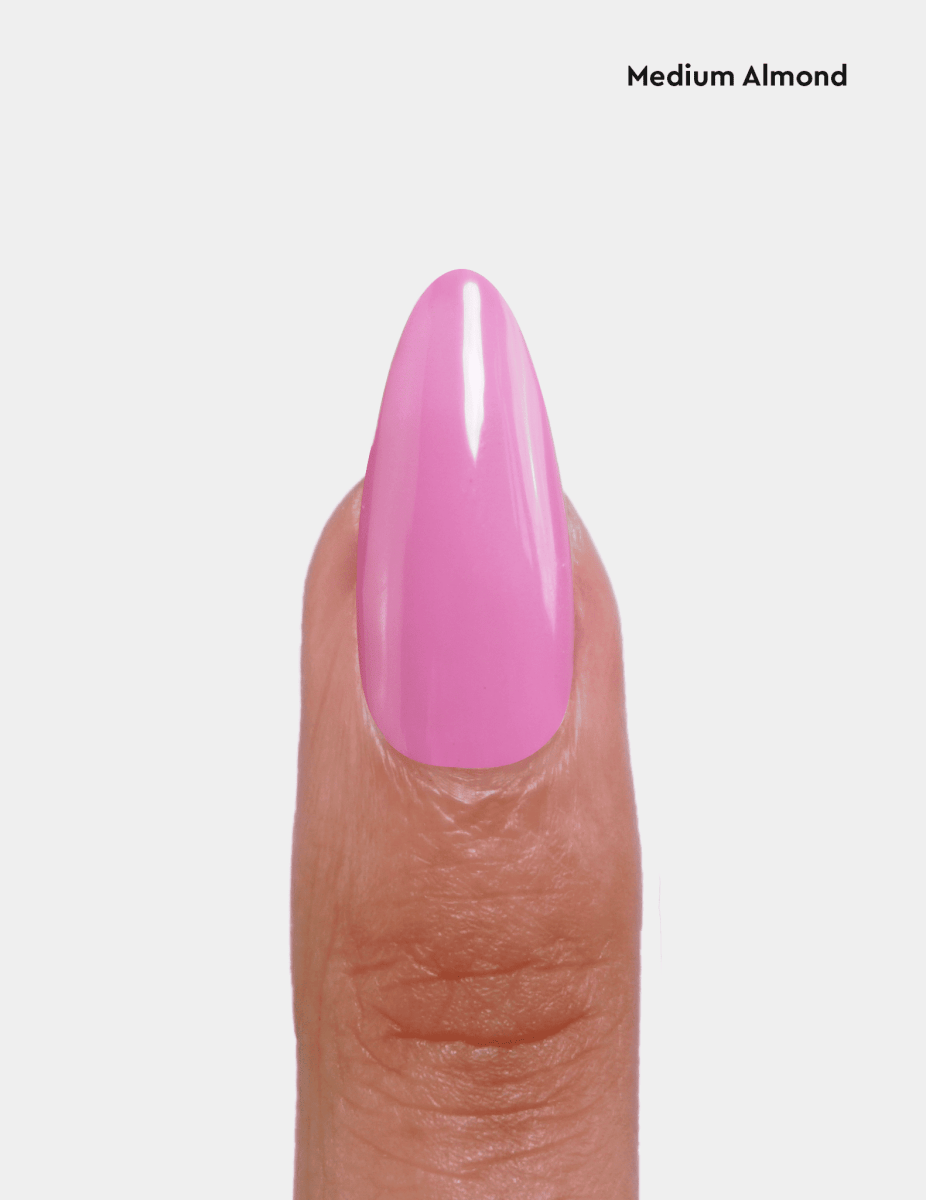
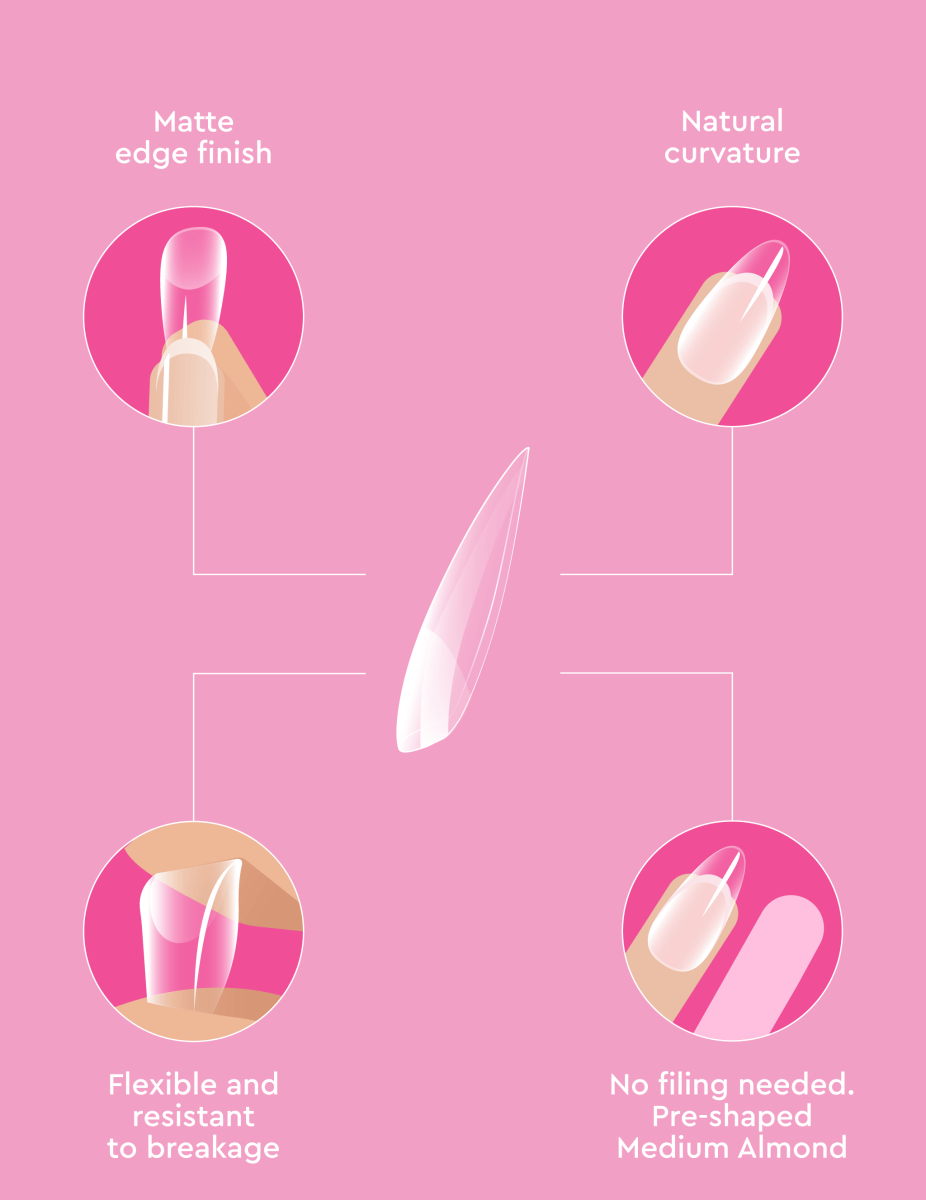
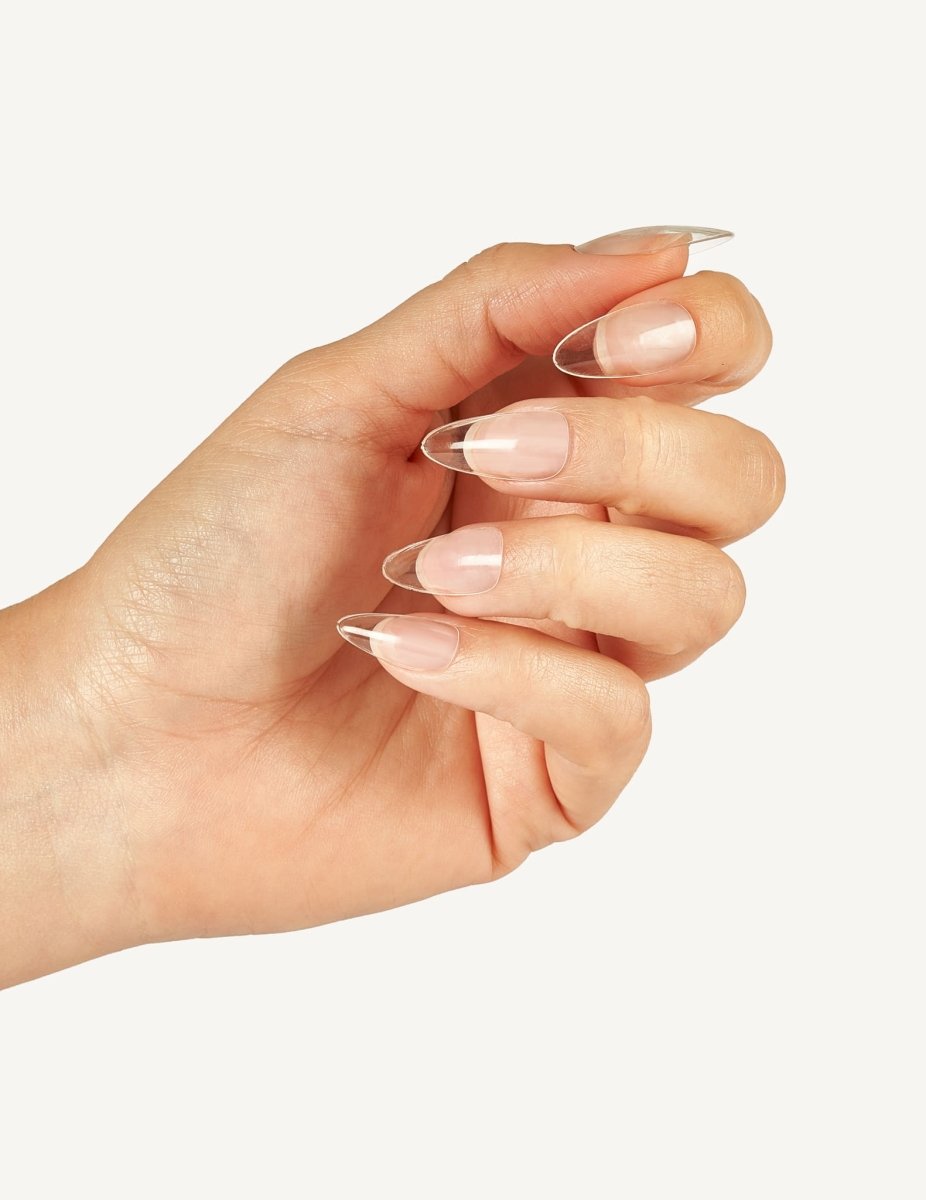
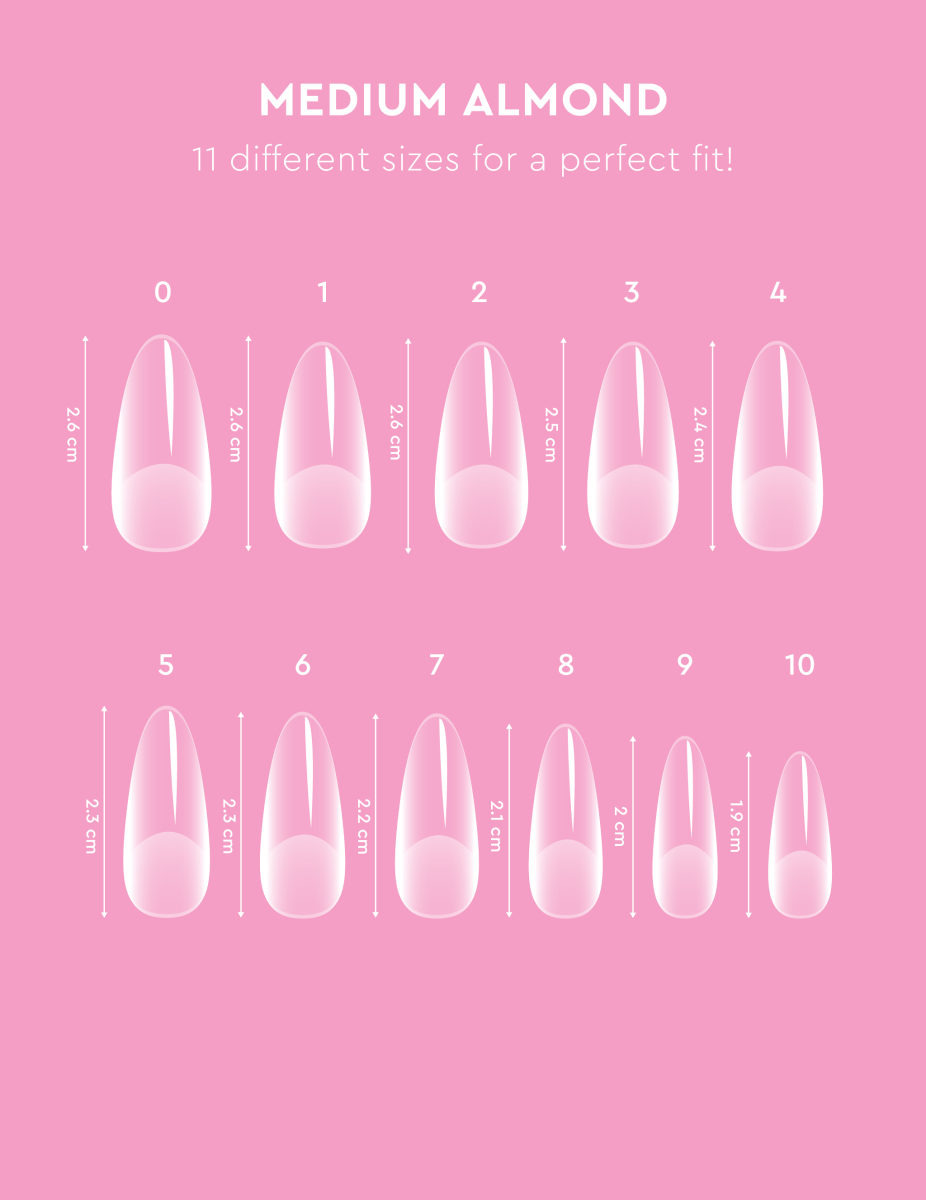
The Medium Almond tips arrive in 11 sizes for a flawless, made-to-measure fit on every nail. Long, elegant nails… done your way, at home.
Salon-length at home | 11 sizes for a perfect fit | LED Lamp included



Pairs Best With:
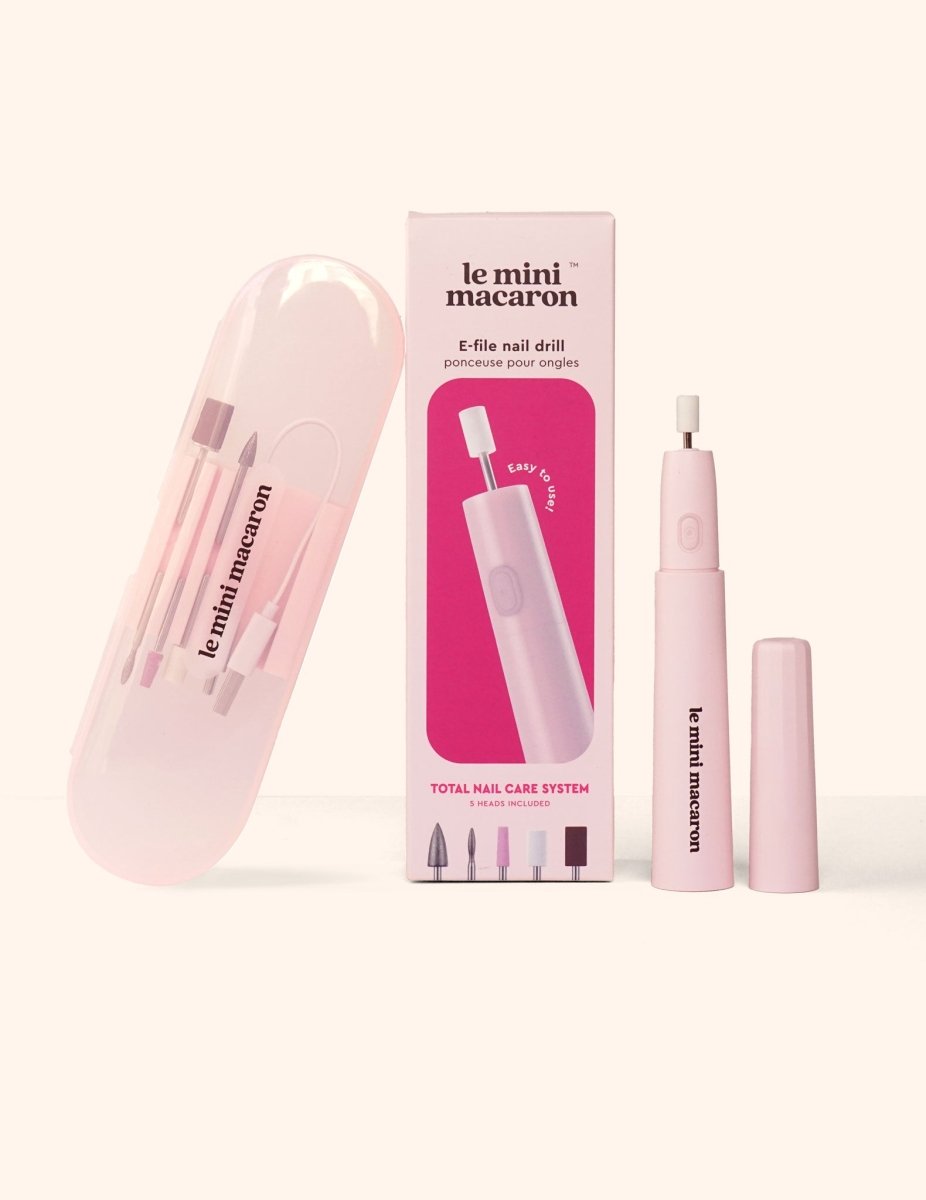
E-file Nail Drill
35 €
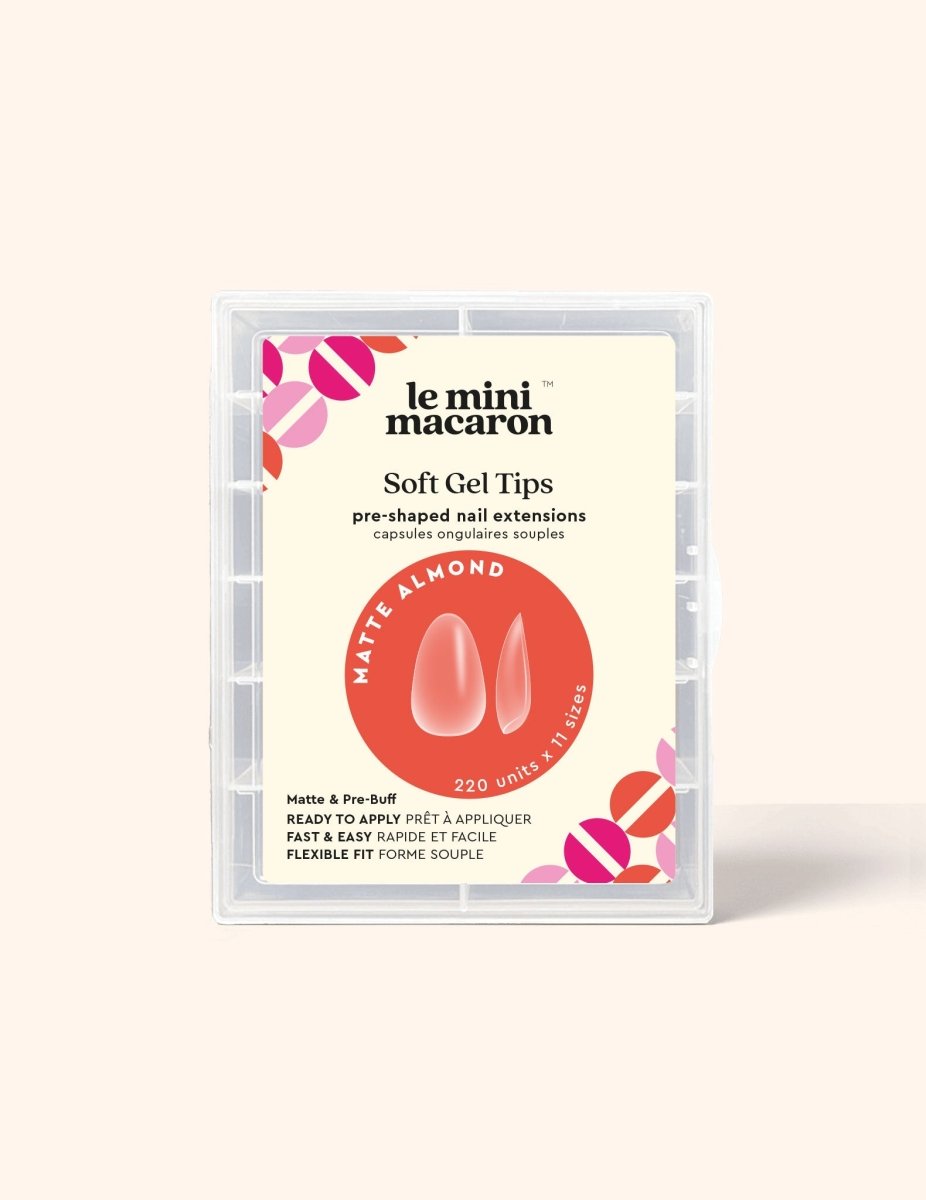
Soft Gel Tips - Matte Almond
13 €

Soft Gel Tips - Short Round Square
13 €

Soft Gel Tips - Short Coffin
13 €

Soft Gel Tips - Medium Coffin
13 €
Why You’ll Love It
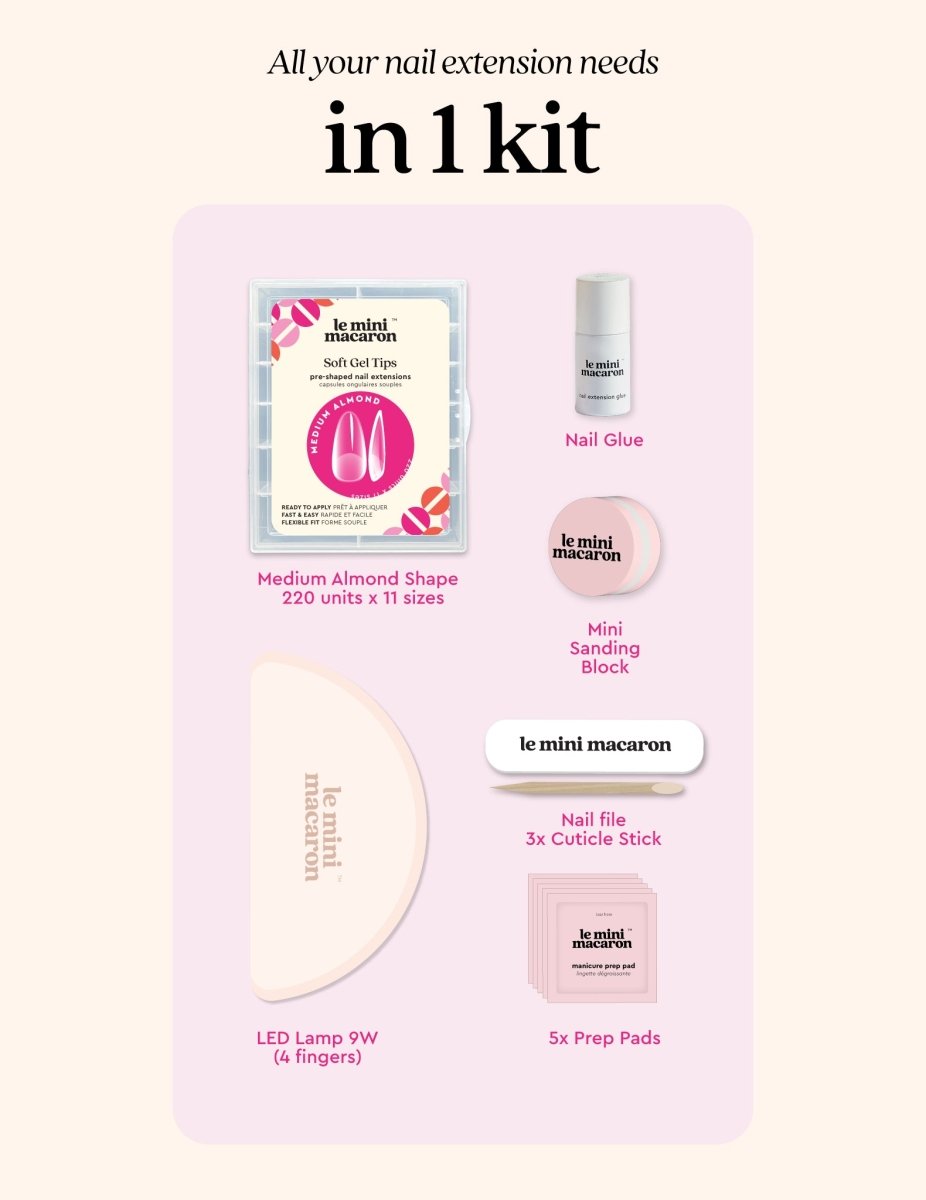
Each Kit Includes:
- Medium Almond shape tips box
- 11 sizes x 20 units for a total of 220 pieces
- Nail glue
- Mini sanding sponge
- File
- 3x Wooden stick
- 5 Prep pads
- Demi LED lamp (9W)
Choose options
How to Apply
STEP 1: SELECT TIP SIZES AND ADJUST LED LAMP
Set up all your supplies. Select the right size of gel tips for each of your natural nails. Make sure it covers the entire nail without any overhang. If you are between sizes, select the larger size and file it down as needed. Lay out Gel Tips in the order you plan to use them for easy access during application. Next, adjust your LED Lamp. If using the “mini” lamp, flip the top around. If using the “maxi” lamp, remove the bottom tray. This will create more space when you are curing the tips under the lamp, as you will need to hold each tip down using the other hand. Set up your lamp with enough height so that there is sufficient space for both hands to enter under the LED light (see Step 4).
Pro Tip: Remember to check each nail as nail sizes can vary between hands.
STEP 2: PREP NATURAL NAILS
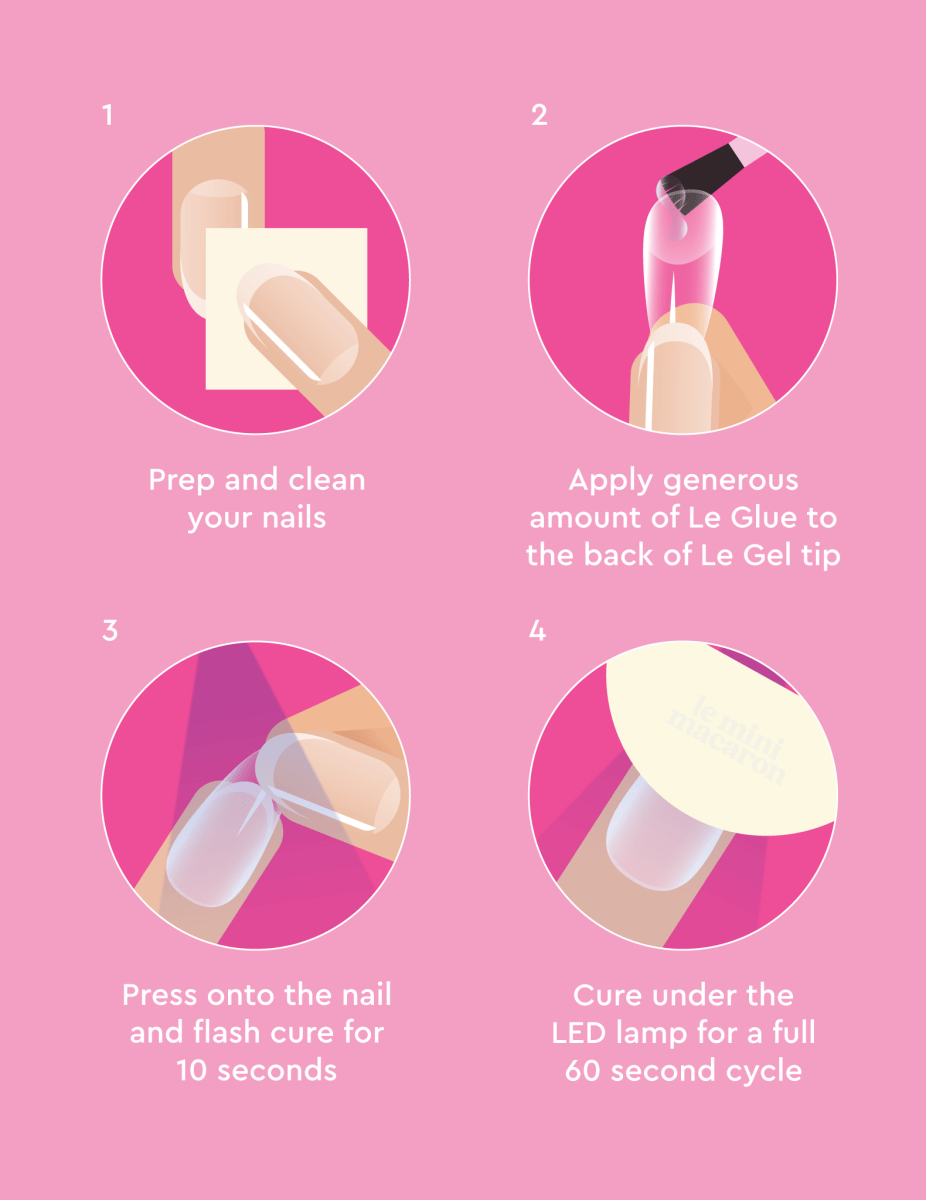
For best results, cut your natural nails as short as possible. Clean up cuticles and push them back with a cuticle pusher. Lightly buff the surface of your nails to remove any shine and create a slightly rough texture for better adhesion. Remove oil and dust with nail cleanser (or prep pad).
STEP 3: APPLY GEL TIPS
Apply one thin coat of Nail Extension Glue (sold separately) on the surface of your natural nail and cure it for 30 seconds under the “mini” LED lamp (or 60 seconds under the “maxi” LED lamp).
Take one nail extension tip and apply a thin layer of nail glue on the underside matte area of the tip. Then, apply a second, slightly thicker layer of glue to the bottom half of your natural nail. Place the nail tip on your natural nail at a 45-degree angle. Start from the cuticle and gently press the tip down against your nail until it is completely covering the natural nail.
Pro Tip: Do this step slowly and ensure that there are no air bubbles trapped underneath. If you do get air bubbles, remove the tip and start the process over with a new nail tip.
STEP 4: CURE GEL TIPS
Holding the nail tip with your other hand (pressing it down), immediately flash cure the nail for 5-10 seconds under the LED lamp. Release both hands and cure only the nail tip for a full 30 seconds under the “mini” LED lamp (or 60 seconds under the “maxi” LED lamp).
Repeat this process for each nail, working one nail at a time to ensure precision and accuracy.
Pro Tip: You may experience a light, burning sensation when curing. This is normal. Flash-curing the nail about 3-4 inches from the LED light will help.
STEP 5: SHAPE AND FILE
After applying and curing each nail, you may use a nail clipper and nail file to trim and shape the tips to your desired length and shape. Use a coarser file like Le Zebra and take your time to achieve the perfect shape and smooth out any rough edges for a flawless finish.
Pro Tip: We recommend filing and shaping the nail after tip application as it is easier to apply the nail tip when it is longer.
STEP 6: PAINT WITH GEL POLISH
You are now ready to paint your nails!
- Buff the surface of each nail tip and wipe with nail cleanser. You can skip this step if the version is “pre-buffed”.
- Apply a VERY thin (barely there) layer of gel polish. Cure the nail immediately for 30 seconds under “mini” LED lamp or 60 seconds under “maxi” LED lamp. If your nail is still sticky, cure for an additional 15-30 seconds.
- Apply a second layer of gel polish and cure again.
- If needed or desired (for more opaque coverage), repeat step 3.
- Voila! Your manicure is complete!
How to Apply
STEP 1: SELECT TIP SIZES AND ADJUST LED LAMP
Set up all your supplies. Select the right size of gel tips for each of your natural nails. Make sure it covers the entire nail without any overhang. If you are between sizes, select the larger size and file it down as needed. Lay out Gel Tips in the order you plan to use them for easy access during application. Next, adjust your LED Lamp. If using the “mini” lamp, flip the top around. If using the “maxi” lamp, remove the bottom tray. This will create more space when you are curing the tips under the lamp, as you will need to hold each tip down using the other hand. Set up your lamp with enough height so that there is sufficient space for both hands to enter under the LED light (see Step 4).
Pro Tip: Remember to check each nail as nail sizes can vary between hands.
STEP 2: PREP NATURAL NAILS
For best results, cut your natural nails as short as possible. Clean up cuticles and push them back with a cuticle pusher. Lightly buff the surface of your nails to remove any shine and create a slightly rough texture for better adhesion. Remove oil and dust with nail cleanser (or prep pad).
STEP 3: APPLY GEL TIPS
Apply one thin coat of Nail Extension Glue (sold separately) on the surface of your natural nail and cure it for 30 seconds under the “mini” LED lamp (or 60 seconds under the “maxi” LED lamp).
Take one nail extension tip and apply a thin layer of nail glue on the underside matte area of the tip. Then, apply a second, slightly thicker layer of glue to the bottom half of your natural nail. Place the nail tip on your natural nail at a 45-degree angle. Start from the cuticle and gently press the tip down against your nail until it is completely covering the natural nail.
Pro Tip: Do this step slowly and ensure that there are no air bubbles trapped underneath. If you do get air bubbles, remove the tip and start the process over with a new nail tip.
STEP 4: CURE GEL TIPS
Holding the nail tip with your other hand (pressing it down), immediately flash cure the nail for 5-10 seconds under the LED lamp. Release both hands and cure only the nail tip for a full 30 seconds under the “mini” LED lamp (or 60 seconds under the “maxi” LED lamp).
Repeat this process for each nail, working one nail at a time to ensure precision and accuracy.
Pro Tip: You may experience a light, burning sensation when curing. This is normal. Flash-curing the nail about 3-4 inches from the LED light will help.
STEP 5: SHAPE AND FILE
After applying and curing each nail, you may use a nail clipper and nail file to trim and shape the tips to your desired length and shape. Use a coarser file like Le Zebra and take your time to achieve the perfect shape and smooth out any rough edges for a flawless finish.
Pro Tip: We recommend filing and shaping the nail after tip application as it is easier to apply the nail tip when it is longer.
STEP 6: PAINT WITH GEL POLISH
You are now ready to paint your nails!
- Buff the surface of each nail tip and wipe with nail cleanser. You can skip this step if the version is “pre-buffed”.
- Apply a VERY thin (barely there) layer of gel polish. Cure the nail immediately for 30 seconds under “mini” LED lamp or 60 seconds under “maxi” LED lamp. If your nail is still sticky, cure for an additional 15-30 seconds.
- Apply a second layer of gel polish and cure again.
- If needed or desired (for more opaque coverage), repeat step 3.
- Voila! Your manicure is complete!
How to Remove
STEP 1:
Use nail clippers or manicure scissors to trim down the tips of the gel nail extensions. Use a coarse nail file like Le Zebra to break the seal of the polish on the surface of Le Gel Tips. This will allow the acetone to penetrate more effectively. Use the file to buff away as much gel polish as possible.
STEP 2:
Soak a cotton ball or pad in acetone and place it directly on top of each Le Gel Tip. Wrap each fingertip with aluminum foil to hold the cotton ball or pad in place and create a barrier to lock the acetone. Or you can use our Remover Pads which are pre-soaked with acetone for easy removal. Try our Remover Clips for an air-tight seal. Allow your nails to soak in the acetone for 10-15 minutes to soften the nail glue.
STEP 3:
After soaking, gently press down on the foil-wrapped cotton ball or pad and twist to loosen and remove the nail tip. Use a cuticle stick or our Gel Polish Remover Tool to gently lift off any remaining residue from your natural nails. Be patient and avoid forcing or prying the Le Gel Tips off, as this can damage your natural nails.
STEP 4:
Once all nails are removed, wash your hands thoroughly with soap and water to remove any remaining acetone residue. Apply cuticle oil to nourish and hydrate your nails and cuticles.
We recommend taking a two-week break between applications and allowing your natural nails to breathe and recover.
How to Remove
STEP 1:
Use nail clippers or manicure scissors to trim down the tips of the gel nail extensions. Use a coarse nail file like Le Zebra to break the seal of the polish on the surface of Le Gel Tips. This will allow the acetone to penetrate more effectively. Use the file to buff away as much gel polish as possible.
STEP 2:
Soak a cotton ball or pad in acetone and place it directly on top of each Le Gel Tip. Wrap each fingertip with aluminum foil to hold the cotton ball or pad in place and create a barrier to lock the acetone. Or you can use our Remover Pads which are pre-soaked with acetone for easy removal. Try our Remover Clips for an air-tight seal. Allow your nails to soak in the acetone for 10-15 minutes to soften the nail glue.
STEP 3:
After soaking, gently press down on the foil-wrapped cotton ball or pad and twist to loosen and remove the nail tip. Use a cuticle stick or our Gel Polish Remover Tool to gently lift off any remaining residue from your natural nails. Be patient and avoid forcing or prying the Le Gel Tips off, as this can damage your natural nails.
STEP 4:
Once all nails are removed, wash your hands thoroughly with soap and water to remove any remaining acetone residue. Apply cuticle oil to nourish and hydrate your nails and cuticles.
We recommend taking a two-week break between applications and allowing your natural nails to breathe and recover.