



Gel Polish Remover Wraps

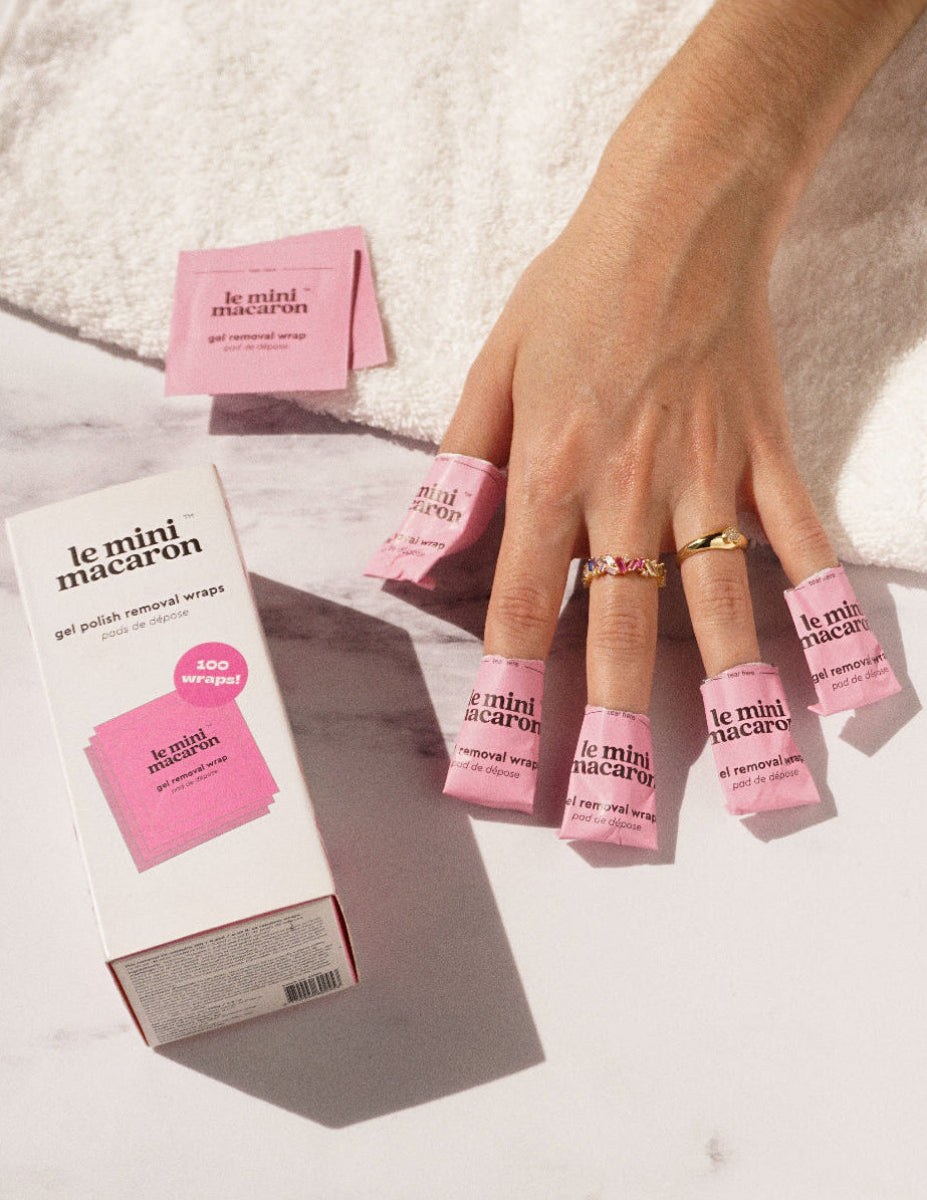
100 wraps | Fast & mess-free | For all polish types
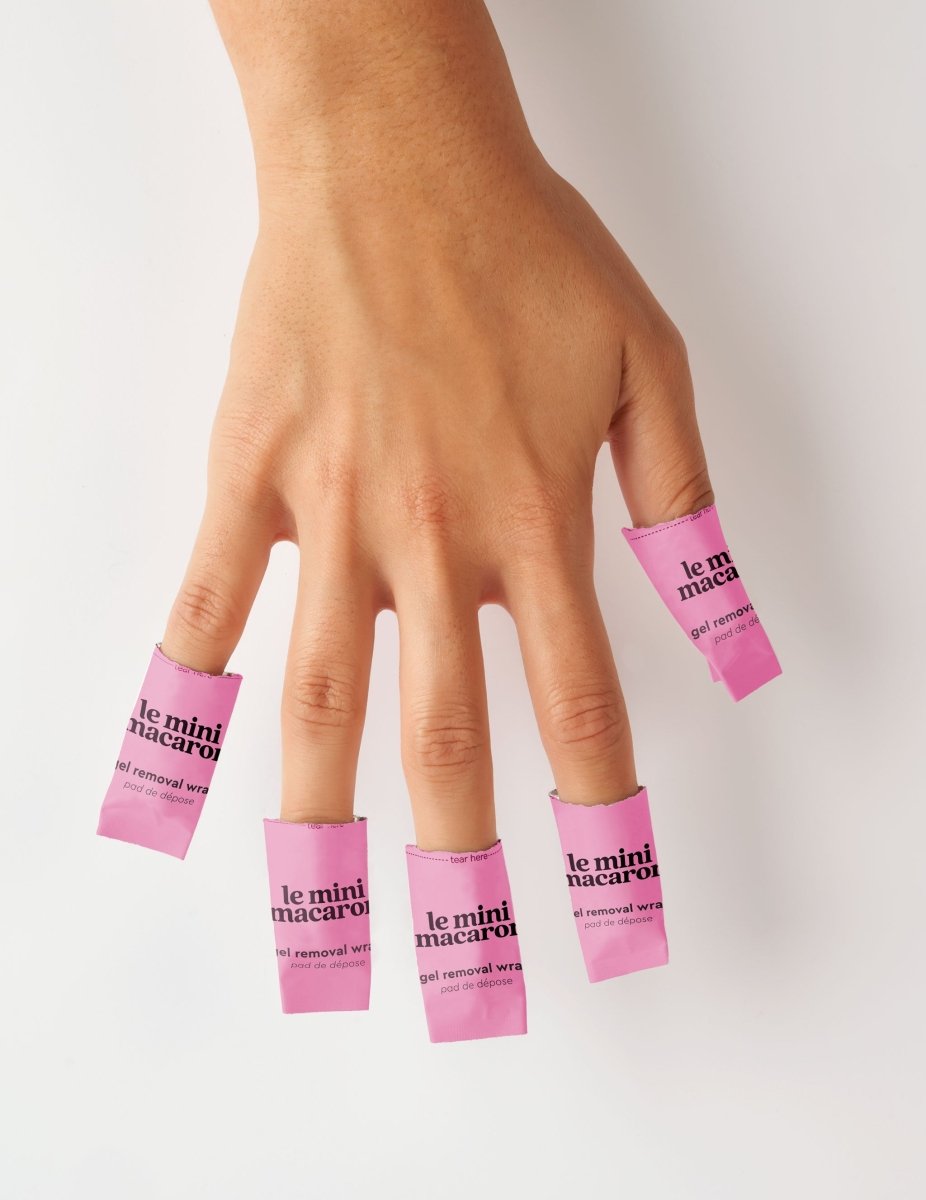
These easy-to-use remover wraps make gel removal quick, clean, and effortless. Each box includes 100 individually packed wraps, pre-soaked for maximum convenience. Perfect for at-home or on-the-go use. No mess, no damage, no hassle. Works on all types of polish.
Pairs Best With:
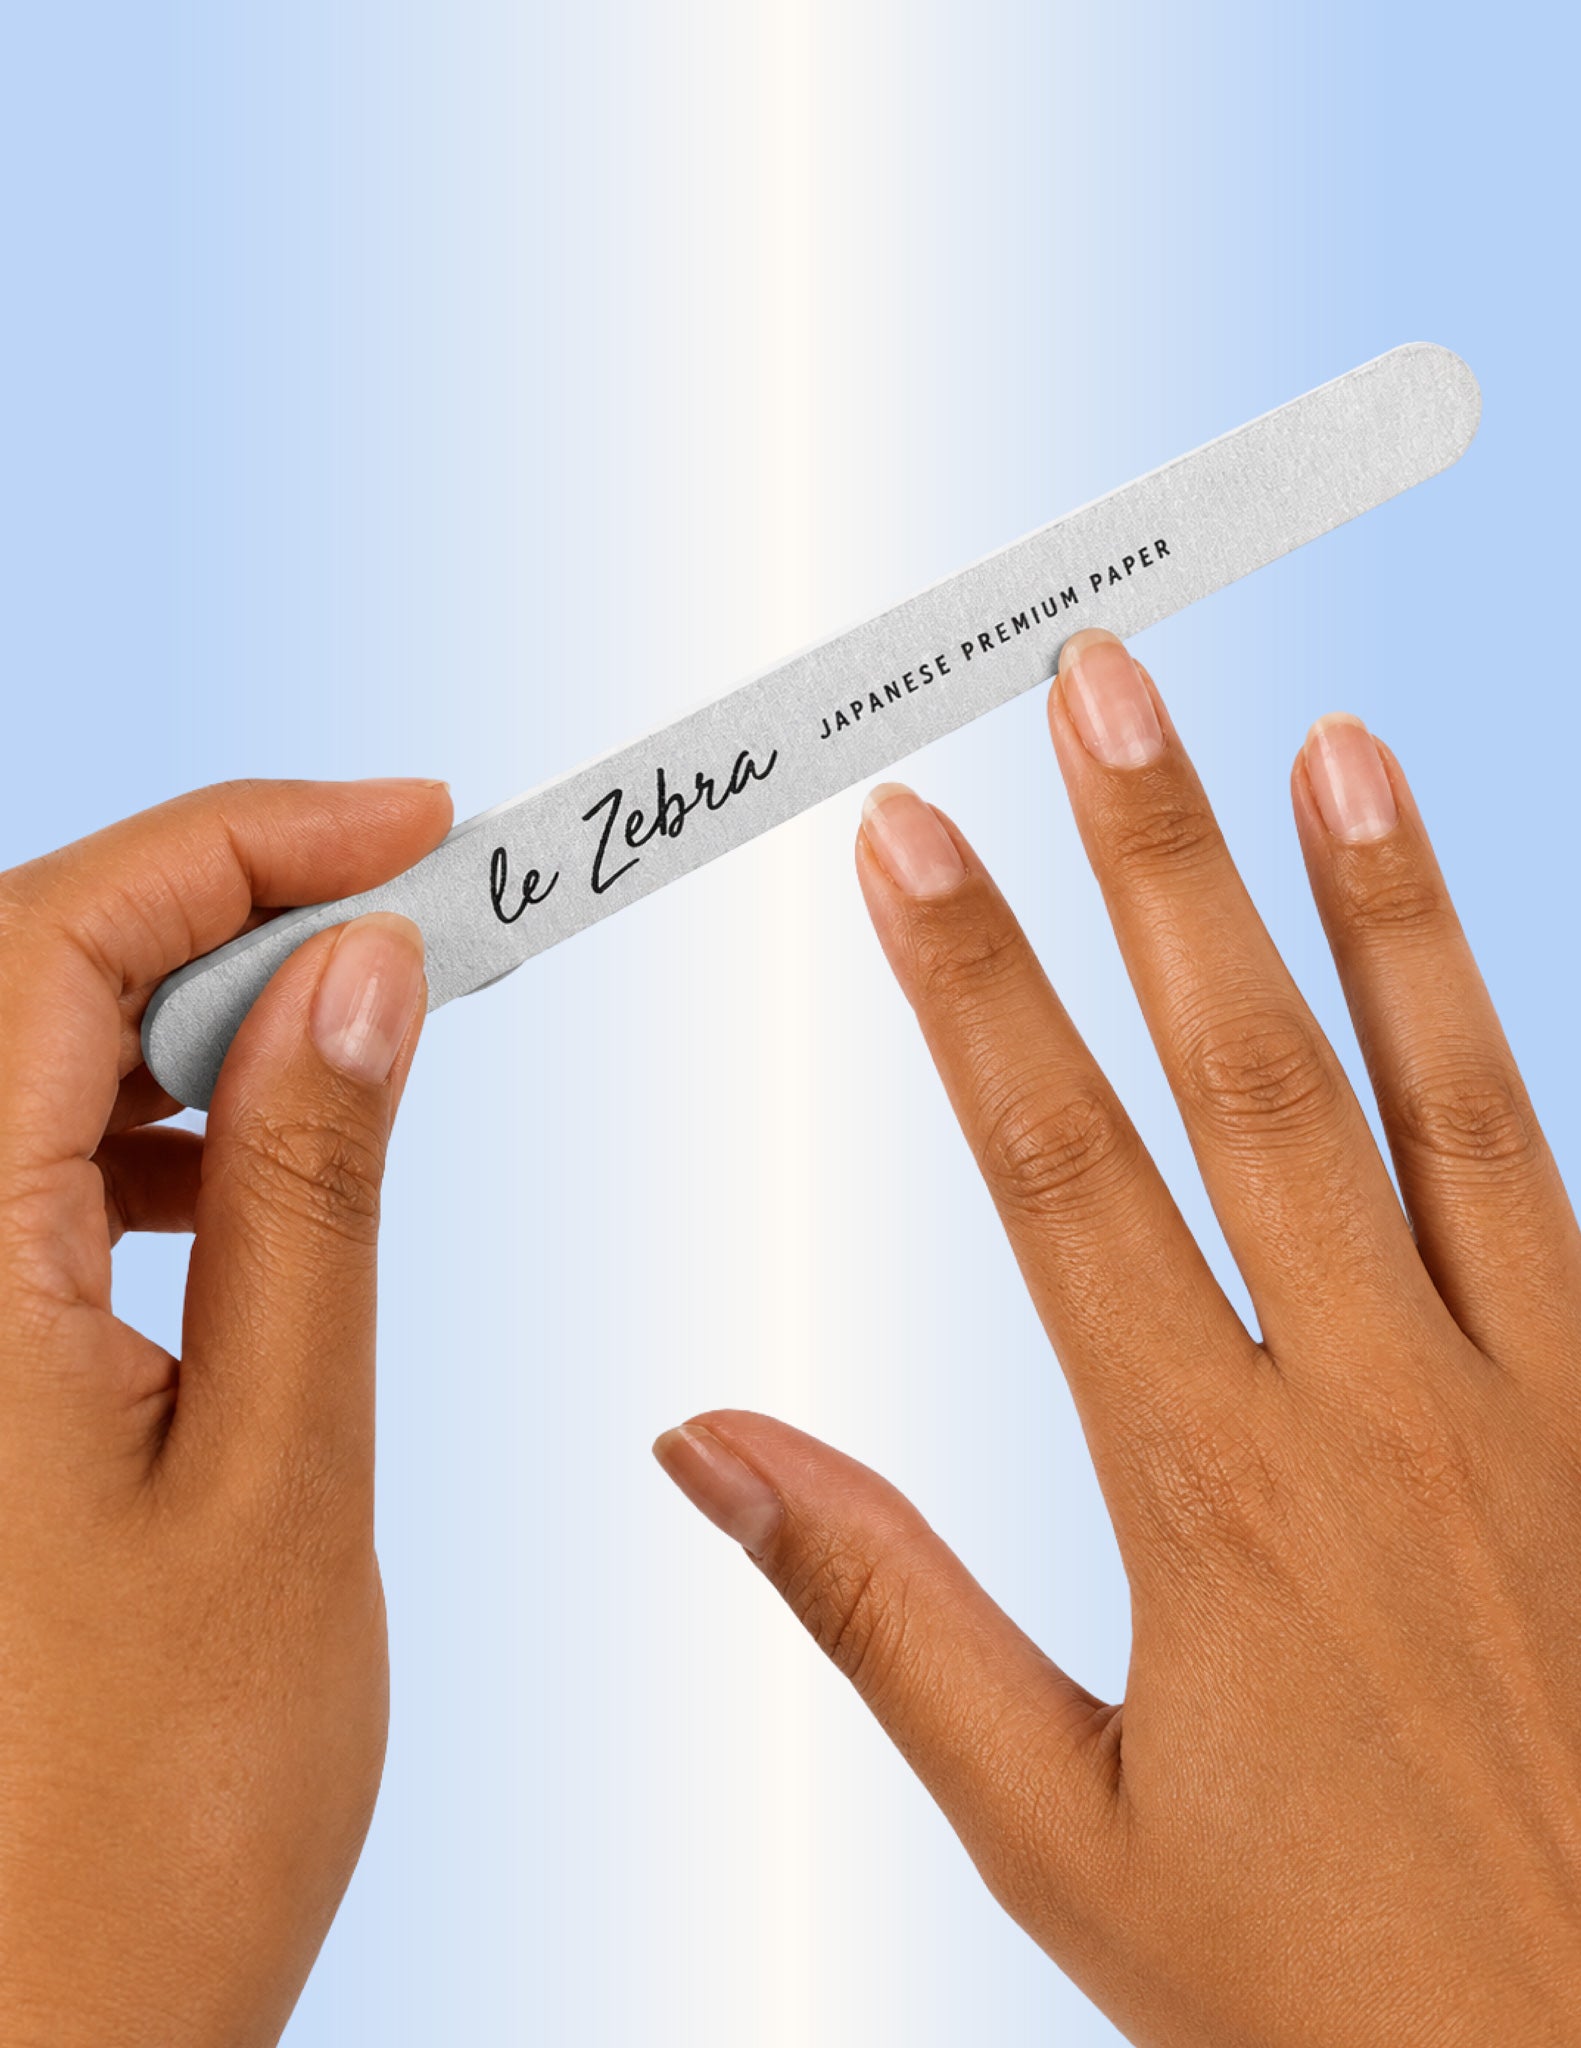
Le Zebra - Nail File
2.95 €
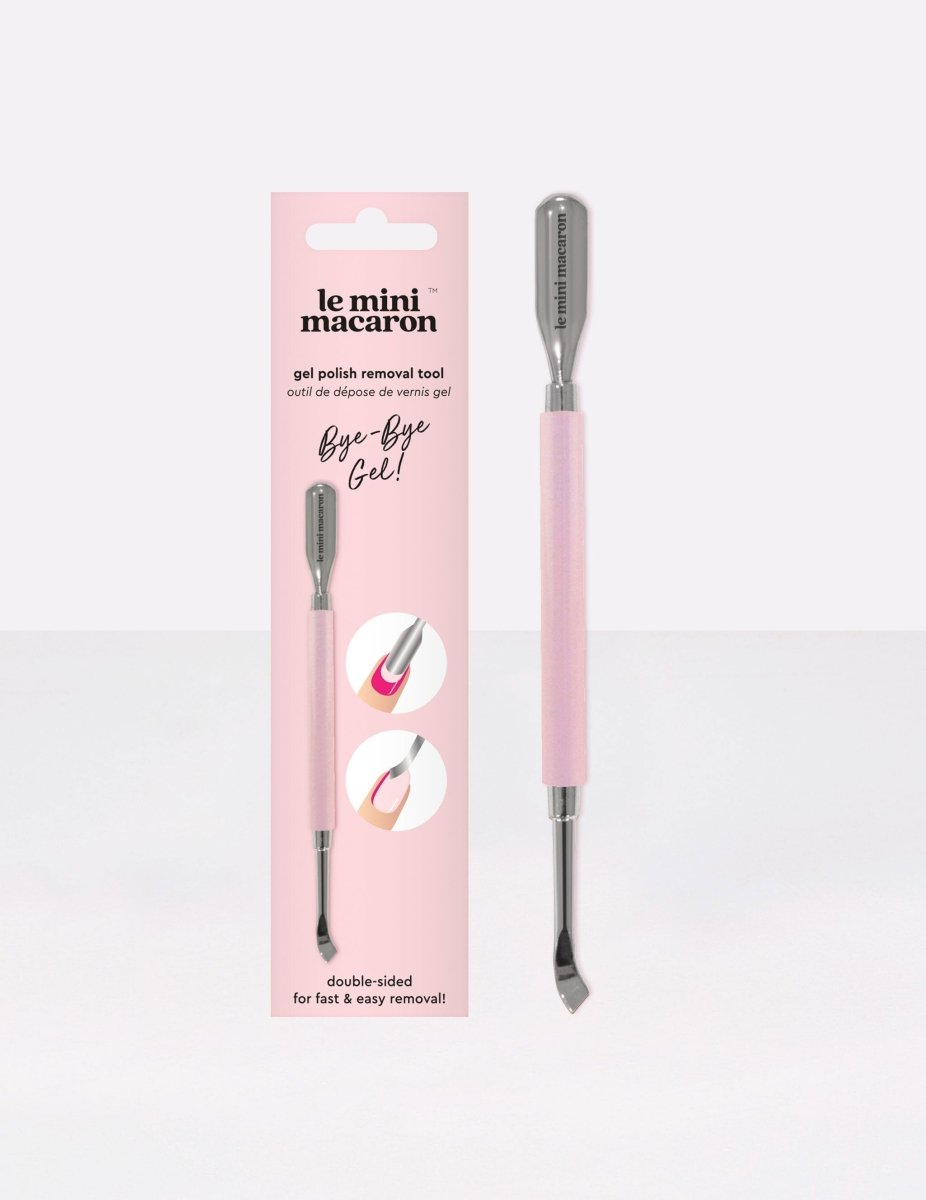
Gel Polish Remover Tool
6 €

Remover Clips
13 €
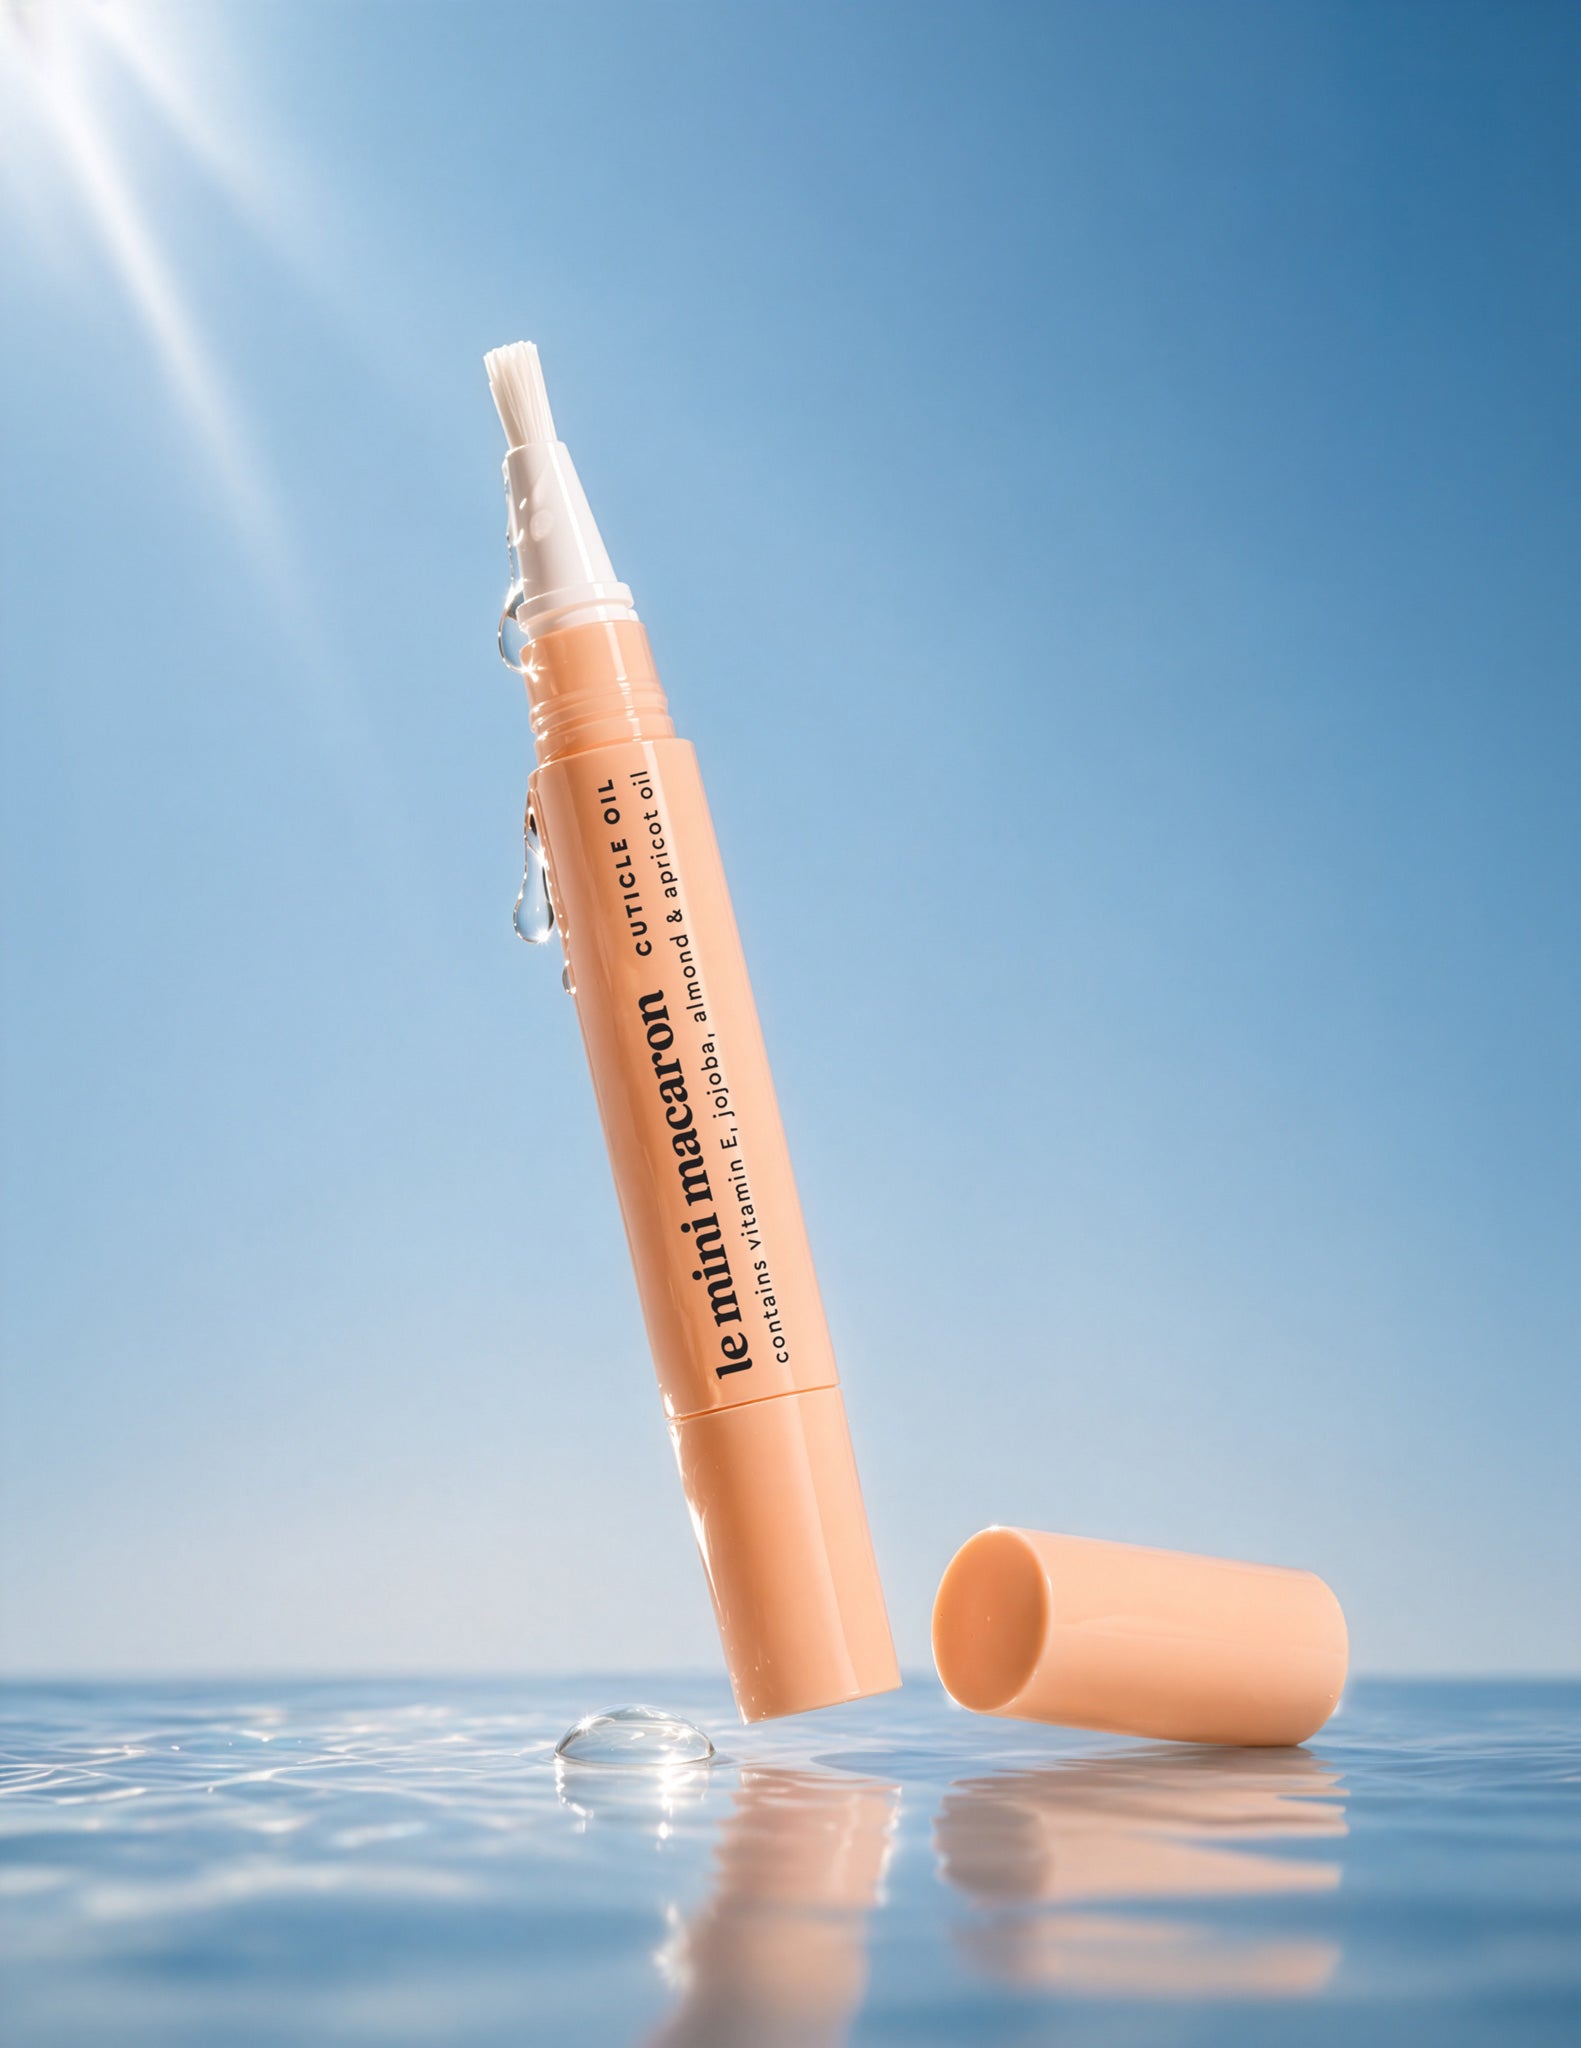
Cuticle Oil Pen - Jojoba Oil
8 €
Why You’ll Love It
Why Not Level Up?


Choose options
How to Remove
Follow these easy directions for perfect removal:
FILE THE TOP LAYER
- Use a 150/180 grit file – until nail looks completely matte.
APPLY REMOVAL WRAPS
- Insert finger into wrap – ensure cotton pad covers top of nail.
- Wrap tightly around finger
- Wait 15 minutes – then remove wrap.
- Polish should be shattered or bubbled – ready to be removed.
GENTLY REMOVE GEL
- Use a cuticle pusher or removal tool – gently scrape off the softened gel.
- Scrape in one direction – from cuticle to free edge of nail.
BUFF NAILS
Smooth out any remaining residue – use a buffer.
How to Remove
Follow these easy directions for perfect removal:
FILE THE TOP LAYER
- Use a 150/180 grit file – until nail looks completely matte.
APPLY REMOVAL WRAPS
- Insert finger into wrap – ensure cotton pad covers top of nail.
- Wrap tightly around finger
- Wait 15 minutes – then remove wrap.
- Polish should be shattered or bubbled – ready to be removed.
GENTLY REMOVE GEL
- Use a cuticle pusher or removal tool – gently scrape off the softened gel.
- Scrape in one direction – from cuticle to free edge of nail.
BUFF NAILS
Smooth out any remaining residue – use a buffer.
Frequently Asked Questions
Just 15 minutes. Insert your finger into the wrap, make sure the cotton pad sits on top of the nail, wrap tightly, and wait. Once the gel looks shattered or bubbled, it is ready to be lifted off. For the cleanest removal, use the Gel Polish Remover Tool to scrape off the softened gel in one direction from cuticle to free edge.
Yes. File the top layer of your gel polish with a 150/180 grit file until the nail looks completely matte. This breaks the seal and lets the acetone work faster and more effectively.
Absolutely. The Remover Clips clip over the wraps to create an airtight seal, which helps the gel soften faster and lift off more cleanly. They are a great upgrade to your removal routine, especially if you find the wraps slipping.