3 TIPS FOR FAST & EASY GEL MANICURE REMOVAL (AT HOME)!

If you’re like the rest of us, in the last year you’ve discovered the ease and convenience (and let’s face it, necessity) of doing your own at-home manicures & pedicures. And if you’ve got a fabulous gel nail look that you’ve been rocking, sooner or later you’re going to need to remove it!
There are many types of gel polish remover you can try, but if you’re new to the DIY gel removal process, here are our top 3 tips & tricks to get your easiest and most convenient removal! Give yourself about 20-25 minutes in total to get it right, especially the first time. Practice makes perfect!
TIP #1 – FILE THE SURFACE OF YOUR GEL MANICURE REALLY WELL

Doing this allows the acetone to soak-in easily to the rest of the polish layers when you wrap your nails later. Also, when you file the manicure, be sure to cover the entire surface so all parts of the polish have been filed. Remember: the more you file, the less you need to soak later but if you start to see your natural nail you’ve filed too much. You only want to remove the top layer of gel polish. One more thing, we highly recommend a nail file with a 180 grit as this is rough enough to do the job quickly.
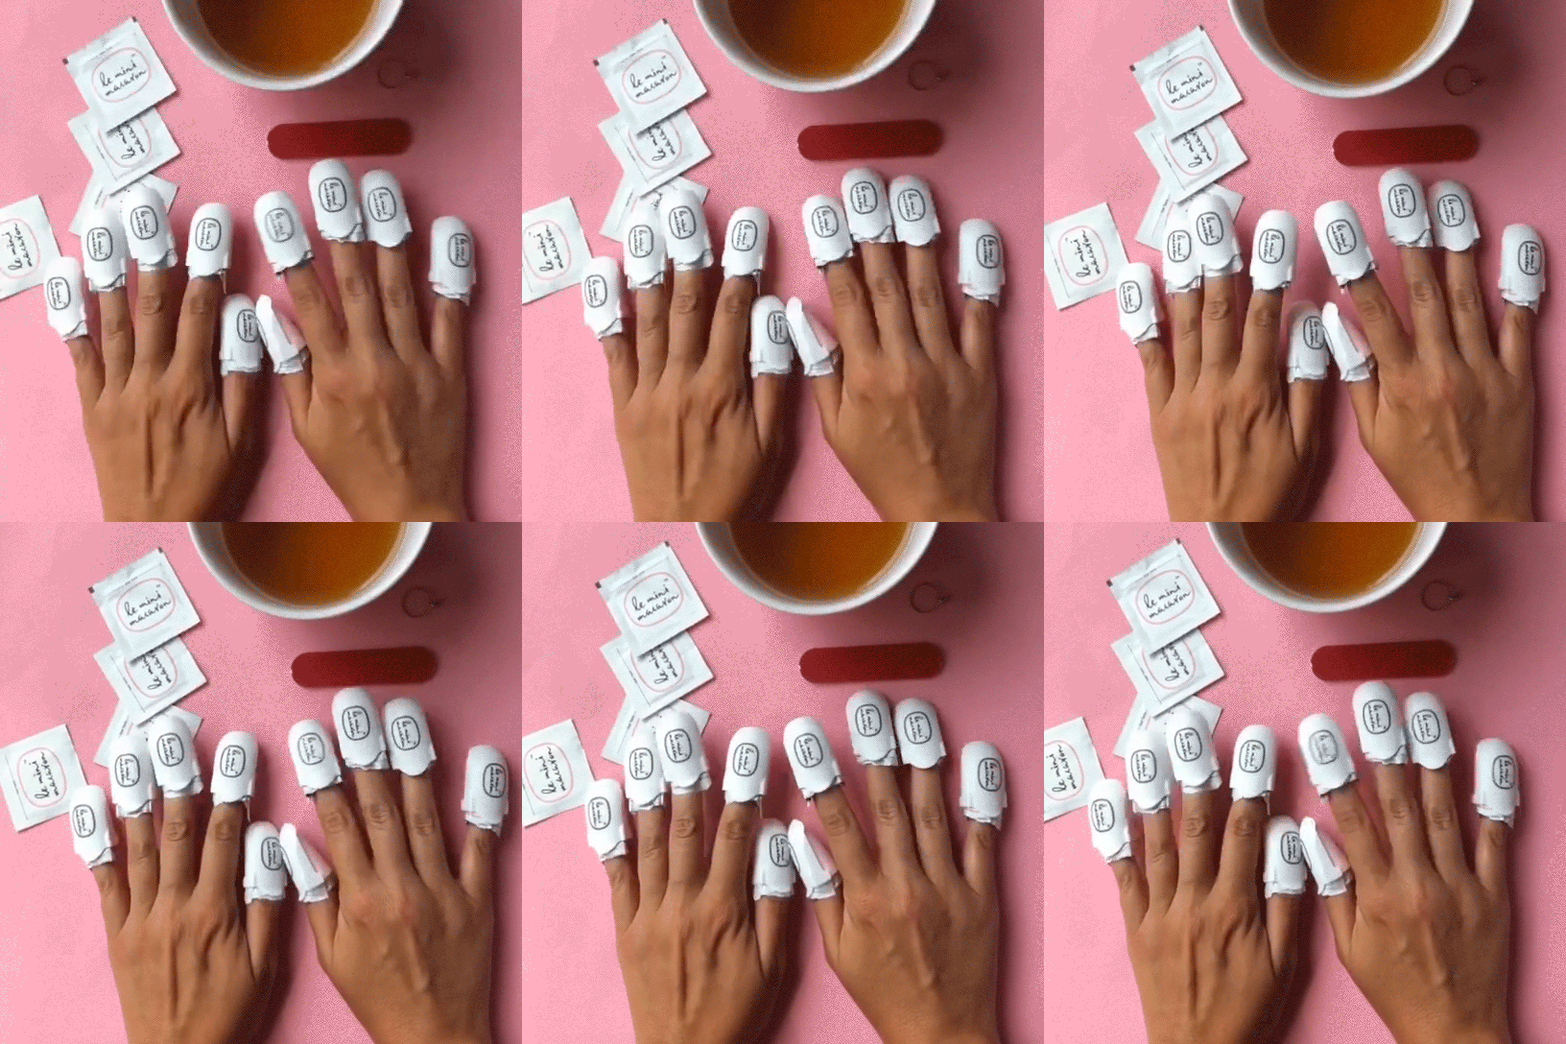
TIP #2 – WRAP YOUR NAILS AIR TIGHT!

For the best, most air-tight removal, we love using gel remover clips over the polish remover wraps! This is a must if you’re doing regular manicures and removals as it speeds up the soak-off waiting time.
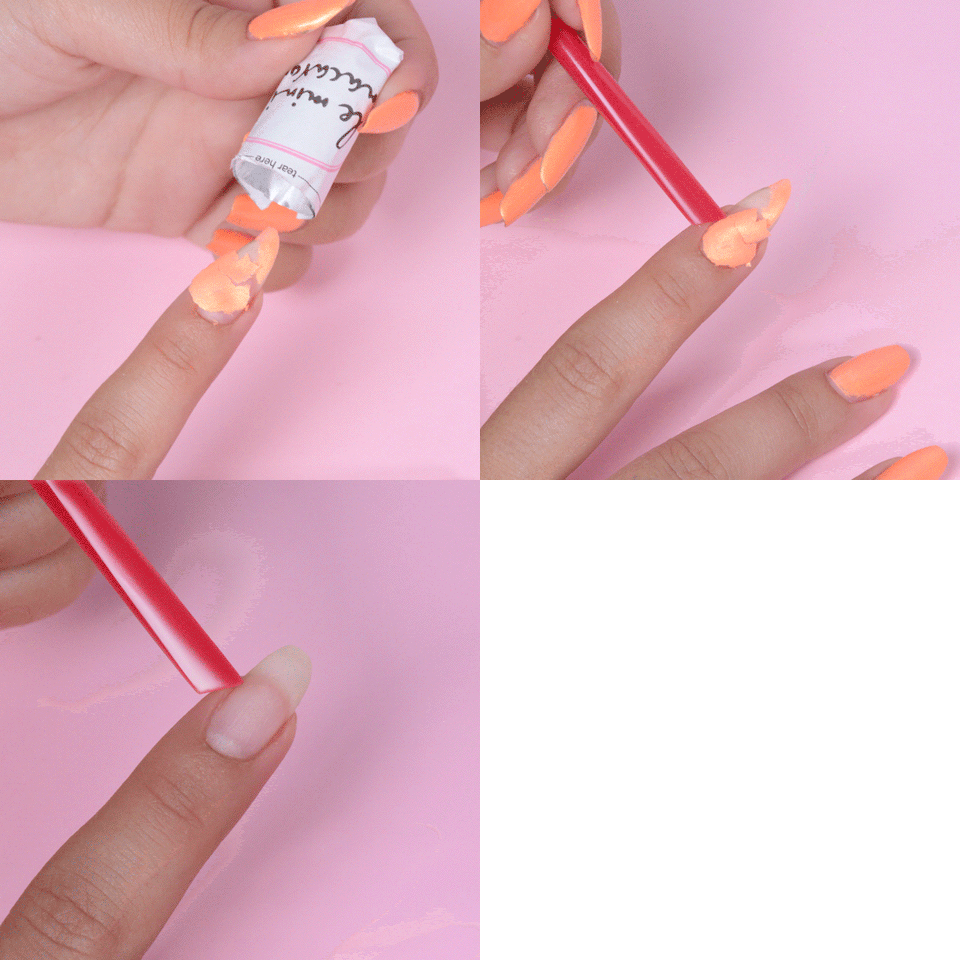
TIP #3 – USE A GEL REMOVAL TOOL TO EASILY LIFT OFF THE REMAINING POLISH

You want to go for a ‘shattered’ polish effect. The acetone should break apart the polish so that it’s easy to then scrape off the remaining bits. If the polish does not look shattered yet, you can keep the remover wraps on for another 3-5 minutes. Once it’s ready, use a removal tool to scrape off the remaining polish that is on the nail. You can either use the sharp end of a cuticle pusher…or, we love this rose-gold removal tool which is MADE for quick and easy gel removals. For those of you removing gels at home on a regular basis, you’ll want to include this in your tool kit! Our LMM Co-Founder Christina swears by this item and ONLY uses it when she removes her manis!
And there you have it! These are our top 3 tips to get an easy, at-home gel manicure removal. Try it out and let us know what you think! Tag us on your manis + your removals @leminimacaron and the hashtag #leminimacaronLMM Team


