
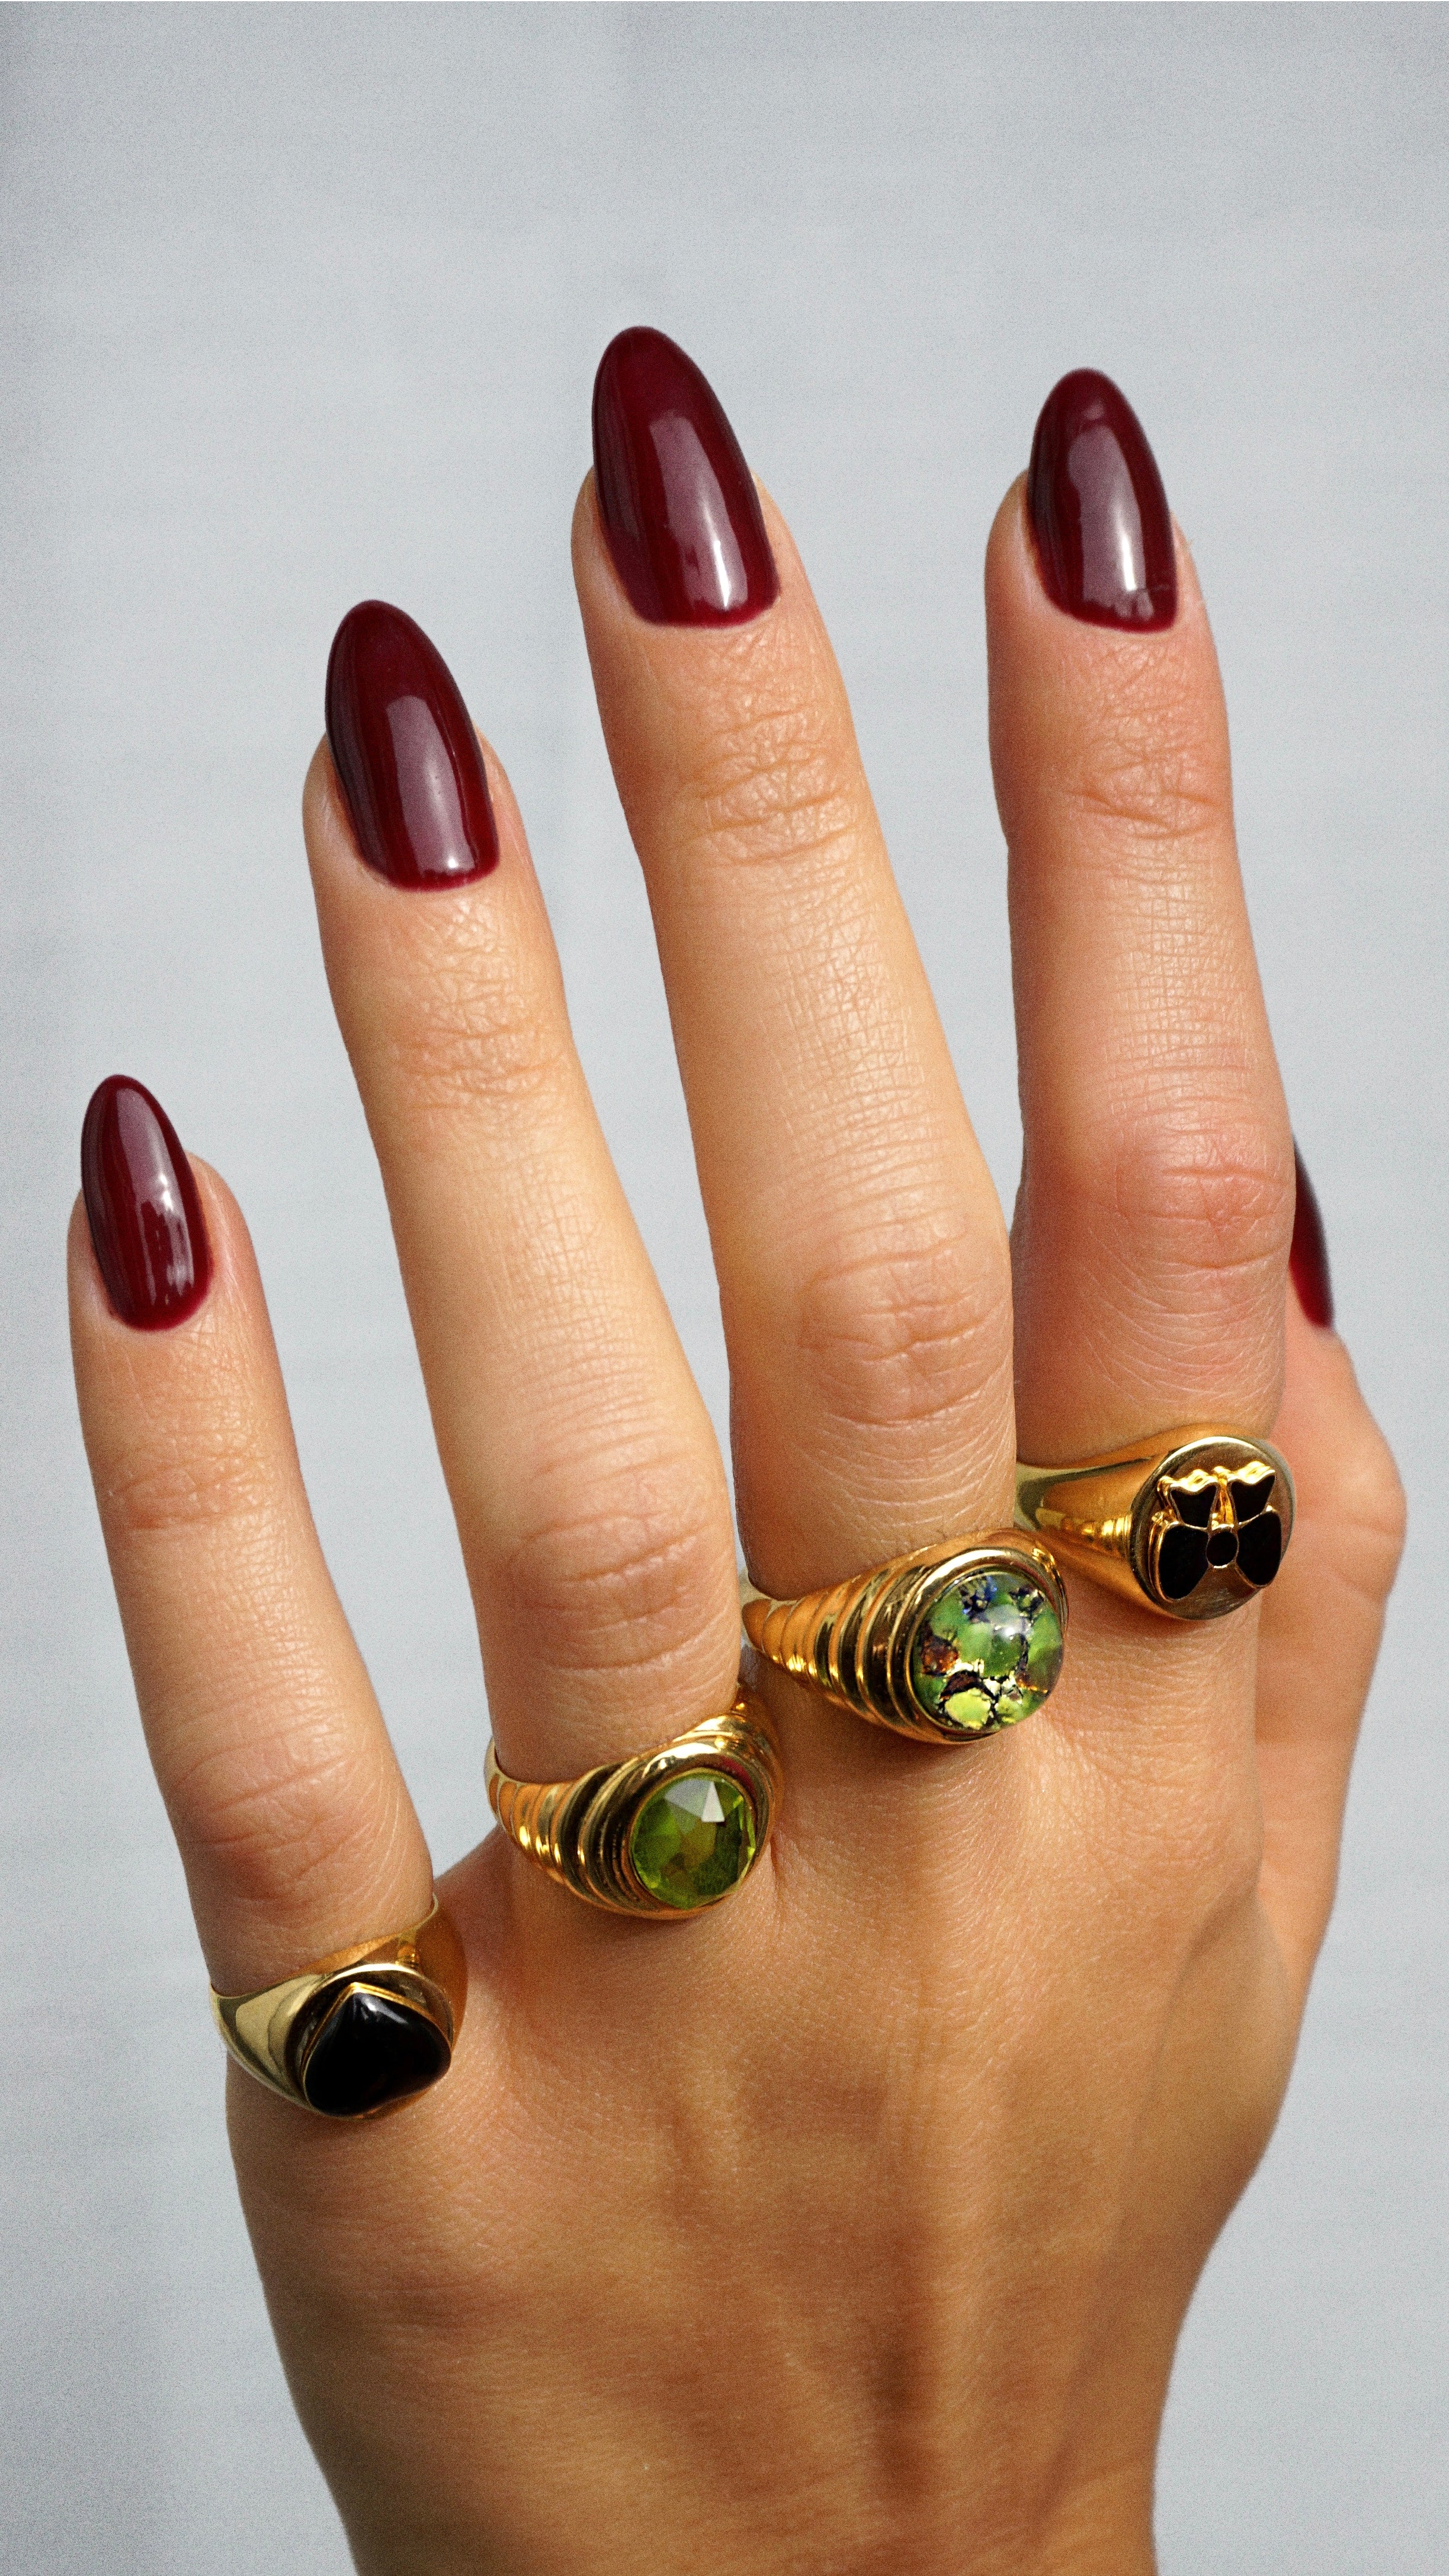
13 Steps For A Perfect Mani
Do you dream of a shiny, long-lasting manicure at home, Chèrie?
It’s as easy as getting one of our mini kits and follow the steps below!
- Use the white, flat end of the cuticle stick to push back your cuticles.

-
File the edges of your nails with a nail file and the surface with a sanding block. Using a brush, remove any dust.

-
Did you know that the nail naturally produces oil? That's why wiping away dust & oils is the most important step for long-lasting gel manicures. Nail Cleanser Prep Pads cleanses and preps nails before applying gel polish.

-
Shake the gel polish. Open the bottle and wipe the brush against the inner edges of the bottle neck, removing almost all gel from the brush. Apply a very thin layer of gel covering the entire surface of your nail.

-
Cure in the LED lamp for 30 seconds.

-
Repeat: Apply a second layer of gel polish and cure again.

-
Follow these steps for every nail and that's it - you're done!

Pro Tip: Extend your gel manicure for up to 3 weeks with our Top Coat. Longer shine, longer chip-free lasting!
There's definitely a learning curve to applying gel at home. So, don't be disappointed or lose confidence if your first few DIY gel manicures don't look fantastic or last weeks on end — never fear, you'll become a pro in no time with some patience and practice!
Would you like to exchange more tips and ideas with our community? Join now Les Chéries, our exclusive Facebook group.


